

Page 1
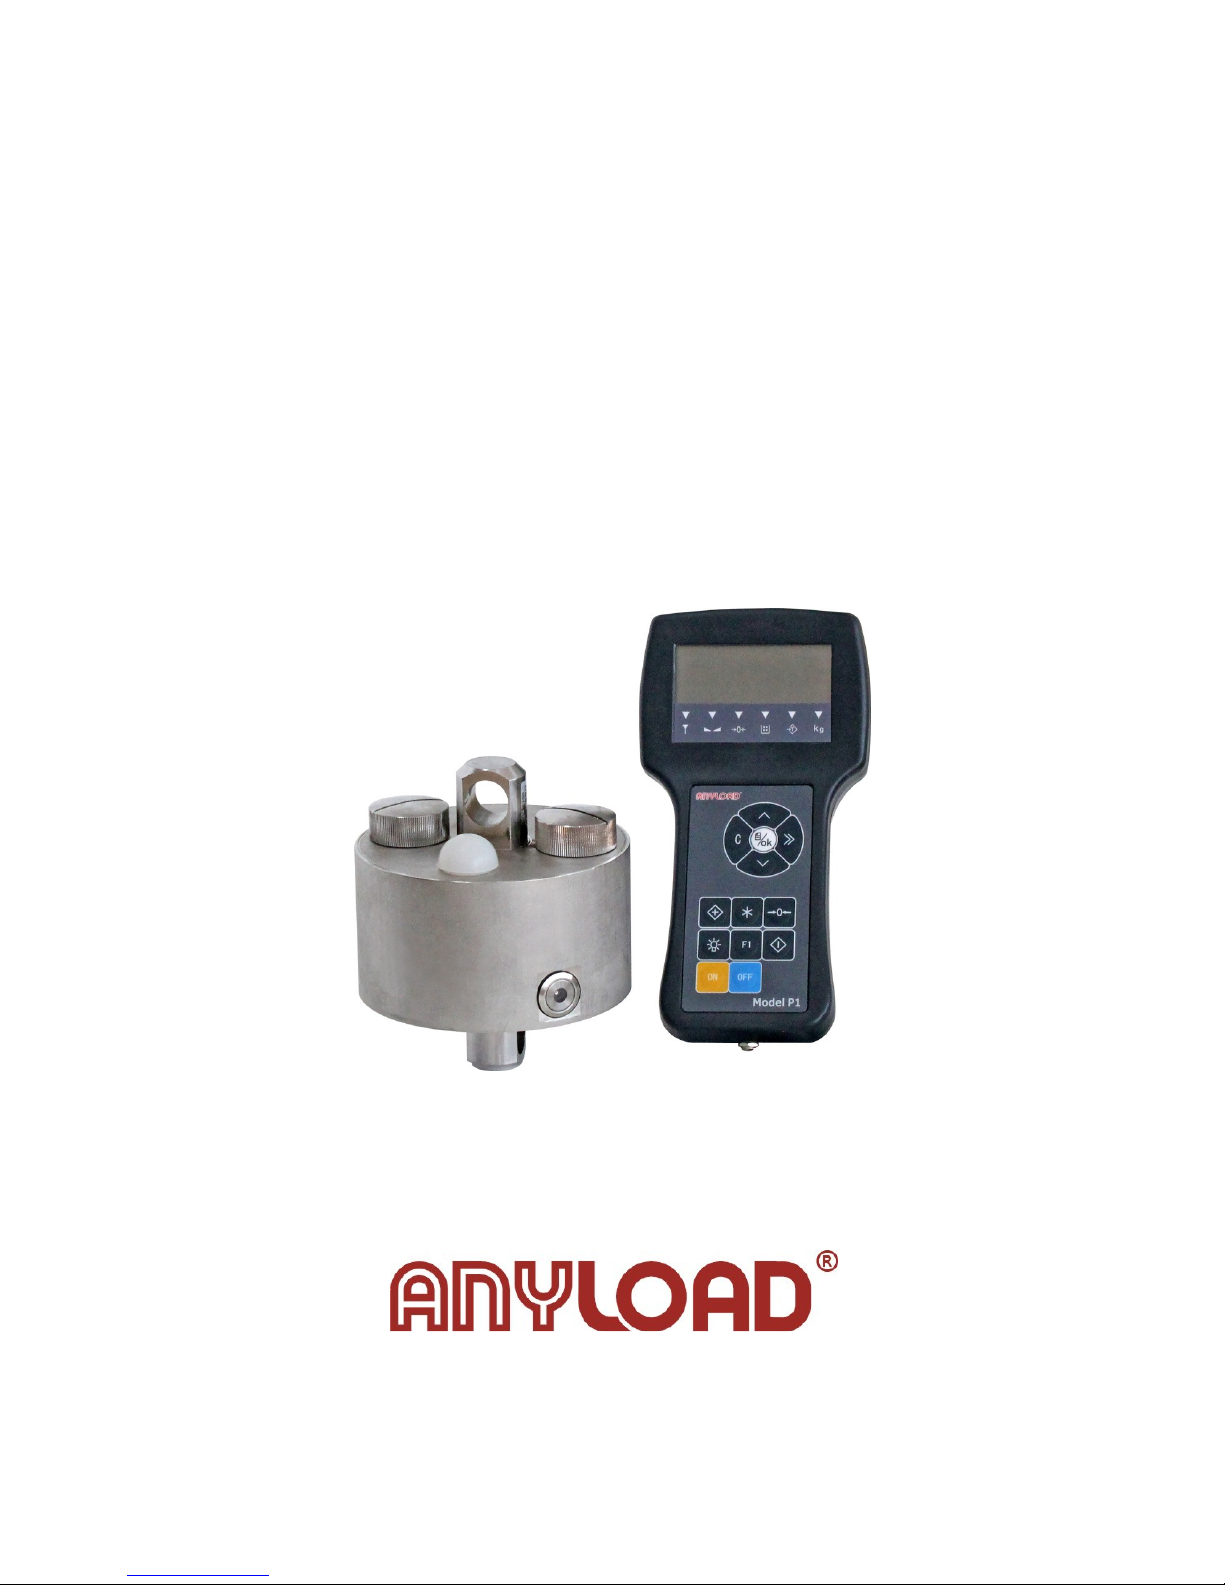
P1
USER MANUAL
Page 1 of 8 AL-Manual-110ES-WL-P1-En-102
http://www.anyloadgroup.com
Page 2

About This Manual
This Manual is intended for use by service technicians responsible for
installing and servicing 110ES-WL wireless scale and P1 weighing
indicator.
CAUTION
1. Don’t make lifts beyond rated
capacity of the scale
2. The scale must be checked for
operation routinely. Don’t operate
if hook, shackle, sling, cable, etc
show any sign of defects or
excessive wear.
3. Avoid bump, keep the scale and
the indicator away from corrosive
liquid or environment.
4. If the scale is not going to be
operated for a long time, please
turn off the scale and indicator,
recharging the battery every two
months to preserve the life-span
of the battery and recharge it
before operation
5. When indicator displays low
battery, do not turn on the crane
scale. Please recharge the battery
first before turn on the scale.
6. Most procedures described in
this manual are to be performed
by qualified service personnel
only.
1. Introduction
The indicator front panel consists of a LCD display and keyboard,the
indicator comes up with a substantial and durable ABS indicator
suitcase.
1.1 Standard Features
◆∑-∆ A/D conversion
technology.
◆Keyboard calibration, simple
operation.
◆Weighing data save protection
in case of power off.
◆Battery charger with several
protection modes to extend life of
rechargeable battery.
◆Portable design, hand-hold,
easy to operate outdoor.
◆LCD display with backlight.
◆Standard parallel print
interface(EPSON printer).
◆Rechargeable 7.2V/2.8AH
battery for indicator. Scale body
with power supply of
4*RCR123A batteries.
◆ Power saving mode, indicator
will turn off automatically after
30minutes without operation.
Page 2 of 8 AL-Manual-110ES-WL-P1-En-102
Page 3
A/D conversion method
Input signal range
Load cell excitation
Division
Display
Wireless
Communication
Max internal code
A/D transfer speed
Power on zero range
Tare range
Zero range by manual
1.2 Specifications
Σ-∆
-3mV~15mV
DC 5V
1/2/5/10/20/50 optional
LCD display with backlight
P1-01: 433MHz
frequency
Wireless transmission distance 50 meters (in wide place)
Display 192x64 matrix LCD(with backlight)
P1-02: 915MHz
1,000,000
50 times/second
20% Cap
100% Cap
4% Cap
Operation Temperature range Scale -10℃~50℃ Indicator 0℃~40℃
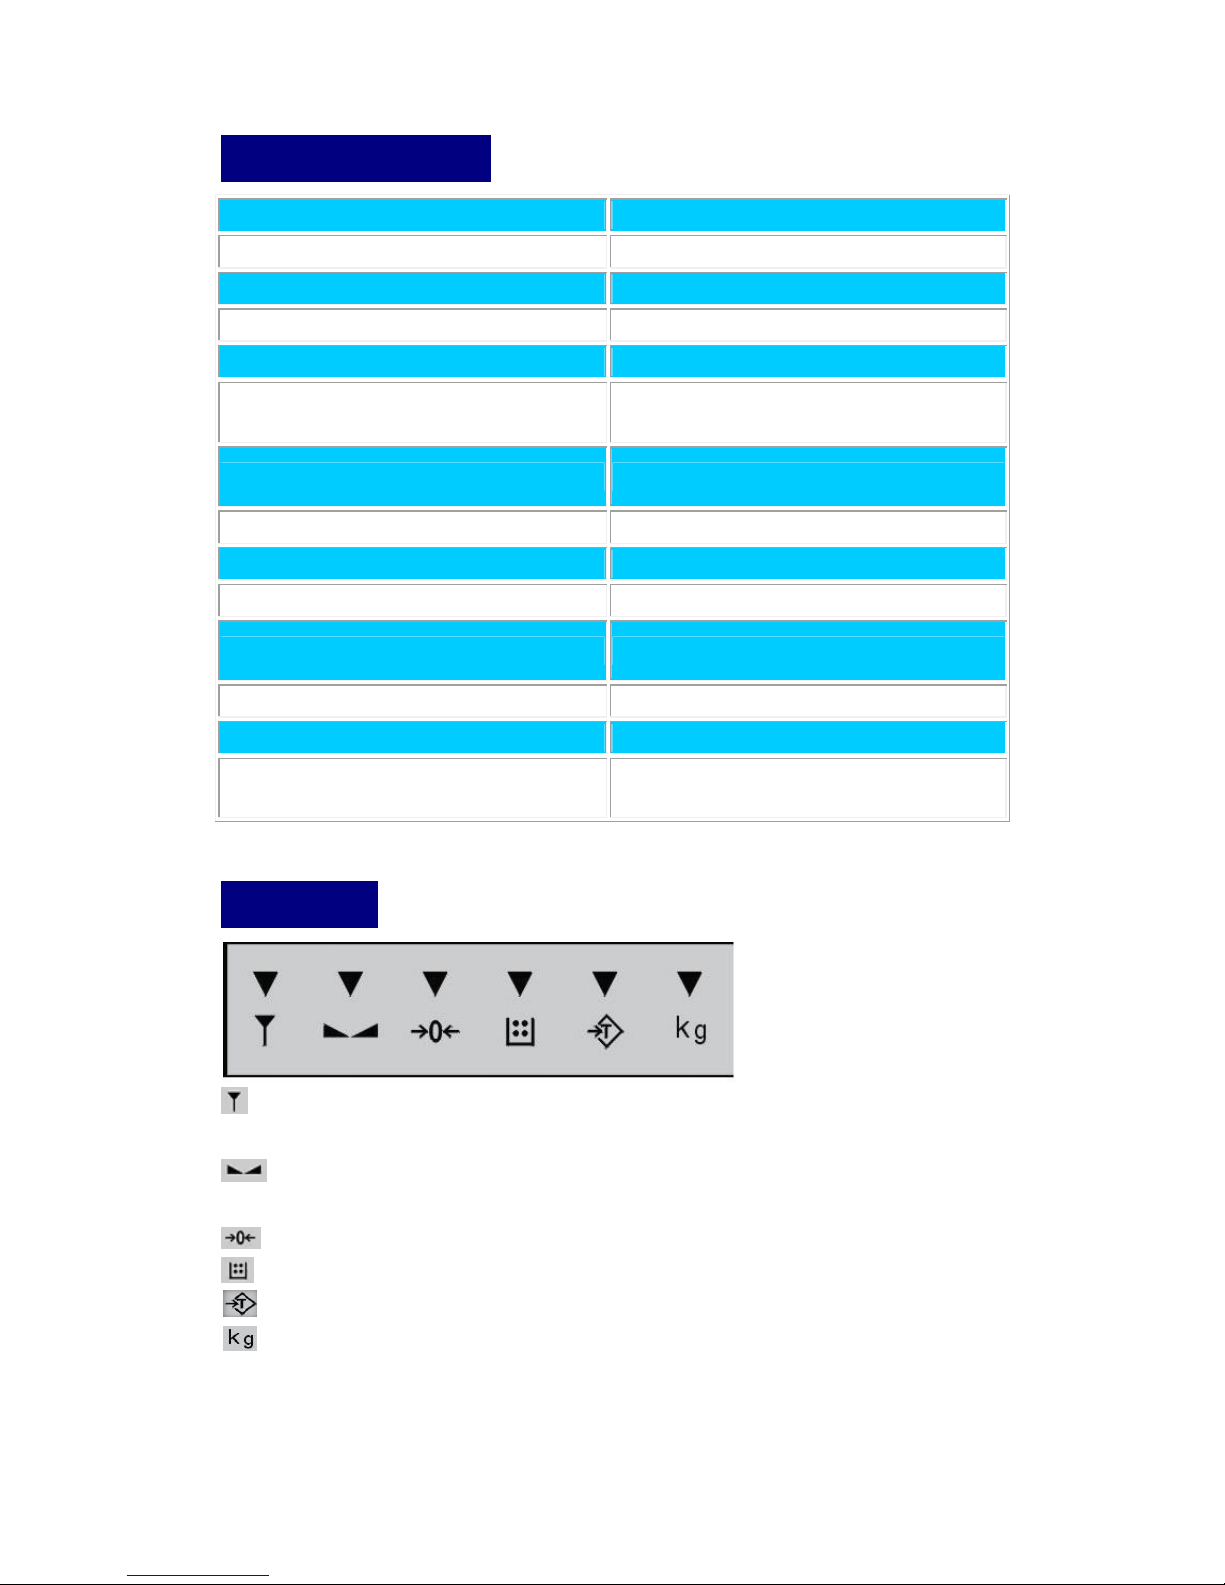
1.3 Display
: Wireless Signal: The symbol is displayed when the wireless
communication signal is normal.
: Stable, The symbol is displayed when load is stable or within the preset
dynamic load range.
: Zero, The symbol is displayed when load is within zero range.
: Count, The symbol is displayed when there are data saved in the memory.
: Tare, The symbol is displayed when Tare setting is not zero.
: The symbol is displayed when display showing units in kg.
Page 3 of 8 AL-Manual-110ES-WL-P1-En-102
Page 4
Page
4 of 8
AL-Manual
-
110ES
-WL-P1-En-
102
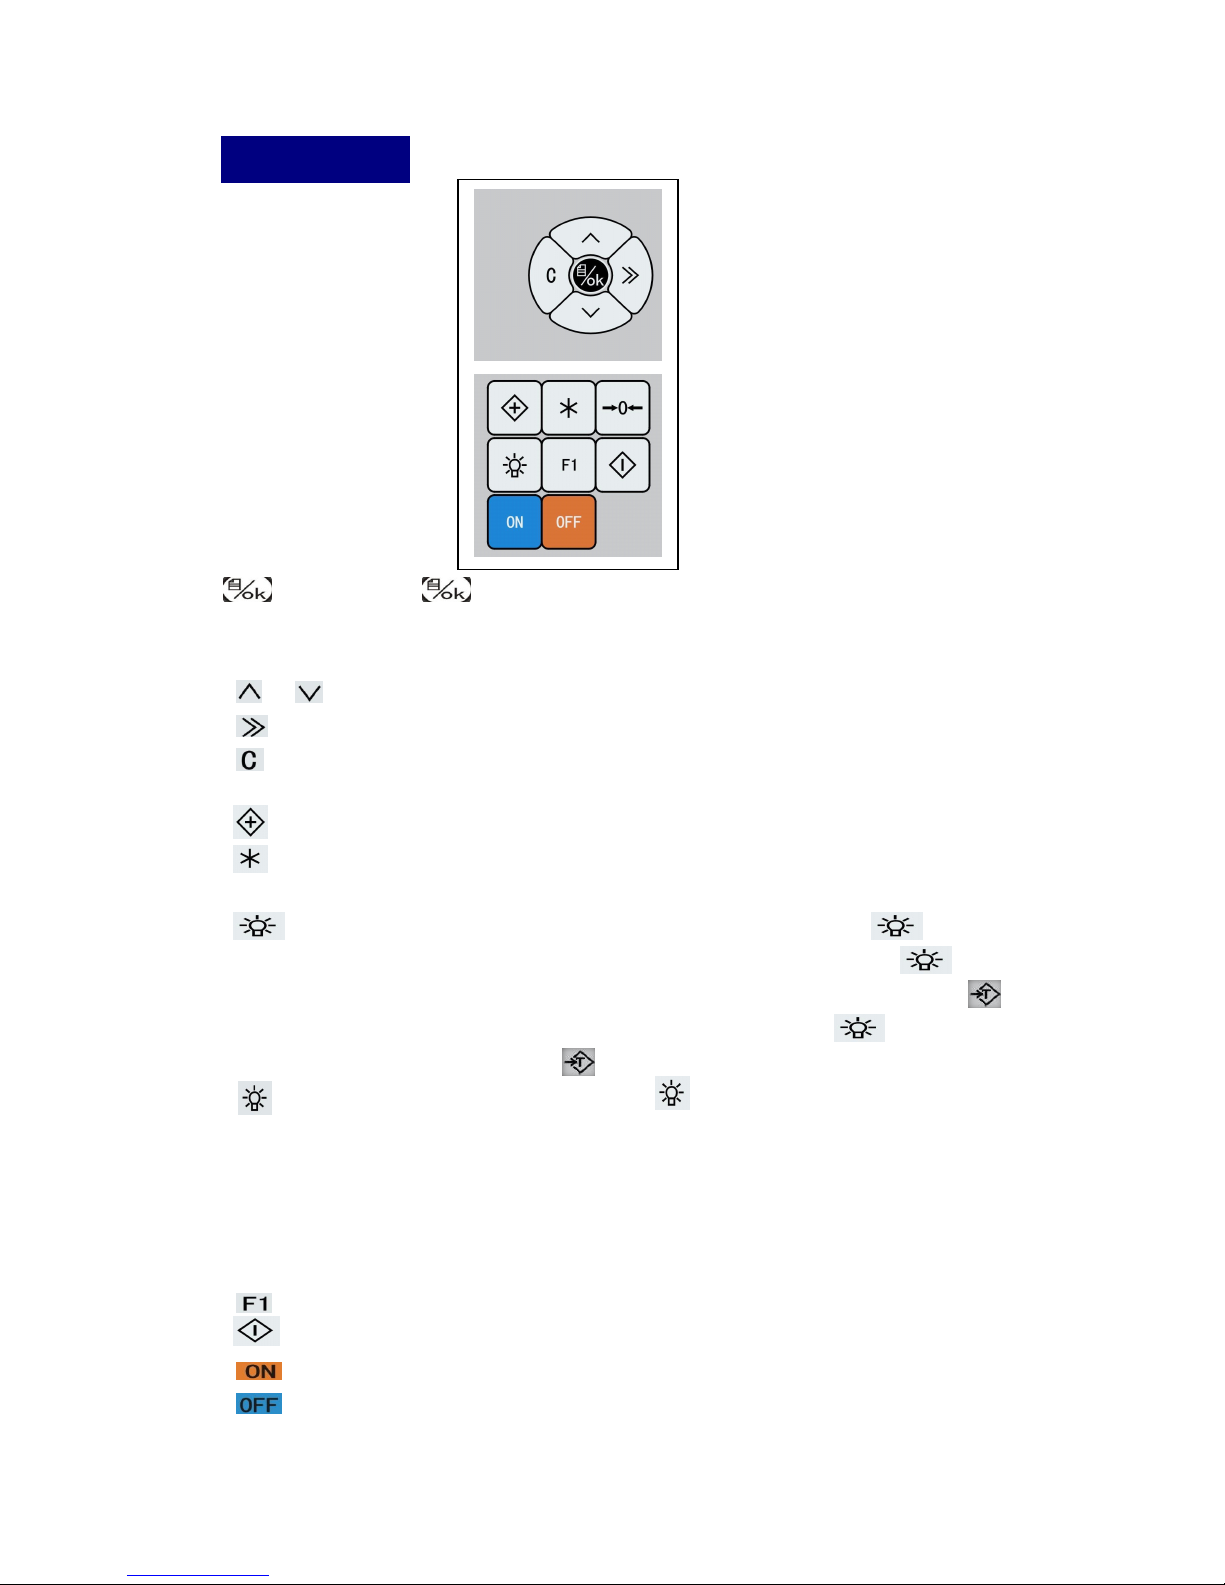
1.4 Keyboard
Key: Push to Enter the Configuration Mode while in the
Weighing Mode or confirm the configuration setting in Configuration
Mode.
“ ” “ ”Key: Move up and down or increase and decrease the value.
“ ”Key: Move right.
“ ”Key: Return the previous menu, keep pressing the “C” Key till the
indicator is back to Weighing Mode.
“ ”Key: Save the stable scale reading into memory.
“ ”Key: Display the total weight and item count if there is stored
weighing data in the memory.
“ ”Key: If the weighing is less than 4%FS, press the “ ”Key to
zero the scale; if the weighing is larger than 4%FS, press the “ ”Key
to change net weight from gross weight or vice versa. When the
symbol is on, the indicator is showing net weight, press “ ”Key again
to change to gross weight, the symbol is off.
“ ”Key: LED back light. Press the “ ”Key to turn on the LED back
light, press it again to turn off the back light.
The LED back light will be turned off automatically if the scale reading is
stable or no operation on the indicator within 2 minutes. The back light
will be turned on again if the scale reading changes or there is an
operation on the indicator.
“ ”Key: Reserve key
“ ”Key: Clear the stored weighing data in the indicator.
“ ”Key: Power ON.
“ ”Key: Power OFF.
Page 5
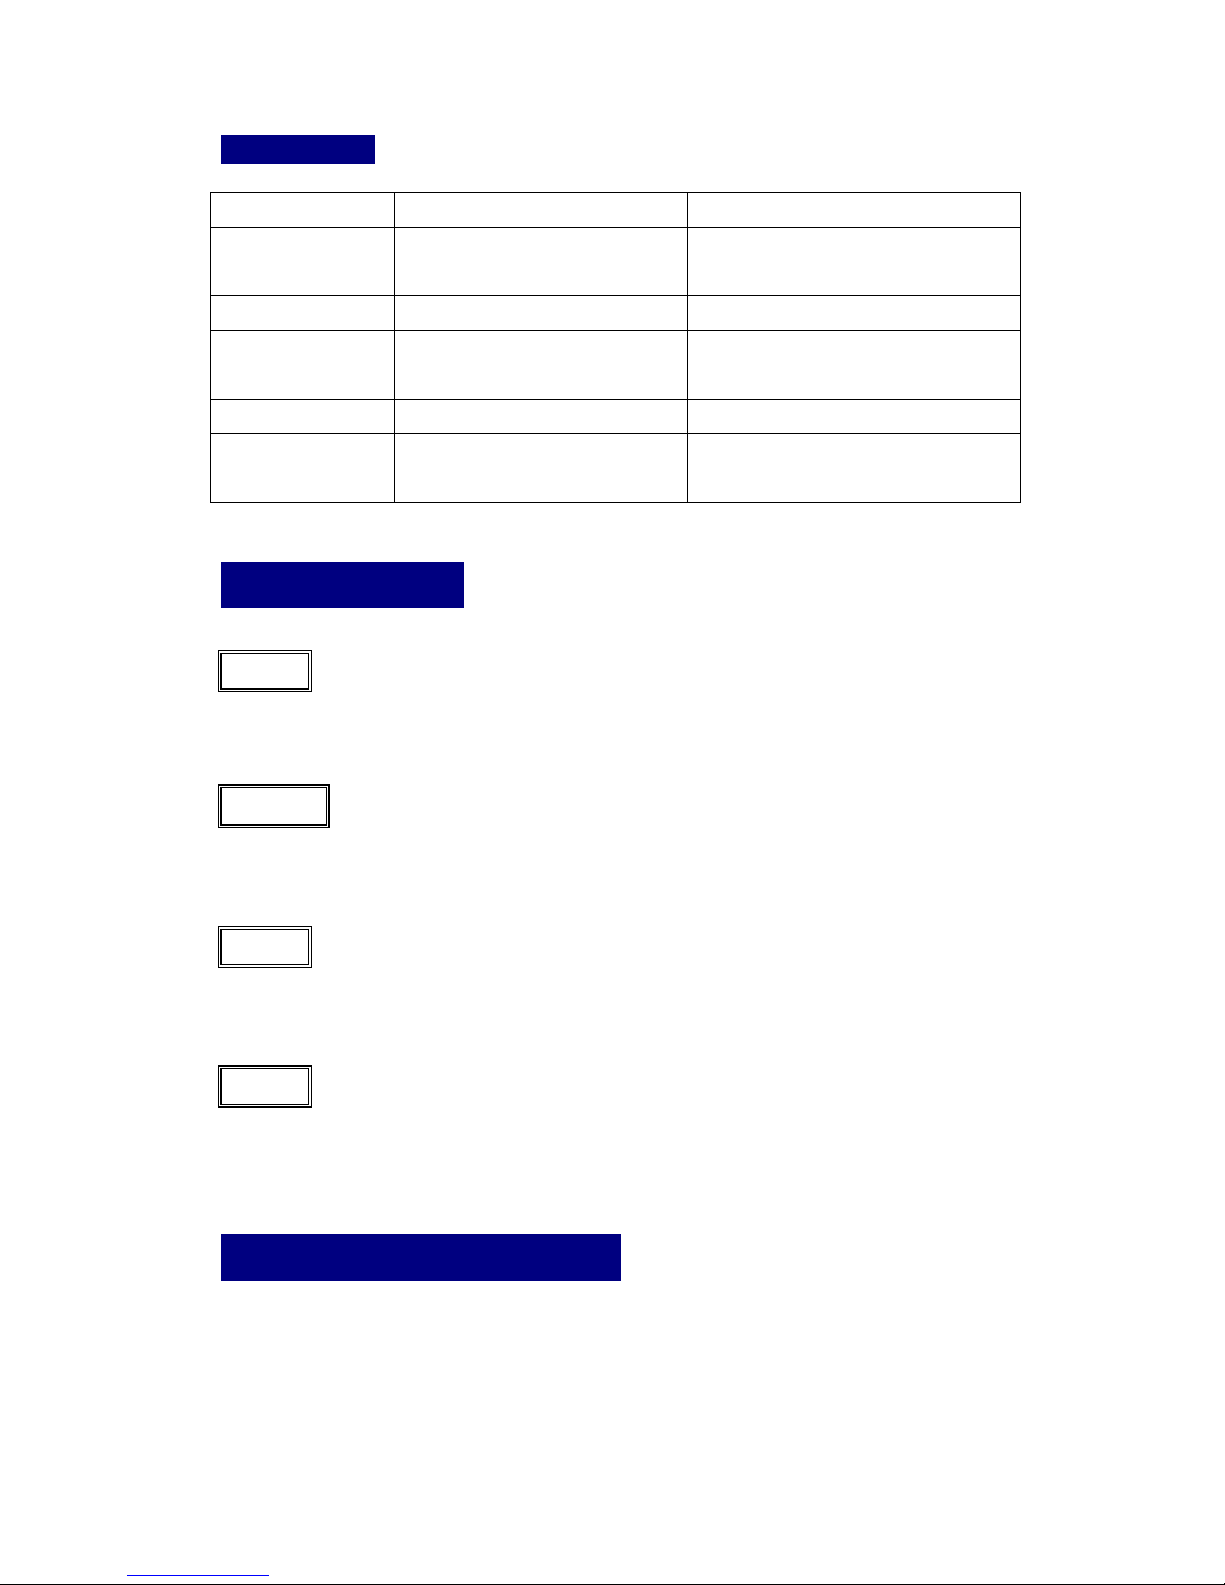
1.5 Battery
Scale Indicator
Battery Type Trust Fire RCR123A
Lithium Battery
7.2V 2800mAH Ni-MH
battery
Charger Lithium battery NC1056
Charge Time
(Approximately)
8hours 4 hours
Work Time 24 hours 40 hours (without backlight)
Charger
100~240VAC 50/60Hz 100~240VAC 50/60Hz
Power supply
1.6 Error Message
Err 05
Wireless communication is abnormal, check the antenna and the power
supply of both indicator and the scale.
--OV--
Overload, if there is not weight on the scale, the wire connection
between the load cell and the wireless module.
dC LL
Indicator low battery, please recharge the indicator with NC1056
recharger.
L ----
Scale low battery, please recharge the scale battery with lithium battery
charger.
1.7 Installation Of The Scale
Unscrew the battery cap, replace the flat batteries with the fresh ones, make
sure the batteries are installed properly before tightening the battery cap. The
negative of the battery is facing the battery cap.
The scale body will turn off after one hour without operation. If you want to use
again, please turn it off before turn it on again.
Page 5 of 8 AL-Manual-110ES-WL-P1-En-102
Page 6

2. General Configuration
In this chapter, this manual will guide you how to configure the P1
indicator.
Press to enter Configuration Mode.
Press “ ”and“ ”Key to switch menu from F1 to F9.
Press to enter setting.
F 1: Peak Hold
P 0 ------Enable Peak Hold;
P 1 ------Disable Peak Hold;
F 5: Filter Setting
FLT 0~ FLT 7---It’s recommended to set the filter to 1 when calibrating
and 4 when the indicator is in the normal Weighing Mode.
F9: Calibration
Press when indicator shows F9 to enter Calibration.
The indicator will show P 000 after entering calibration, which means
there is a 3 digits password required to enter the setting. Press to
move right and press “ ”and“ to edit the number.
The default password is 111.
Indicator will show S Menu after entering Calibration. Press
“ ”and“ ”Key to switch S menu from S1 to S9.
S1: Display Divisions
User can choose from 1,2,5,10,20,50,100.
S2: Decimal Point Position
User can choose from 0,1,2,3,4
S3: Capacity
Specify the capacity of the scale. User can edit the number.
S4: Test weight
Specify the test weight on the scale to calibrate the indicator.
Page 6 of 8 AL-Manual-110ES-WL-P1-En-102
Page 7

S5: Zero Range
Select the range within which the scale can be zeroed.
0: 0%
1: 4%
2: 10%
3: 20%
4: 40%
S6: Change Password
When the indicator shows 0P 000, input the old password. When the
indicator shows nP 000, input the new password.
S7: A/D Count
P1: Zero Calibration A/D Count
P2: Capacity Calibration A/D Count
It’s recommended not to change these numbers.
S8: Power Saving Mode
OFF 1: Enable
OFF 0: Disable
S9: Display Division Switching
dd 1: Enable
dd 0: Disable
3. Calibration
The calibration of P1 indicator consists of the following steps:
Zero calibration
Entering the test weight value
Capacity calibration
Zero Calibration: Set the indicator to Normal Weighing Mode. Press
to zero the scale.
Entering the test weight value: Set the indicator to Configuration
Mode—F9—Input Password (Default password 111)—S4, enter the test
Page 7 of 8 AL-Manual-110ES-WL-P1-En-102
Page 8

weight value.
Capacity Calibration: After the test weight is put on the scale and the
scale is stable, press to save the calibration, then the indicator will
return to Normal Weighing Mode, the calibration is completed.
4.Weighing Data Processing
4.1. Accumulate Weighing Data
After the scale reading is stable and symbol is shown, press to
accumulate the weighing, the indicator will shown total weight and
cumulate number in sequence.
Note:
Zero and negative weighing data cannot be counted;
The weighing data can only be saved after the scale reading is
stable;
One weighing data can only be counted for one time.
The maximum cumulate number is 99;
If the wrong data is counted, press to clear the wrong data.
After the weighing data is saved in the indicator:
Press , the indicator will show total weight.
Press again, the indicator will show total cumulate number.
4.2. Erase The Stored Weighing Data
The weighing data can be erased single weighing data at a time or all
weighing data at a time.
Press , the indicator will show “CLL 1”, press“ ” or“ ” to switch
from 1 and 2.
1--- Erased single weighing data;
2--- Erased all the weighing data.
Press to confirm, the indicator will show “END” after the erasing is
complete.
Page 8 of 8 AL-Manual-110ES-WL-P1-En-102
 Loading...