

Page 1
Wireless Access Point, Client Bridge
Quick Start Guide >>
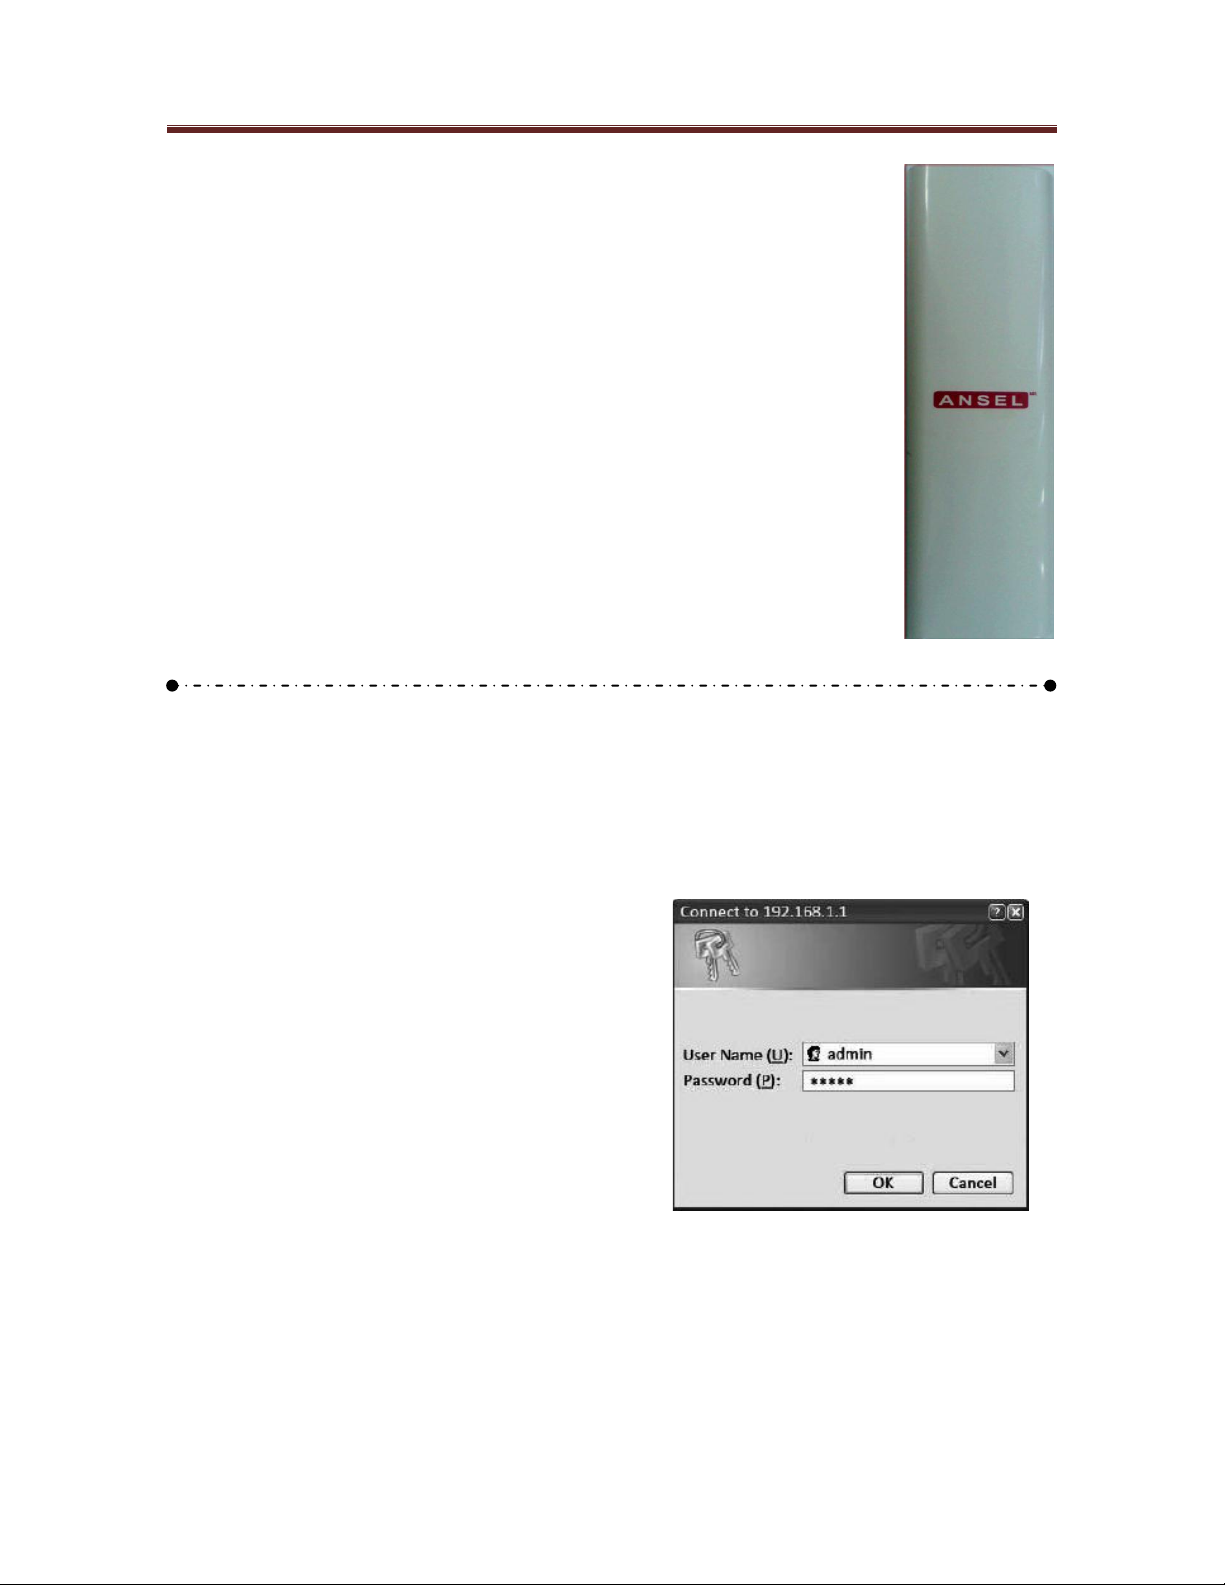
ANSEL 2012 is a long range outdoor wireless Access Point / Client Bridge that
operates in both 5GHz and 2.4GHz frequency. It provides high bandwidth up to
54Mbps and features dual polarization antenna with high transmitted output
power as well as superior sensitivity. ANSEL 2012 extends radio coverage,
avoids unnecessary roaming between Access Points and ensures a stable
wireless connection while reduces the number of required equipments.
ANSEL 2012 provides user friendly interface including user friendly distance
control ranges from 1KM up to 30KM and RSSI LED indicator offering real time
signal status. It comes with PoE injector for convenient outdoor installation.
ANSEL 2012 enforces transmission security with full support of latest encryption
mechanism including 64/128/152-bit WEP, WPA and WPA2. With 13dBi internal
antenna and superior performance, ANSEL 2012 makes an optimal wireless
solution for both small and large scale projects.
IP Address Configuration
The default IP address of the device is
192.168.1.1. In order to log into this device, you
must first configure the TCP/IP settings of your
PC/Notebook.
1. In the control panel, double click Network
Connections and then double click on the
connection of your Network Interface
Card (NIC). You will then see the
following screen.
2. Select Internet Protocol (TCP/IP) and
then click on the Properties button. This
will allow you to configure the TCP/IP
settings of your PC/Notebook.
3. Select Use the following IP Address radio
button and then enter the IP address
(192.168.1.21) and subnet mask
(255.255.255.0). Ensure that the IP
address and subnet mask are on the
same subnet as the device.
4. Click on the OK button to close this
window, and once again to close LAN
properties window
Logging In
1. To configure the device through the webbrowser, enter the IP address of the
Bridge (default: 192.168.1.1) into the
address bar of the web-browser and
press Enter.
2. After connecting to the IP address, the
web-browser will display the login page.
Specify admin as the default User Name
and Password, and then click on the
Login button.
Administration
1. Click on the Administration link under
the Management section. This option
allows you to create a new user name
and password for the device. For security
it is highly recommended for security
reasons.
Page 2

Wireless Access Point, Client Bridge
2. Name: Specify a user name into the first
field.
3. Password: Specify a password into this
field and then re-type the password into
the Confirm Password field. Then click on
the Apply button.
4. Click on the Apply button to save the
changes.
System Properties
1. Click on the System Properties link on the
System section. This feature allows you
to configure the device as an Access
Point or Client Bridge.
2. Device Name: Specify a name for the
device – this is not the SSID.
3. Country/Region: Select the region from
the drop-down list.
4. Operation Mode: Select Client Bridge,
Access Point, Client Router, WDS Bridge
radio button.
5. Click on the Apply button to save the
changes.
IP Settings
1. Click on the IP Settings link on the
System section. This feature allows you
to configure the LAN interface using a
static IP address or as a DHCP client.
This IP address is also used to access
the web-based interface.
2. IP Network Setting: Select Obtain an IP
address automatically (DHCP) radio
button if the Access Point is connected to
a DHCP server. This will allow the Access
Point to pass IP addresses to the clients
associated with it. Or you may select
Specify an IP Address radio button if you
would like the device to use a static IP
address. In this case, you would be
required to specify an IP address, subnet
mask, default Gateway IP address and
DNS.
3. IP Address: Specify an IP address
4. IP Subnet Mask: Specify the subnet mask
for the IP address
5. Default Gateway: Specify the IP address
of the default gateway.
6. DNS: Specify the IP address of the DNS.
7. Click on the Apply button to save the
changes.
Note: If you change the IP address here, you may
need to adjust your PC’s network settings to
access the network again.
Wireless Network & Security
1. Click on the Wireless Network link on the
Wireless section. This feature allows you
to configure the wireless mode, channel,
SSID, and security settings.
2. Wireless Mode: Depending on the type of
wireless clients that are connected to the
network, you may select A, B, G, B/Gmixed.
3. Channel: Select a channel from the dropdown list. The channels are based on the
country’s regulation.
4. You may configure up to four different
wireless profiles. Click on the Edit button
to modify the profile and place a check in
the Enable box to activate the profile.
5. SSID: The SSID is named shared
amongst all the points of the wireless
network. The SSID cannot exceed 32
characters.
6. VLAN ID: If you have enabled VLAN
tagging on your network, specify the
VLAN tag ID.
7. Suppressed SSID: Place a check in this
box if you would like to hide the SSID. By
enabling this feature, wireless clients will
not be able to watch the SSID of this
access point in a site survey.
8. Station Separator: This is also known as
layer 2 isolation. Clients connected to this
Access Point will not be able to directly
communicate with each other.
9. Security Mode: By default, the security is
disabled. Refer to the user’s Manual to
configure the security features such as
WEP, WPA, WPA-PSK, WPA2, WPA2PSK, WPA-Mixed and WPA-PSK Mixed.
10. Click on the Apply button to save the
changes.
 Loading...