

Page 1

TURNTABLE QUICK SETUP
-Downforce
+Downforce
Motor Screws
Platter Mat
Platter
Back of counterweight
Downforce scale ring
STEP 1 - Remove the Shipping
Screws
• Loosen the TWO primary motor
screws a few turns with a
screwdriver. They can be left in
place but left loose enough to
allow the motor to move freely.
Leave the rubber bumpers under
these screws to support the motor.
• Remove the TWO large Philips
shipping screws. A Philips
screwdriver is included in the
accessory package.
• Save all the screws and reinstall
them whenever shipping or moving
the unit to prevent damage.
STEP 3 - Install the Platter
• With two hands, gently place the
platter on the spindle, followed by
the felt platter mat.
• Some users prefer to place the
records directly on the Acrylic
platter. This will be discussed later
in the ‘Customizing Your Vinyl
Experience’ section at the end of
this manual.
STEP 5 - Set the Tracking Force
• Use one hand to hold the
counterweight in position to keep it
from moving.
• Use your other hand to gently
revolve the downforce scale ring
until the zero (0mg) is vertical at the
12 o’clock position.
• Next, rotate the counterweight
and downforce scale ring together
as one, counter-clockwise (as
seen from the front) to adjust
the downforce according to
the cartridge manufacturer’s
recommendations using the
numbers on the downforce scale
ring.
• Set the counterweight scale to
18nM (1.8g) for the supplied
Ortofon 2M Silver.
STEP 2 - Install the Drive Belt
• Install the at drive belt by
stretching it around the inner
platter and over the “top step” of
the small motor pully to use with
Drive Belt
33 or 45RPM records.
• For use with 78RPM records:
Install the round drive belt on the
large lower pulley instead.
Inner Platter
Anti-Skating Stub (white line)
Counterweight
Tonearm Lift Lever (in high position)
Cartridge
Stylus Guard
Anti-Skate Wire Loop
Tonearm
Tonearm Rest
STEP 4 - Balance the Tonearm
• Install the counterweight by pushing it carefully onto the rear of the tonearm
until the threaded section clicks lightly into place.
• Remove the stylus guard from the cartridge.
• With the tonearm lift lever in the lowered position, move the tonearm from its
rest to a position where it can move freely.
• Rotate the counterweight until the tonearm tube balances such that it oats
level.
• Once the tonearm is correctly balanced, return it to the tonearm rest position.
Groove 2
Anti-Skate Weight
Groove 3
STEP 6 - Set the Anti Skate force
• Carefully hang the anti-skate
weight
over the wire loop and attach the
string
to the appropriate groove on the
anti-skating stub.
• For the supplied 2M silver, set
the string in the middle groove
(Groove 2, shown in example
above).
Anti-Skate Wire Loop
Groove 1
www.andoveraudio.com
Page 2
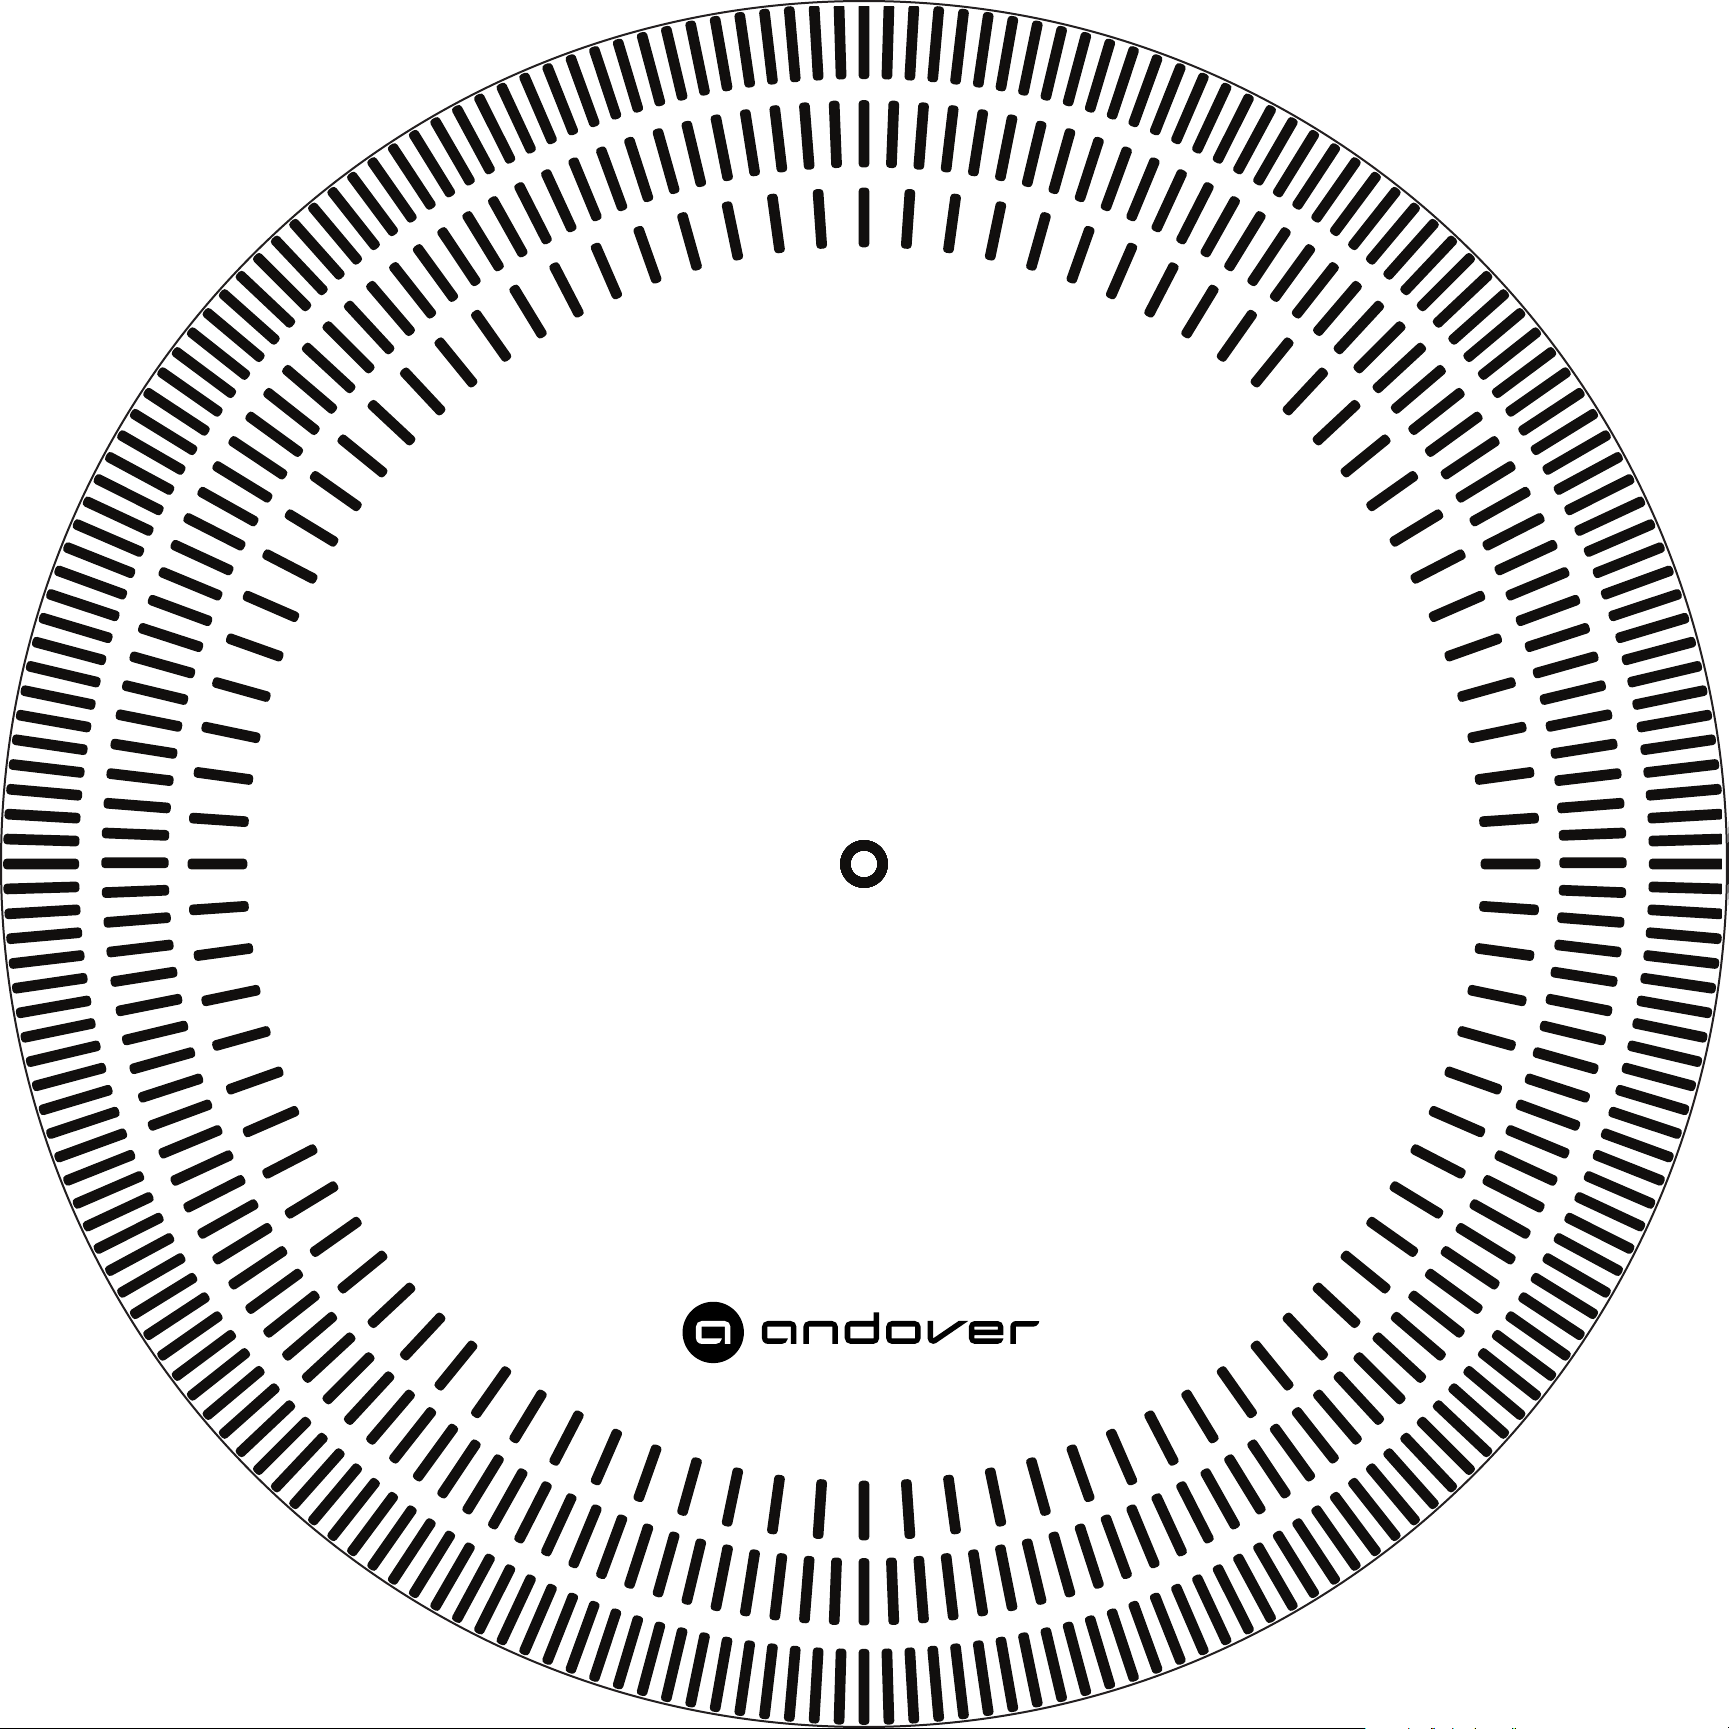
TURNTABLE STROBE DISC
For 60Hz power only
Instructions: Place the strobe disc on the platter.
View under a ourescent or neon light source to check speed.
The dots will appear stationary when the indicated speed is reached.
33.33 RPM - Outer Ring
45 RPM - Middle Ring
78 RPM - Inner Ring (Actual 78.2)
Note: The correct number of dots for 78RPM @ 60Hz. is not an integer, therefore some
small drift will be apparent.
www.andoveraudio.com
pn 1123RA
 Loading...