

Page 1

Ultimate 5th Wheel Connection
Rail Mount
Part #3200 Gooseneck Mount, 20,000 lbs GTWR - 4,500 lbs Tongue
INSTALLATION MANUAL
! ! ! ! ! Table of Contents
Important Safety Information ...............................................
Parts Illustration ...................................................................
Section 1: Preparation .........................................................
Section 2: Installing the Kingpin Coupler Block ...................
Section 3: Attaching the Remote Latch Cable .....................
Section 4: Installing the Base Unit .......................................
Section 5: Removing the Base Unit .....................................
Table of Contents
Page 2
Page 3
Page 4
Page 4
Page 5
Page 6
Page 6
NOTE:
THERE IS NEVER A NEED TO
GREASE BALL OR COUPLER
Page 2
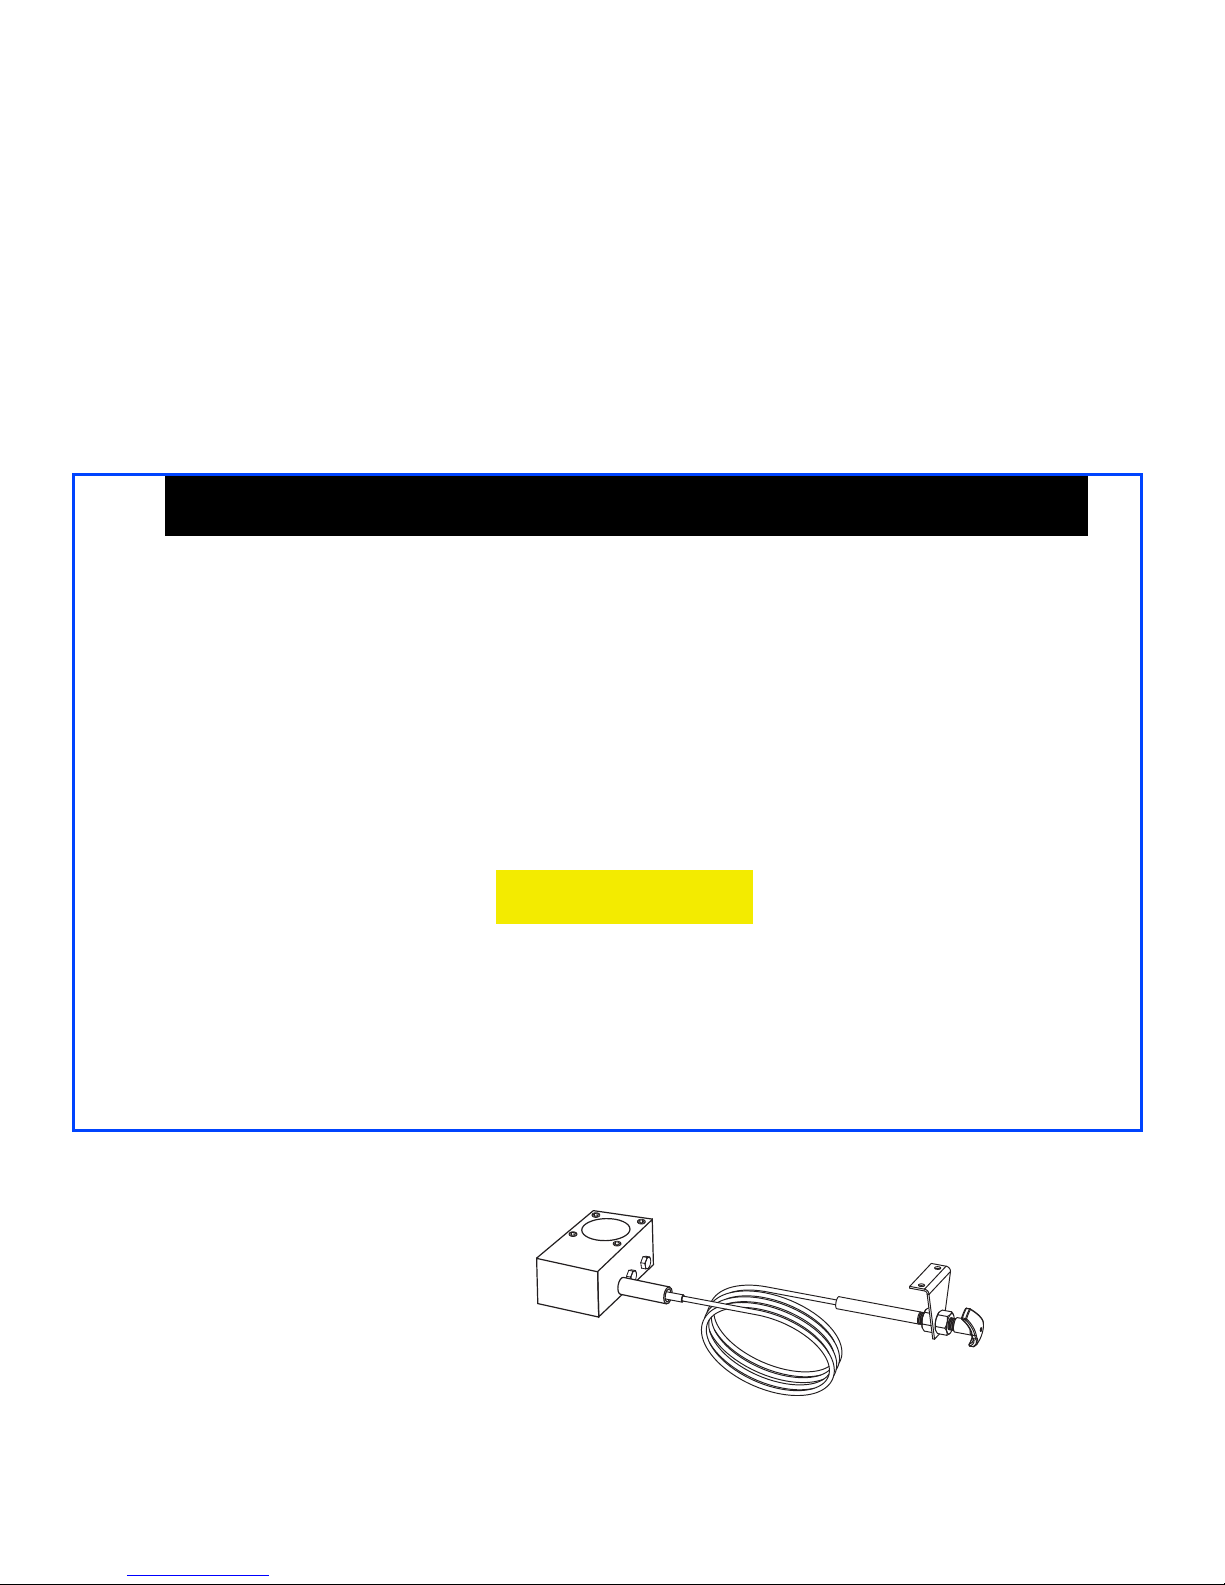
Thank you for choosing the Ultimate 5th Wheel Connection. This indispensable product adapts a kingpin style
5th wheel trailer’s pin box so it can attach to the raised 2-5/16” ball hitch – giving you a smooth, solid and safe
driving experience. The Ultimate 5th Wheel Connection can be installed in a short amount of time with only a
few tools.
If you happen to lose or damage any of your Ultimate 5th Wheel Connection parts, please visit your local
Authorized Andersen Dealer for replacements.
Note: The Rails that you will attach the Ultimate 5th Wheel Connection to are NOT INCLUDED in this
package. Please refer to the manufactures instructions or installation and use of your rail system.
IMPORTANT SAFETY INFORMATION
Read the entire manual before towing a 5th wheel trailer using the Ultimate 5th Wheel Connection.
Before each trip –and regularly during a trip– check all hardware, bolts and nuts for wear and fatigue.
Make sure that they are all properly tightened and that all pins and clips are secured in place.
Make sure that you have enough clearance for your pin box so that it does not hit your truck when turning.
When turning sharply or reversing at an angle in your tow vehicle, be very aware of the front
corners and nose of your trailer so they do not hit the windows or cab of your tow vehicle. Each
trailer is unique so be sure to watch its position in a sharp turn.
WARNING
Failure to!follow all safety warnings could result in severe injury or even!death.
Make sure to read and!understand all of the instructions of your trailer, tow vehicle, and hitching equipment.
Also, follow all safety warnings, setup instructions, and maintenance before installing your hitch.
Before towing, make sure the kingpin coupler is coupled properly to the kingpin as well as the Ultimate 5th
Wheel Connection ball –and secured in place using the remote latch.
#3231 Kingpin Coupler
Do you have more than one 5th Wheel?
No problem! Add a Kingpin Coupler to
your other trailer(s) for fast and easy
hook-ups!
Page 3
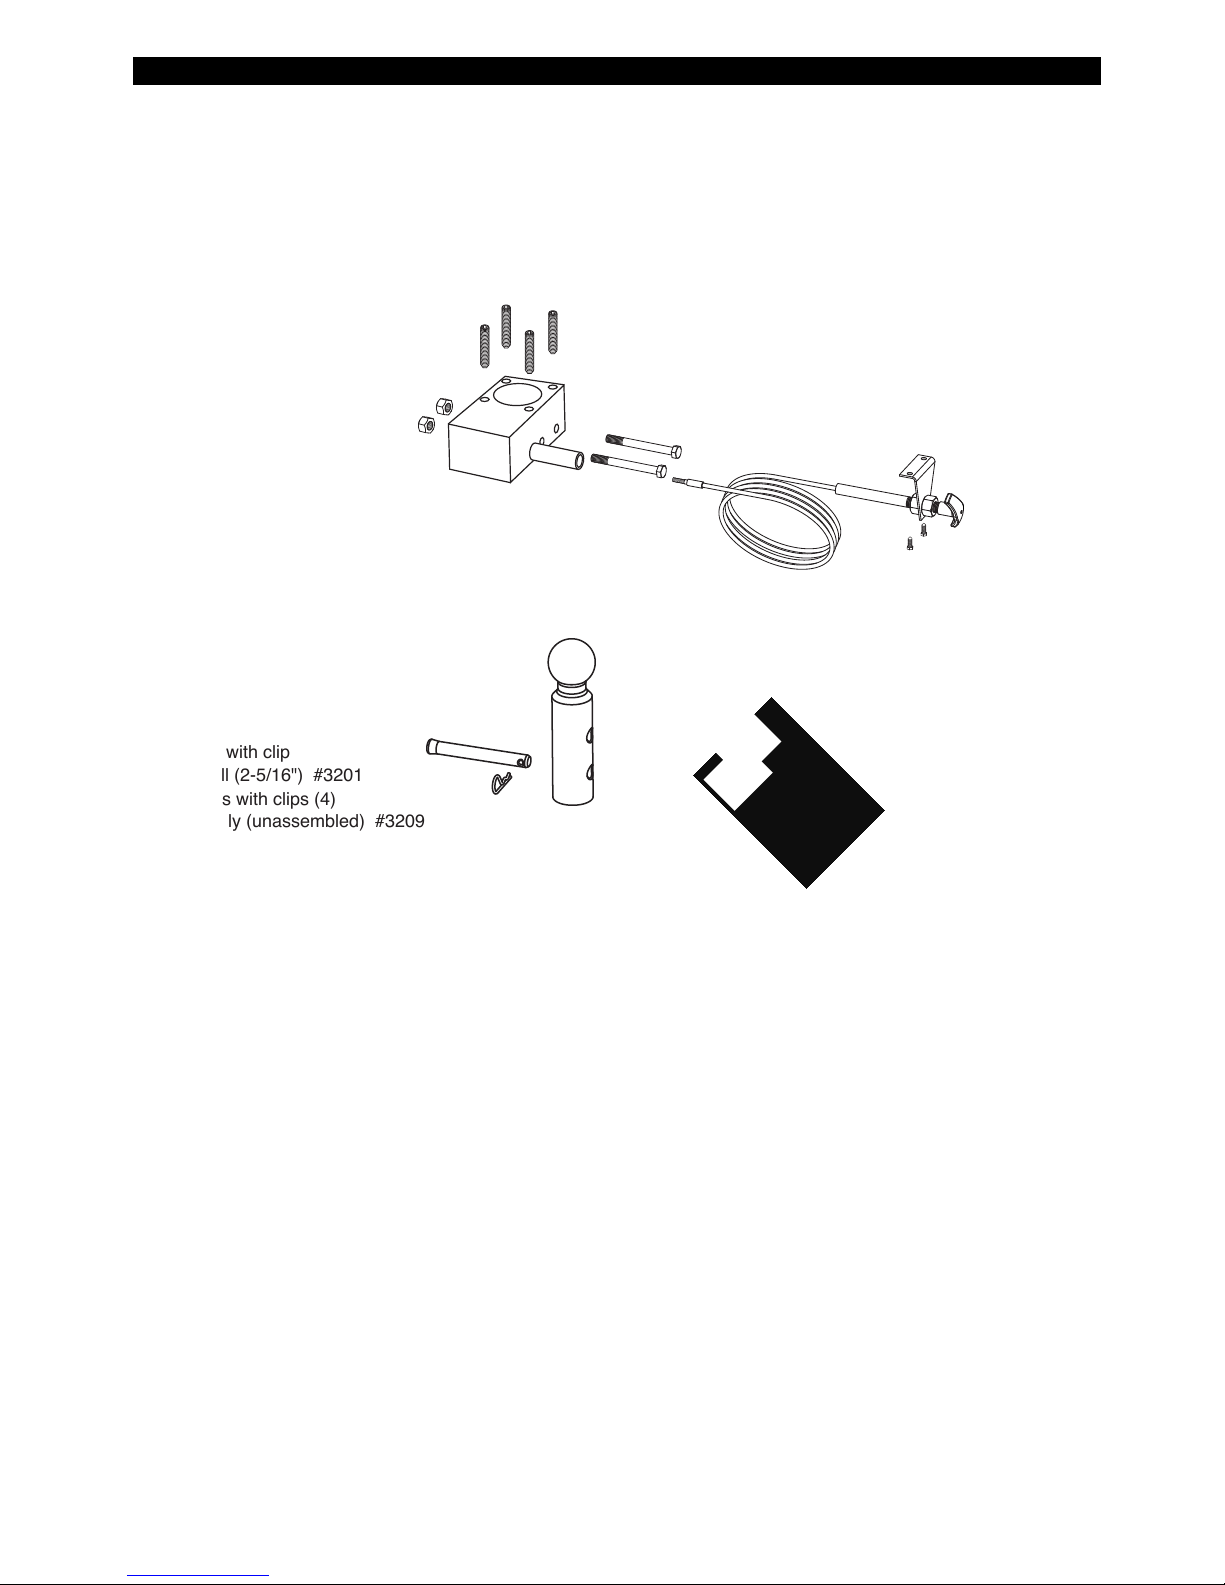
PARTS ILLUSTRATION #3200 ULTIMATE 5TH WHEEL CONNECTION –RAIL MOUNT
1
2
4
5
3
6
7
8
9
The complete 3200 assembly includes all items listed on this page
Kingpin Coupler Assembly #3231
1. Kingpin coupler block (greaseless) #3233
2. Kingpin coupler set screws (4) (40 ft-lb torque)
3. Kingpin coupler bolts with nuts, 5/8" x 5" (2)
4. Remote latch cable #3204
5. 5/16" Self-tapping screws for remote latch handle
Base Assembly #3226
6. Ball pin with clip
7. Hardball (2-5/16") #3201
8. Rail pins with clips (4)
9. Base only (unassembled) #3209
TOOLS NEEDED FOR INSTALLATION
1/4" Allen wrench
5/16" socket for self-tapping screws
Measuring Tape
Torque Wrench capable of 50 ft"lbs of torque.
Page 4
SECTION 1: PREPARATION
Unpack your Ultimate 5th Wheel Connection kit and compare it with the Parts List on the Page 2. If it appears
that there are missing or damaged items caused by shipping and handling, contact the freight carrier who
delivered the unit for their damaged freight procedures. If any component appears to be missing or damaged but NOT due to shipping and handling, please contact us immediately.
SECTION 2: INSTALLING THE KINGPIN COUPLER BLOCK
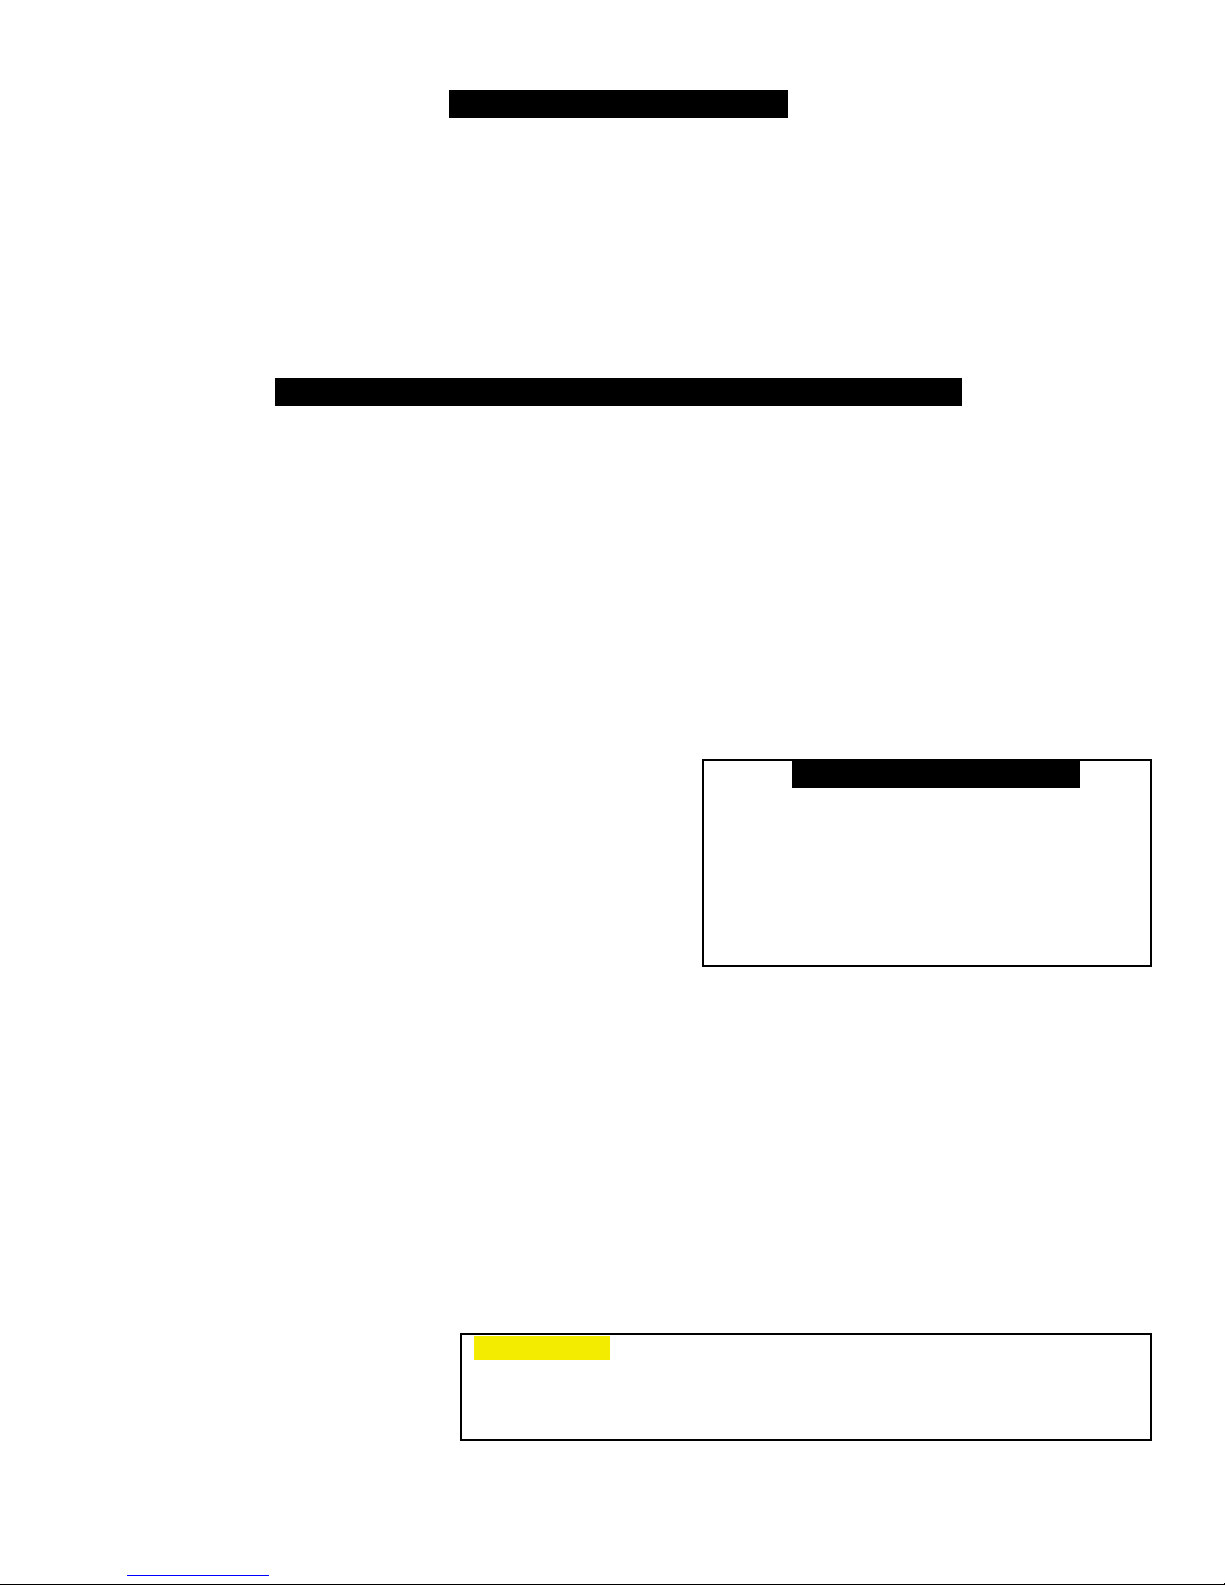
2-1. Place the kingpin coupler block on the
kingpin as illustrated in the pictures to the left.
Make sure the ball socket is face-down. For
most 5th wheel installations, place the
greaseless opening towards the front of the
kingpin.
Need Extra Clearance?
Pay close attention to the length of the
pin box. If there’s a possibility that it
might hit the tailgate or side boards of
your tow vehicle, then place the
greaseless opening of the coupler block
behind the kingpin.
Do not attach the remote latch cable yet.
2-2. Insert the two 5" x 5/8" kingpin bolts into
their holes to hold the coupler block on the
kingpin and place the nuts on the two bolts
as illustrated on the left. Push the bolts all the
way flush to the block, but DO NOT fully tighten
the nuts yet.
2-3. Make sure the coupler block is centered to the pin box before
tightening the 4 set screws.
IMPORTANT: When turning sharply or reversing at an angle in your
tow vehicle, be very aware of the front corners and nose of your
trailer so they do not hit the windows or cab of your tow vehicle.
Each trailer is unique so be sure to watch its position in a sharp turn.
Page 5
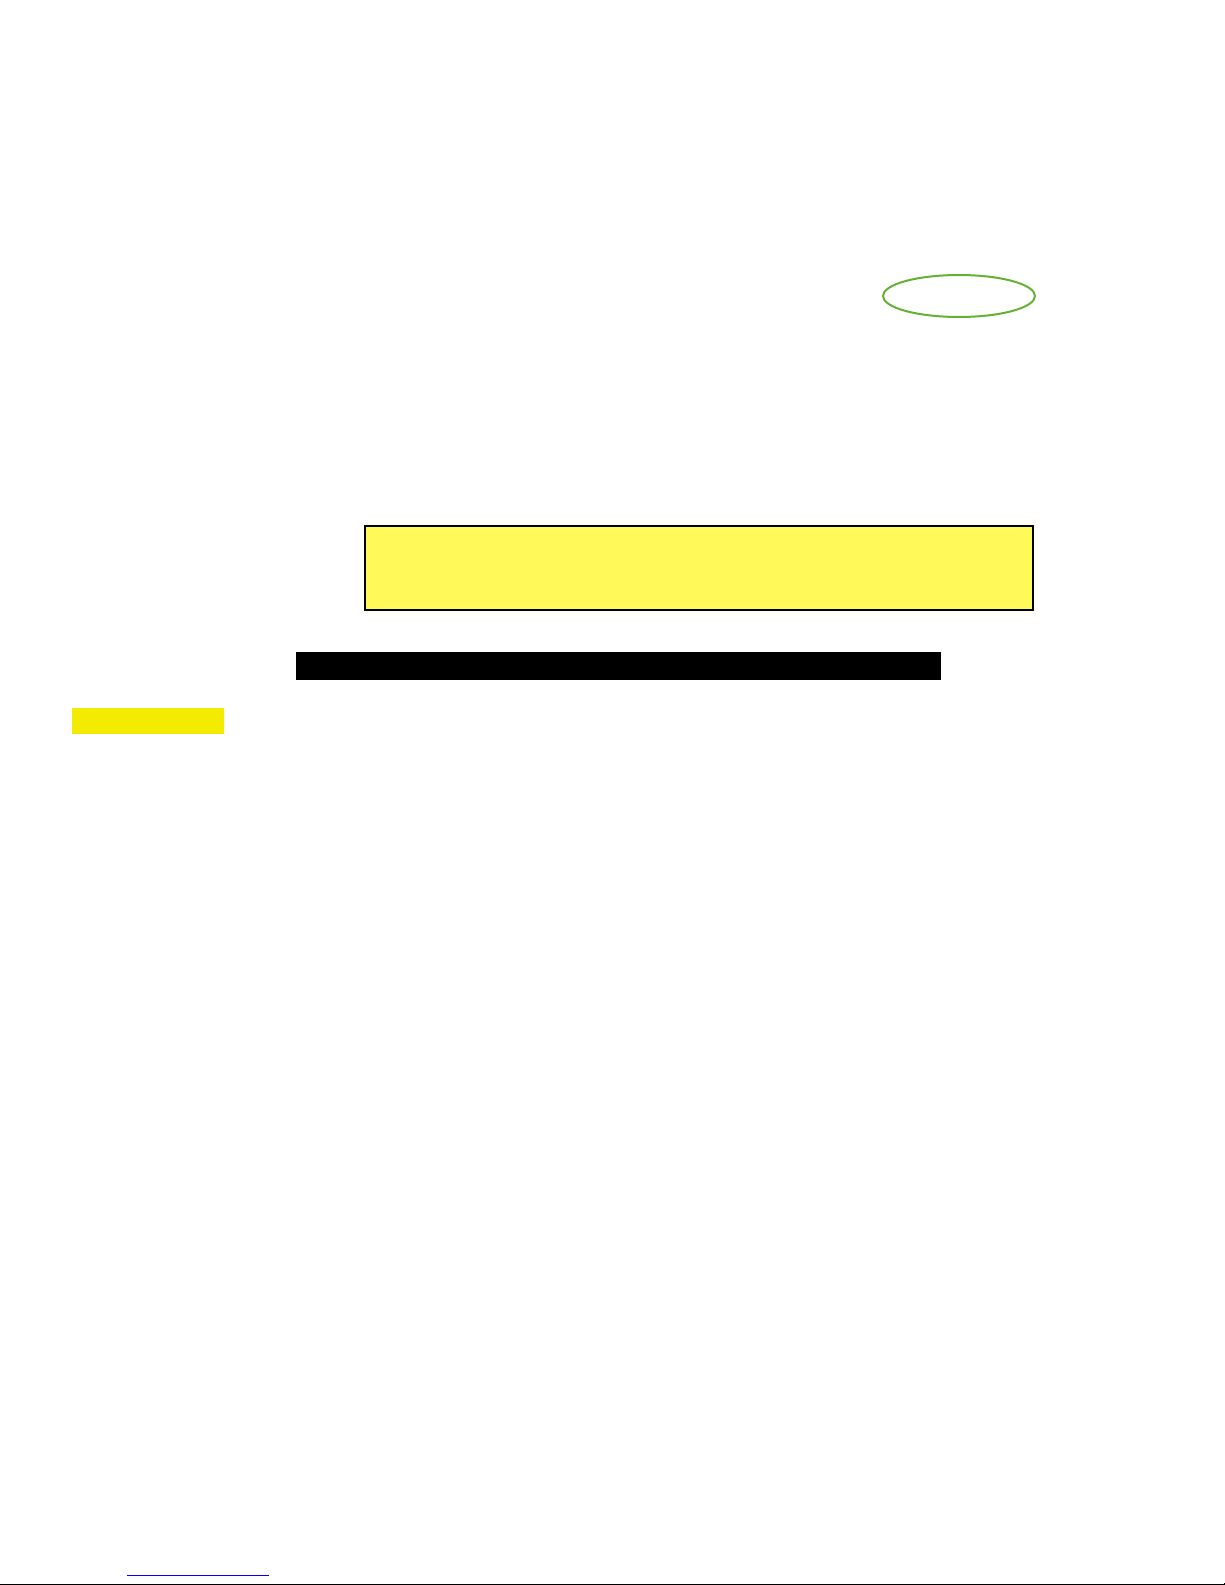
2-4. Using a 1/4" allen wrench, tighten the 4 set screws to 40 ft-lbs of torque.
NOTE: Because kingpins vary in
height, some blocks will have space
between the coupler block and the
kingpin plate (see picture on right)
while others will be flush. This is
normal and does not impact the
performance of your Ultimate
Connection in any way.
2-5. Now tighten the nuts on both
kingpin bolts until they are snug.
NOTE:
THERE IS NEVER A NEED TO GREASE BALL OR COUPLER
SECTION 3: ATTACHING THE REMOTE LATCH CABLE
IMPORTANT The remote latch bracket should be installed within 30" of the center line of the ball socket to
prevent the cable and bracket from being crushed by the pickup’s sideboards. This can happen when the
trailer and the pickup become twisted in reference to each other on uneven surfaces often found in
campgrounds.
Use a 5/16" socket to install the two self-tapping screws provided, and install
as shown left. For best results, install the screws in the frame of the trailer, or
the screws may eventually pull out of the thin fiberglass or aluminum sheet
metal skin of the trailer. Using a magnet is a great way to help locate the
frame.
Using the remote latch cable:
To engage , simply turn the handle to unlock it,
push the handle until it’s all the way in and then
turn it fully in either direction to lock in place.
To di sconne ct, turn the handle to unlock it, pull
the handle until it’s all the way out and then turn it
fully in either direction to lock in place.
IMPORTANT: DO NOT FORCE THE HANDLE INWARD. If the handle will not push in fully, check to make
sure that the receiver is fully seated down over the 2-5/16" ball.
Due to tight tolerances, if the trailer and tow truck are angled too much in reference to each other, the king pin
coupler block may not fully seat on the ball. This also applies to uncoupling the king pin coupler as well. If the
truck and trailer are angled too much in reference to each other, the king pin coupler block may become ‘stuck’
on the ball. To alleviate this problem, ensure that the truck and trailer are somewhat level in reference to each
other. Raise the trailer up to clear the ball, disconnect your wiring harnesses and any safety cables and
chains, then drive your truck out from under the trailer.
Page 6
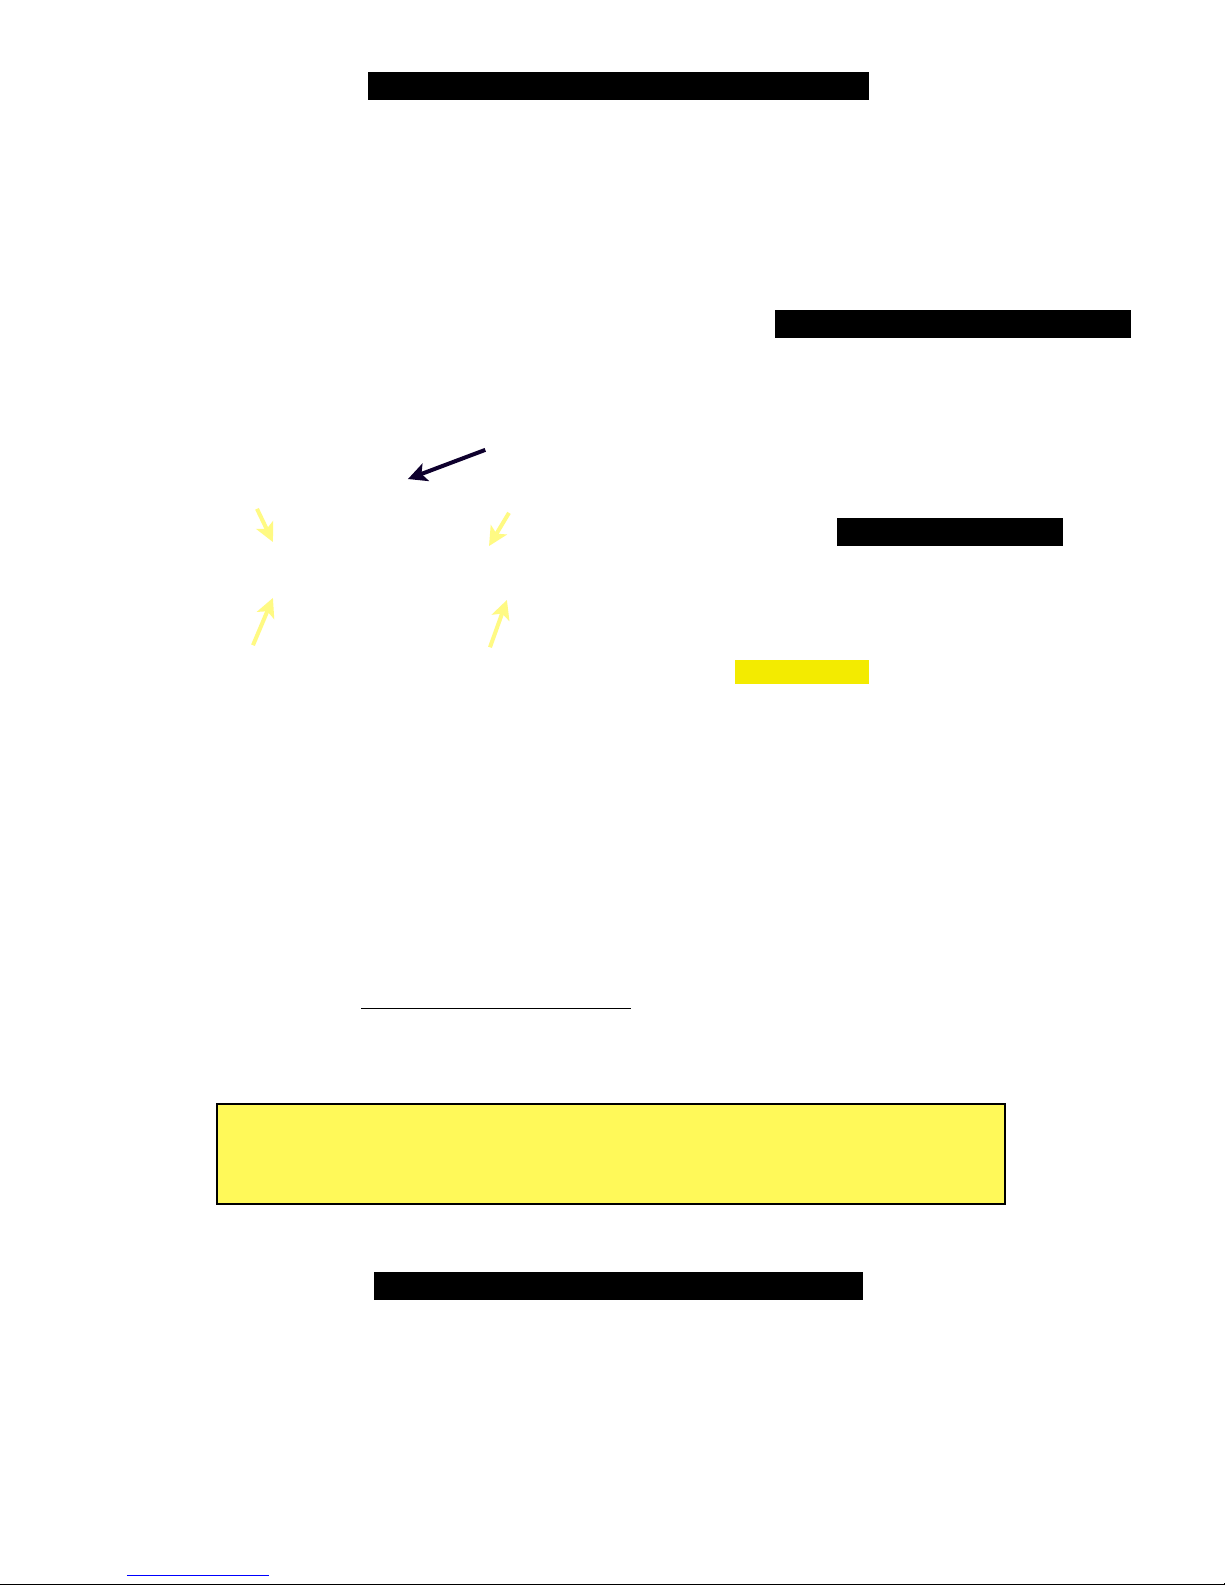
SECTION 4: INSTALLING THE BASE UNIT
4-1. Place the Ultimate Connection base
into the rails already installed in the bed of
your truck.
Standard & Long Bed Trucks
For standard and long bed trucks, the
base should be installed with the ball
closer to the cab of the truck. However, if
you find that you need more clearance,
you can install the base with the ball closer
to the tailgate.
Short Bed Trucks
For short bed trucks, you will need to
install the base with the ball closest to the
tailgate.
IMPORTANT If you have a longer pin box
and find that you need extra clearance so it
doesn't hit the sides of your tow vehicle, follow the instructions labeled "Need Extra Clearance" in step 1 of
Section 2. When turning sharply or reversing at an angle in your tow vehicle, be very aware of the front corners
and nose of your trailer so they do not hit the windows or cab of your tow vehicle. Each trailer is unique so be
sure to watch its position in a sharp turn.
4-2. Now place the 4 rail pins through the appropriate holes in the rail and base, and secure them in place with
the clips provided (shown with light arrows).
4-3. Once the base is securely in place, insert the 2-5/16" ball into the Ultimate base and secure it in place with
the pin and clip provided (dark arrow in picture).
DONE. You are now ready to attach your 5th wheel trailer to the base unit.
NOTE:
THERE IS NEVER A NEED TO GREASE BALL OR COUPLER
SECTION 5: REMOVING THE BASE UNIT
Once you have disengaged the kingpin coupler and moved your 5th wheel out of the way, you can remove the
base and free up your truck bed by simply removing the 4 rail pins.
Page 7
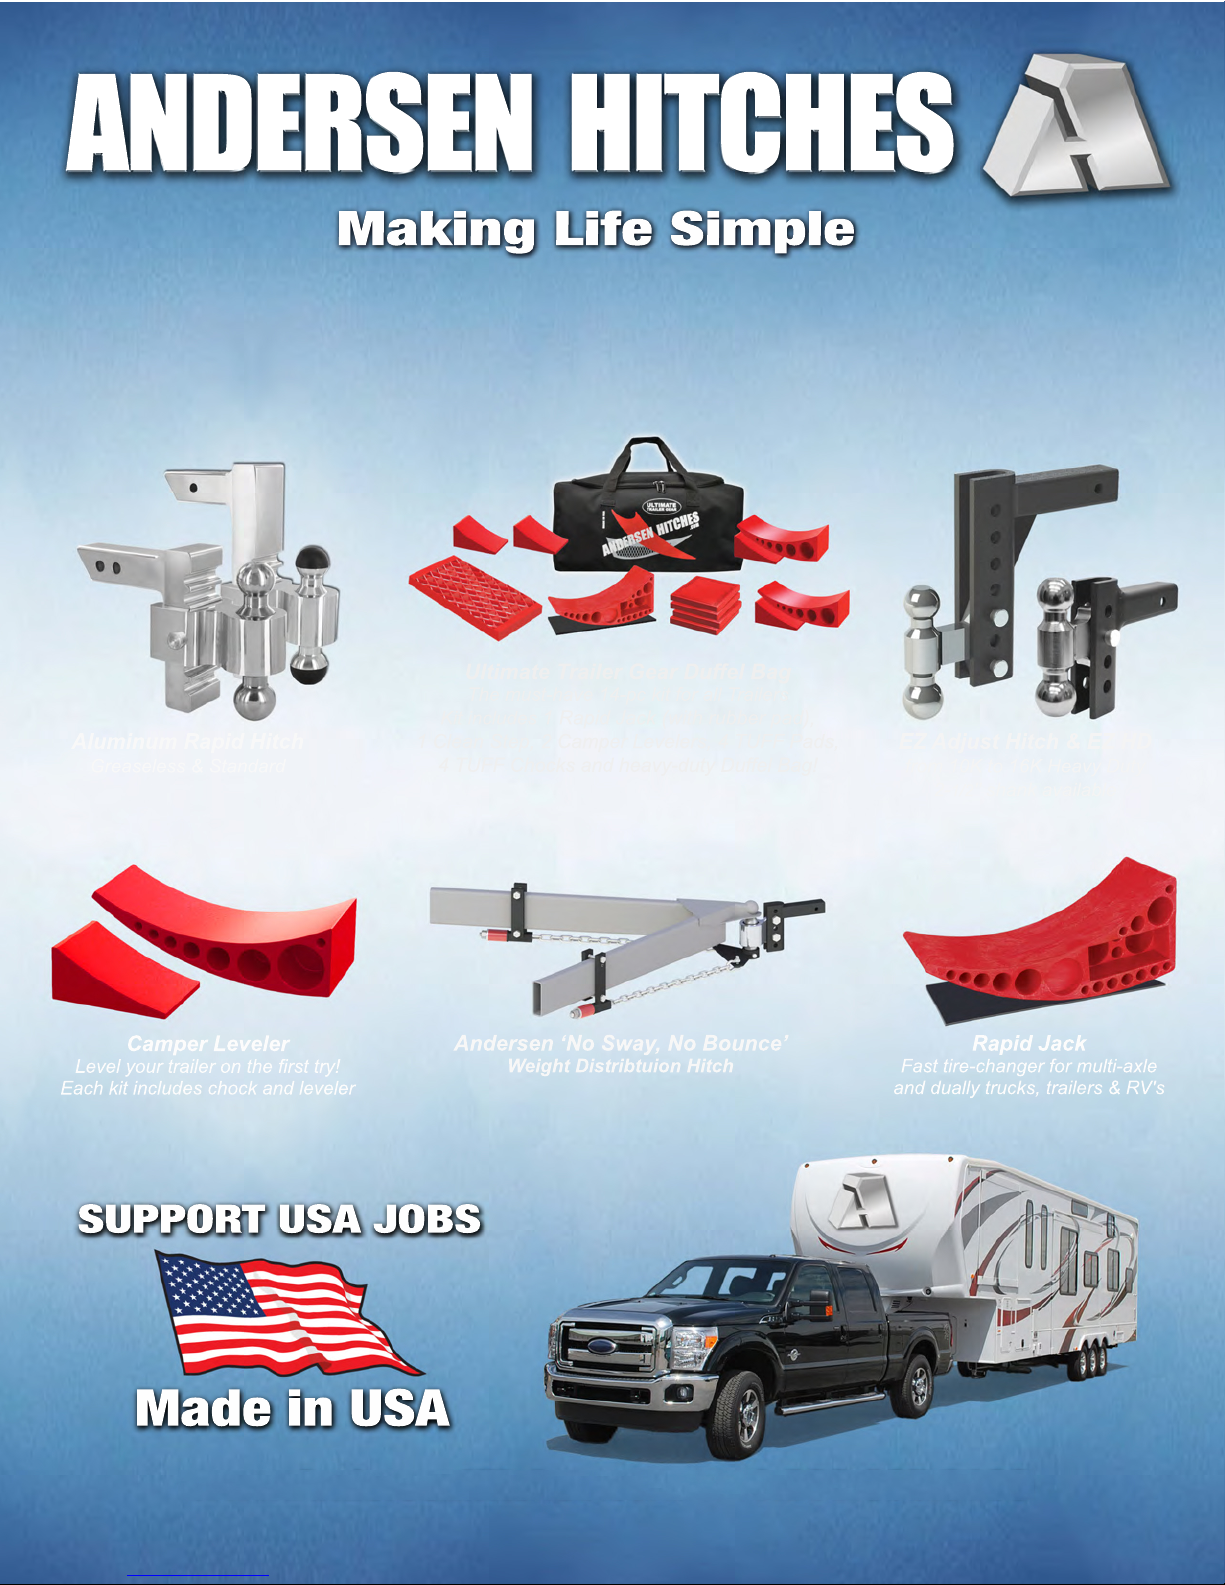
ANDERSEN HITCHES
UltimateTrailerGearDuffelBag
Themusthave14pckitforallTrailers
1RapidJack(withrubberpad),
EZAdjustHitch&EZHD
from10Kto16KHeavyDuty
2
AluminumRapidHitch
Greaseless&Standard
Kitincludes
1CleanStep,2CamperLevelers,4TUFFPads,
4TUFFChocksandheavydutyDuffelBag!
''shankavailable
1/2
CamperLeveler
Levelyourtraileronthefirsttry!
Eachkitincludeschockandleveler
SUPPORT USA JOBS
Made in USA
Andersen‘NoSway,NoBounce’
WeightDistribtuionHitch
RapidJack
Fasttirechangerformultiaxle
andduallytrucks,trailers&RV's
 Loading...