

Page 1
Alessia
• Bathroom Faucet
• STANDARDS
ASME A112.18.1
CSA B125.1
NSF 61-9
LISTED IAPMO/cUPC
Helpful Information:
Tools:
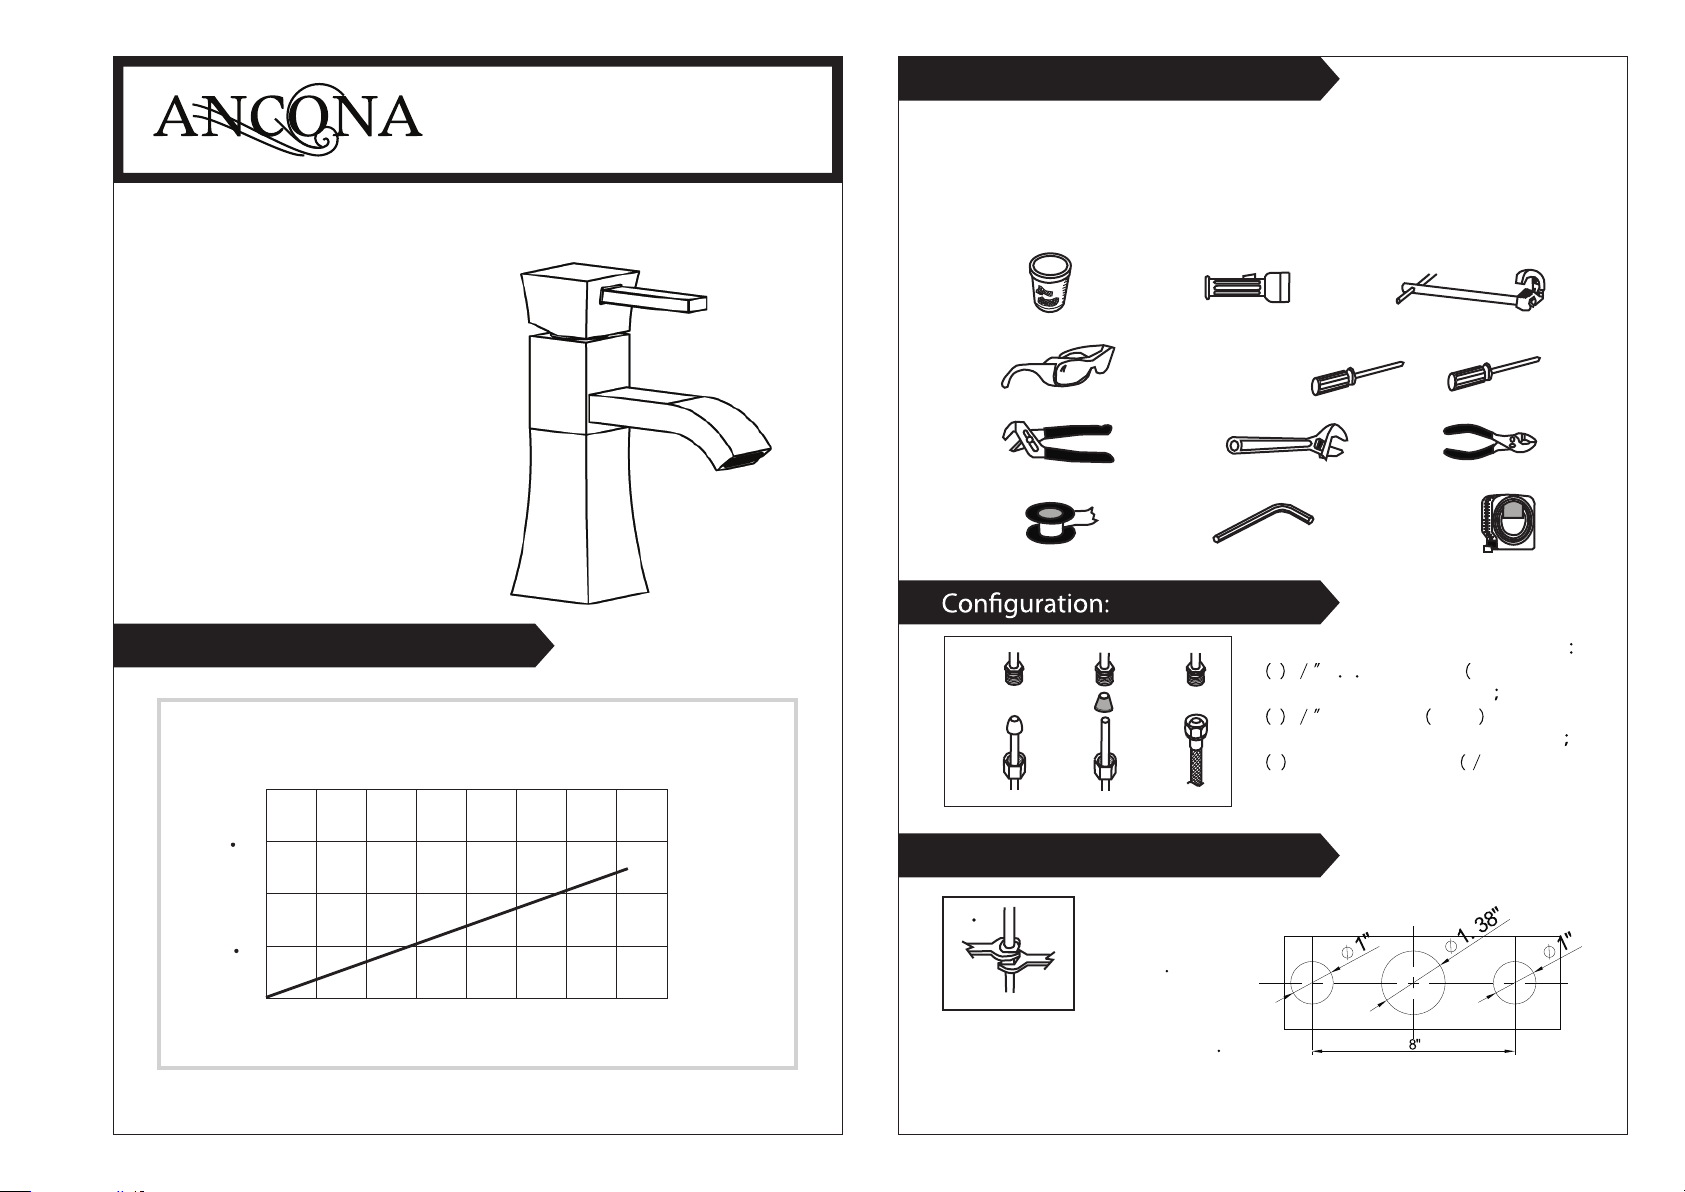
Gather the necessary tools as shown below to complete the installation of this
faucet. Some may not be needed depending on the model of faucet you are
installing. Check with your local hardware store on the requirements of your
installation situation.
PLUMBERS PUTTY FLASHLIGHT BASIN WRENCH
SAFETY GLASSES SCREW DRIVER
PLIERSCHANNEL LOCKS ADJUST ABLE WRENCH
Flow Rate Chart:
G P M
3
2
5
2
1
5
0
0
2013-04-05 MA0421-0008-1
10
20
30
40
50 60
70
80
P S I
SEALED-TUBE
A . B .
Important:
C
HEX-KEY TAPE
C .
Tighten connection
with two wrenches to
prevent damage to
tube body
Be careful not to
bend the stem as
this will void the
product warranty
Connect to water supply lines with either
A 3 8 O D copper tubing ball nose
risers with the coupling nuts or
B 3 8 copper tubing no ball with
supplied tube head interior connector or
C IPS faucet connectors 1 2”).
Page 2
Single Hole Installation:
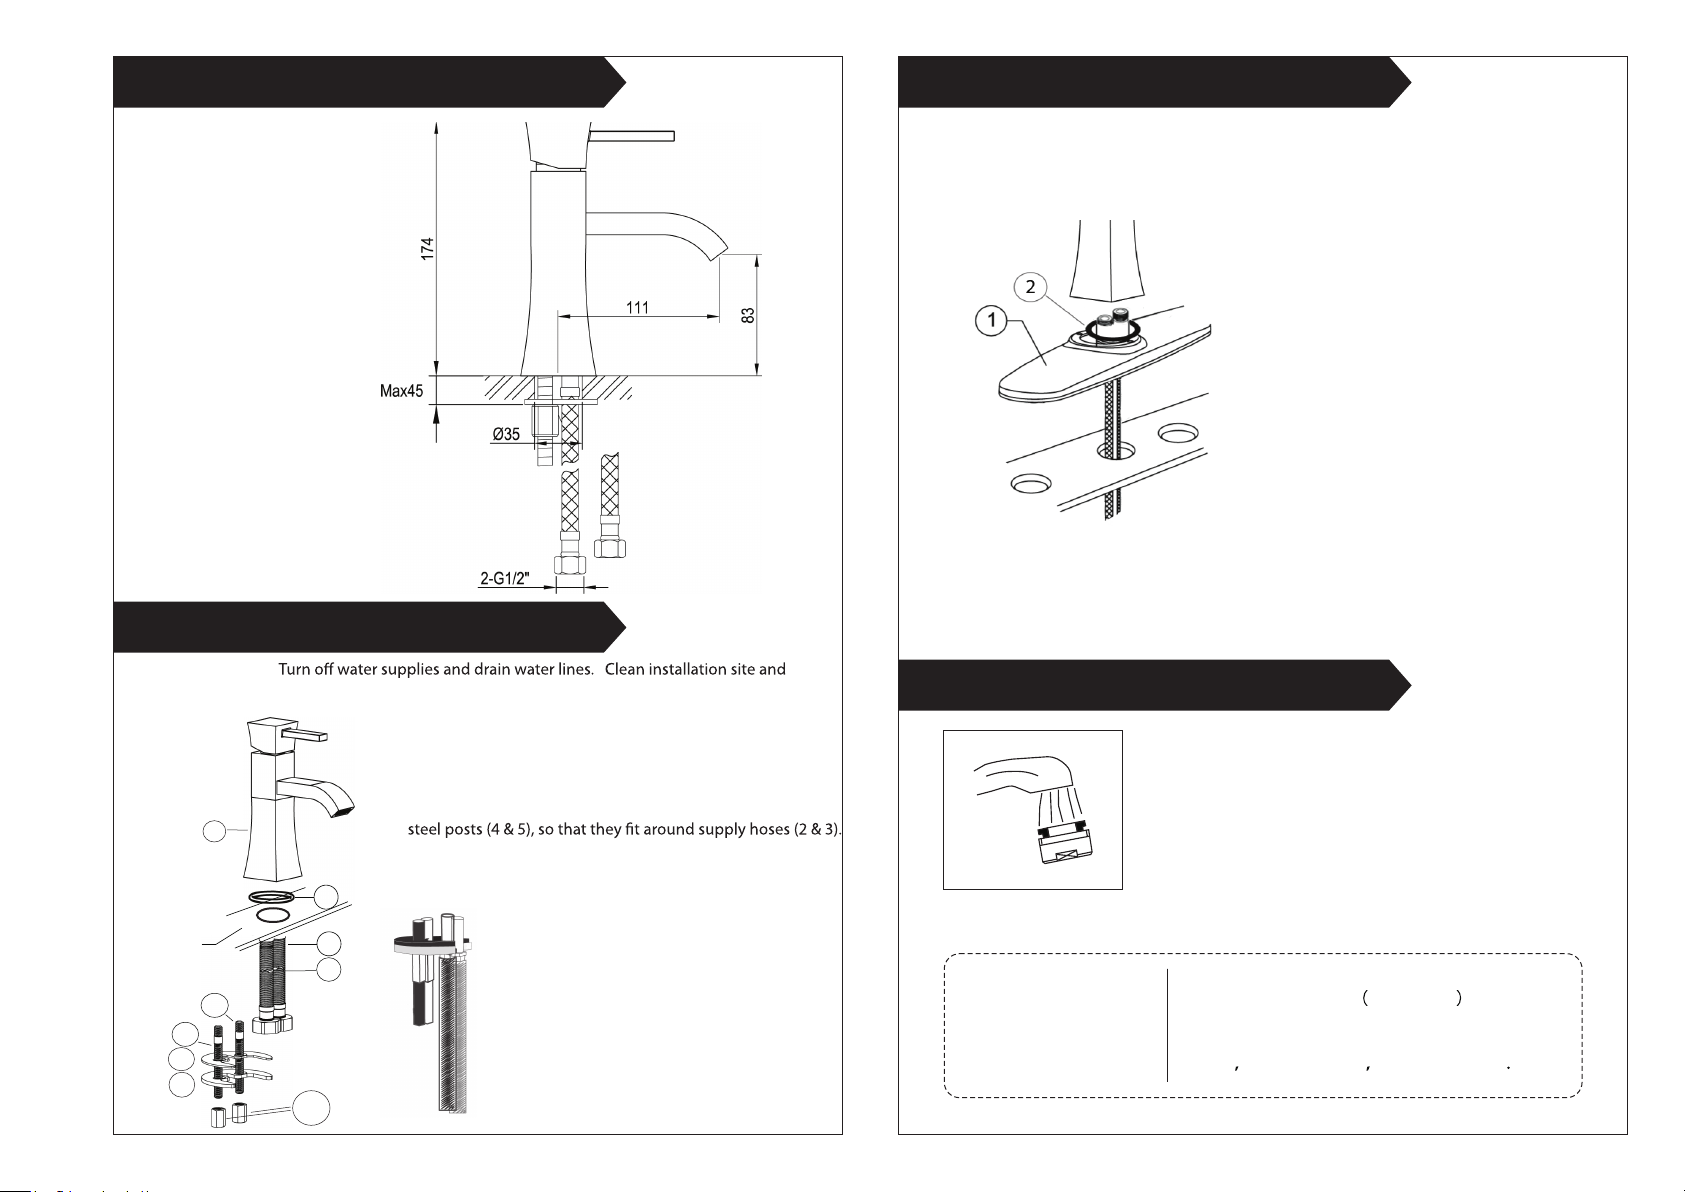
Three Hole Installation:Installation size map:
Step 1: Insert plate (1) and rubber
washer (2) before
inserting spout body
into sink deck.
Step 2: Repeat steps 1 to 4 from
Single Hole Installation.
Step 3: Secure plate (1).
Step 4: Securing all connectors:
Ensure all connections are
tightly set in place to avoid
leakage.
Step 1: Preparation:
remove any debris from the area.
Step 2: Connect Supply Hoses: A. Screw supply hoses (2) and (3) into base of faucet body (1).
B. Screw in steel posts (4) and (5) into base of faucet body (1).
Step 3: Secure Spout Body (1) in place:
C. Insert the black rubber ring (6) into groove on bottom of
faucet body (1).
D. Insert body through sink deck hole.
Step 4: Insert Rubber and Metal washers:
E. Slide black rubber washer (7) and metal washer (8) over
F. Insert nuts (9a & b) onto steel posts (4 & 5).
Step 5: Securing all connections:
G: Connect supply hoses to main water supply.
H: Ensure all connections are tight to avoid potential
leakage.
Sink Deck
1
6
2
3
4
5
7
8
9a&b
T
Test Faucet Installation:
A. Move handle into "OFF" posltion.
B. Turn on water supplies. Check connections for leaks.
C. Remove and let both hot and cold water run for
one minute. This will help clean any debris that might
otherwise clog the system. Replace aerator.
D. Operate handle up and down, in cold and hot positions,
to flush water lines thoroughly.
Simply rinse the surface with clear water or
mild liquid detergents
Maintenance:
faucet with a clean soft cotton cloth. Do not
use any cleaning agents containing
acids
aerator
if necessary . Dry the
polish abrasives or harsh cleaners
 Loading...