

Page 1
Installation Instructions
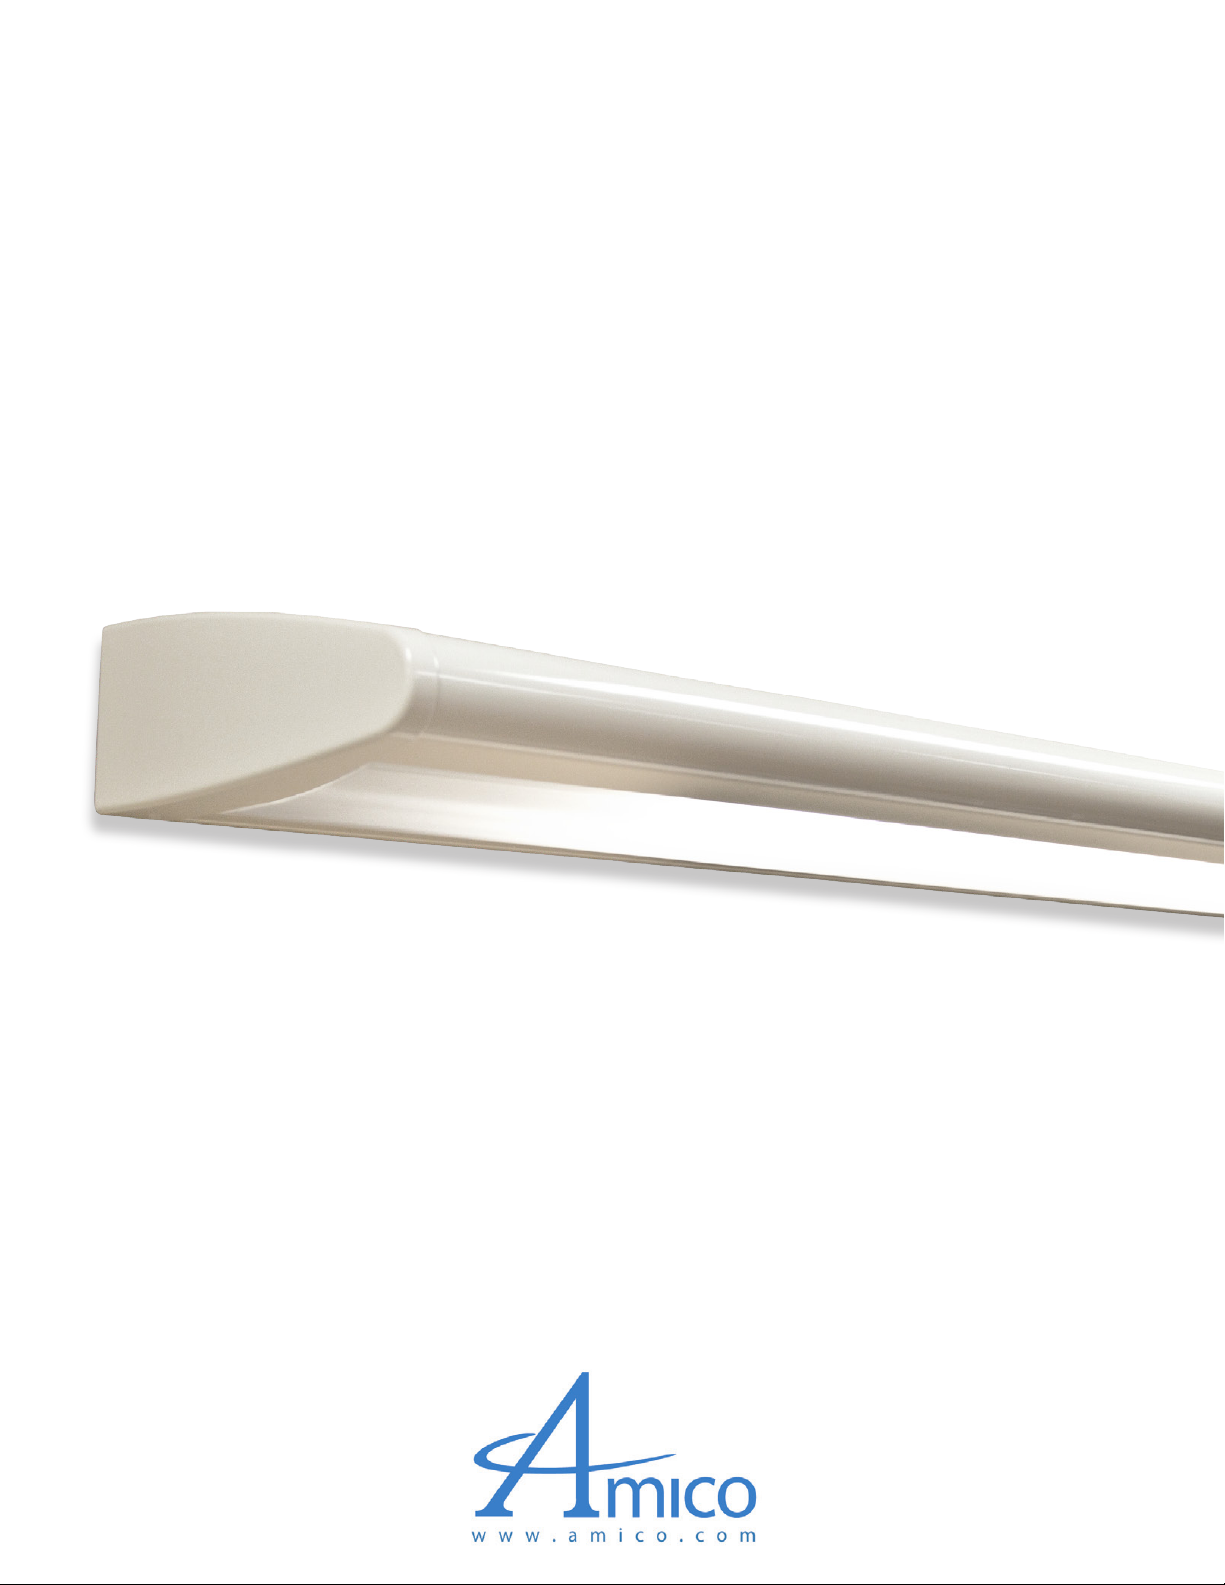
Skyline Series Light System
Corporation
Page 2

Contents
INTRODUCTION
GENERAL INFORMATION
DRAWINGS AND DIMENSIONS
INCLUDED COMPONENTS / PARTS
INSTALLING SKYLINE LIGHT
Mounting the Hanging Bracket
Installing the Fixture
Installing the Lamps
WIRING DIAGRAM
3
3
4
5
6
7
10
11
2 Amico Lights
Page 3

Introduction
Thank you for purchasing the Skyline overbed light. Incorporating the latest technology the Skyline
light is designed to provide high quality illumination while meeting the aesthetic requirements of the
patient room.
The installation provided are for the Amico standard products.
General Information
WARNING
The installation of the light shall be in accordance with the local building code and the
(NEC) National Electrical Code.
In Canada the lights shall be installed according to the (CEC) Canadian Electrical Code
requirements.
Failure to install the light in accordance with these requirements may cause injury and
equipment damage.
WARNING
Read all the installation instructions before you install the Skyline Series Overbed Light xture. Failure to
do so could cause injury and damaged equipment.
1.
Read all of the installation instructions before you install the light xture.
2.
Make sure all applicable trades persons are available for the installation of the light xture.
WARNING
Keep weather insulation at least 3.00" (7.62cm) from the Skyline Series Overbed Light.
Failure to do so could cause injury or damaged equipment.
Electrical Ratings
Electrical ratings (read the specied voltage value from the device label):
Line voltage:
• 120V AC, 60Hz, 1.1A
• 277V AC, 60Hz, 0.476A
www.amico.com 3
Page 4

Drawings and Dimensions
front view
top view
back view
side view
4 Amico Lights
Page 5

Included Components / Parts
Skyline light xture
Hanging Bracket
Hardware reQUired
FOR DRYWALL 3/16” TOGGLE BOLTS
FOR WALL STUDS #10 X ½” PHILLIPS PAN
HEAD SELFDRILLING TEK SCREWS
tooLs
SCREWDRIVERS
TAPE MEASURE
1/2" DRILL BIT
LEVEL
WIRE STRIPPER
3/8” SOCKET
www.amico.com 5
Page 6

Installing Skyline Light
step1
Mounting the Hanging Bracket
Mounting hardware shall be provided on site by others and shall comply with the local building code.
Amico recommends the xture to be installed at a height of six feet (1.8m) above
nished oor.
2" x 4" electrical box should be used for electrical terminations.
For feed opening and mounting holes dimensions refer to the drawing of the hanging bracket below.
Hanging Bracket
locator pins
6 Amico Lights
Use the hanging bracket as a template and make a mark at the pilot holes on the mount surface.
At least six mounting holes are required. *Must be mounted with location pins at top
position.
Hanging Bracket
mounting holes
Using a metal stud nder check if any pilot holes are aligned with a wall studs.
For drywall mounting use 3/16” toggle bolts to secure the back plate. The ½” sized holes are required in
the drywall.
For wall studs mounting Amico recomends using # 10 x 1½” Phillips pan head self-drilling tek screws.
opening for wiring access
Page 7

step2
Installing the Fixture
Remove the top and bottom lens.
Remove the power to the electric power supply leads before installation.
Read the specied voltage from the xture label. Be sure the line voltage is the same.
To gain access to the wiring compartment remove the top cover.
www.amico.com 7
Page 8

step2
Installing the Fixture (cont.)
Feed wires into the xture via the back opening.
Attach the xture to the hanging bracket and secure with four #10 Hex Lock Nuts and four washers included with
xtures.
Make all necessary connections to the wire terminal blocks according to the wiring diagram provided
with the lights, project specic. When complete, replace the cover plate.
Replace the top cover.
9 Amico Lights
Refer to wire diagrams for specic orientation.
Page 9

step3
Installing the Lamps
See labels on the reectors for the type and wattage of the lamps.
Install the lamps. Use T5HO 39W lamps for reading and ambient lights. Use T5HO 54W lamps for
the direct light.
Replace the top and bottom lens.
Test light functions, making sure all features are working according to the wiring diagram.
Replace lenses.
www.amico.com 10
Page 10

Wiring Diagram
11 Amico Lights
Page 11

www.amico.com
Amico Lights | www.amico.com
85 Fulton Way, Richmond Hill
Ontario, L4B 2N4, Canada
Toll Free Tel: 1.877.264.2697
Toll Free Fax: 1.866.440.4986
Tel: 905.763.7778
Fax: 905.763.8587
Email: info@amico.com
INSTALL INSTR. FEB2011
 Loading...