

Page 1

User Manual
Model Name: AM83
Brand Name:AMGOO
FCC ID:UOSAM83
Page 2

Contents
Safety and Precaution........................1
Instruction to Accessories..............1
Key Instruction ..............................2
Icon Instruction..............................4
Begin to Use ........................................5
Install SIM Card and Battery.........5
Charge the Battery......................... 5
Power the phone on/off..................6
Memory Card.................................6
USB Data Cables........................... 6
Basic Function ....................................6
Call................................................. 6
Text Input.......................................7
Function of Functional List...............8
Call center......................................8
Multimedia................................... 10
Phonebook ...................................14
Page 3

User profiles................................. 15
Messaging.................................... 16
Organizer......................................18
Settings.........................................20
Fun&Games.................................22
Services........................................22
Page 4

Safety and Precaution
You should read the following information carefully before using the phone
in order to use it safely and effectively.
Power the phone on safely
Do not use the phone at the location where the phone is prohibited using or
the phone can cause the disturbance or risks.
Disturbance
The mobile communication can be subject to the radio disturbance, thus
affecting its performance.
Accessories and batteries
Please use the batteries and adapter designed by our company, or
otherwise resulting in explosion.
User’s Manual for GSM/GPRS Digital Mobile Phone
This Manual is correct in the contents when it is published, however Amgoo
reserves the right to modify the technical specifications without other
notification. Some contents in the Manual are possibly distinguished from
the real phone and will be different according to the installed software, SIM
cards and service providers
Instruction to Accessories
Please confirm the intact articles as follows are all in the package. Please
contact with the local distributer in case of the missed ones.
A Phone
An adapter
Remarks: AMGOO reserves the right to change or upgrade the product without
any prior notice
z Battery
z USB data c
Page 5
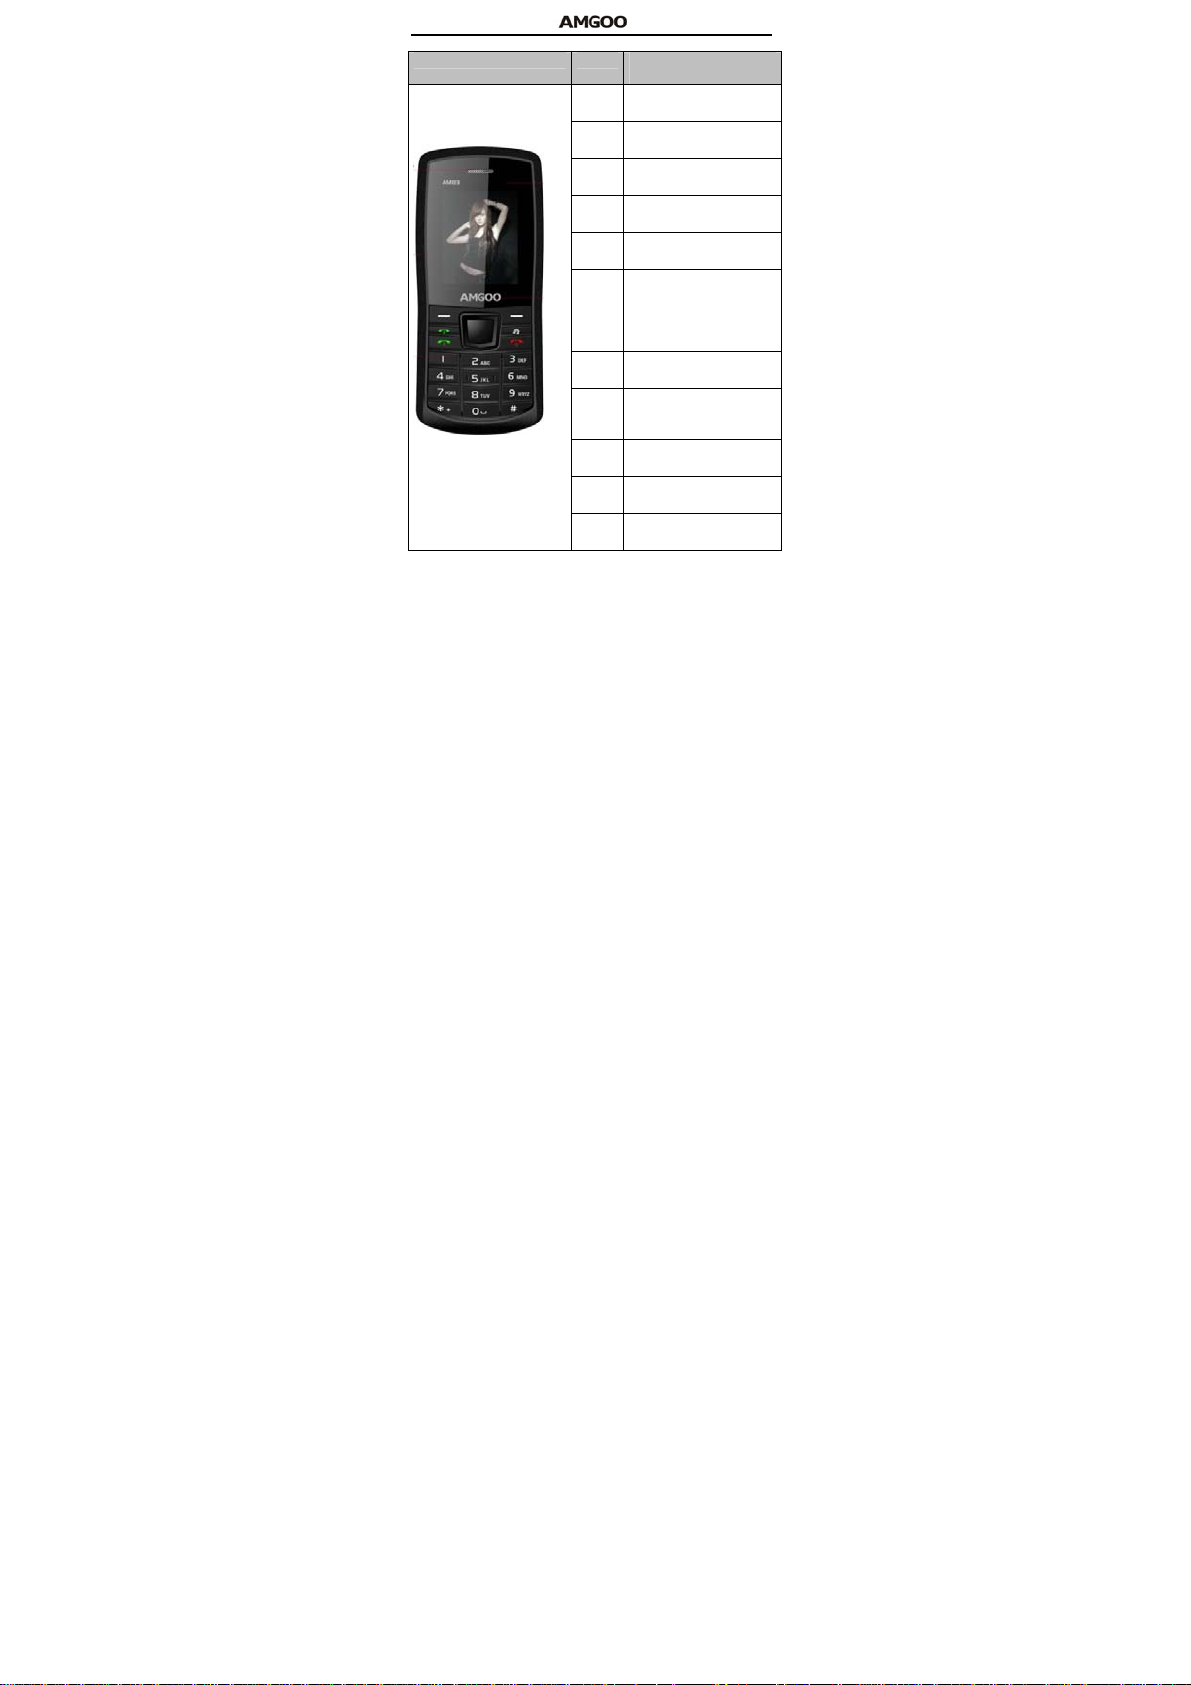
Key Instruction
Picture Key Description(Under Standby
Enter in functional list ( Main
LSK
menu).
Enter in the contact list in
RSK
phonebook.
Enter in list window of SIM1/
Send1
SIM2call logs.
Enter in list window of SIM1/
Send2
SIM2 call logs.
FM Enter in FM
Press to terminate a call or
refuse a call.
Press and hold to power the
END
phone off (or power the phone
on under power-off mode).
OK Enter in the dialing interface
Enter in Shortcuts
Press and hold to turn on/off
UP
flashlight
down Enter in Alarm
Left Enter in User prof iles
Right Enter in Add new contact
Mode)
2
Page 6
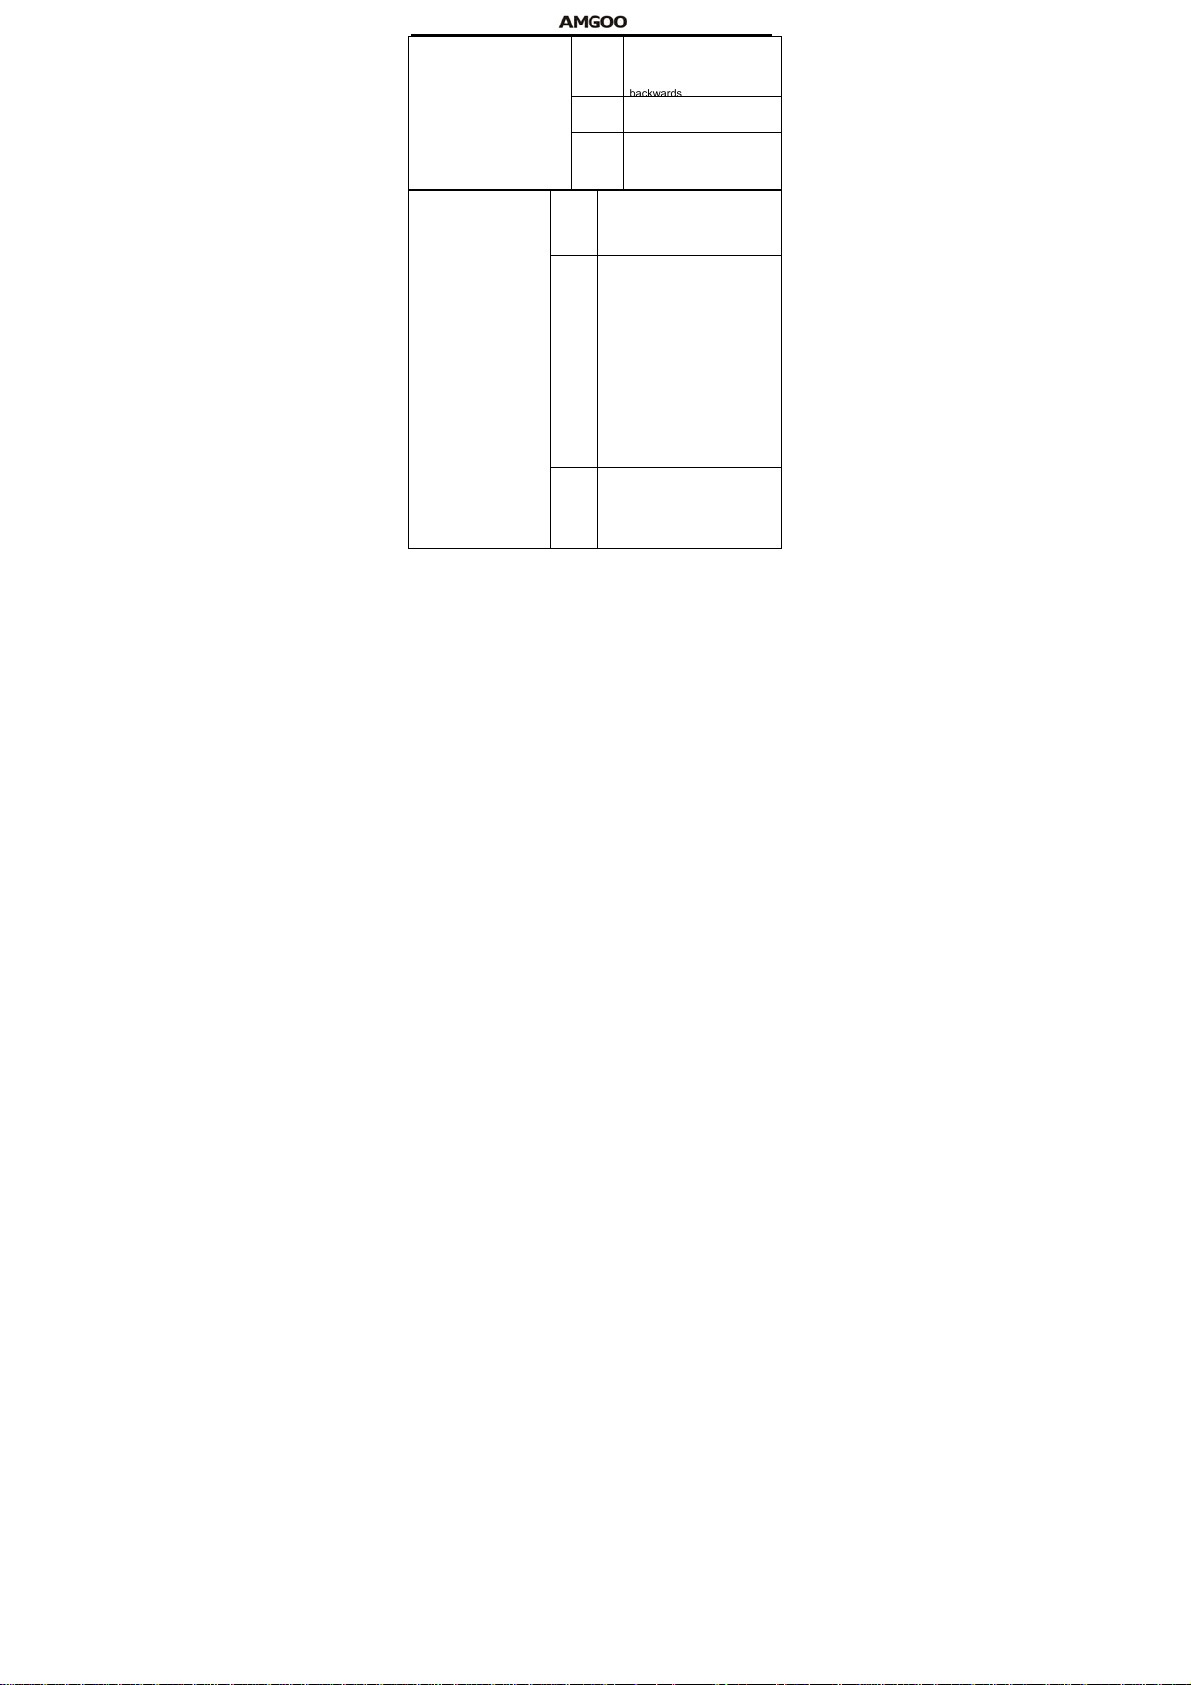
Press to switch to a previous
previou
song with cursor.
s song
Press and hold: go
play/pa
Press to play or pause playing
use
Press to switch to a next song
next
with cursor.
song
Press and hold: go forwards
Press to enter in dialing window
and input number 1.
1
Press and hold to dial t he voice
mailbox number.
Press to enter in the dialing window
and input nu mber s 0, 2~9. Press
and hold: a. directly dial the phone
number at per tinent position when
the quickly-dialing and inputting
0,2~9
function is opened;
b. Press to enter in d ialing and
inputting window alike when the
quickly-dialing and inputting
function is closed.
Press to enter in dialing and
inputting window and input symbol
*.
*
Press and hold to switch amid
symbols “*”, “+”, “P” and “W”.
3
Page 7
Press to enter in dialing and
inputting window and input symbol
“#”.
#
Press and hold to switch amid
Mute/General Modes.
Keyboard lock mode LSK+#
Combination, Lock or unlock
keyboard
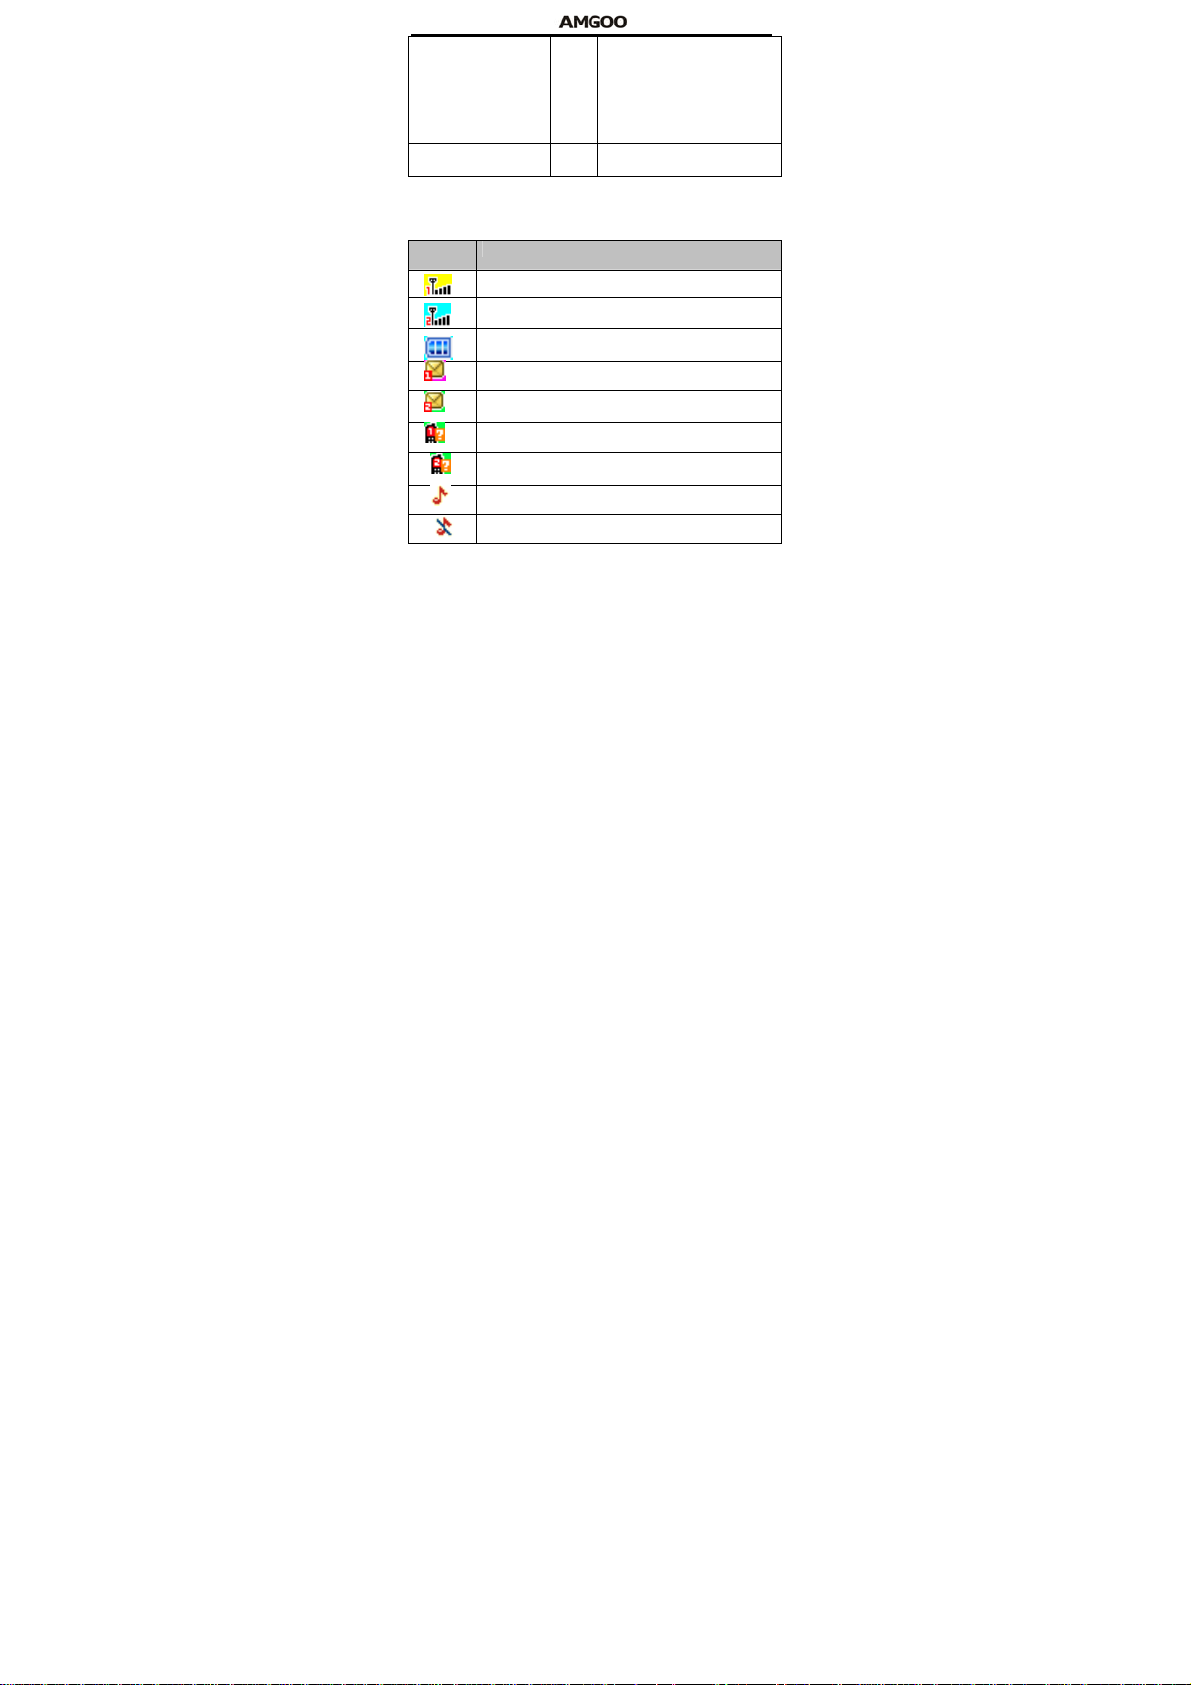
Icon Instruction
Icon Description
Indicate the network signal strength for SIM card 1.
Indicate the network signal strength for SIM card 2.
Indicate the current battery capacity for battery
Indicate that there is an unread SMS in SIM card 1.
Indicate that there is an unread SMS in SIM card 2.
Indicate that there is a missed call in SIM card 1.
Indicate that there is a missed call in SIM card 2.
Indicate that the current profile mode is the General mode.
Indicate that the current profile mode is the Silent mode.
4
Page 8

Indicate that the current profile mode is the Meeting mode.
Indicate that the current profile mode is t he Power saving
mode.
Indicate that the current profile mode is the Outdoor mode.
Indicate that the current profile mode is the My style mode.
Indicate that the current alarm clock is set as activated.
Indicate that the current playing music.
Indicate the current keypad-locked state.
Begin to Use
Install SIM Card and Battery
Please be sur e to disconnect the phone with the adapter before
disassembling the battery.
This version is a dual-card dual-standby phone which can be inserted with
2 SIM cards. You should be careful to use, insert and disassemble the SIM
card because the contact of the SIM card is easy to be scraped or bent to
damage.
Charge the Battery
The phone will release the warning tone displaying the insufficient battery
capacity with the indication of the empty battery icon when the battery
capacity is lower. Under this case, the phone will power off automatically
when the battery capacity is too lower. Please charge the battery.
Not charging: If the phone power is supplied by the battery 1 in default, the
battery 2 will be automatically switched to till the battery 1 is used up (i.e.
5
Page 9

the battery 1 is a main power supply).
Charging: Firstly the battery supplied is charged, after charged fully,
the other battery is switched to for charging and supplies.(after the adapter
is taken out, return to a state of no charging, namely, the battery 1 supplies
in default).
Power the phone on/off
Press and hold [End] to power the phone on under the power-off state
Press and hold [End] to power the phone off under the power-on state.
Memory Card
The phone supports the T-Flash card (otherwise purchased), which
is a multimedia memory card used to multiple the memory of the phone.
USB Data Cables
This version supports the USB interface. You can connect your phone with
the PC via the USB&data cable, copy ing or moving the files amid the
phone and PC, or browsing the images, record files and video files saved
in the phone via the PC.
The phone pops up window with 3 modes at your choice: Mass storage , W
eb cam and COMPort.
Basic Function
Call
The phone will select the main network automatically after powered on if it
is located within the coverage of the main network. The phone can use
other network, called as roaming.
Dial
You can dial with several ways as follows:
Input the phone nu mber (should affix the international/national/regional
code or district code if necessary) and then press [Send1/Send2] under
the standby mode.
Press [Send1/Send2] to dial a phone number listed in the recent call
log under the standby mode.
Press and hold numeric keys [2]-[9] to dial the sho rtcut phone
number set on the numeric keys under the standby mode.
6
Page 10

The phone supports dialing the international emergency phone
number, such as 112 and 911 etc.
Answer Incoming Call
You can perform as follows when there is an incoming call:
Press [Send1/Send2] to receive the incoming call. You can use the
earphone to answer the call when the generic earphone.
Press [End] to decline an incoming call.
View Missed Incoming Call
The quantity of missed incoming calls will display on the screen under the
standby mode if there are missed incoming calls.
Function During Call
You can use many functions during the call process.
Option During call
Press <Option> to use the following options:
Hold single call: temporarily hold the current call.
End single call: end the current call.
New Call: call the opposite party to build a Call to Many.
Phonebook: enter in the phonebook menu.
Call history: view the information of the missed, dialed or answered
calls in SIM card 1 or 2.
Messaging: enter in the SMS menu.
Sound recorder: record the current call.
Mute: open or close the mute mode.
DTMF: open or close the DTMF function during the call.
Launch or Close Hand-free Function
Press <H-free>/<H-Held> to open or close the hand free function.
Text Input
Use Ke ypad
Change Text Input Method
Press [#] key to select the desired input methods:
Smart ABC, Smart abc,Multitap ABC, Multitap abc, Smart FR, Smart
fr,Multitap FR, Multitap fr, Multitap PT, Multitap pt, Multitap ID, Multitap id,
7
Page 11

Multitap AR, Multitap AR123, Multitap FA, Multitap HI,Numeric.
Smart ABC/ Smart abc
Press [2] -[9] keys to input English with each English letter pressed
once.
Smart English Input Method can forecast the word you are inputting. The
word will change along with your every key-pressed action.
Press [Down]/ [OK] to enter the area of selecting English words.
Press [Up/down/left/right] to search the desired English words if
necessary.
Press the numeric key corresponding to the desired Chinese
character.
Multitap ABC/ Multitap abc
Press [2]-[9] corresponding to English letters to input capital letters. The
times of pressing a key will rely on the letter to be input.
Numeric Input
Press the key corresponding to the desired number.
Other operation
Press numeric key [﹡ ] under all input methods to input the
punctuation symbols.
Press numeric key [0] to insert a space character under all input
methods excepting the number input method.
Function of Functional List
Call center
With this function, you can view the information of call log in SIM card 1 or
2.
Press <Menu> and select Call center under the standby mode if you are
desired to enter in this function.
Call history
With this function, you can view the information of the missed, dialed or
answered calls in SIM card 1 or 2.
Call List
All Calls: view all call records.
8
Page 12

Dialled calls: Display the recently dialed calls in SI M cards upon
entering in this function.
Missed calls: Display the recently missed calls in SIM cards upon
entering in this function.
Received alls: Display the recently answered calls in SI M cards
upon entering in this function.
Call settings
SIM1 call settings
Call waiting: After this function is launched, the network will inform
you for the newly incoming call during the call. Please contact with your
network operator for details. Perform as follows:
Activate: launch the Call Wait function.
Deactivate: not launch this function.
Query status: view the present status of this function.
Call divert: divert the incoming c all of a s ervic e to a designated
phone number under the presetting condition in the function of forwarding
the network service. Please contact with your network supplier to launch
this function.
Call barring: Set up the right of calling and answering. This function
requires the network support. You can launch or close the function.
Line switching: set the Line 1 or Line 2.
SIM2 call settings [refer to SIM1 call setting]
Advance settings
Blacklist: Set up to open or close t he blacklist for incoming calls.
Input the phone number to be refused in the blacklist or press OK button to
enter in the contact phone number window to select the phone number to
be added in the blacklist.
Auto re dial : Set up whether the phone is redialed when the call is
not connected. Press the Activate/Deactivate button to launch o r shut
down the function.
IP dial: Input IP number, press OK button to activate and finish the
setup, perform the Cancel and Edit option for IP umber. After the IP
number is se t up, you can u se the IP function in t he phonebook,
9
Page 13

automatically affix the IP number to the phone number and dial it out.
Call time reminder:Select to release prompt tone during the call in
each integral minute time.
Answer mode: Set the answer mode button.
Multimedia
With this function, you can perform the multimedia functions, such as snap,
shoot or record the voice.
Press <Menu> and then select Multimedia under the standby mode if
desired to enter in this function.
Camera
Please insert the T-Flash card before using this function.
Press the [LSK] key to select it, enter in the camera window, press [OK]
key to snap. Press the [LSK] key to select the option and you can
perform
Use Camera Option
Press <Option> to use the following options under the following
view-finding window.
Photos: enter in the album to view the photos.
Camera settings: set the Shutter sound,
EV,Anti-flicker,Contrast,Delay timer, Cont. shot.
Image settings:set the Image size and Image quality.
White balance: adjust the color balance of the photo.
Scene mode: select the snapping mode.
Effect settings: change the hues or use the special effects for the
photos snapped in the normal mode.
Storage: Set the path to preserve photos.
Restore default: recover all settings into the initial values.
Image viewer
You can view the photos snapped with the camera through this function.
Photo list option
Select a photo file and press <Options> under the photo list window and
perform:
View: view the selected image.
10
Page 14

Image information:view the details.
Browse style : Select browsing mode
Use as: use the selected image file to the wallpaper, to the screen
saver, to power on display, to power off display and call picture.
Rename: change the name of the image.
Delete: delete the selected image.
Sort by: sort the images by the name, type, time, size or None.
Delete all files: delete all selected images.
Storage: Set the path to preserve photos.
Video recorder
Please insert the T-Flash card before using this function.
Press the left soft key to select it, enter in the Digital Camcorder window,
press OK key to snap. Press the left soft key to select the Option and you
can perform.
Use Digital Video Camera Options
Press <LSK> under the video-finding window and perform:
Camcorder Settings: set up the video camera parameters.
White balance: select from options: Auto, Daylight, Tungsten, Fluorescent,
Cloud and Incandescence.
E V: adjust the exposure to highlight the definition of the image.
Night mode: set the function on or off.
Anti-flicker:set the anti-flicker value.
Video settings: set the video parameters.
Video quality: select video quality.
White balance: select from options: Auto, Daylight, Tungsten,
Fluorescent, Cloud and Incandescence.
Effect settings: set the effect settings: Normal, Grayscale,
Sepia ,Sepia green, Sepia blue and Color invert.
Storage: Set the path to preserve video.
Restore default: recover to the initial state.
Video player
Please insert the T-Flash card before using this function.
Enter in the video player window, select a video file, press the [LSK]
11
Page 15

key to select it, per forming: Play, Send, Rename, Delete, Delete all files,
Sort by,storage.
Audio player
You can enjoy the music with this function.
Play Music
You can use the following keys during the play.
Select a music file, press [LSK] to use the following options:
Play: play the currently-selected song.
Details: view the detailed information of the currently-selected song.
Refresh list: Update the music player list.
Settings: set up the music player.
Pre. playlist: Set the playlist path.
List auto gen: set up to turn on/off the function.
Repeat: set up to open/close in t wo menus: Single Song Cycle and All
Songs Cycle.
Shuffle: set up to open/close the function.
Background play: set up to open/close the function.
Sound recorder
Press the [LSK] to select it, entering in the recorder window to record file.
You can record the voice with this function.
Record
Select Record option in the record file option and begin to record.
Select <Pause> to stop recording temporarily and select < Cont. > to
continue to record.
Select <Stop> to stop recording.
Record file list option
Select a record file and press <Option> under the record file list window to
view new record,recording list,choose to play ,append or renew,delete the
file,meanwhile you can set up the storage location and file format.
FM radio
You can receive the FM broadcast with this function.
Receive FM Broadcast
Press [OK] under the radio window to receive the FM broadcast.
12
Page 16

You can use the following keys when you hear the FM broadcast.
Key Function
OK Press to open or stop the radio.
Press to increase the volume.
UP
Press and hold: no function.
DOWN
Right
FM Radio option
Press <Option> under the radio window to use the following options:
Channel list: play, edit or delete the saved channels.
Manual input: manually input the channel to search.
Auto search: automatically search the channel.
Settings: Can se t the background play, loudspeaker turn
on/off,record formats: AMR / WAV, the audio quality low / hig h, recorded
files are stored.
Record: Recording the current FM program.
Append: continuously record after the previous record file and
append it after the record file.
File list: list all recorded files.
File manager
Entering in the file manager window. With the function, you can view the
data saved in t he Phone and M emory card. After the T-Flash card is
inserted, there are 3 operating window pertaining to the file: Open,
Format,Details. Please confirm the store path when opening the folder.
Press to decrease the volume.
Press and hold: no function.
Press to previous channel.
Left
Press and hold to continuously tune up.
Press to next channel.
Press and hold to continuously tune up.
“*” Press to enter FM radio recording function
13
Page 17

Phonebook
You can save the phone number in the memories of SIM cards or phone.
Press <Menu> under the standby mode and then select Phonebook if you
desire to enter in the function.
Add new contact: With this function, you can add a new contact in
the phonebook.
To SIM1
Select To SIM 1 Input contact information:
¾ Name: input the name.
¾ Number: input the phone number.
To SIM2 refer to 【To SIM1】
To Phone
Select To Phone. Input contact information:
¾ Name: input the name.
¾ Number: input the phone number.
¾ Caller picture: set up the caller picture for prompting the
incoming call for the contact.
¾ Caller ringtone: select the ring tone for prompting the incoming
all for the contact.
Press<Done> to save the contact information.
Select a contact in the contact list window and press<Option> to perform:
Send Multimedia Message: send an MMS to the current contact.
the SIM1/SIM2 IP dial function is activated.
phone,SIM1,SIM2 or file.
Press <Done> to save the contact information.
View: view the detailed info of a selected contact.
Send text message: send an SMS to the current contact.
Call: Call use SIM1 or SIM2 selected contact
IP dial: You can conduct SIM1/SIM2 IP dial for the entry if
Edit: edit the current contact.
Delete: delete the current contact.
Copy: You can copy the contact information to
Move: move the contact from phone to the SIM card 1 or
14
Page 18

SIM 2, move the contact from SIM 1 to SIM 2 or phone, move the contact
from SIM2 to SIM 1 or phone.
this function.
positions of SIM card and phone.
standby mode, press OK button to enter in for setting operation.
number and turn on/off the fixed dial.
contacts to SIM1/SIM2/phone.
move contacts to SIM1/SIM2/phone.
User profiles
You can set up the personalized ringtones for incoming calls and
phone-pertinent prompt tone etc under the different scenes with this
function.
Press <Menu> under the standby mode and then select Profile Mode if you
desire to enter in the function.
Enter in the function; display the profile mode list including General,Silent,
Metting, Power saving,Outdoor,My style.
Select a p rofile mode and press <Options>, you can u se the following
options:
type, SIM1 incoming,SIM2 incoming,Ringtone volume,SIM1
message,SIM2 message,Message volume,Keypad,keytone volume,Power
on,Power off,System alert.
Add to Blacklist: Add to blacklist the contact.
Phonebook settings: You can manage the phonebook with
Preferred storage: you can switch the store
Speed dial: Set up to quickly dial under t he
My number: Add my number.
Extra numbers: set the SIM1/SIM2 owner
Memory status: View memory details.
Copy contacts: From the phone/SIM1/SIM2 copy
Move contacts: From the phone/SIM1/SIM2
Delete all contacts: Delete all the contacts.
Activate: activate the profile mode.
Customize: customize the profile mode as per the Alert type, Ring
15
Page 19

Reset: recover the setting into the initial values with this f unction.
Messaging
You can sen d and receive the SMS and MMS as well as use t he voice
mailbox and cell broadcast with this function.
Press <Menu> under the standby mode and then select Messages if you
desire to enter in the function.
Write message
You can write and send a SMS with this function.
Text message
Input the SMS and press <Option> under the current window to
perform:
You can write and send the SMS with this function.
Send to: directly input the contac t phone number or search a phone
number of the receiver and finally press Send button.
Input method: change the input method.
Advanced: Insert the number,name,bookmark.
Save to Drafts: save to SMS drafts.
Multimedia message
Input the MMS and press <Option> under the current window to
perform:
You can write and send the MMS with this function.
Send to: directly input the contac t phone number or search a phone
number of the receiver and finally press Send button.
Input method: change the input method.
Add picture: Add the picture in MMS.
Add sound: Add the sound in MMS
Add video: Add the video in MMS
Add subject: Add the subject in MMS
Preview MMS: can preview multimedia messages.
Advanced: Insert the attachment,bookmark.
Press <Done> after finishing edition and pop up the following options:
Send only: send the MMS only.
Save t o Drafts: send the M MS in t he draft-box for future
16
Page 20

sending.
Send options: options of senting MMS.
Exit: leave the editing window.
Select Send to send the MMS.
Inbox
You can view the received SMS with this function.
Select a SMS/MMS entry and press <Option> under the inbox list window
to perform:
Reply by SMS: reply the message to the sender.
Reply by MMS: reply the MMS to sender.
Call sender: You can call the sender.
Forward: forward the entry to other;
Delete: delete the entry of the message;
Advanced:
Use number: use the numbers in the message;
Use USSD:Use the data dial-up or send to voice call in the SMS.
Draft
With this menu, you can cr eate and sav e SMS/MMS as dr aft. You can
perform for some SMS/MMS as follows:
View: view the MMS.
Send: send the selected MMS.
Edit: edit the sent MMS.
Delete: delete the selected MMS.
Delete all: delete all MMS in the outbox.
Outbox
You can view the received SMS with this function.
Select a SMS/MMS entry and press <Option> under the outbox list window
to perform:
View: view the SMS/MMS.
Resend: resend the selected SMS/MMS.
Edit: edit or revise the entry of the message.
Delete: delete the selected SMS/MMS.
Delete all: delete all MMS in the outbox.
17
Page 21

Sent messages
Select one entry of SMS/MMS and press right soft key to enter in options:
View: view the SMS/MMS.
Forward: forward the entry to other.
Delete: delete the selected SMS/MMS.
Delete all: delete all the SMS/MMS.
Delete messages
You can Select from the inbox,drafts,outbox,sent messages,all messages
to delete messages
Broadcast message
You can receive information of various topics, such as weather, taxi and
hospital etc from the network operator.
SIM1/SIM2 boradcast message
Receive mode: select to open or close the function.
Channel settings: set the channel o f the cell broadcast, operating
Select, Add, Edit and Delete.
Languages: set up to receive the cell broadcast of all language or
not.
Read messages: read the message.
Message settings
You can set UP various SMS service options with this function.
Text message: Set up the SMS related settings.
Multimedia message: Set up the MMS related settings
Service message: can set the enable push, enable service loading .
Organizer
You effectively manage your daily life with this function.
Press <Menu > under the standby mode and select Organizer if you
desire to enter in the function.
Calculator
You can conduct the basic arithmetic operations.
Input the first number.
Press one of directional keys to select the arithmetic operation sign.
Input the second number.
18
Page 22

Press [LSK] or [OK] to view the calculation results.
Calendar
View the routines or the memo saved in the calendar.
The phone w ill prom pt you with the related affairs in as sisting you to
manage your daily schedule.
Select Date in Calendar
The screen w ill hig hlight the date of today after displays the monthly
calendar when you enter in the calendar function.
Press [Left/Right] to move by day.
Press [UP/DOWN] to move by week.
r Option
Press <Options> under the calendar window to use the following options:
View: enter in the routines of the predetermined date to view the
event
View all: view the reminder, meeting, course.
Add event: create affairs under the selected date.
Delete event: delete the event.
Jump to date: return to the calendar window after inputting the
designated date with the cursor stopping on the inputting date.
Go to today: Back to today date.
Go to weekly view: use the weekly view to see the calendar.
Tasks
Press the left soft key to select it, entering the To-do-list window, Add
routine if the to-do-list information is not added.
If the to-do-list is added, press the up and down navigation keys to select a
to-do-list, press Option button to perform:
View: view the current to-do-list arrangement.
Add: add a new to-do-list entry.
Edit: press the up and down navigation keys to select and modify
various options of to-do-list.
Delete: delete the to-do-list.
Delete overdue: delete the overdue to-do-list
Delete all: delete all to-do-lists.
19
Page 23

Jump to date: return to the calendar window after inputting the
designated date with the cursor stopping on the inputting date.
View uncompleted:view the uncompleted tasks.
Alarm
Set that the alarm clock will ring at specific time with this function.
Set up alarm clock
Select an alarm clock and enter into alarm clock setup window.
Set up the alarm clock as as on or off.,clock time,ring mode, alert
type etc.After finishing setting,Press<done>.
Stopwa tch
You can measure the lapsed time with this function.
Typical stopwatch: provided with the functions: Split Timing, Lap
Timing and View or Delete Record.
nWay stopwatch: used to record time in multi-way form severally.
Ebook reader
Open ebook: View the selected document.
Clean up bookshelf: Updated list of e-books.
Book info: E-book shows the details of the selected.
Delete: delete the selected e-books.
Delete all files: delete all File List in the e-books.
Sort by: sort the e-books files by menu: Name, Type, Time, Size or None.
Settings
You can set various functions of the phone with these functions.
Press <Menu> under the standby window and then select Settings if you
desire to enter in this function.
Dual SIM switch
Selected by the user to manually selected or automatically decided by the
SIM cards.
Dual SIM settings
Realize to switch amid the Dual S IM open, Only SIM1 open, Only SIM2
open.
Phone Settings
You can customize your favorite phone functions based y our interest
20
Page 24

with this function.
Flash Light: set up to turn on/off the function.
Time and date: you can set up time/date and time zone for your
phone.
Schedule power on/off: you can set up to power the phone on/off at
the set time. This function can be opened or closed.
Language: select the language used for the phone.
Display:
Wallpaper: select your favorite picture as the wallpaper of the
standbywindow.
Screen saver: select your favorite picture as the screen protection.
Show date and time: set up to open/close the function
Dedicated Key: edit the up, down left,right keys.
Flight mode:set up normal mode or flight mode.
LCD backlight: set the brightness and time.
Network Settings
Set up the phone network with this function.
SIM1/ SIM2 network settings:
Network selection: press the up and down navigation keys to select
the ways of connecting with the network in Re-search, Select network and
search mode and press the OK button to finish the setup.
Preferences: select the priority Network.
Security Settings
You can manage your phone safely with this function.
The phone password, SIM card password and PIN2 support 4-8digits, do
not support other characters. The original password of the phone when
leaving the factory is 1234. The password and PIN2 and SI M card are
provided by the network operator
When the PIN/PIN2 is input wrongly three times, the SIM card will be
locked.The PUK (personal unlock key)/PUK2 are required to input if you
want to unlock the SIM card. If the PUK is input wrongly in successively 10
times. The SIM card will be locked and discarded permanently.
SIM1 security
21
Page 25

PIN lock: open or close the PIN lock function. When PIN lock is launched,
e PIN shall be input upon each power-on.
Change PIN: you can change the PIN.
Change PIN2: you can change the PIN2.
SIM2 security refer to[ SIM1 security ]
Phone security: turn on/off the phone lock. When phone lock is enabled,
power on to enter phone password. The preset password is: 1122. You can
ch ange the password.
Auto keypad lock: press the left soft key to set up for the keypad lock in
menus: off, 5 Sec, 30 Sec, 1 min and 5 min.
Restore factory settings
Recover the setting of the phone into the initial values with this function.
Fun&Games
Enter in the game window. There is a game:Puzzle. With the game setting
menu, you can set the background music effect and sound effect.
Services
You can use the network-related service with this function.
Press <Menu> under the standby window and then select Services if you
desire to enter in this function.
Internet service
You can surf on the network with this function. After entering in the function,
you can perform:
when at access to the network and clear away the personal data related
when at registration of the network and authentication to the network.
Data account
Enter in GSM account list; select an entry to edit its contents:
Account name: edit the name of the account.
APN: edit the accessed APN.
User name: the user’s name accessing to APN server.
Password: edit the access password to APN server.
Auth.type: select one of certification modes used by the WAP
identity certificate.
22
Page 26

FCC RF EXPOSURE INFORMATION:
WARNING!! Read this information before using your phone
In August 1986 the Federal Communications Commission (FCC) of the
United States with its action in Report and Outer FCC 96-326 adopted an
updated safety standard for human exposure to radio frequency (RF)
electromagnetic energy emitted by FCC r egulated transmitters. Those
guidelines are consistent with the safety standard previously set by both
U.S. and international standards bodies. The design of this phone complies
with the FCC guidelines and these international standards. Use only the
supplied or an approved antenna. Unauthorized antennas modifications, or
attachments could impair call quality, damage the phone, or result in
violation of FCC regulations. Do not use the phone with a dam aged
antenna. If a damaged antenna comes into contact with the skin, a minor
burn may result. Please contact your local dealer for replacement antenna.
BODY-WORN OPERATION:
23
Page 27

This device was tested for typical body-worn operations with the back of
the phone kept 1.5cm from the body. To comply with FCC RF ex posure
requirements, a minimum separation distance of 1.5cm must be
maintained between the user's body and the back of the phone, including
the antenna, whether extended or retracted. Third-party belt-clips, holsters
and similar accessories containing metallic components shall not be used.
Body-worn accessories
that cannot maintain 1.5cm separation distance between the user’s body
and the back of the phone, and have not been tested for typical body-worn
operations may not comply with FCC RF ex posure limits and should be
avoided.
For more information about RF exposure, please visit the FCC website at
www.fcc.gov
Your wireless handheld portable telephone is a low power radio transmitter
and receiver. When it is ON, it receives and also sends out radio frequency
(RF) signals. In August, 1996, t he Federal Communications
24
Page 28

Commissions (FCC) adopted RF exposure guidelines with safety levels for
hand-held wireless phones. Those guidelines are consistent with the safety
standards previously set by both U.S. and international standards bodies:
<ANSIC95.1> (1992) / <NCRP Report 86> (1986) / <ICIMIRP> (1996)
Those standards were based on comprehensive and periodic evaluations
of the relevant scientific literature. For example, over 120 scien t ists,
engineers, and physicians from universities, government health agencies,
and industry reviewed the available body of research to develop the ANSI
Standard (C95.1). Nevertheless, we recommend that you use a hands-free
kit with your phone (such as an earpiece or headset) to avoid potential
exposure to RF energy. The design of your phone complies with the FCC
guidelines (and those standards).
Use only the supplied or an approved replacement antenna. Unauthorized
antennas, modifications, or attachments could damage the phone and
25
Page 29

may violate FCC regulations.
NORMAL POSITION:
Hold the phone as you would any other telephone with the antenna pointed
up and over your shoulder.
TIPS ON EFFICIENT OPERATION:
For your phone to operate most efficiently:
• Extend your antenna fully.
• Do no t touch the antenna unnecessarily when the phone is in use.
Contact with the antenna affects call quality and may cause the phone to
operate at a higher power level than otherwise needed.
Vehicle mounted external antenna (Optional, if available))
A minimum separation distance of 7.9 inches (20cm) must be maintained
between the user / by stander and the vehicle mounted external antenna to
satisfy FCC RF exposure requirements.
26
Page 30

RF
Exposure Information:
FCC RF Exposure requirements: The highest SAR value reported
under this standard during product certification for use next to the
body with the minimum separation distance of 1.5cm is 1.26
W/kg
, next to the head is 0.525
be collocated or operating in conjunction with any other antenna or
transmitter.
This device complies with part 15 of the FCC rules. Operation is
subject to the following two conditions:
(1) this device may not cause harmful interference, and
(2) this device must accept any interference received, including
W/kg.
This transmitter must not
27
Page 31

interference that may cause undesired operation.
NOTE: The manufacturer is not responsible for any radio or TV
interference caused by unauthorized modifications to this
equipment. Such modifications could void the user’s authority to
operate the equipment.
NOTE: This equipment has been tested and found to comply with the
limits for a Class B digital device, pursuant to part 15 of the FCC Rules.
These limits are designed to provide reasonable protection against
harmful interference in a residential installation. This equipment
generates uses and can radiate radio frequency energy and, if not
installed and used in a ccordance with the instructions, may cause
harmful interference to radio communications. However, there is no
guarantee that interference will not occur in a particular installation. If
28
Page 32

this equipment does cause harmful interference to radio or television
reception, which can be determined by turning the equipment off and
on, the user is encouraged to try to correct the interference by one or
more of the following measures:
- Reorient or relocate the receiving antenna.
- Increase the separation between the equipment and receiver.
-Connect the equipment into an outlet on a circuit different from that to
which the receiver is connected.
-Consult the dealer or an experienced radio/TV technician for help
Do not use the device with
may not working.
Changes or modifications to this unit not expressly approved by the party
responsible for compliance could void the user’s authority to operate the
equipment.
in the environment below -10℃, the device
29
Page 33

30
 Loading...