

Page 1
Commercial Grade Rope Light Kit
Installation intructions for CL-CSA Series
WARNING: These products may represent a possible shock or fire hazard if improperly installed or attached in any way.
Products should be installed in accordance with the owners manual, current electrical codes and/or the current
National Electric Code (NEC). Only use this fixture with the plug-in power cord that is supplied with the fixture. Any other
power cord or feed may damage the fixture.
READ ALL INSTRUCTIONS
CAUTION - To reduce risk of fire, electric shock or injury to persons:
1. Do not cover this product with any materials that impede necessary
heat dissipation.
2. Do not operate rope light while it is tightly coiled.
3. Do not puncture, cut, shorten or splice!
4. Do not route the cord or flexible lighting through walls , doors,
windows or any like part of the building structure. Do not install into
any channel or molding other than approved mounting devices.
5. Do not use if there is any damage to the light or cord insulation.
Inspect periodically.
6. Do not submerge flexible light in liquids, or use the product in the
vicinity of standing water or other liquids.
7. Secure this flexible light using only the clips or UL Listed mounting
clips provided. Do not secure this product or its cord with staples,
nails
8. Do not subject flexible lighting to continuous flexing.
9. All units must be unplugged before adding additional segment(s). Only add sections by interconnecting
mating connections that are factory installed on each end.
10. When adding additional rope light extension segments, use only CL-CSA series type manufactured by
American Lighting, Use part number ULRL-EXT-3 for a rope to rope extension.
11. Ensure that all connections, including the end cap on the last segment, are tightly secured to preclude the
entry of water.
12. Do not install on gates or doors, where subject to flexing.
13. Do not install in cabinets, tanks or enclosures of any kind where heat cannot dissipate when Rope Light is on.
14. Do not mount or secure rope light in a manner that can cut the outer jacket or damage cord insulation.
Inspect the rope light carefully before use and discard any rope light that has a broken outer jacket,
loose connection or frayed wire insulation.
15. Risk of fire. Do not replace attachment plug. Discard product if attachment plug is damaged.
16. This product has a polarized plug (one blade is wider than the other) as a safety feature to reduce the risk
of elec
outlet, reverse the plug; if it still does not fit, contact a qualified electrician. Never use with an extension
cord unless plug can be fully inserted. Do not alter plug.
, or like means that may damage the insulation.
tric shock. This plug will fit in a polarized outlet only one way. If the plug does not fit fully in the
Do not operate rope light
while it is tightly coiled.
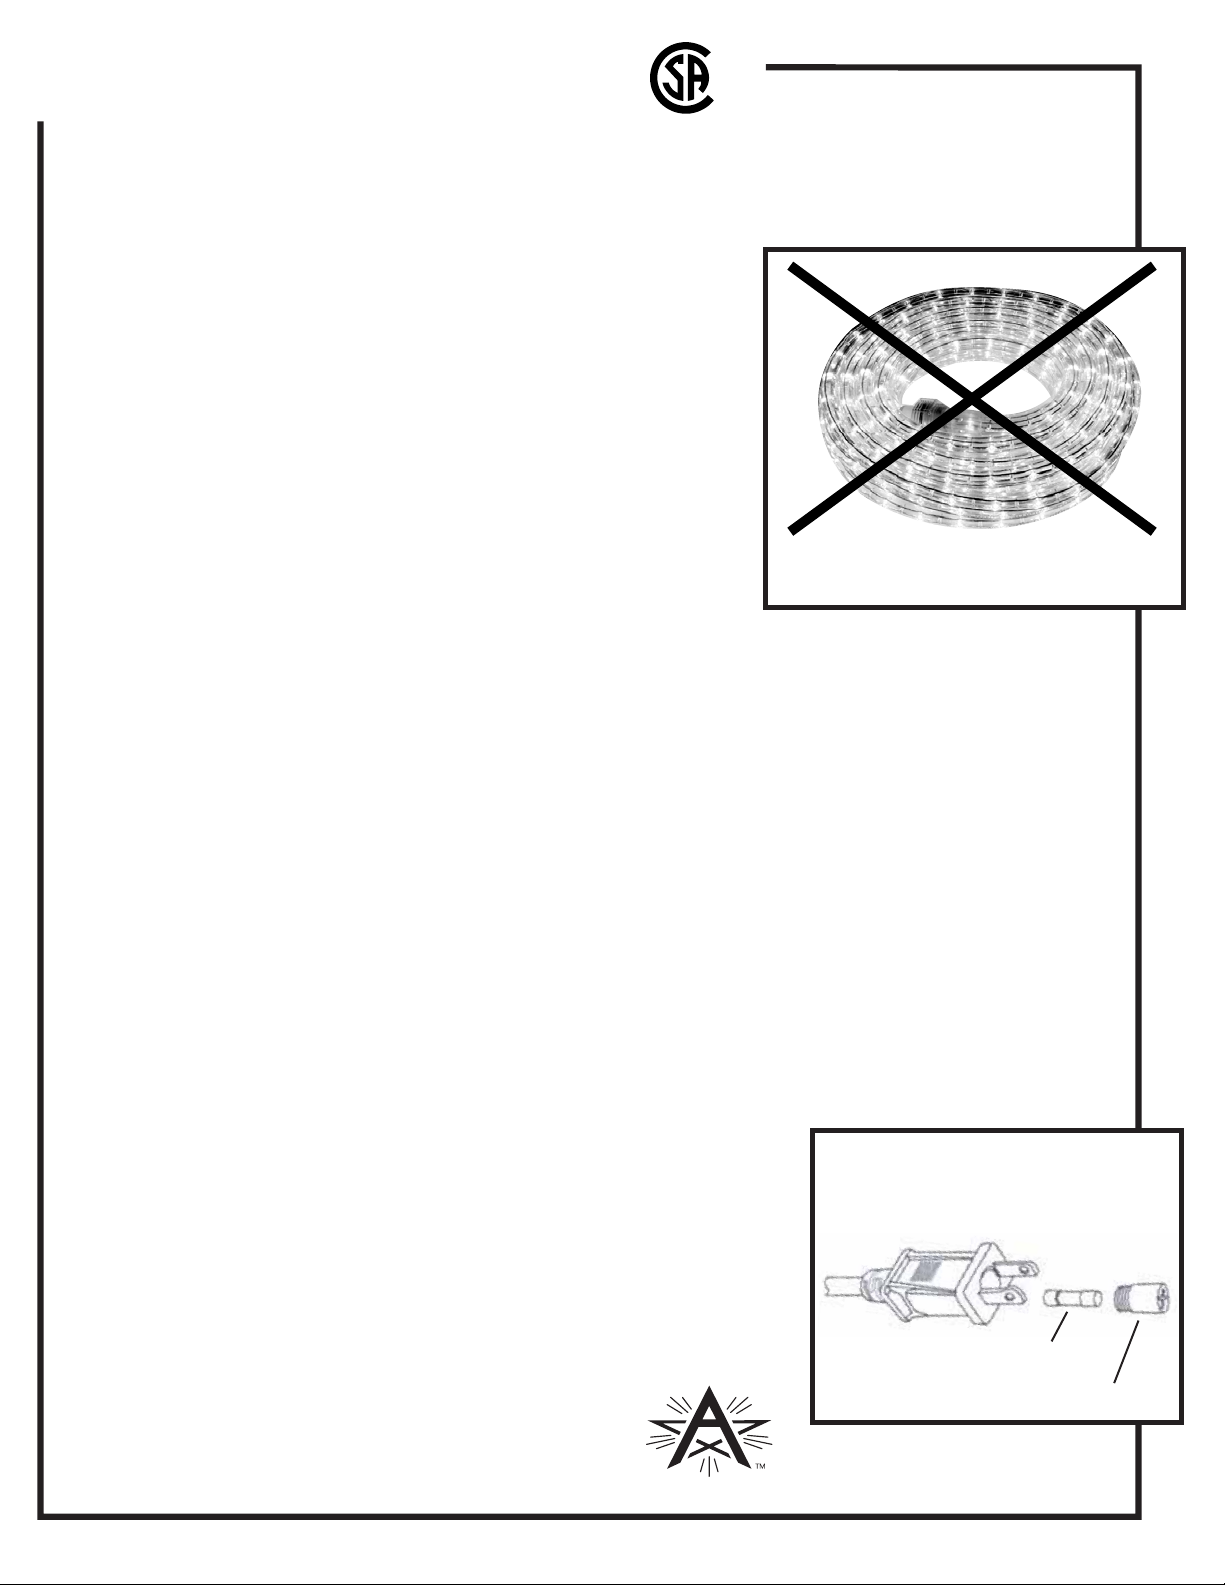
This plug contains an electrical fuse as a safety feature.
To replace the fuse (see Figure 1):
1. Disconnect power before replacing the fuse.
2. Grasp plug and remove from the receptacle or other outlet device.
3. Do not unplug by pulling on the cord.
4. Unscrew the fuse access cover on top of the attachment plug.
5. Remove old fuse carefully.
6. Never attempt to replace the fuse with a higher wattage fuse. Use only
5 Amp 120 Volt fuse. Failure to do so may be a fire hazard.
7. Set new fuse in holder.
8. Reinstall the fuse access cover.
RV-1311
www.americanlighting.com
Figure 1
Fuse
Fuse access cover
Page 2
Commercial Grade Rope Light Kit
Installation intructions for CL-CSA Series
HOW TO EXTEND ROPELIGHT
NOTE: Do not exceed 150’ maximum run distance when linking
extension segments together.
1. Turn the plastic end cap counter-clockwise to remove from the first
rope light.
2. Remove power cord from the second piece of rope light.
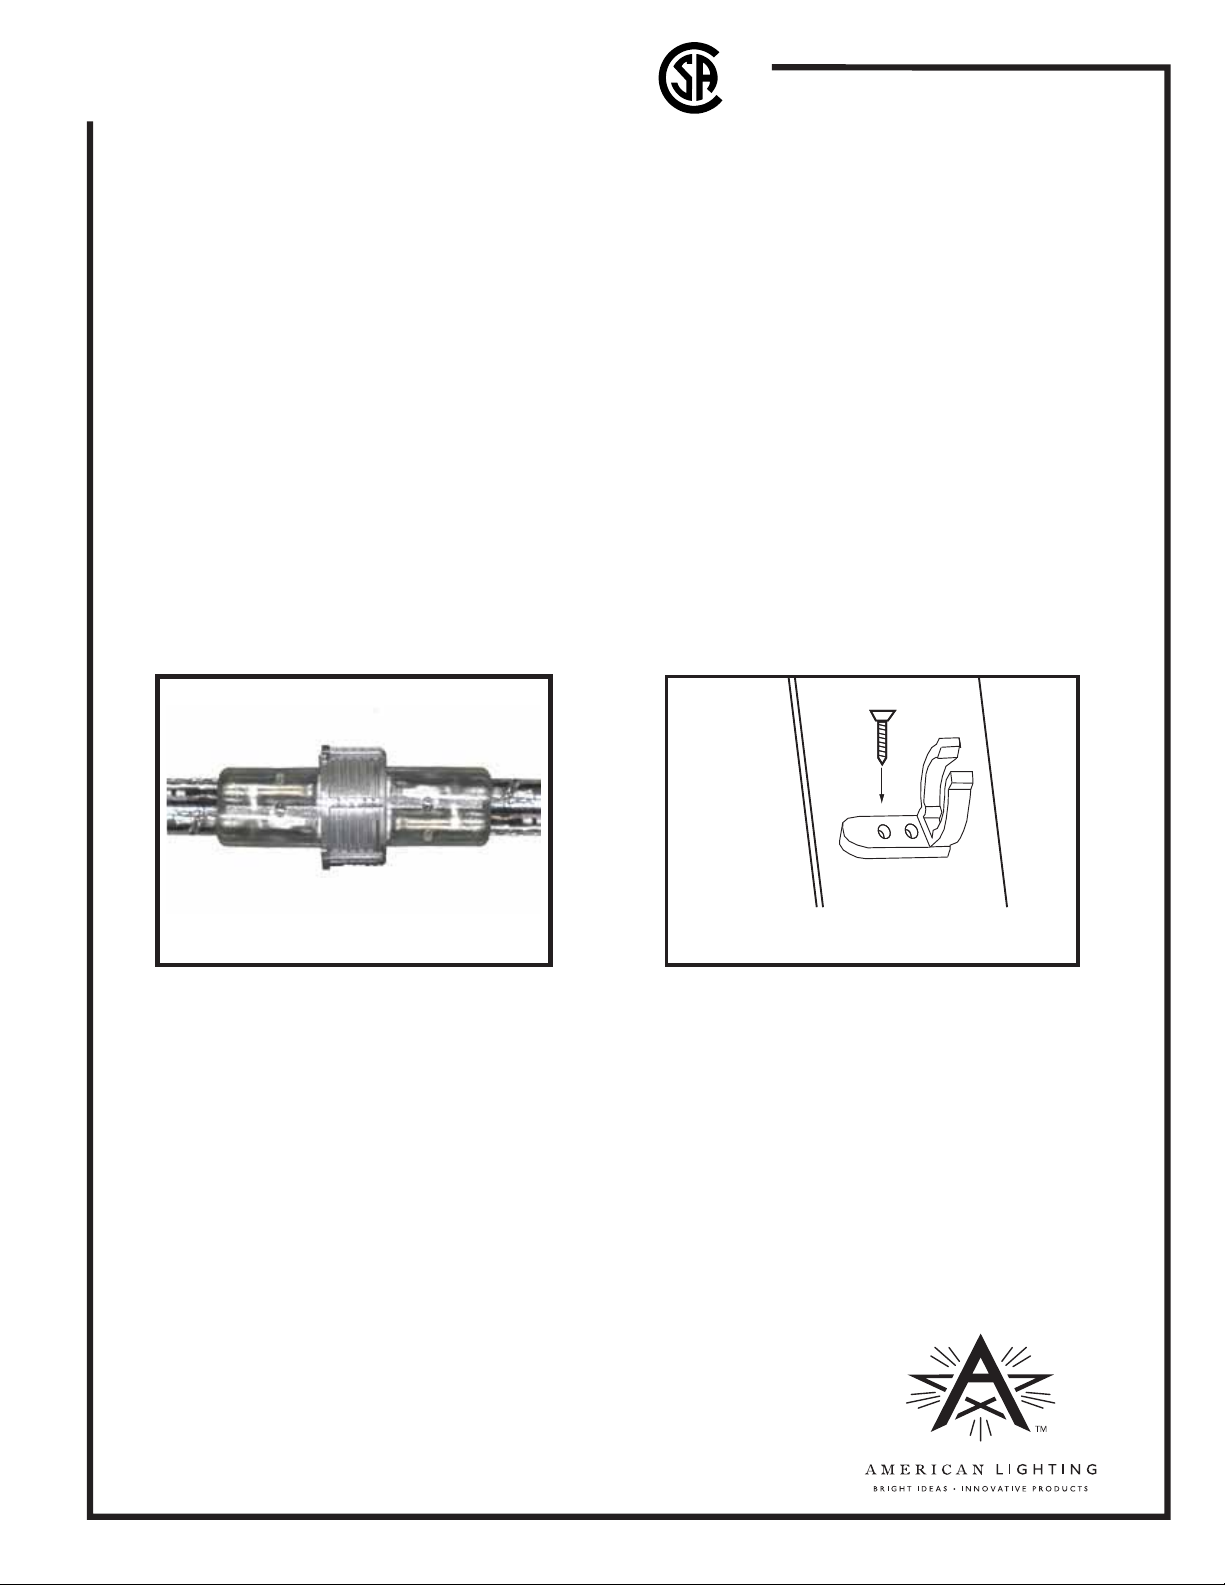
3. Connect both ends of the ropes (the male and female halves plug
into each other). Make sure all connectors are firmly tightened
and secured. See Figure 2.
4. Repeat steps 1, 2 and 3 for any additional extensions.
5. Turn the plastic end cap clockwise until it is firmly tightened and
secured on the last rope light.
HOW TO INSTALL ROPE LIGHT
1. Attach mounting clips with nails or screws onto wooden surfaces. Be sure that it is machanically sound.
See Figure 3.
2. Mounting clips should be evenly spaced and be a maximum of 12” apart.
3. Make sure that the distance between two lines of lighting chains are at least 1/2" apart.
4. Gently press rope light into track or clips so that it snaps into place.
Figure 2
PROP 65 WARNING
Handling the coated electrical wires of this product exposes you to lead, a chemical
known to the State of California to cause cancer, birth defects and other reproductive
har
m. Wash hands after use.
Figure 3
spilc gnitnuom gnihcattAsnoitceS gnitcennocretnI
RV1311
www.americanlighting.com
 Loading...