

Page 1
Board and Batten | Installation Instructions
Tools required for Wood, Composition, Metal and Vinyl Siding:
Shutter spikes: Drill, 1/4” Drill Bit, Hammer.
Note: If a Center Batten is used, you will need a 3/8” bit as well.
Tools required for Brick, Stone and Other Masonry:
Shutter spikes: Drill, 1/4” Masonry Drill bit, Hammer.
Hardware:
Shutter Spikes (Bag of 12), Shutter Board, Batten
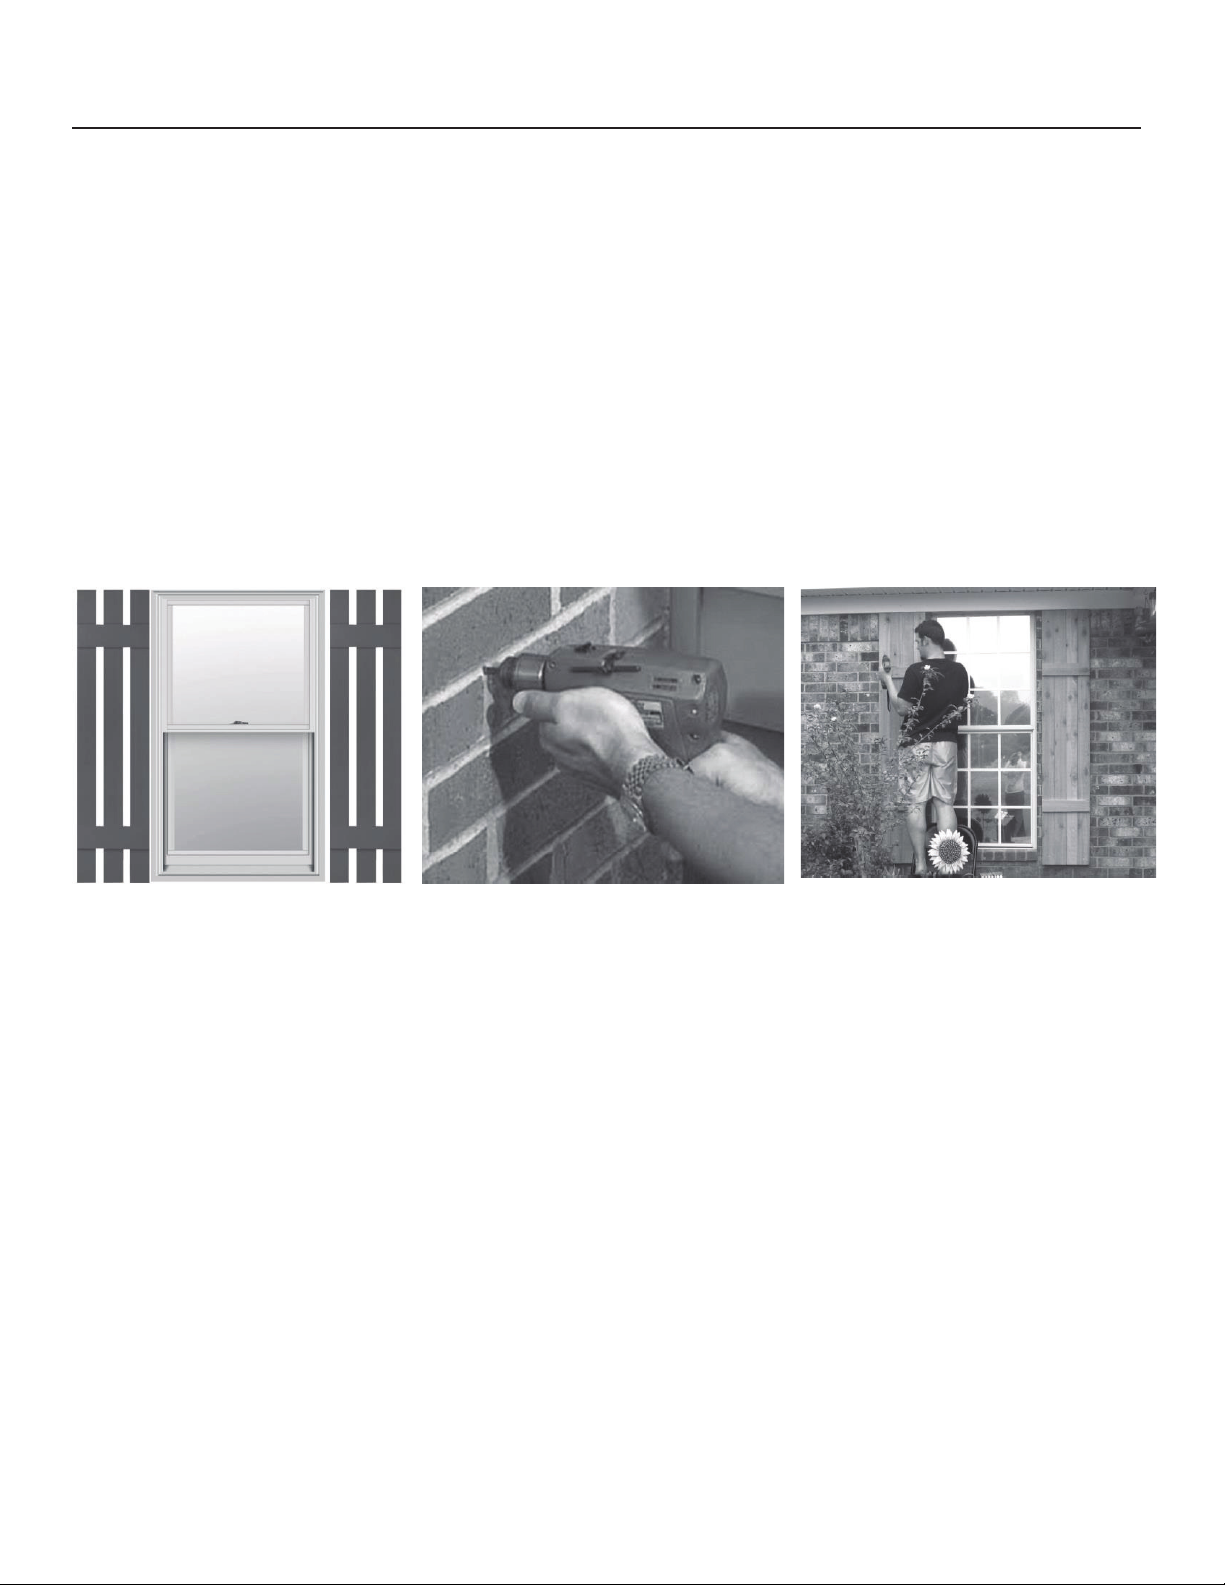
Figure 1 Figure 2 Figure 3
Center Batten: The Batten is the board that goes horizontal top and bottom of shutter. If you order
shutters 55” and longer, it is recommended to add the center batten to help secure the center part of
the shutter. Ordering the 3rd batten for the smaller size shutter will allow for a more consistent look
with other shutters.
Figure 1
STEP 1:
Place shutter next to the window in the
desired location. Drill ¼” hole through
the slots provide
d on the shutter,
behind the battens. While battens are
removed.
If installation is occurring on
masonry or brick,
Drill
locations should
be in
line with mortar joints. (see
Figure 2). If the slots are not in line
with mortar joints, simply drill new
holes, underneath batten area that
allow for alignment with mortar joints.
New holes should be covered by
batten once snap
ped in place.
Figure 2
STEP 2:
Remove shutter from the wall. Drill
1/4” holes 2” deep into the wall surface.
Make certain no electrical wires or pipes
are in the wall where holes are to be
drilled. (see Figure 2)
Figure 3
STEP 3:
Hold shutter in
position and secure in
p
lace, using shutter spikes provided.
Carefully tap shutter spikes through
shutter into holes in the wall.
Tap until snug to the wall.
Using excessive force while installing
hardware will cause them to break.
STEP 4:
Snap battens onto the shutter to conceal shutter spikes.
Note: If a third or Center batten is used, follow similar installation instructions. Slots are not included
on center area of shutter. Underneath Center batten area, use 3/8” bit and drill larger hole through
shutter ONLY in proper spot per previous instructions. Then us ¼” bit to complete installation.
 Loading...