

Alnor APM 360 OWNER’S MANUAL

OWNER’S MANUAL
APM 360
Multi-Purpose Meter
®
A TSI Company
®

TABLE OF CONTENTS
General Description 2
Using the APM 360 Safely 2
Getting Started 2
Installing Batteries 2
Preparing the Instrument 3
Attaching the Optional Probes (175, 275 and 220B) 3
Attaching a MicroPrinter 3
Start-Up Sequence 3
Clearing the Memory 3
About the APM 360 Display 4
APM 360 Keypad and Menus 4
The APM 360 Keypad 4
Primary Key Functions 4
Secondary Key Functions 5
Menu Selections 5
Menu Items 5
Using the APM 360 6
Basic Functions 6
To Change Units 6
To Hold a Reading (For Storage or Printing) 6
Measurement Modes 6
Volume Selection 6
Data Storage 7
Troubleshooting & Maintenance 8
Service Information 9
1
GENERAL DESCRIPTION
The APM 360 multi-purpose meter measures
air velocity, air volume flow, temperature, and
relative humidity when used with various
Alnor probes. The meter recognizes the type
of probe attached and digitally displays the
measurement.
Functions are selected through a keypad or an
RS232 serial port. Each key has dual functions.
In addition, the user can choose from many
menu-driven items for added measuring
flexibility. Options such as units of measurement
and time-constant settings can also be selected.
The APM 360 displays results on a liquid-crystal
display (LCD), with additional display segments
for memory locations and units of measure.
USING THE APM 360 SAFELY
The instrument’s memory can hold 100
readings of air velocity, volume flow,
temperature, or relative humidity. For
convenience, memory can be organized into
sections called “pages.” All data is saved by
the instrument’s own battery-powered system.
Readings can also be printed out during
operation with an optional printer, or can be
saved for subsequent downloading. The RS232
serial connection attaches the APM 360 to a
printer or personal computer.
The APM 360 uses three (3) AA size alkaline
batteries for low replacement cost. The
instrument’s automatic shut-off option can be
used to conserve battery power.
When using the instrument to check air flow
in an elevated workplace, make certain that
you can safely raise and hold the instrument
while making measurements. This is especially
important when you are working on a ladder.
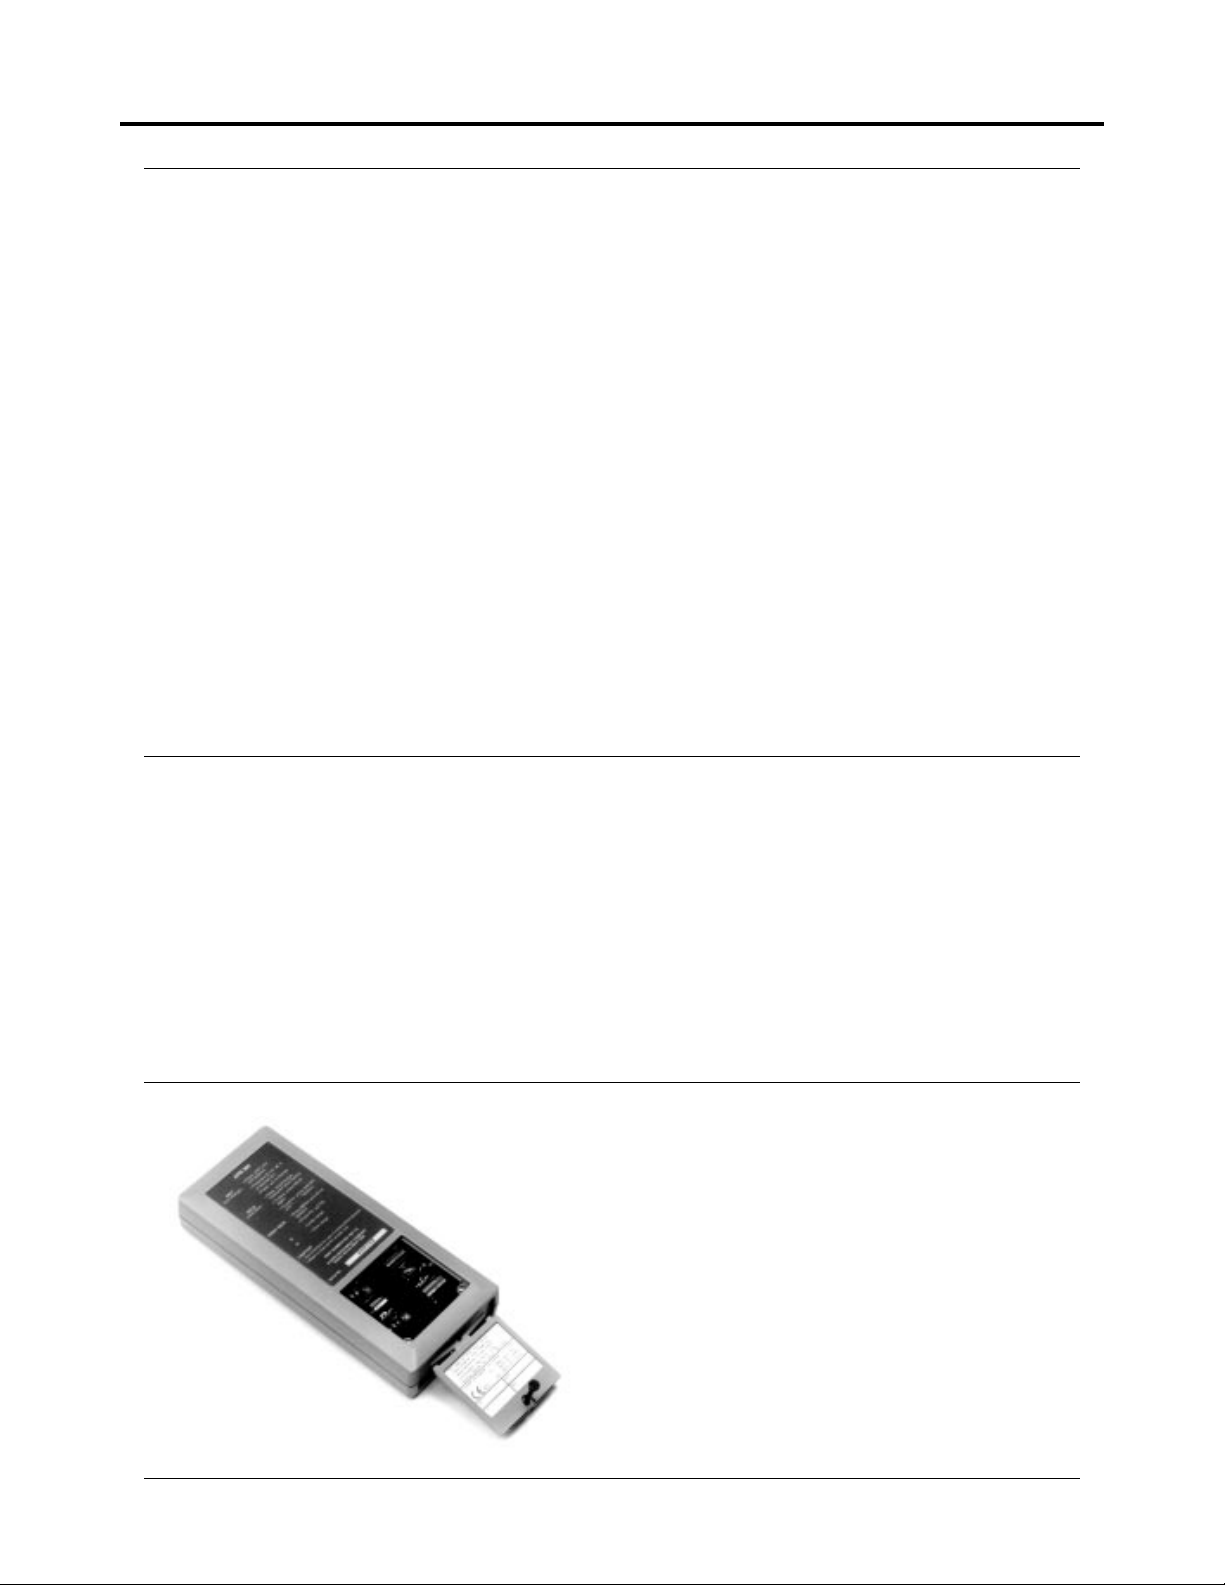
GETTING STARTED
Figure 1—Back view of instrument
Avoid catching probes, cables, or attachments in
moving machinery. Use the instrument only for
measurements using air. Avoid any corrosive or
other dangerous or explosive gas mixtures.
Note: Please dispose of used batteries in a
responsible manner.
Installing Batteries
The APM 360 uses three (3) AA size nonrechargeable batteries. The unit was shipped
with batteries not installed. You will find the
batteries in the instrument package.
To install the batteries:
• Loosen the battery cover screw on the
rear of the instrument.
• Slide the cover up and lift it out. (Fig. 1)
2

• Install the batteries over the pull strap,
taking care to observe each battery’s
polarity.
• Replace the cover and tighten the
screws.
Note: When the batteries become low, the
LCD will show [ LO BATT] above the reading.
From that point, you will have about one
hour of normal use left. If [
] comes on
continuously and replaces the reading,
the battery voltage is too low for accurate
measurements and the meter will turn itself off.
LO BATT
Attaching a MicroPrinter
Connect the 8521 to the APM 360 before
turning on the instrument. The connector on
the APM 360 is a telephone-style jack.
To attach the printer:
• Grasp the 8521 integral cable at the
connector.
• Align the keyway.
• Gently push the connector into the
APM 360 until it is locked.
Start-Up Sequence
Each time you turn the instrument on, some
basic functions are tested. The following will
occur:
Low battery displays
Always keep a replacement set of new
batteries available.
Preparing the Instrument
The unit is shipped with its auto shut-off
feature enabled. This setting will automatically
turn the unit off after a twenty minute period
of keypad inactivity. To disable this feature,
follow the instructions in the menu selections
section of this manual.
If desired, attach the wrist strap to the bottom
of the instrument.
Attaching the Optional Probes (175, 275
and 220B)
• Make sure the meter is off before
attaching or detaching a probe.
• Remove the protective cap from the
probe and save to replace on the probe
later for proper storage.
• Attach the 12-pin connector on the probe
to the probe port on top of the meter.
• Turn connector clockwise to tighten.
• All the LCD segments will turn on.
• The model of attached probe will be
displayed.
• The current software revision level will
be displayed.
• The message [
] will appear.
• The meter will begin to measure.
The meter starts in RUN mode. It will display
measurement values associated with the unit
last used. If the value is OVER RANGE, the
display will show [ ]; if the instrument is
measuring an UNDER RANGE value, the
display will show [
].
Clearing the Memory
If this is the first time you are using the
APM 360, clear the memory before using the
instrument.
Clearing the memory is done with the following
steps:
• Push CLR for three seconds until [
appears.
• Push ↑ until [
] appears.
• Push ↵ to clear memory.
]
3
 Loading...