

Page 1
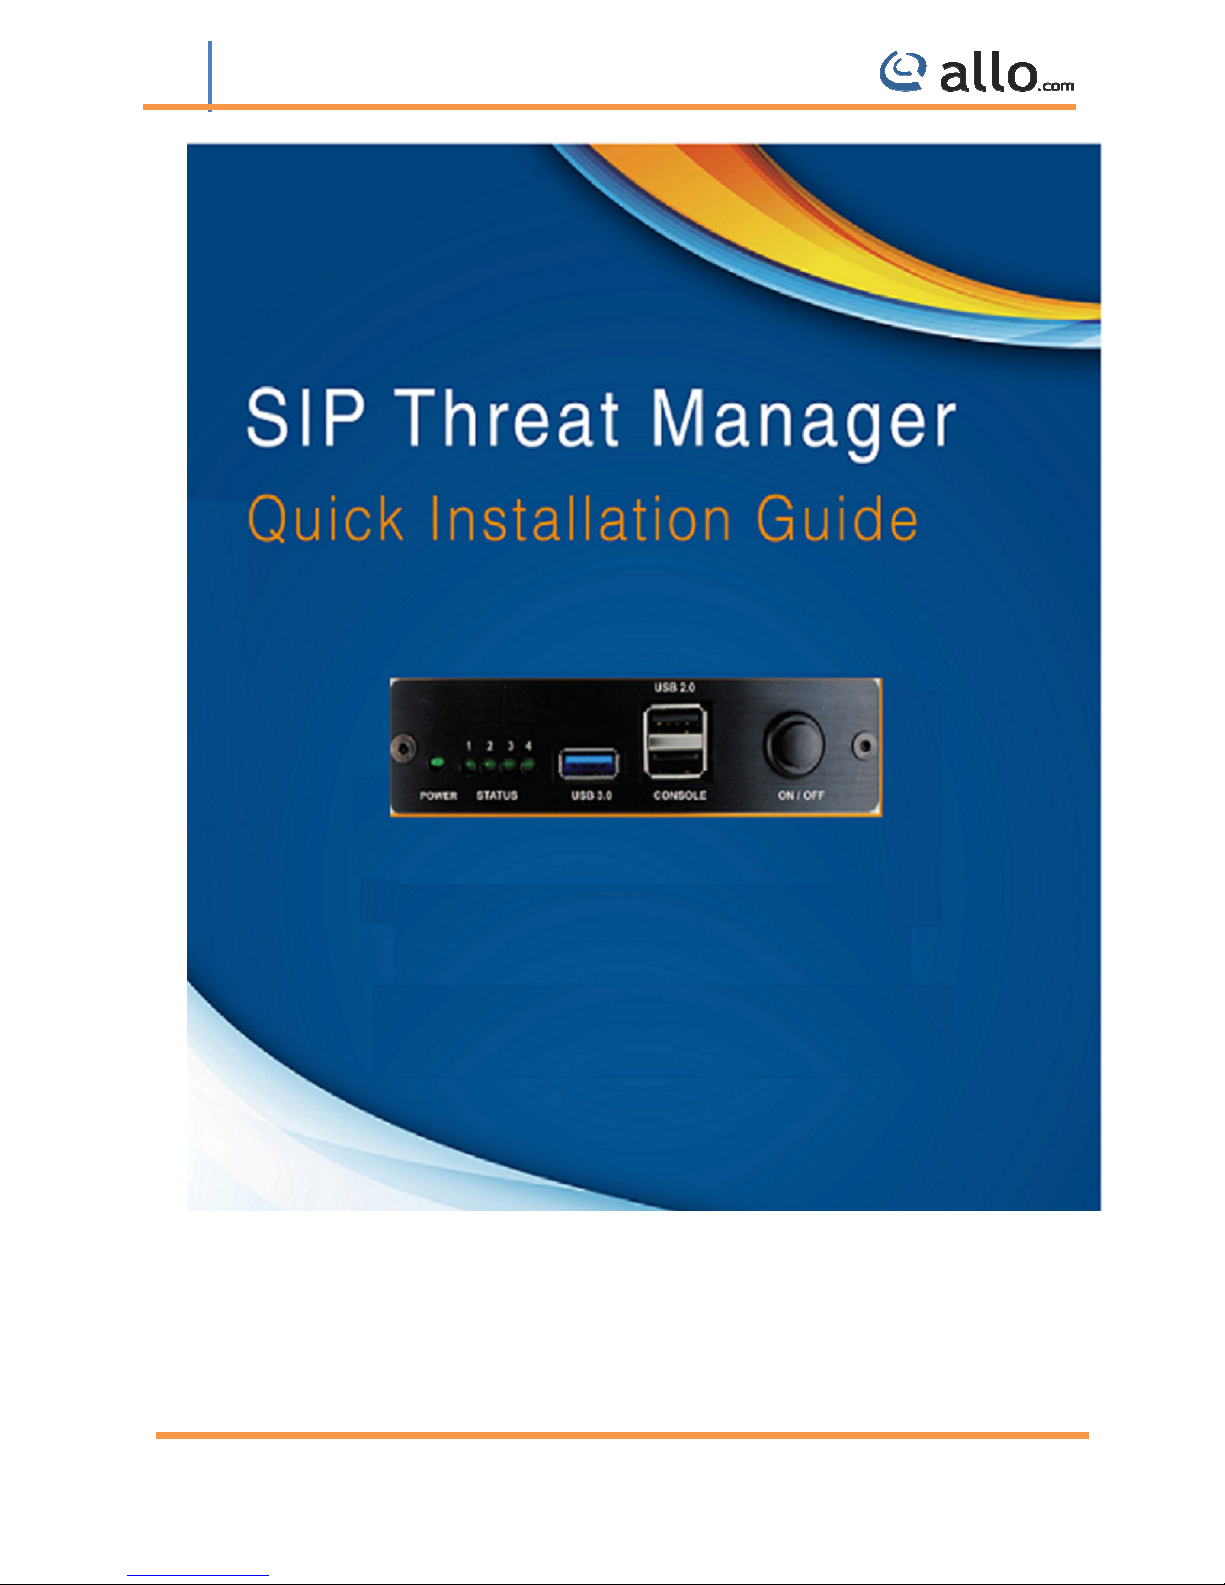
STM Quick Installation Guide
STM Appliance 1
www.allo.com Version 2.0 1
Page 2

STM Quick Installation Guide
STM Appliance 1
Copy Right
Copyright © 2014 Allo.com. All rights reserved.
No part of this publication may be copied, distributed, transmitted, transcribed, stored in a
retrieval system, or translated into any human or computer language without the prior written
permission of Allo.com. This document has been prepared for use by professional and properly
trained personnel, and the customer assumes full responsibility when using it.
Proprietary Rights
The information in this document is Confidential to Allo.com and is legally privileged. The
information and this document are intended solely for the addressee. Use of this document by
anyone else for any other purpose is unauthorized. If you are not the intended recipient, any
disclosure, copying, or distribution of this information is prohibited and unlawful.
Disclaimer
Information in this document is subject to change without notice and should not be construed as a
commitment on the part of Allo.com. And does not assume any responsibility or make any
warranty against errors. It may appear in this document and disclaims any implied warranty of
merchantability or fitness for a particular purpose.
About this manual
This manual describes the Allo product application and explains how to work and use it major
features. It serves as a means to describe the user interface and how to use it to accomplish common
tasks. This manual also describes the underlying assumptions and users make the underlying data
model.
Document Conventions
In this manual, certain words are represented in different fonts, typefaces, sizes, and weights. This
highlighting is systematic; different words are represented in the same style to indicate their inclusion
in a specific category. Additionally, this document has different strategies to draw User attention to
certain pieces of information. In order of how critical the information is to your system, these items
are marked as a note, tip, important, caution, or warning.
www.allo.com Version 2.0 2
Page 3
STM Quick Installation Guide
STM Appliance 1
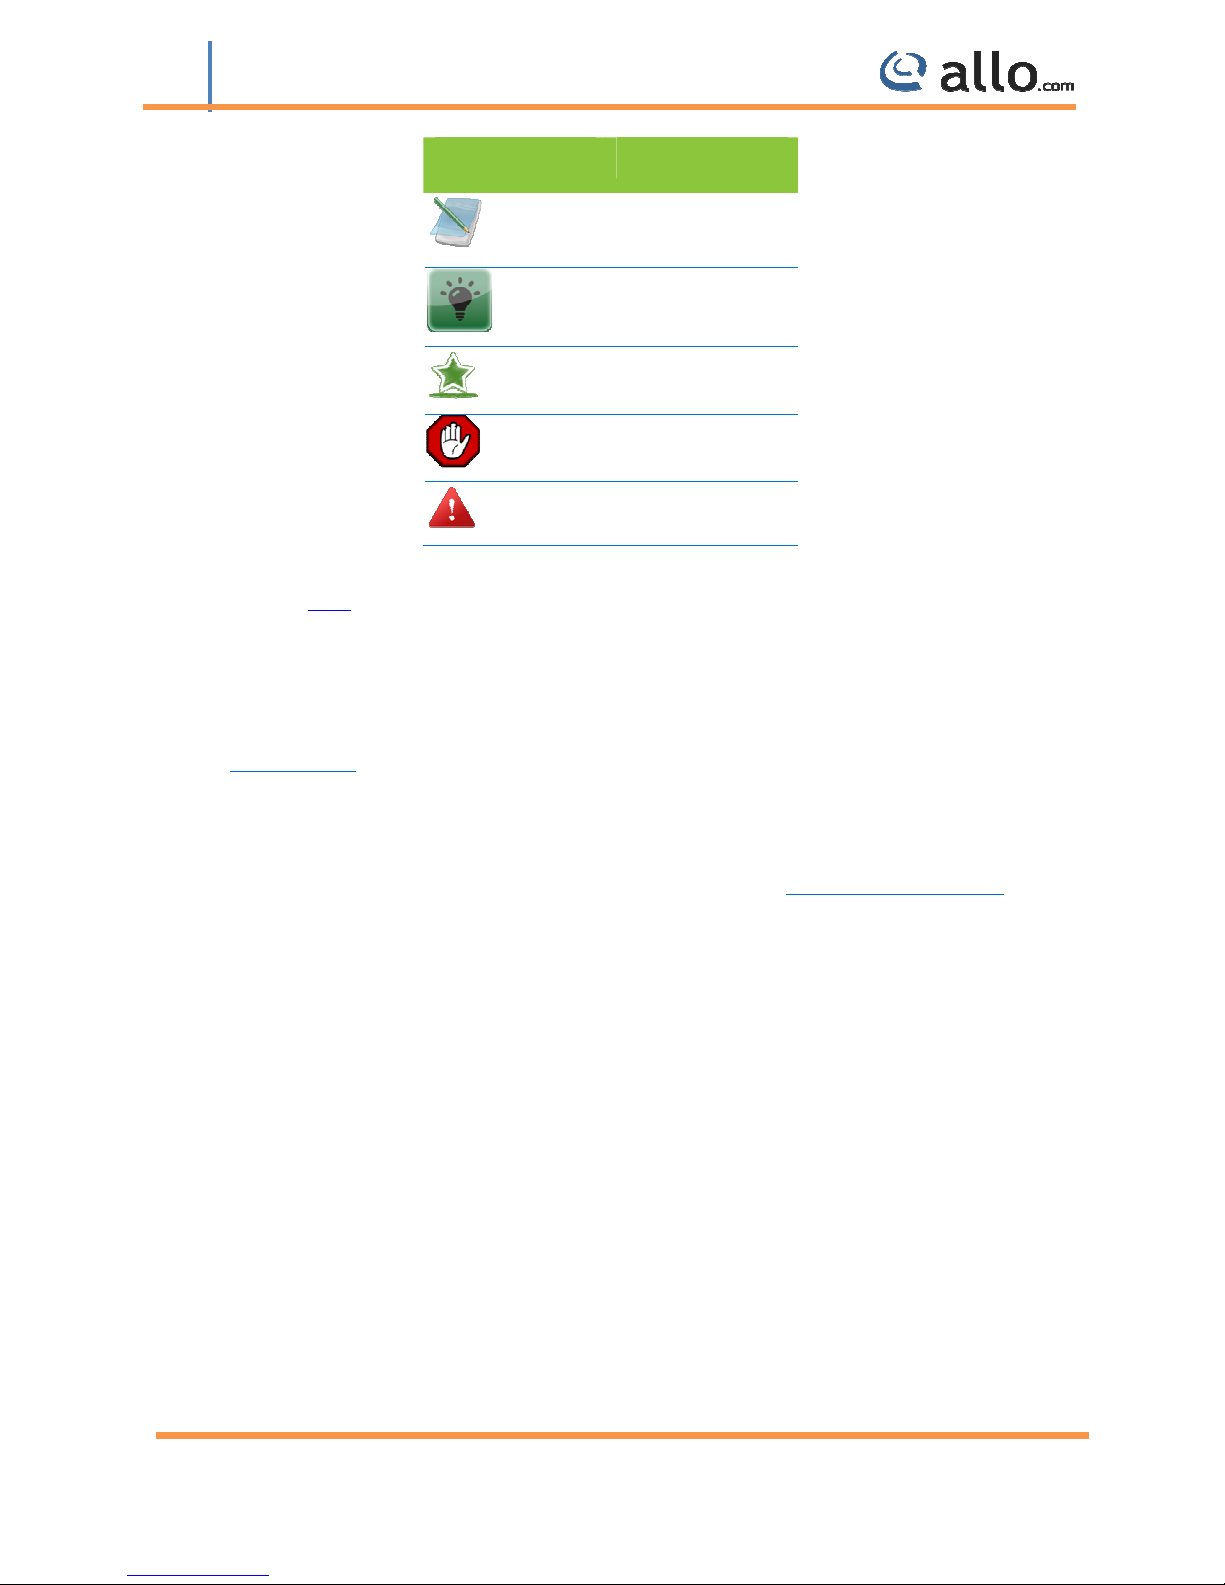
Icon Purpose
Bold indicates the name of the menu items, options, dialog boxes, windows and functions.
• The color blue with underline is used to indicate cross-references and hyperlinks.
• Numbered Paragraphs - Numbered paragraphs are used to indicate tasks that need to be carried
out. Text in paragraphs without numbering represents ordinary information.
• The Courier font indicates a command sequence, file type, URL, Folder/File name e.g.
www.allo.com
Note
Tip/Best Practice
Important
Caution
Warning
Support Information
Every effort has been made to ensure the accuracy of the document. If you have comments,
questions, or ideas regarding the document contact online support: http://support.allo.com
www.allo.com Version 2.0 3
Page 4

STM Quick Installation Guide
STM Appliance 1
Table of Contents
About this manual ............................................................................................................. 2
Document Conventions ..................................................................................................... 2
1. Overview...................................................................................................................... 5
1.2 Notification LEDs (On the Front Panel of the STM)....................................................... 5
2. Deployment Considerations.......................................................................................... 6
3. Initial Setup & Configuration......................................................................................... 7
4. Accessing the WebUI .................................................................................................... 8
www.allo.com Version 2.0 4
Page 5
STM Quick Installation Guide
STM Appliance 1
1. Overview
Congratulations on your purchase of the allo STM appliance to protect your SIP based PBX, VOIP
Gateway deployments. This Quick Start Guide describes the steps involved in setting up the allo
STM Appliance.
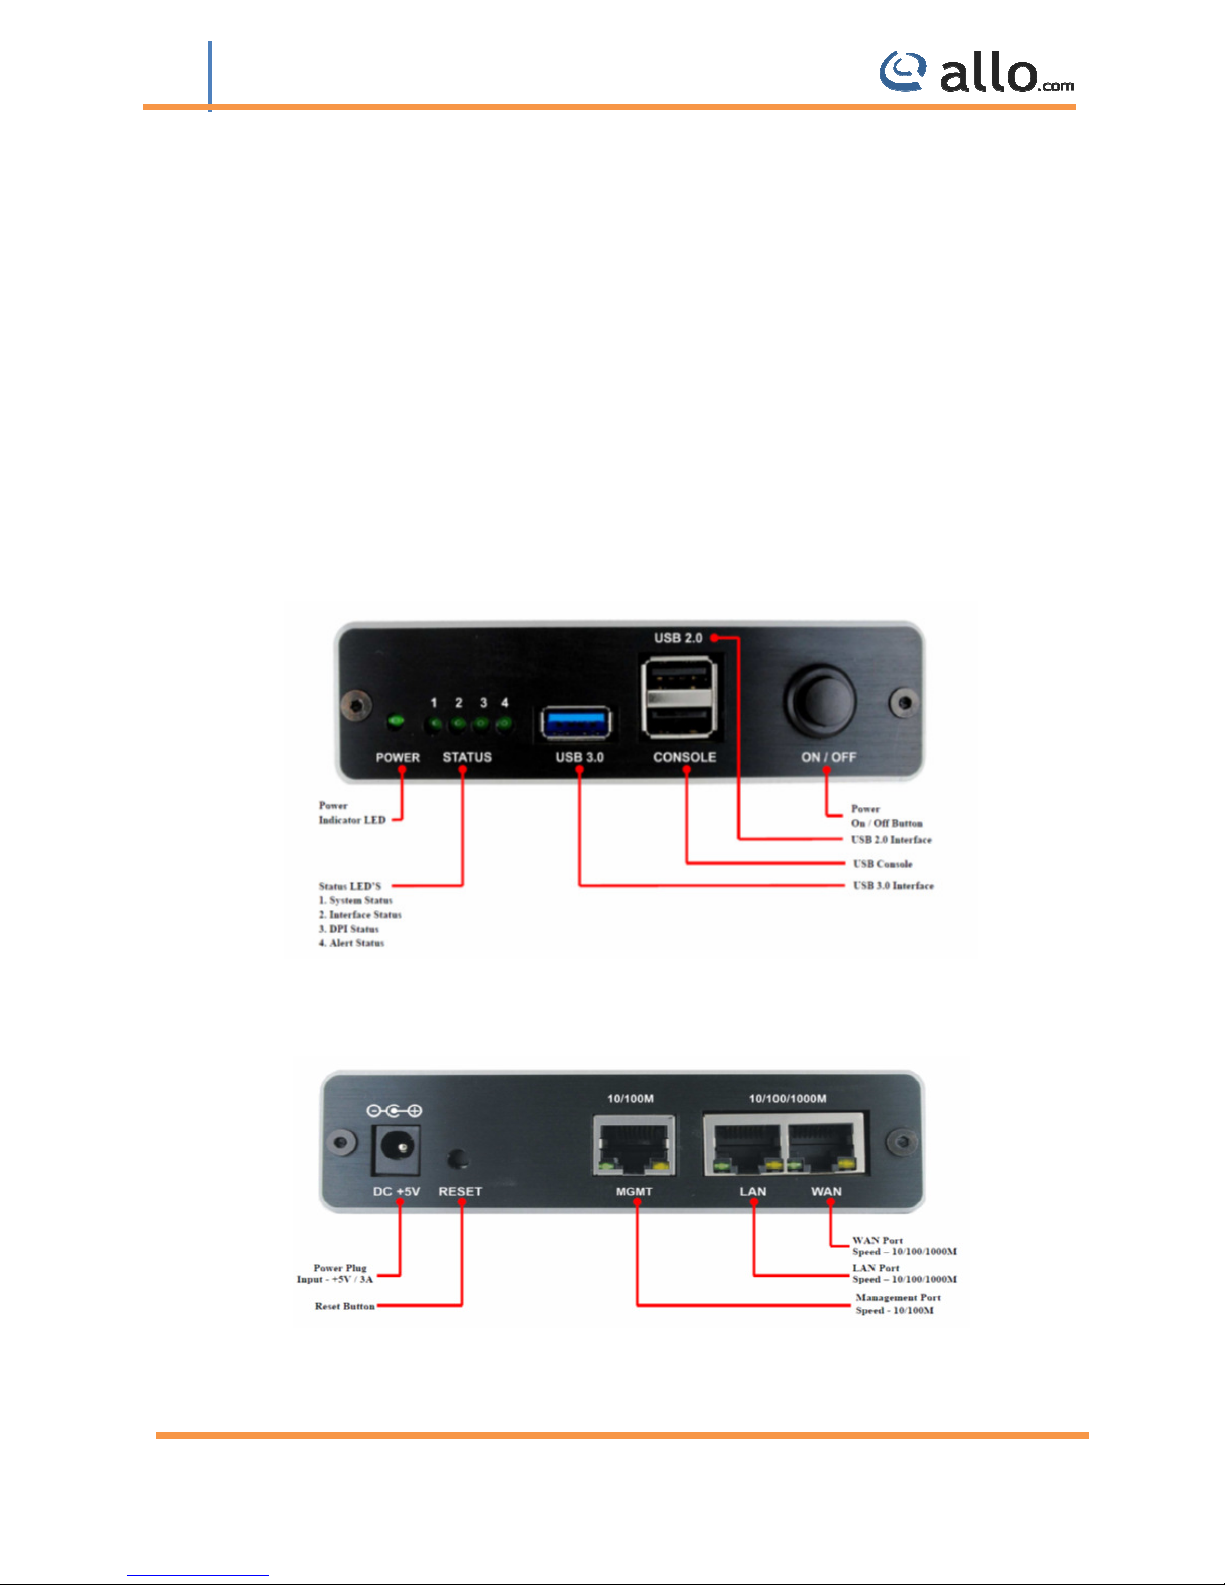
It comes with 1 fast Ethernet LAN interface and 1 fast Ethernet WAN interface. An additional
USB port has been provided for adding the secondary USB storage that will be used by the
appliance for archiving the security alert lock. The factory reset button is located next to the USB
Power socket.
1.2 Notification LEDs (On the Front Panel of the STM)
Figure 1: Front Panel LED Notifications
STM Rear View:
Figure 2: STM Rear View
www.allo.com Version 2.0 5
Page 6
STM Quick Installation Guide
STM Appliance 1
2. Deployment Considerations
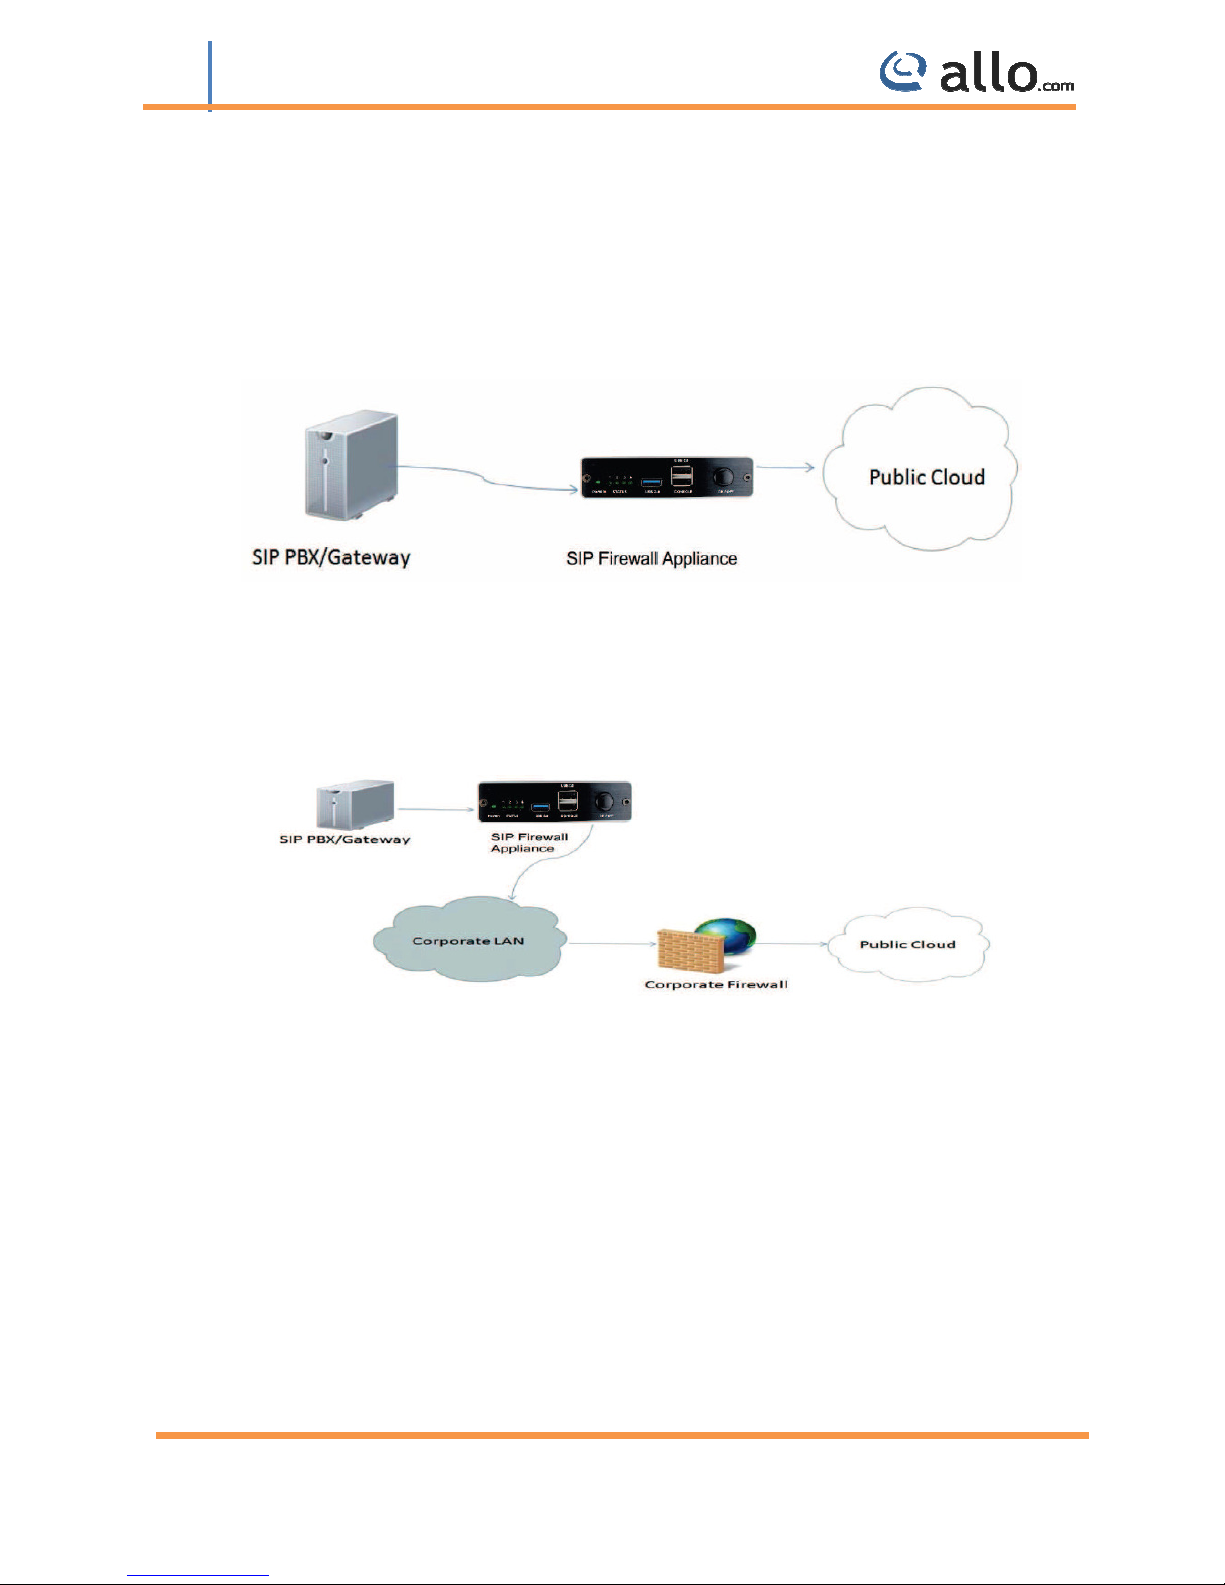
The STM has been made to protect the SIP based PBX/Gateway Servers against SIP based
network threats and anomalies. Thus it is recommended to deploy the STM along with the
PBX/Gateway deployment as given in the following scenarios based on what is applicable in the
user’s setup.
Scenario 1
Figure 3: Scenario 1
Scenario 2
In the case of PBX deployed in the LAN Setup, the following setup is recommended as it would
help to protect against the threats from both Internal Network as well as the threats from the
Public Cloud penetrated the Non SIP aware Corporate Firewall.
Figure 4: Scenario 2
Scenario 3
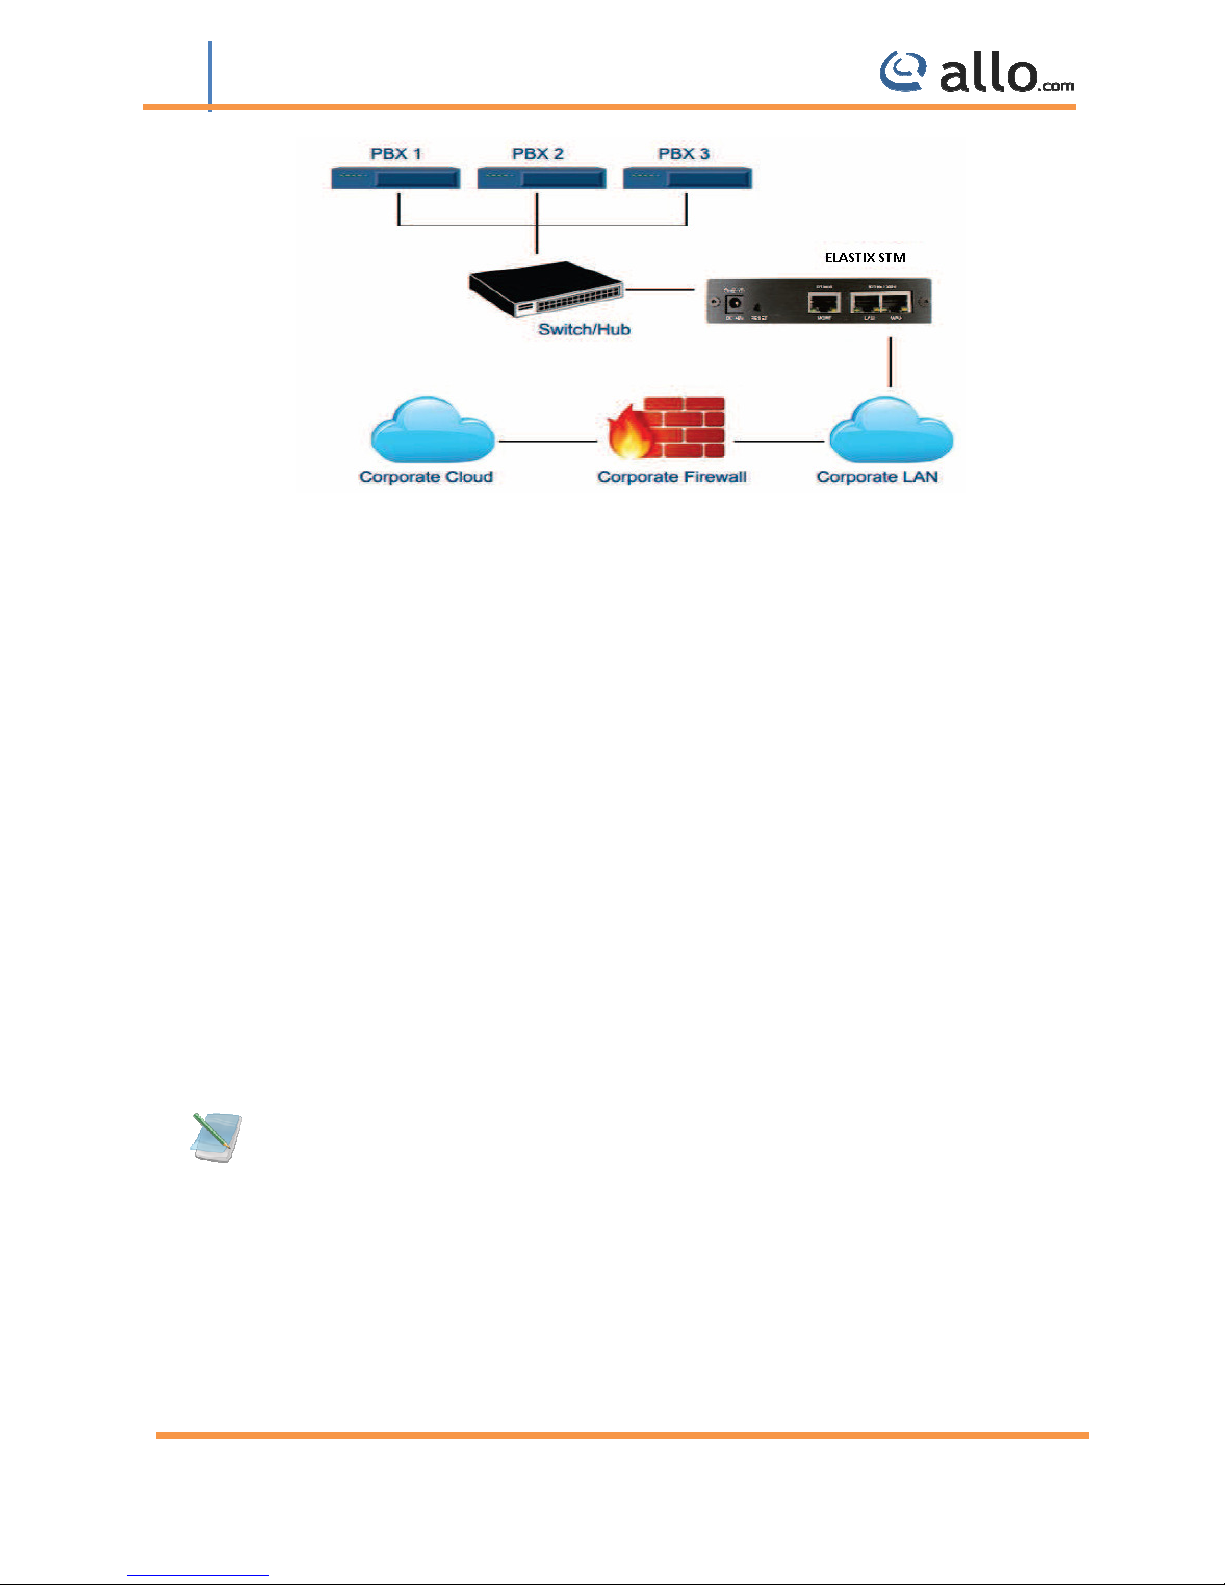
In the case of multiple IPPBX/ VOIP Gateways are deployed in the LAN Setup, the following
setup is recommended as it would help to protect against the threats from both Internal
Network as well as the threats from the Public Cloud penetrated the Non SIP aware Corporate
Firewall.
www.allo.com Version 2.0 6
Page 7
STM Quick Installation Guide
STM Appliance 1
Figure 5: Scenario 3
The STM package includes:
1 STM Appliance
1 USB Power Adapter
1 Serial Console Cable
2 Ethernet Cables
3. Initial Setup & Configuration
1. Unpack the items from the box
2. Check that you have all the items listed in the package content.
3. Connect the LAN port of the STM to the PBX/VOIP Gateway.
4. Connect the WAN port of the STM to the untrusted/public network.
5. Connect the appliance to the power socket using the USB power cable.
6. The device will take about a minute to boot up & will be fully functional with the default
configuration.
Some of the PBX/Gateway devices may have an exclusive LAN/Mgmt Interface for device
management purpose other than the Data Interface (also referred as the WAN/Public Interface).
In such cases LAN port of the STM should be connected to the Data Interface (WAN/Public
Interface).
www.allo.com Version 2.0 7
Page 8
STM Quick Installation Guide
STM Appliance 1
The device operates as a transparent bridging firewall with Deep Packet Inspection enabled on
the SIP traffic. By default, the appliance has been configured with static IP of 10.0.0.1 (Net mask
255.255.255.0).
The device has been made to be fully functional with the default configuration. However if the
user needs to tune the device settings & the DPI policies, they can tune the configuration via the
Device WebUI.
The device also provides the command line interface accessible via SSH, which will allow
configuring the basic settings and viewing device status.
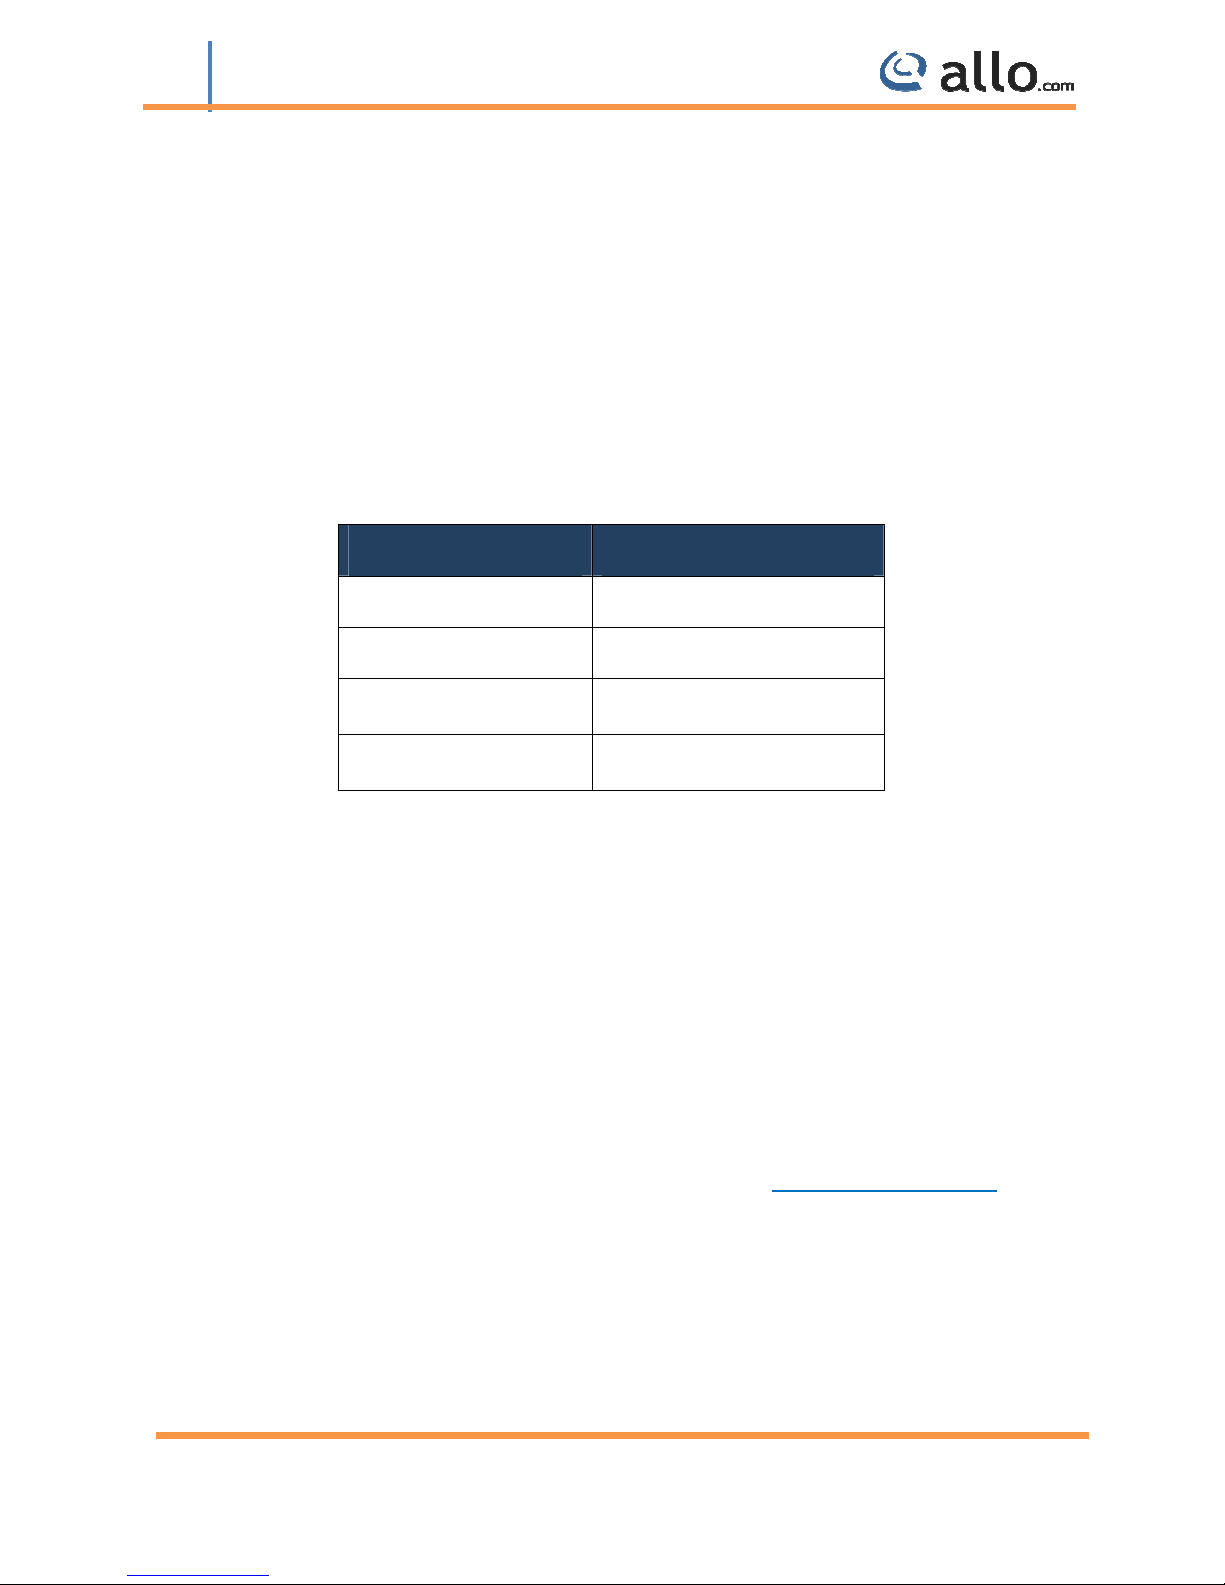
Management Access
Login Credentials
Web GUI admin/admin
SSH CLI admin/stmadmin
Management Vlan IP 192.168.100.1/255.255.255.0
Default Device IP 10.0.0.1/255.255.255.0
4. Accessing the WebUI
The user can connect to the device via management Vlan to access WebUI during initial setup.
The management Vlan configured on the device, is accessible via the LAN/WAN ports & is made
assigned to the default IP address ‘192.168.100.1’
Use the procedure given below to access the WebUI,
1. Connect the LAN port of the STM to a PC.
2. Assign the IP Address 192.168.100.2 to the PC. Set the Net mask as 255.255.255.0.
Now you can access the device from the browser using the URL https://<192.168.100.1>
Configure the STM Device IP Address from the “Device Settings” Page as per your local network
range. Verify the IP address set to STM from the dashboard page. Once the user assigns the STM
Device IP Address successfully, he can access the device using that IP address further.
www.allo.com Version 2.0 8
Page 9

STM Quick Installation Guide
STM Appliance 1
Now he can disconnect the PC and connect the LAN Port to the PBX/PBX Network that needs to
be protected.
The WebUI has been made accessible only via HTTPS. The recommended browser for
accessing STM WebUI is Mozilla Firefox.
The UI allows the administrator to configure the management Vlan IP addresses. In case if
the user has changed the management Vlan IP address, they need to assign the corresponding
network address to his PC for the management access subsequently.
Alternatively the user can access the device via the static IP 10.0.0.1 and configure the
network settings during first time installation. Connect a PC to the LAN port of the STM and
assign the IP address 10.0.0.100/255.255.255.0 to the PC. Now you can access the device from
the browser using the URL https ://< 10.0.0.1>
If the device is not accessible after configuring the new network configuration, Try
rebooting the device and check the device dashboard accessing via Management Vlan.
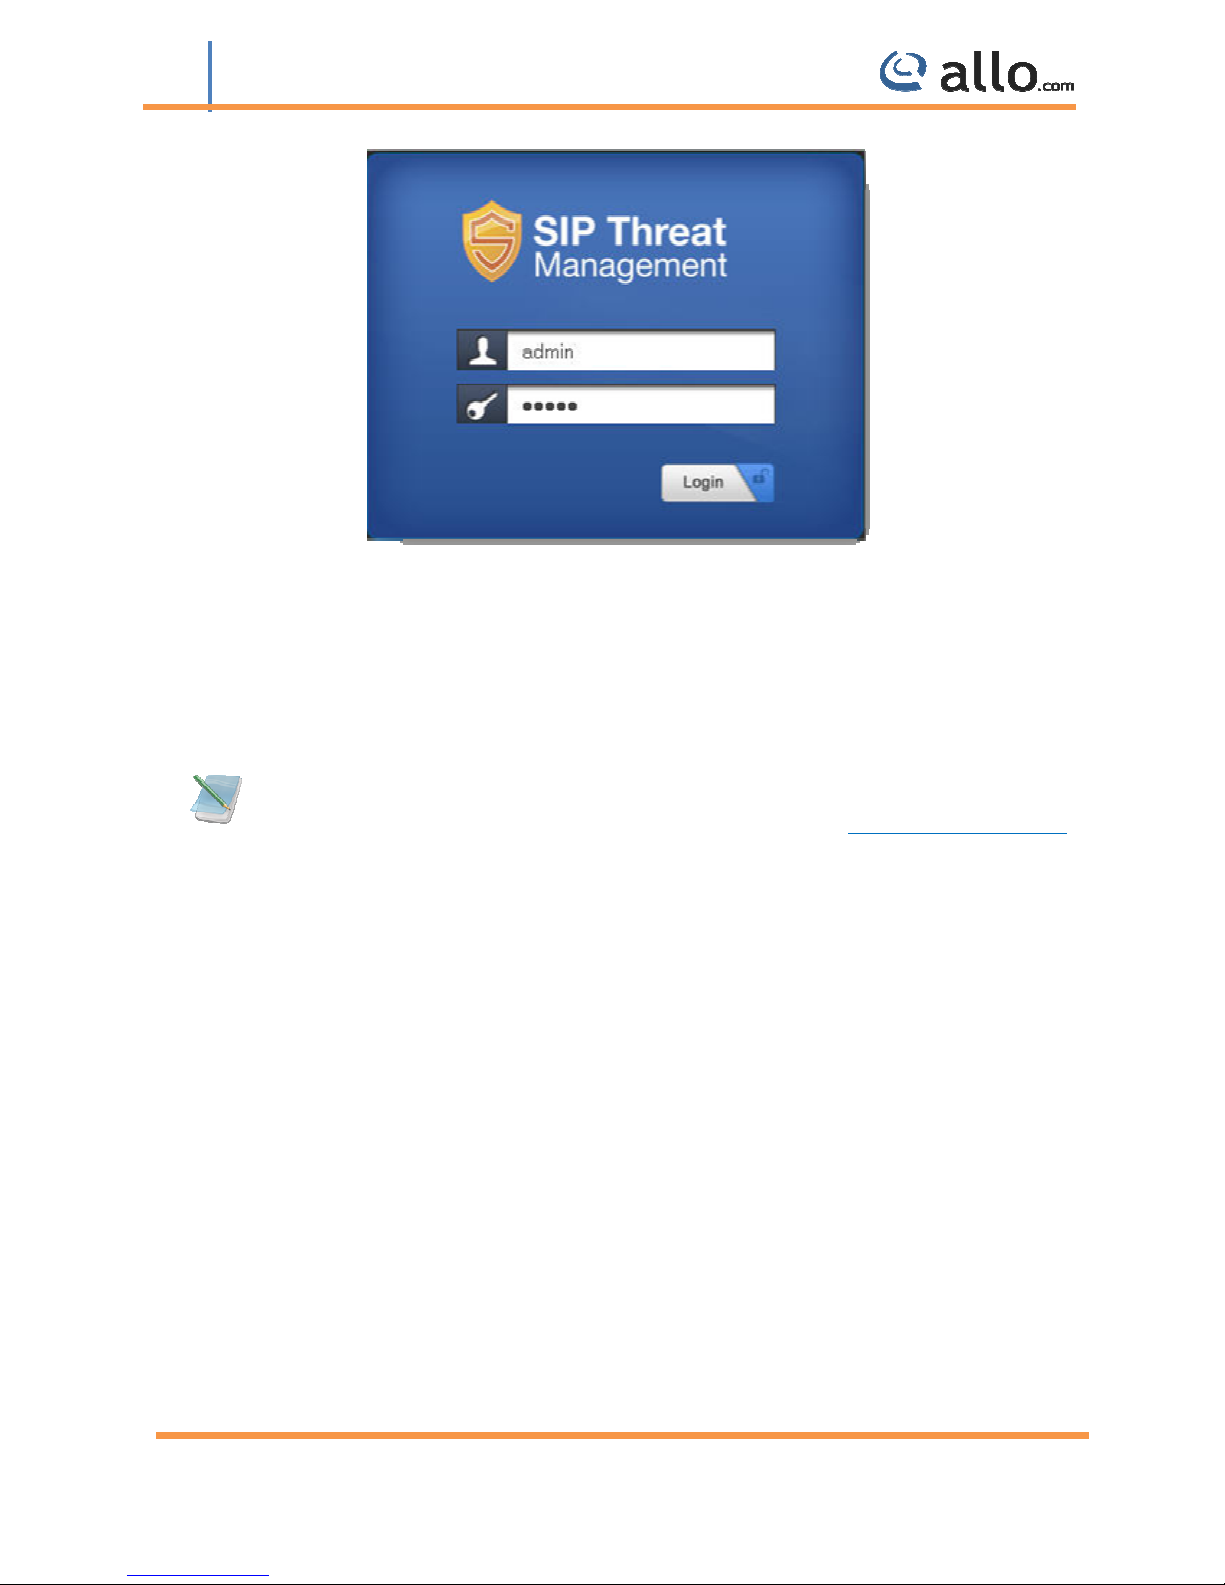
On launching the STM WebUI, the web application will prompt to enter the administrator
credentials to login.
www.allo.com Version 2.0 9
Page 10
STM Quick Installation Guide
STM Appliance 1
Figure 6: Login Page
THE FULL VERSION MANUAL WILL PROVIDE YOU DETAILED INSTRUCTIONS ABOUT THE FULL
FEATURE SET OF THE SIP THREAT MANAGER
Any Technical assistance required, Kindly contact the support at http://support.allo.com
THANK YOU!
www.allo.com Version 2.0 10
Page 11

STM Quick Installation Guide
STM Appliance 1
www.allo.com Version 2.0 11
 Loading...