

Page 1
ALL0236R
Wireless N Extender
Table of Contents
User’s Manual
V1.0
Page 2

Wireless N Extender Version 1.0
Table of Contents
ABOUT THE DEVICE ................................................................................................................................ 3
M
INIMUM SYSTEM REQUIREMENTS
P
ACKAGE CONTENTS
D
EVICE OVERVIEW
Front Panel ........................................................................................................................................... 4
Bottom Panel ......................................................................................................................................... 5
CONFIGURING THE DEVICE ................................................................................................................. 5
S
ETUP YOUR DEVICE
U
SE THE DEVICE AS A WIRELESS REPEATER
U
SE THE DEVICE AS A WIRELESS BRIDGE
S
ETUP YOUR DEVICE AS A WIRELESS
C
HANGING THE WIRELESS SETTINGS
C
HANGING THE WIRELESS SECURITY SETTINGS
WPS ..........................................................................................................................................................12
C
ONFIGURING WIRELESS
V
IEWING THE HOME PAGE
SYSTEM MANAGEMENT........................................................................................................................13
A
CCESSING SYSTEM MANAGEMENT
W
HAT’S ON SYSTEM MANAGEMENT
Information ..........................................................................................................................................14
Firmware ..............................................................................................................................................15
S
ETTING A STATIC IP ON YOUR
Set a static IP address on your PC using Windows XP ........................................................................15
Set a static IP address on your PC using Windows Vista .....................................................................18
Set a static IP address on your PC using Windows 7 ...........................................................................20
.................................................................................................................................. 4
..................................................................................................................................... 4
.................................................................................................................................. 6
MAC F
.........................................................................................................................13
............................................................................................................ 4
............................................................................................... 9
................................................................................................... 9
AP .................................................................................................... 9
........................................................................................................10
........................................................................................ 11
ILTERING
PC .............................................................................................................15
...............................................................................................12
..........................................................................................................13
.........................................................................................................14
COPYRIGHT ..............................................................................................................................................24
2
Page 3

Wireless N Extender Version 1.0
About the Device
ALLNET ALL0236R Portable 300Mbps Wireless-N Extender supports wireless
802.11b/g/n standards with one 10/100Base-T Ethernet port.
ALL0236R is designed with MIMO technology to extend the reach of any existing
wireless router/AP to maximize the coverage in your home or office. It basically receives the
signal from your wireless router/AP and repeats it to extend the range to farther locations that are
previously unreachable.
Equipped with 64/128-bit WEP, WIFI Protected Access (WPA), and the latest WPA2
encryption with TKIP and AES algorithm to protect your wireless network from unauthorized
access. MAC Address Filtering for wireless links provides an additional layer of security for your
wireless network.
The device comes with 1 x 10/100M Auto MDI/MDIx Ethernet port that can be used to
connect to an existing wired network to serve as a wireless AP or wireless bridge. It can also be
used to configure the device via its web-based GUI, or upgrade the firmware when connected to
the Network Interface Card of your PC.
3
Page 4
Wireless N Extender Version 1.0
Minimum System Requirements
Your computer must meet the following minimum requirements.
Any operating system can be usedWeb Browser
233MHz processor
Ethernet network adapter
Or Wireless network adapter
Package Contents
Package contents are listed below. For any missing items, please contact your dealer
immediately. Product contents may vary for different models.
ALL0236R
Ethernet cable
Easy Start Guide
Resource CD
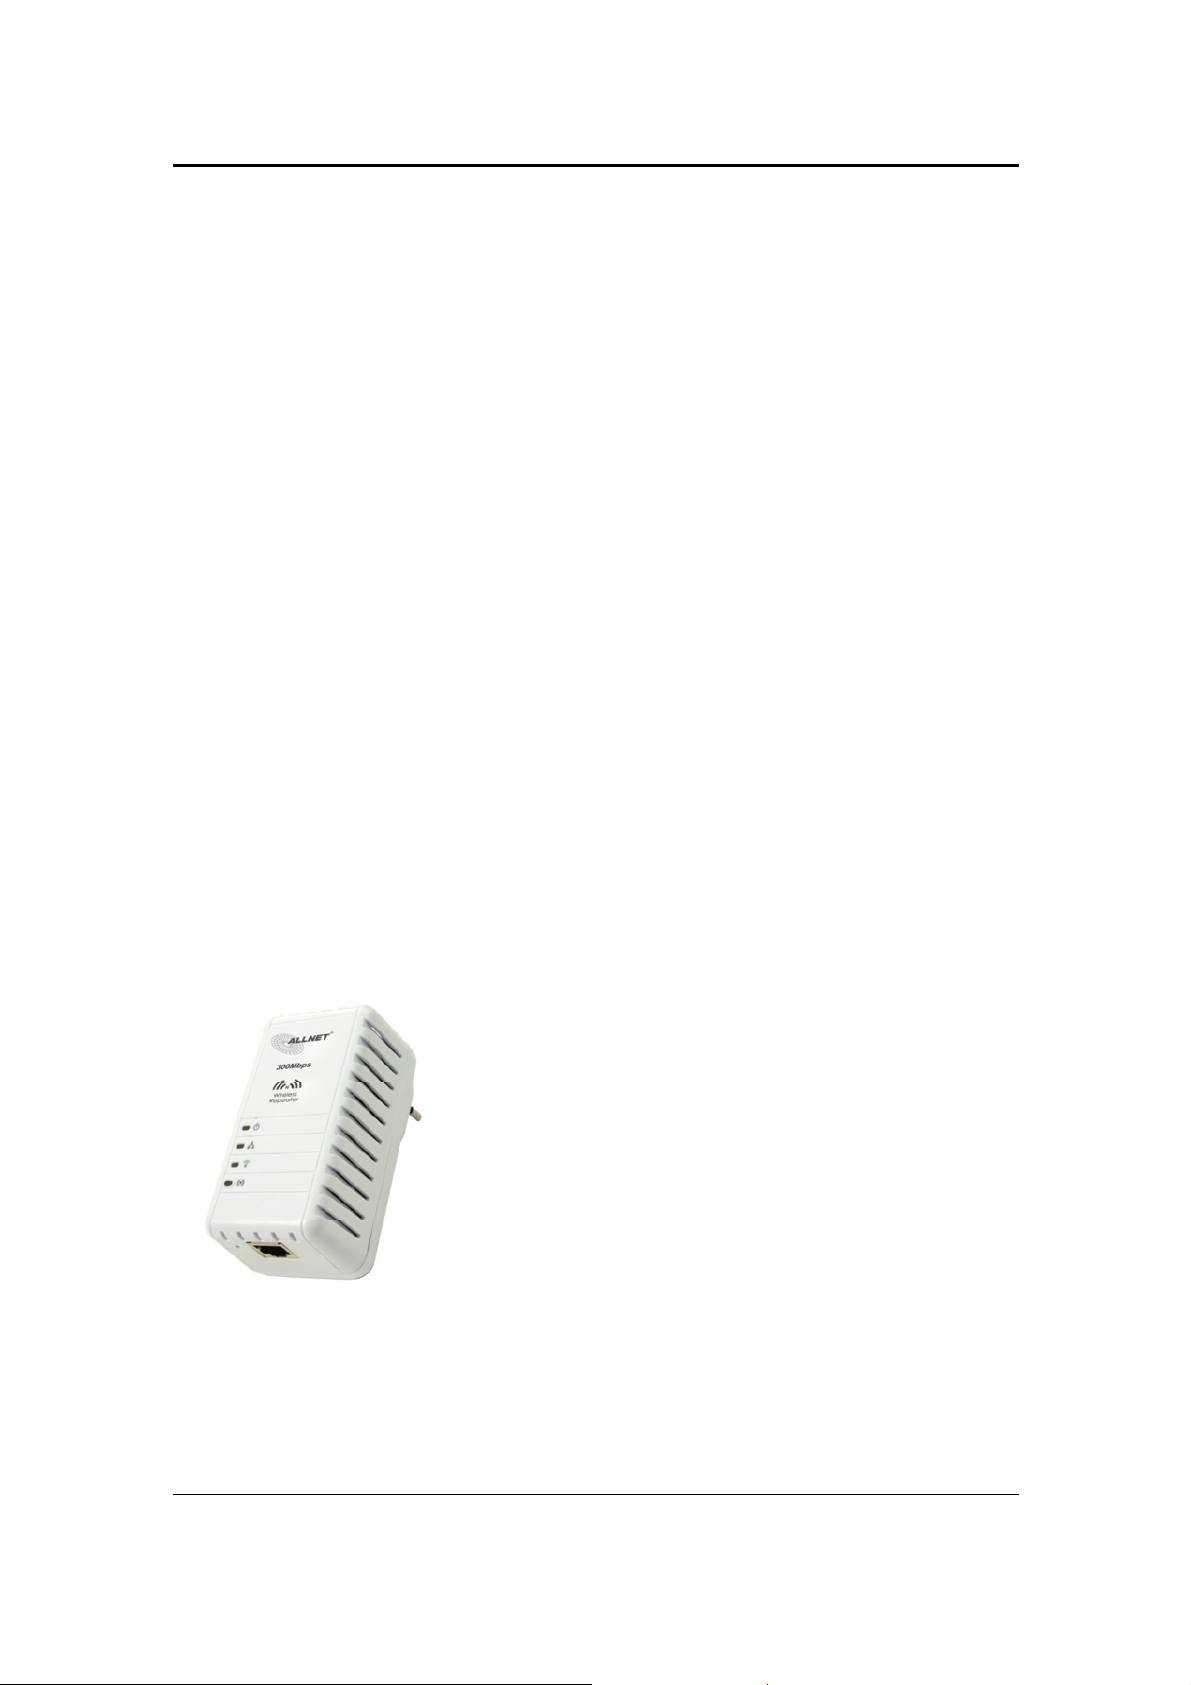
Front Panel
Device Overview
4
Page 5
Wireless N Extender Version 1.0
LABEL
STATE
DESCRIPTION
On –
Solid Green
Device is powered ON
Ethernet device is
On –
Solid Green
Wireless interface is UP
WPS association is
LABEL
DESCRIPTION
POWER LED
ETHERNET LED
WIRELESS LED
WPS LED and BUTTON
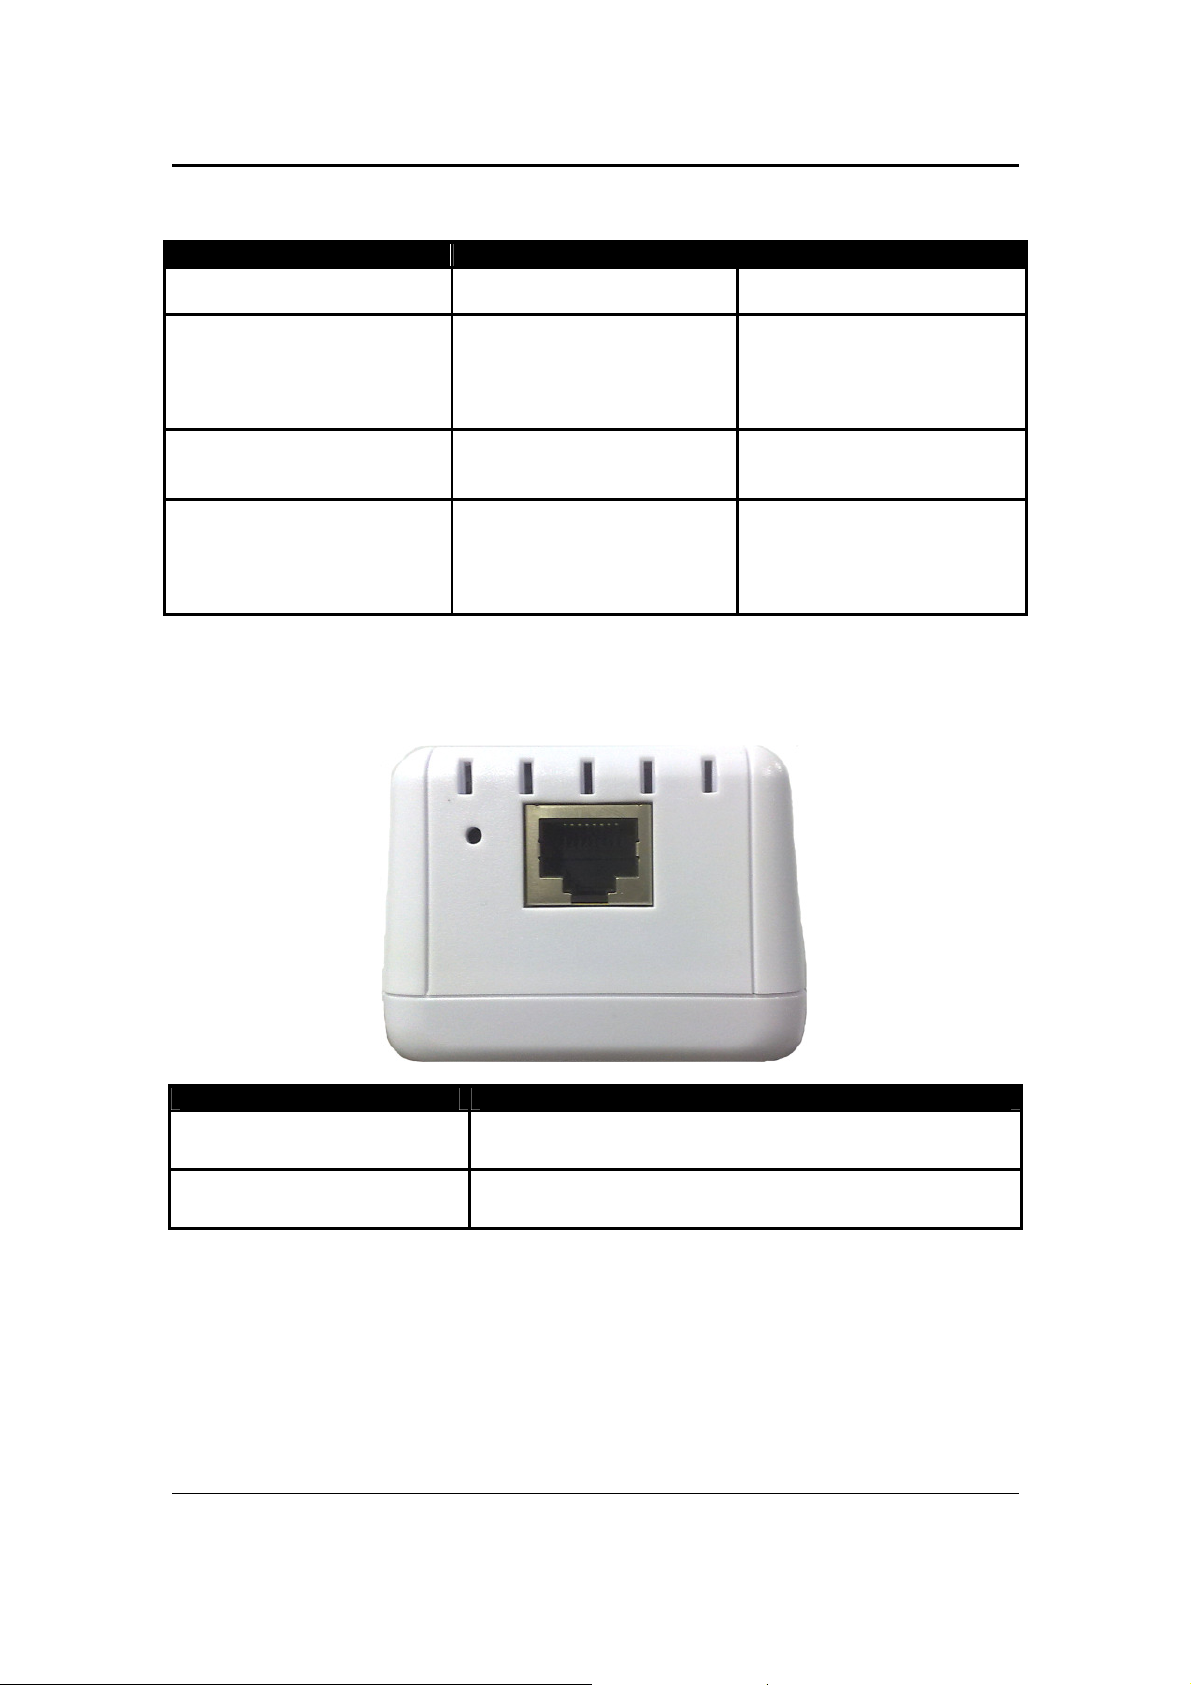
Bottom Panel
Off
On – Solid Green
On – Blinking Green
Off
On – Blinking Green
Off
On – Solid Green
On – Blinking Green
Off
Device is powered OFF
connected
Indicates LAN activity
No Ethernet device
connected
Indicates wireless activity
Wireless interface is DOWN
successful
WPS authentication on
going
WPS disabled
RESET
ETHERNET PORT Connect to computers/Ethernet devices
Press the Reset button for 5 seconds to restore the
device to default factory settings
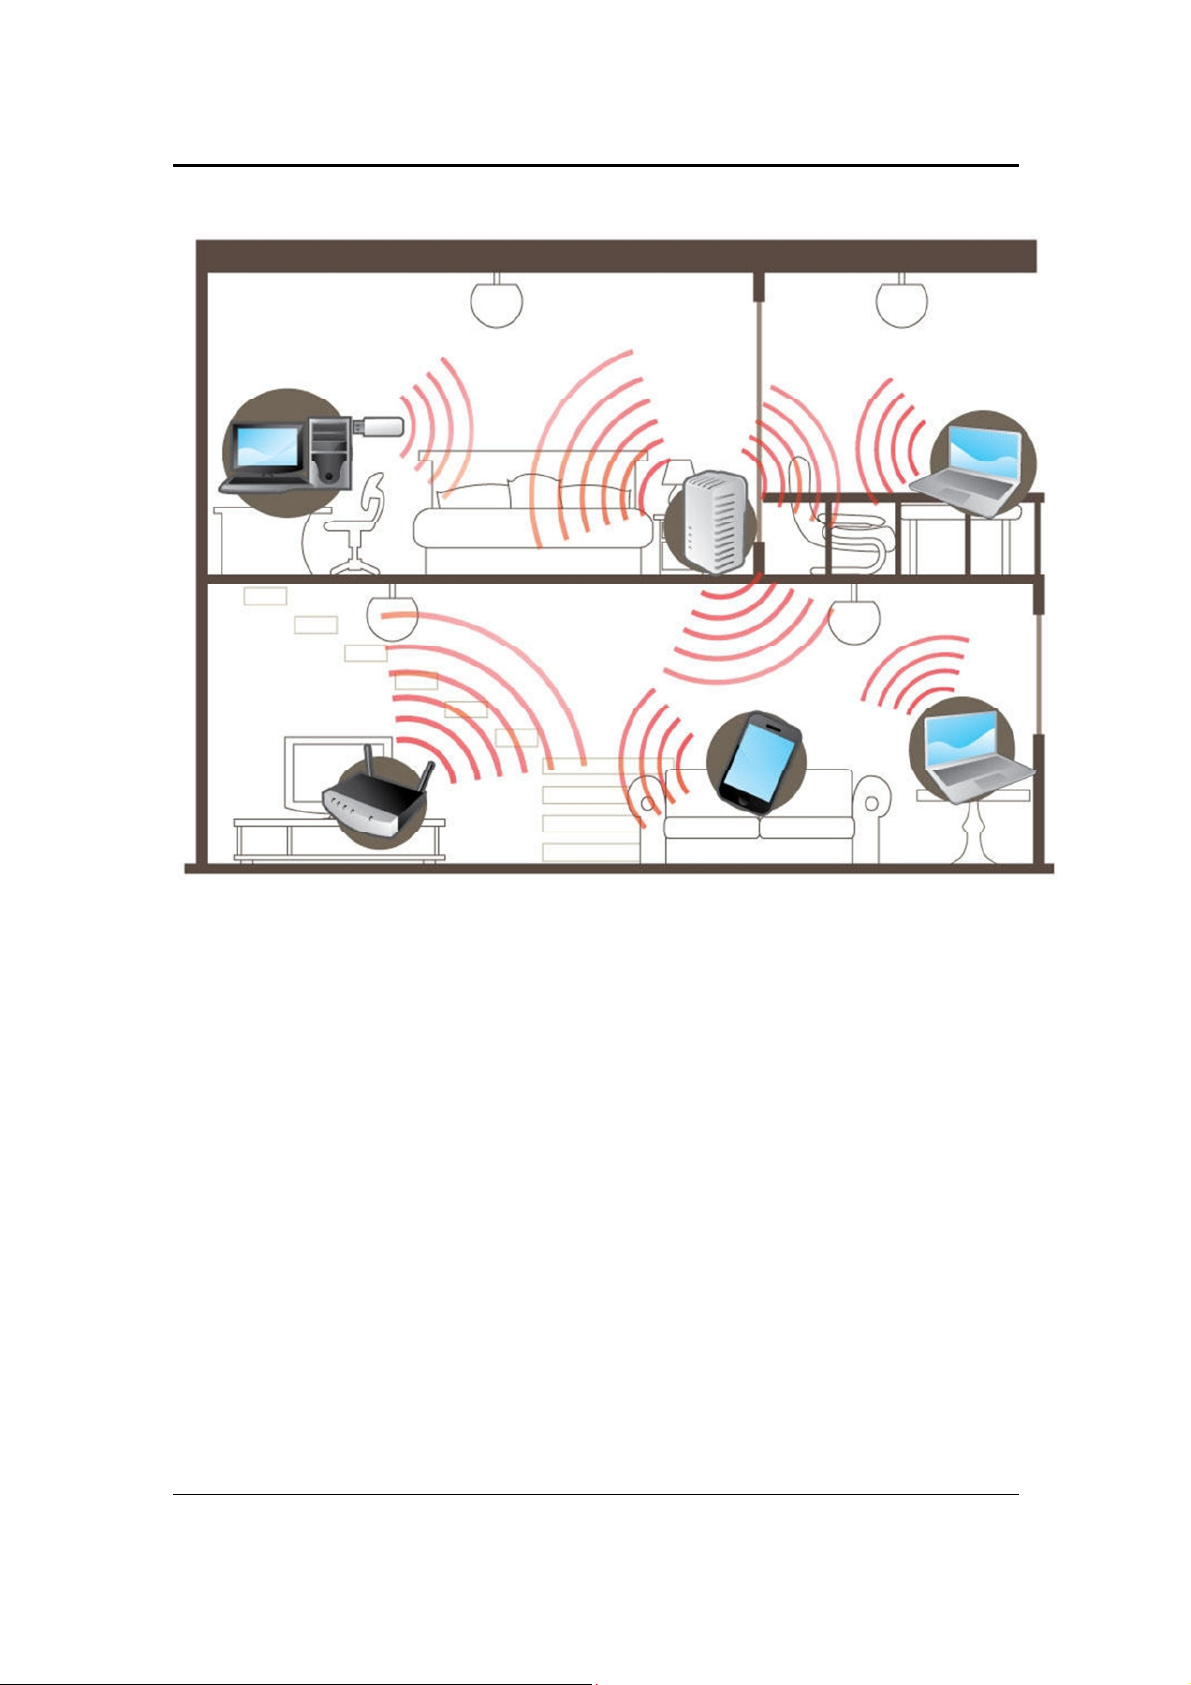
Configuring the Device
Before moving ahead to setup your wireless extender, it is often a good idea to identify the areas
where you have good wireless reception and weak or no wireless signal at all. Based from this
assessment you may place the wireless extender in between a location where you have good
wireless reception and where you have poor wireless coverage. The illustration below is an
example of a network diagram.
5
Page 6
Wireless N Extender Version 1.0
NOTE: Placement of the Wireless Extender is crucial to get the best possible results for
extending your existing wireless signal. It is ideal for the wireless extender to be placed in a
location where it can receive good wireless signal from the wireless router/AP so as to avoid
disconnection and packet loss.
Setup Your Device
Setting up the device is easy. Simply follow the steps below to connect the device to your existing
wireless router/AP. Please note that the main router/AP and Wireless Extender must be on the
same wireless channel.
6
Page 7
Wireless N Extender Version 1.0
To Setup your device via the Web GUI:
1. Connect the ALL0236R to a power outlet.
2. Connect a PC/laptop to the Wireless Extender.
For WIRED Connection
Plug an Ethernet cable to the Ethernet port at the base portion of the device.
For WIRELESS Connection
You can find the default SSID and wireless security information from the sticker located at the
back of the device.
3. Once a connection to the device is established, your PC/laptop will receive an IP address
and you can start the configuration using the web graphical user interface.
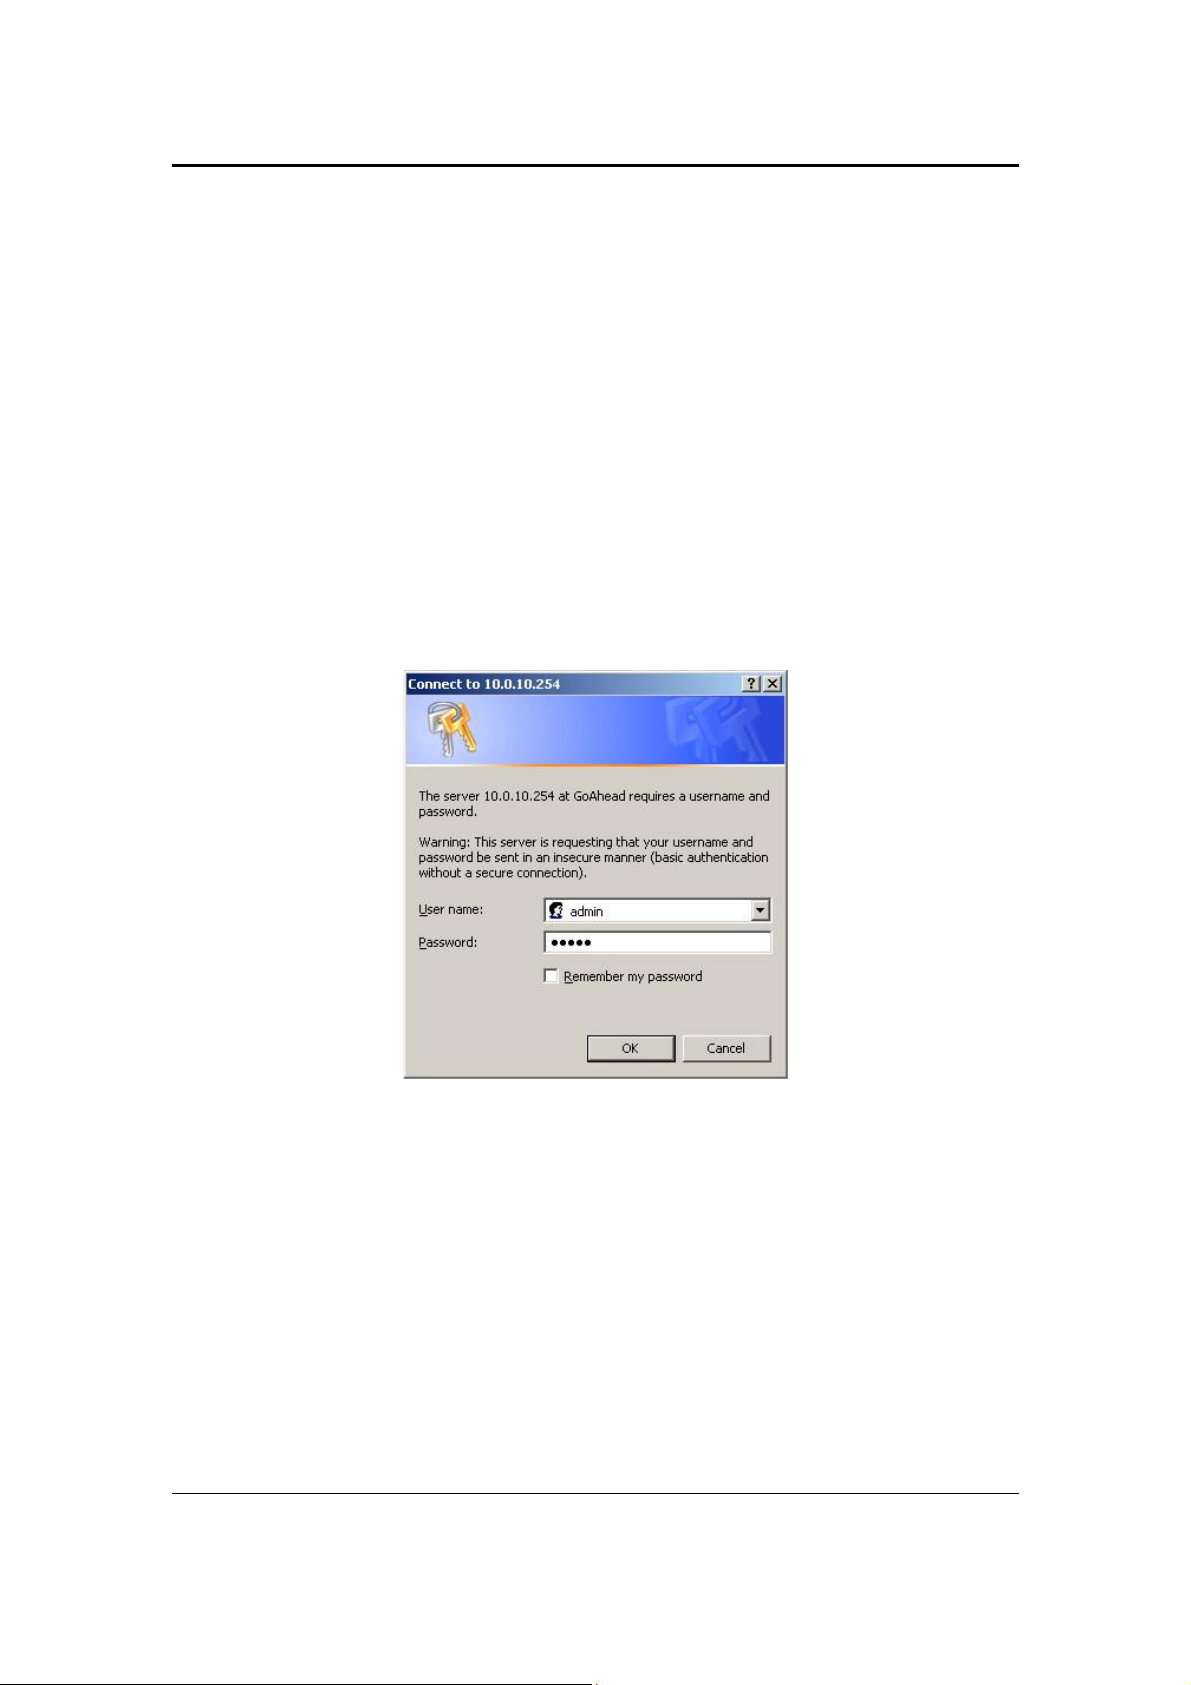
4. To access the web GUI, Open your web browser
5. Type 192.168.1.1 on the address bar
6. Input admin for both username and password fields and click on the OK button
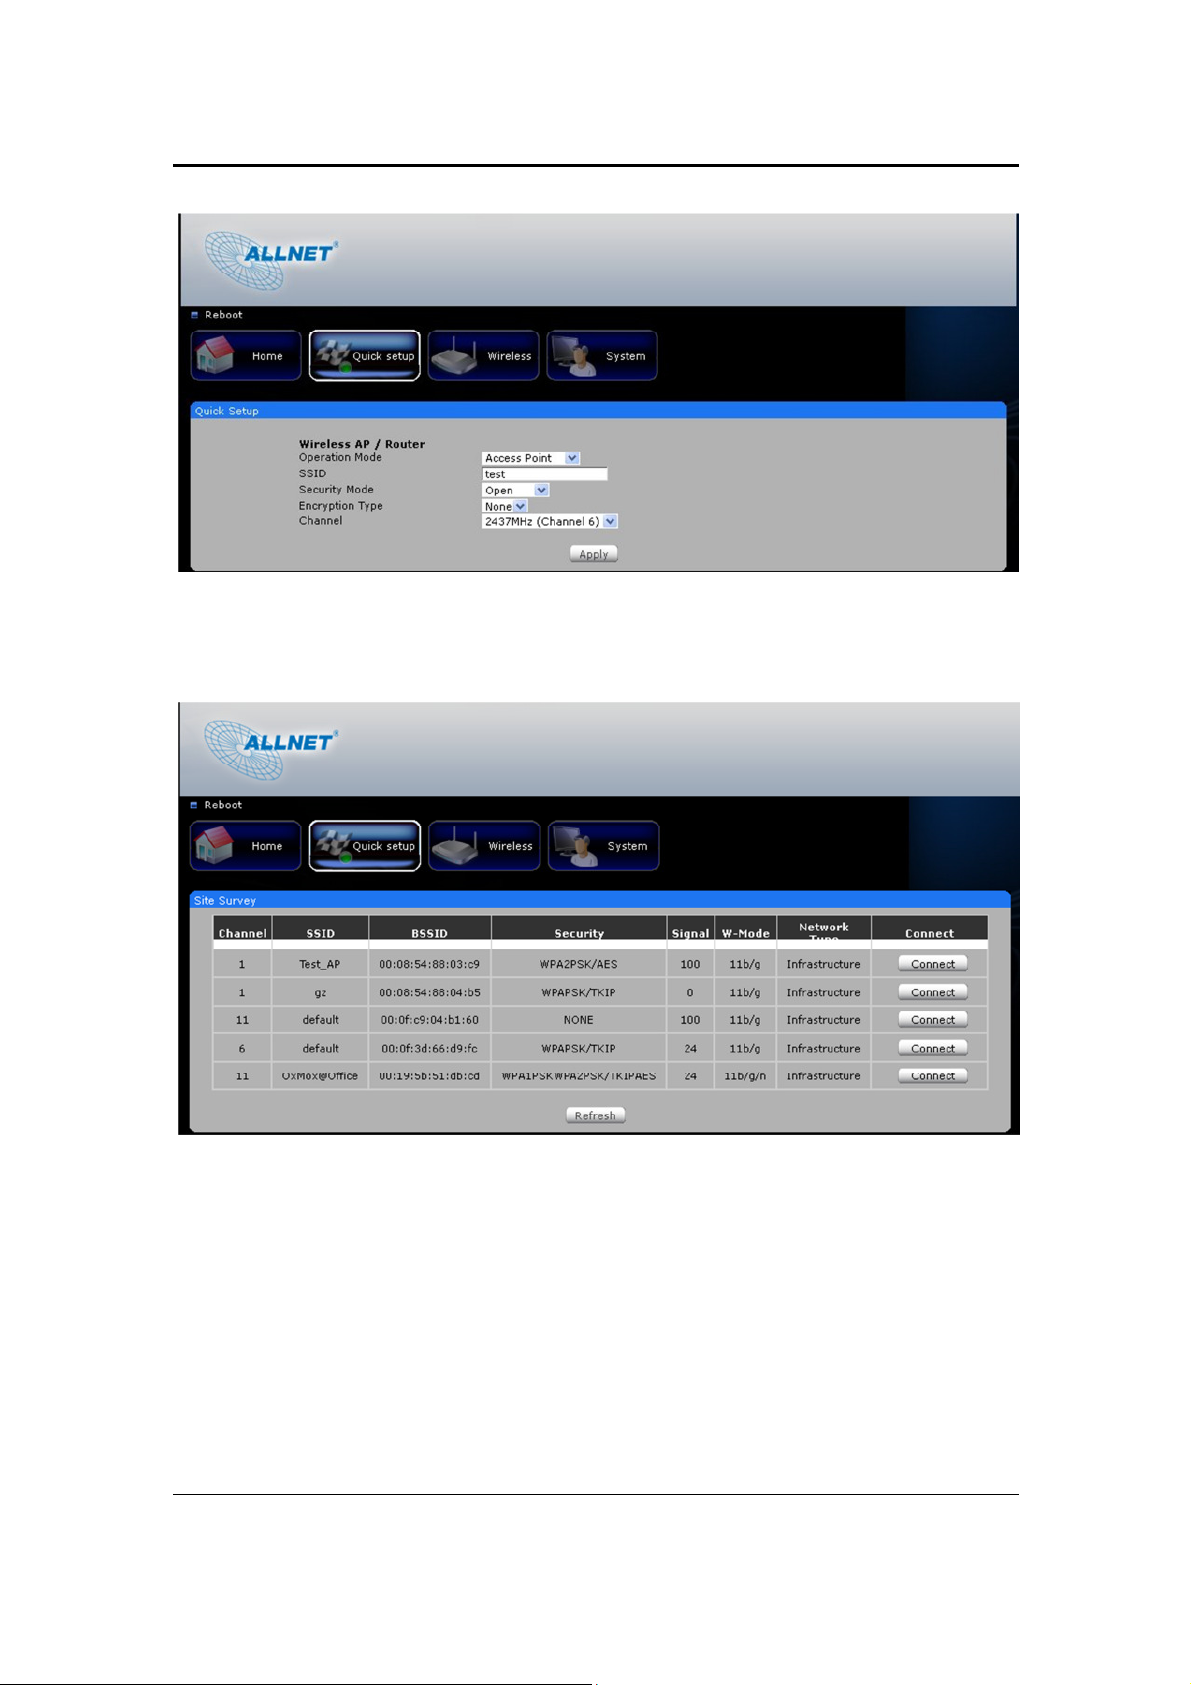
7. On the top pane, click on Quick Setup
7
Page 8
Wireless N Extender Version 1.0
NOTE: If you are connecting to a hidden wireless network, you need to key-in the information
from your existing wireless router/AP manually.
8. Choose the Operation mode from the drop-down box
9. Click the Site Survey button to show the list of available wireless networks
10. Click the Connect button located on the right side of the Wireless network you want to
connect to
11. Key-in the wireless network key/passphrase
12. Click the Apply button to commit the changes
8
Page 9

Wireless N Extender Version 1.0
Use the Device as a Wireless
Repeater
Once the wireless connection from the ALL0236R to the main AP/router is established you can
connect your wireless devices like laptops and smartphones through the wireless repeater. These
devices will obtain an IP address from the main AP/router and should be able to access the
Internet from farther locations previously unreachable by your wireless signal.
Setup Diagram
Use the Device as a Wireless Bridge
Connect wired devices to your wireless network by connecting an Ethernet cable from a wired
device, such as a Desktop PC, Game Console or Internet-ready LCD TV, to the Ethernet port of
the ALL0236R.
Setup Diagram
Setup Your Device as a Wireless AP
Use the ALL0236R as a Wireless Access Point to turn a regular modem-router into a wireless
capable networking device. Simply connect an Ethernet cable from any available Ethernet LAN
port on the modem-router to the Ethernet port of the ALL0236R. The ALL0236R will serve as a
wireless interface for your wireless-enabled devices such as laptops and smartphones to connect
to the Internet via your existing modem-router.
To setup the device as a wireless AP
1. Connect an Ethernet cable from an available port in your modem-router and connect the
other end of the Ethernet cable to the Ethernet port of the ALL0236R.For a new Out-of-TheBox unit, No extra configuration is needed for the ALL0236R to be used as a wireless AP.
Simply connect an Ethernet cable from your existing modem-router to the ALL0236R and
you are ready to surf the Internet wirelessly. If you have already made any configuration on
the ALL0236R, press the Reset button beside the Ethernet port for 5 seconds to restore the
device to its factory default configuration.
2. You may refer to the sticker pasted at the back of the ALL0236R for the default SSID and
password to connect your wireless devices.
NOTE: To change any wireless settings on the ALL0236R, you would need to set a static IP
address on your wireless network card to be able to access the web GUI before you can
configure the settings. Please refer to the steps on how to set a static IP on your PC also included
in this manual.
:
9
Page 10

Wireless N Extender Version 1.0
Changing the Wireless Settings
Modify the default Wireless Settings to suit your own preference.
To change the Wireless settings via the Web GUI:
1. Open your browser
2. Type 192.168.1.1 on the address bar
3. Input admin for both username and password fields and click on OK
4. On the top pane, click the Wireless button to show the menu
5. You can change the advanced wireless settings as preferred from this page
6. Click Apply to commit the changes
7. Ensure to recreate the wireless profile on your computer to match the new settings
10
Page 11

Wireless N Extender Version 1.0
Changing the Wireless Security
Settings
Modify the default Wireless Security Settings to suit your own preference.
To change the Wireless security settings via the Web GUI:
1. Open your browser
2. Type 192.168.1.1 on the address bar
3. Input admin for both username and password fields and click on OK
4. Click the Wireless button, and click the Security menu. You can change the wireless
security settings as preferred from this page
5. Click Apply to commit the changes
6. Ensure to recreate the wireless profile on your computer to match the new settings
11
Page 12

Wireless N Extender Version 1.0
WPS
WPS or Wifi Protected Setup makes it easy for wireless clients to connect to the wireless
repeater. Simply press the WPS button on the repeater and press the WPS button on the
wireless client within 2 minutes, and the wireless security authentication will be done
automatically.
Configuring Wireless MAC Filtering
Wireless MAC Filtering allows you to select which wireless clients to allow or deny access to the
Wireless Repeater.
To configure Wireless MAC Filtering via the Web GUI:
1. Open your browser
2. Type 192.168.1.1 on the address bar
3. Input admin for both username and password fields and click on OK
4. Click the Wireless button, and click MAC filter menu. You can select Allow or Deny from
the Policy drop down box and enter the MAC address of the wireless client you wish to
allow/deny access to the wireless repeater
5. Click Apply to commit the settings
12
Page 13

Wireless N Extender Version 1.0
Viewing the Home Page
The Home Page will tell you information about your device.
To view the Home Page via the Web GUI:
1. Open your browser
2. Type 192.168.1.1 on the address bar
3. Input admin for both username and password fields and click on OK
4. AP Client Connection Status displays the Connection status and SSID of the Access
Point being extended.
5. Wireless Client List displays the current wireless clients connected to the repeater.
System Management
The System Management menu is used for device settings administration.
Accessing System Management
To access the Web User Interface:
1. Open your browser.
2. Type-in 192.168.1.1 on the address bar and then press Enter.
3. Input admin for both username and password fields and click on OK
13
Page 14

Wireless N Extender Version 1.0
What’s on System Management
System Management includes the following options:
Information
Firmware
Reboot
Password
Information
This page shows the device information. Below is the list of information shown in this menu.
Firmware Version – Shows the current firmware version of the device
Build Date – Shows the firmware release date
Serial Number – Shows the serial number of the device
ETH MAC Address – Shows device’s Ethernet interface MAC address
Wireless MAC Address – Shows device’s wireless interface MAC address
Wireless Status – Shows the status of the wireless interface.
14
Page 15

Wireless N Extender Version 1.0
Firmware
Firmware menu allows you to see the current firmware version and build date as well as upgrade
the firmware of the device.
Firmware Information – Shows the current firmware’s version and build date
Firmware Upgrade – Load a new firmware upgrade file to the device
NOTE: Make sure you connect to the device via Ethernet cable when upgrading the firmware to
avoid corruption during the firmware upgrade procedure.
Setting a Static IP on your PC
The ALL0236R Wireless N Repeater will only give an IP address to your PC upon initial
installation. Once you have associated it with your Wireless Router/AP, you will no longer have
access to the device’s web GUI. If you wish to change any settings on the ALL0236R, you need
to set a Static IP address on your PC. Just remember to set it back to “Obtain and IP address
automatically” after you are done.
Set a static IP address on your PC using Windows XP
1. Click Start > Control Panel
2. Click on Network and Internet Connections
15
Page 16

Wireless N Extender Version 1.0
3. Click on Network Connections
4. Right-Click on the Network Adapter you will use to configure the wireless repeater and
click Properties
5. Click to select Internet Protocol (TCP/IP) and click Properties
16
Page 17

Wireless N Extender Version 1.0
6. Select “Use the following IP address:” and key in 192.168.1.2 as the IP address and
255.255.255.0 for the Subnet mask. Leave the other fields blank.
7. Click OK to commit the settings.
17
Page 18

Wireless N Extender Version 1.0
Set a static IP address on your PC using Windows Vista
1. Click Start > Control Panel
2. Double-Click Network and Sharing Center
3. Click Manage network connections
4. Right-Click on the Network Adapter you will use to configure the wireless repeater and
click Properties
18
Page 19

Wireless N Extender Version 1.0
5. Click to select Internet Protocol Version 4 (TCP/Ipv4) and click Properties
6. Select “Use the following IP address:” and key in 192.168.1.2 as the IP address and
255.255.255.0 for the Subnet mask. Leave the other fields blank.
7. Click OK to commit the settings.
19
Page 20

Wireless N Extender Version 1.0
Set a static IP address on your PC using Windows 7
1. Click Start > Control Panel
2. Click View network status and tasks
3. Click Change adapter settings
4. Right-Click on the Network Adapter you will use to configure the wireless repeater and
click Properties
20
Page 21

Wireless N Extender Version 1.0
5. Click to select Internet Protocol Version 4 (TCP/Ipv4) and click Properties
6. Select “Use the following IP address:” and key in 192.168.1.2 as the IP address and
255.255.255.0 for the Subnet mask. Leave the other fields blank.
7. Click OK to commit the settings
21
Page 22

Wireless N Extender Version 1.0
Safety Precautions
Do not open, service, or change any component.
Only qualified technical specialists are allowed to service the equipment.
Observe safety precautions to avoid electric shock
Check voltage before connecting to the power supply. Connecting to the wrong voltage
will damage the equipment.
© Copyright 2010 All rights reserved.
22
Page 23

Wireless N Extender Version 1.0
No part of this document may be reproduced, republished, or retransmitted in any form or by any means
whatsoever, whether electronically or mechanically, including, but not limited to, by way of photocopying,
recording, information recording, or through retrieval systems without the express written permission. We
reserve the right to revise this document at any time without the obligation to notify any person and/or
entity. All other company or product names mentioned are used for identification purposes only and may be
trademarks of their respective owners.
LIMITATION OF LIABILITY AND DAMAGES
THE PRODUCT AND THE SOFTWARES WITHIN ARE PROVIDED "AS IS," BASIS. THE
MANUFACTURER AND MANUFACTURER’S RESELLERS (COLLECTIVELY REFERRED TO AS
“THE SELLERS”) DISCLAIM ALL WARRANTIES, EXPRESS, IMPLIED OR STATUTORY,
INCLUDING WITHOUT LIMITATION THE IMPLIED WARRANTIES OF NON-INFRINGEMENT,
MERCHANTABILITY OR FITNESS FOR A PARTICULAR PURPOSE, OR ANY WARRANTIES
ARISING FROM COURSE OF DEALING, COURSE OF PERFORMANCE, OR USAGE OF TRADE.
IN NO EVENT WILL THE SELLERS BE LIABLE FOR DAMAGES OR LOSS, INCLUDING BUT
NOT LIMITED TO DIRECT, INDIRECT, SPECIAL WILLFUL, PUNITIVE, INCIDENTAL,
EXEMPLARY, OR CONSEQUENTIAL, DAMAGES, DAMAGES FOR LOSS OF BUSINESS
PROFITS, OR DAMAGES FOR LOSS OF BUSINESS OF ANY CUSTOMER OR ANY THIRD PARTY
ARISING OUT OF THE USE OR THE INABILITY TO USE THE PRODUCT OR THE SOFTWARES,
INCLUDING BUT NOT LIMITED TO THOSE RESULTING FROM DEFECTS IN THE PRODUCT OR
SOFTWARE OR DOCUMENTATION, OR LOSS OR INACCURACY OF DATA OF ANY KIND,
WHETHER BASED ON CONTRACT, TORT OR ANY OTHER LEGAL THEORY, EVEN IF THE
PARTIES HAVE BEEN ADVISED OF THE POSSIBILITY OF SUCH DAMAGES. THE ENTIRE RISK
AS TO THE RESULTS AND PERFORMANCE OF THE PRODUCT OR ITS SOFTWARE IS
ASSUMED BY CUSTOMER. BECAUSE SOME STATES DO NOT ALLOW THE EXCLUSION OR
LIMITATION OF LIABLITY FOR DAMAGES, THE ABOVE LIMITATION MAY NOT APPLY TO
THE PARTIES. IN NO EVENT WILL THE SELLERS’ TOTAL CUMULATIVE LIABILITY OF EACH
AND EVERY KIND IN RELATION TO THE PRODUCT OR ITS SOFTWARE EXCEED THE
AMOUNT PAID BY CUSTOMER FOR THE PRODUCT.
23
Page 24

Wireless N Extender Version 1.0
Copyright
© 2010. All rights reserved.
No part of this document may be reproduced, republished, or retransmitted in
any form or by any means whatsoever, whether electronically or mechanically,
including, but not limited to, by way of photocopying, recording, information
recording, or through retrieval systems without the express written permission of
the owner. Product specifications contained in this document are subject to
change without notice. All other company or product names mentioned are used
for identification purposes only and may be trademarks of their respective
owners.
Manufacturer:
ALLNET GmbH
ALLNET Deutschland GmbH
Maistrasse 2
82110 Germering
Tel. +49 89 894 222 22
Fax +49 89 894 222 33
email: info@allnet.de
24
Page 25

Wireless N Extender Version 1.0
Konformitätserklärung
Declaration of Conformity
Hersteller / Manufacturer: ALLNET GmbH
Produkt / Product: ALL0236R
Typ / Type: Wireless N Extender
Compliance to those standards are required for the following Directives;
Directive 1999/5/EC R&TTE
Application of the CE Mark is permitted only after all applicable
requirements are met in accordance with the European Union Rules,
including the manufacturer’s issuance of a „Declaration of Conformity“.
Additional guidelines can be found at: R&TTE Directive website:
http://ec.europa.eu/enterprise/rtte/guide7.htm, This attestation is specific to
the standard(s) stated above and compliance with additional standards and
/ or directive may be required
Getestete Normen:
tested norms:
Germering, April 6, 2011
ETSI EN 300 328 V1.7.1 (2006-10)
ETSI EN 301 489-1 V1.8.1 (2008-04)
ETSI EN 301 489-17 V2.1.1 (2009-05)
Anschrift: Allnet GmbH
Maistraße 2
82110 Germering
Germany
E-Mail: info@allnet.de
support@allnet.de
Phone: +49 (0)89 894 222 22
Fax: +49 (0)89 894 222 33
25
 Loading...