

Page 1
Model: U35GT/S7904
USER’S MANUAL
Page 2
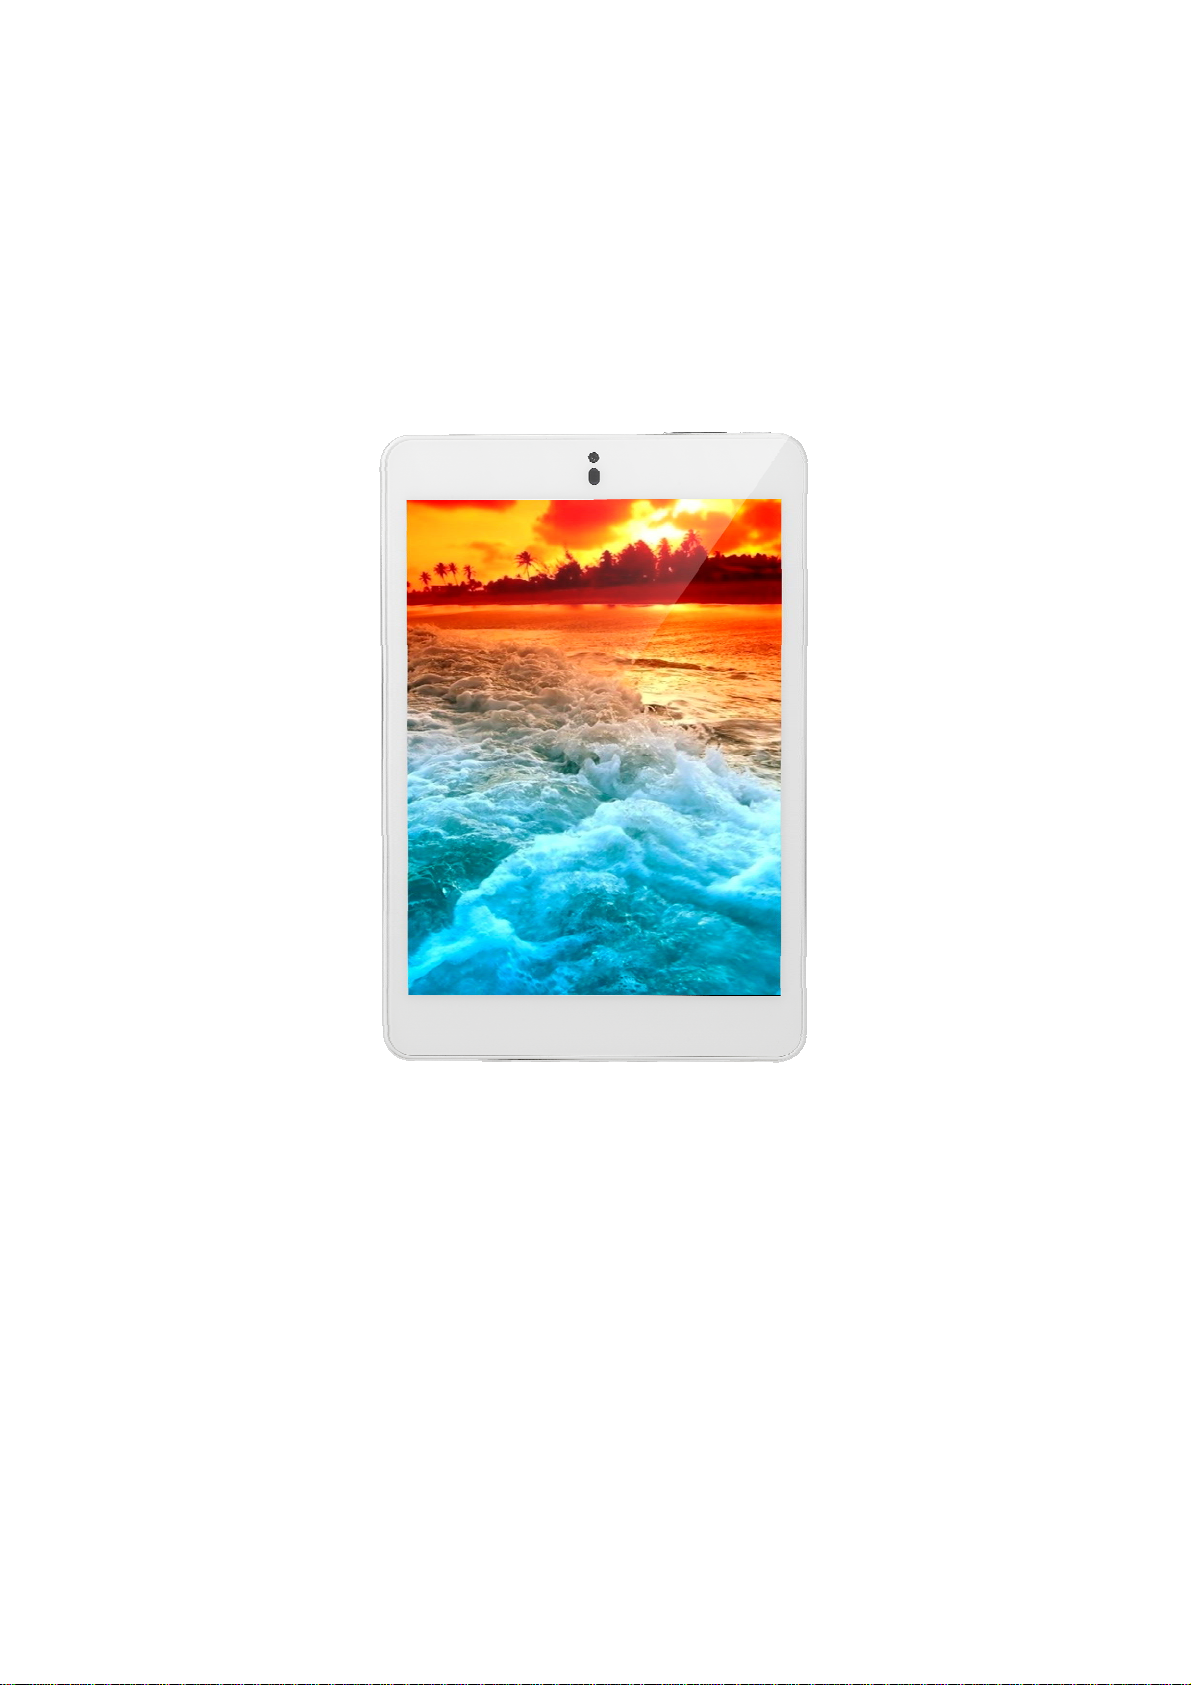
Products Features
1
2
3
4
5
6
7
8
9
10
11
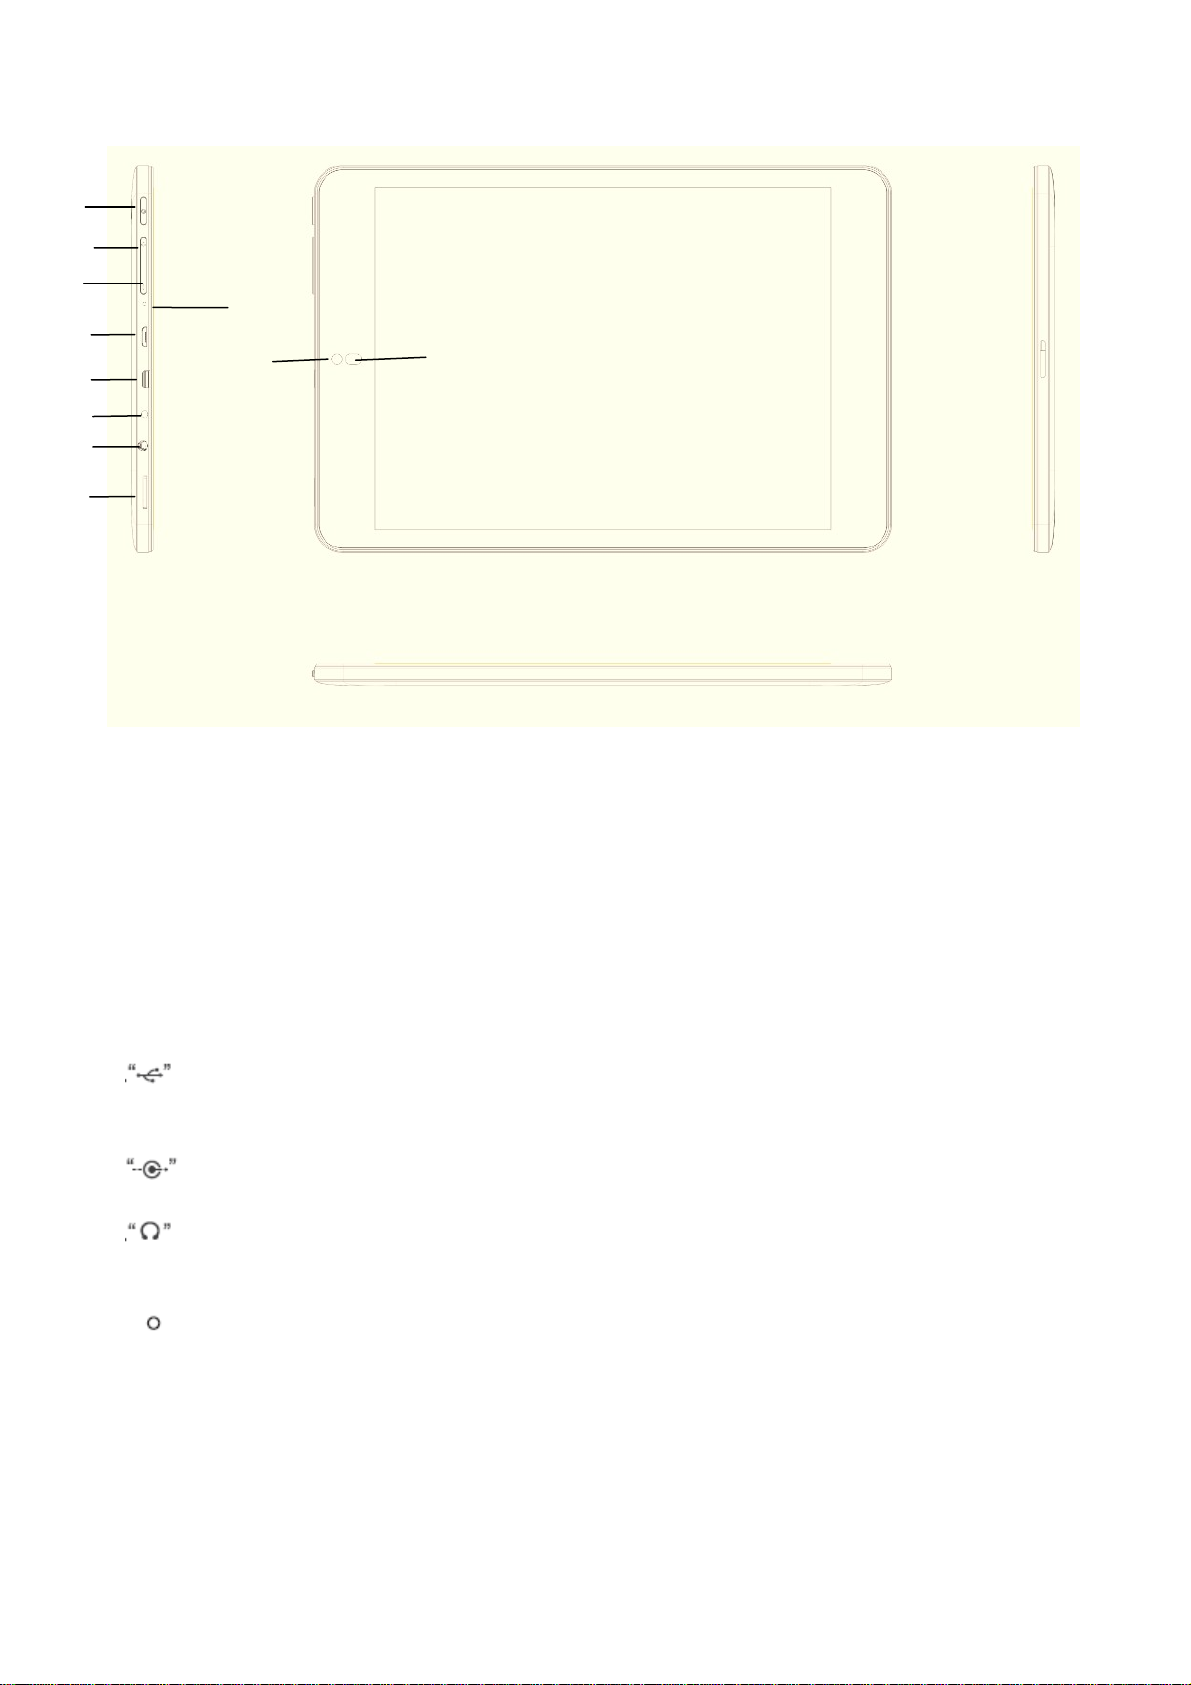
Button Introduce
z Button Introduce
1.Power on/off : Long press for 3 seconds to turn on/off, and short press the key to enter the screen saver
and wake up the screen under standby;Long press 12 seconds to force Power off.
2.Vol +: short/long press is volume up
3.Vol -: short/long press is volume down
4.Mic: Record built-in port
5.
6.Micro HDTV:HDTV output port
7.
8.
9.TF card:TF expand card port
USB interface/ OTG port
: 2.5 mm DC 5V charging port.
Earphone: 3.5mm earphone port
10.
11. Light sensor:Automatically adjust the brightness sensor hole
camera
Page 3
一.Use preparation
z Connecting to your PC
Startup your PC, and connect the product to your PC with the provided USB cable for USB charge or file
transmission. Turn on the USB device and you can copy/delete files through PC.
Attentions:
Do not play music or video while connected with PC. Please be aware that we claim no responsibility for
damage caused by this improper operation.
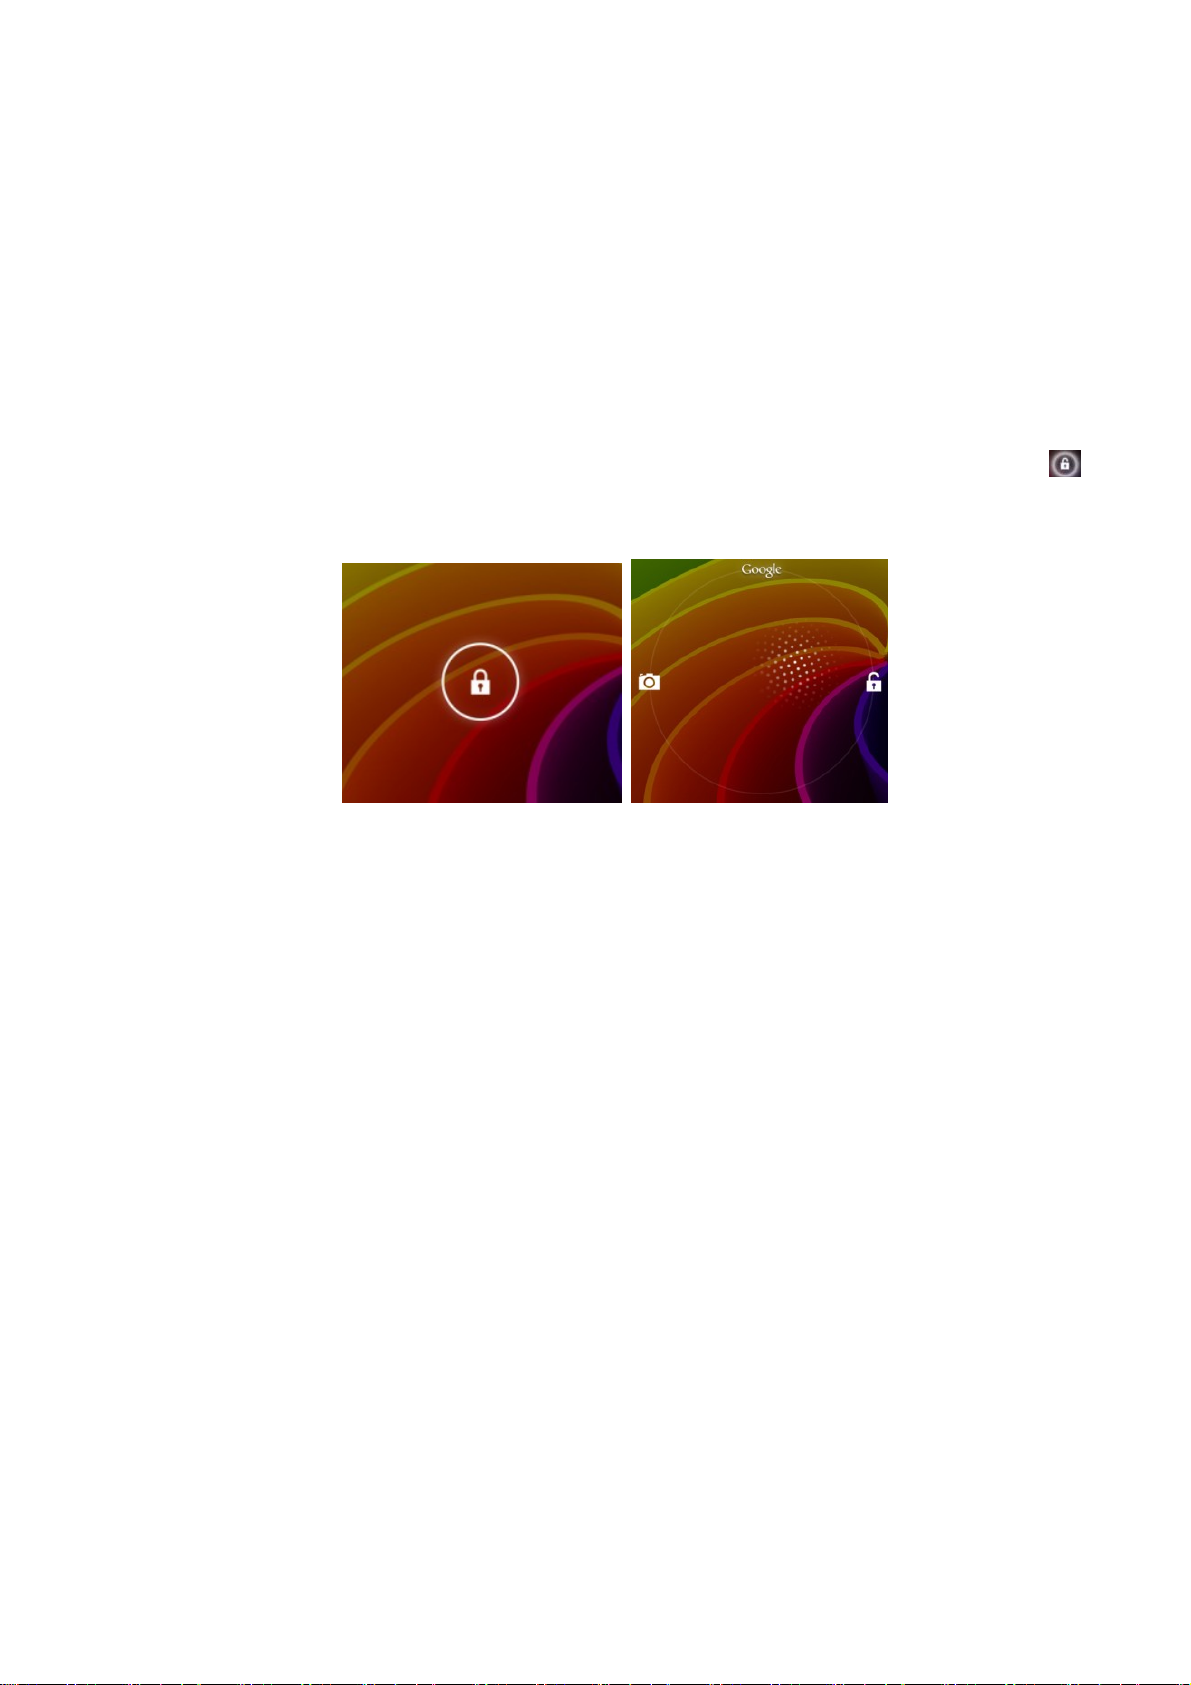
z Turn on
Under power on mode, long press the button "Power button" for 3 seconds, the system will enter
Android power-on status bar,and about 100s later enter the system menu,the screen is locked,hold
lock tap to drag up to the green point position,the device will unlock automatically,just as the illustrations
as follow:
Power saving & screen-lock:
power for saving mode,at this time,the screen become black screen, and also enter screen lock
mode.Press “POWER” button again ,the system resume bright screen within 1s.
Attentions:
Under power saving mode, the original operations such as music,video etc will not pause and will
continuously work ,it only clock the screen to be at the status of black screen.
Attentions:
When the system hangs up,press "power switch" button for 12s so that the device force to reset.
turn on the device and short press“POWER” button to enter SLEEP
z Power off
Under the power-on status ,long press "power button" for 3s, power-off menu will show,select "OK" to turn
off the power.
【Notice】When power is not enough,the device will continuously give an alarm,it will automatically power
off if no charging;if don't turn it on,please check the power status, and try to turn it on after 5~10 minutes
for charging if power is out of use.
Page 4
z Using TF expansion card
1. Connect the tablet with your PC, it will appear 2 removable disks, the first one is build-in flash
memory, the other one is TF card. The second removable disk will not be opened if you don’t plug a TF
expansion card to the tablet.
【Notice】the tablet only supports TF typological expansion card (maximum memory:32GB).
2.Plug & Unplug expansion card
To Plug: Insert the expansion card as the indication near the card slot, and the side with the metal pins
faces down when the tablet under the normal status. Once the tablet identifies the expansion card, files
stored in the card memory can be played.
To Unplug: Press the expansion card slightly to remove it.
z Charging the battery
1. You had better take charge for the battery for about 8 hours and confirm the full power of the
battery when you use it at the first time.
2. Plug the adapter into the electronic outlet,and the mini port into the DC socket of tablet pc, then the
device turn on automatically,the battery capacity will read as the green scrolling icon
charging, the charger should not be plugged out until power was fully charged. The indicator light
becomes blue,the battery icon's green bar
When the power exhausts out,wait for a minute and turn the device on.
【Attentions】
1.if you want the special charger with 5V--2A DC2.5MM of cable,please contact the distributor in the
local.
2.The screen bright than the screen dark charging time is a bit long when charging, choose what is
your need to charge mode.
3. You can’t take use of the charge without pur approval, if you use some other adapters for charge,
which will lead to the damage of products. In this case, we will not be responsible for the loss.
will stop.
shows when
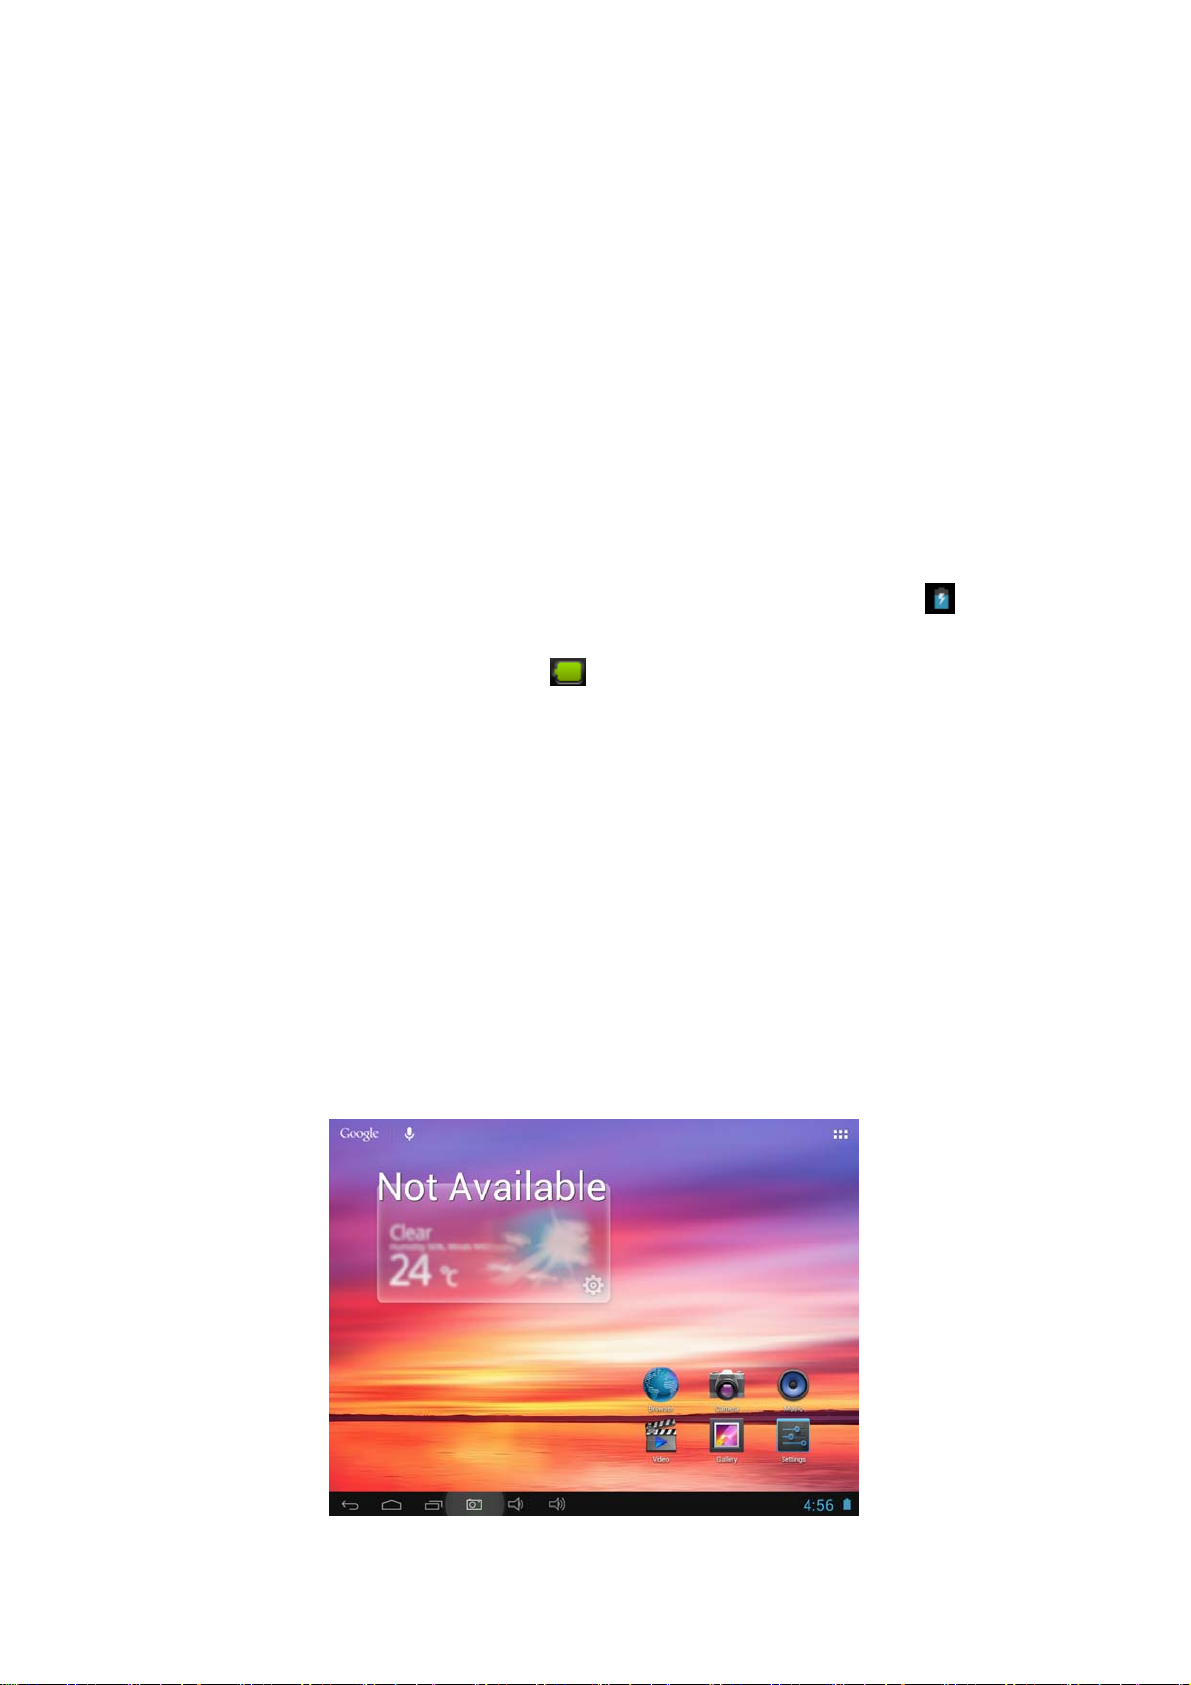
z Main user interface (menu icons definition)
Page 5

Icon Function introduction Icon Function introduction
To show the time of current
Return button
Menu of Recent operation
system
Function module menu
Any interface and click it will
return to main menu
The system has identify
new device
Battery icon showing the
remaining power
二.Operation introduction
z Wi-fi Setting
a. WIFI on setting:click module menu icon , enter module menu list, click "setting" to enter the
setting menu,click "wireless & networks" to enter,select "Wi-Fi":
b. WIFI setting and network connection : Click "Wi-Fi setting”to enter and the system will
automatically find WIFI network name,there were two wi-fi networks found as the follow:
then click the network to connect, it will show the interface for you input the password, after you input the
correct password and press “connect” , it will automatically connect and distribute the IP address, then it
pointed out it was connected.
Page 6

z USB-Host Function
a. Reading U Disk function :
Insert U disk into HOST/OTG port,click "explorer" ,click "USB" ,enter the file list of U disk as
follows:
b.External 3G USB Dongle:
Insert 3G USB-DONGLE card through OTG cable, end into Dongle ,and end into USB/OTG
HOST port ,and wait minutes after appear the 3G icon and could to connect the Internet.
z APK installer
Device supports the applications from android platform,most apps can be downloaded from the
Internet,then copy Into Internal Memory or T-Flash to install.
• Click APK Installer“
”,Pop-up APK installer menu: Installer, Manager, Exit.
• Installer : Click installer,enter Apk installer menu.
Internal Memory and SD Card is separately flash memory and T-Flash card memory;
Enter and choose the app you want in the right column and click "install".
Page 7

• Manage : click "mange",enter the menu.
- Launch: launch the software
- Export: export the software to T-Flash card
- Uninstall: uninstall the software
- Search at market: search the software at the software market
- Cancel: cancel the operation
z Explorer
In main menu ,click the explore icon to enter the manager interface,click "SD Card","Internal
Memory" and "U Disk",enter the sub file list,you can add,copy,paste,delete. Long press the file or file
folder,choose "last","next",or "last level" to find the related position and click "edit" and choose "paste" to
the related position in the coming box.
Page 8

z Record
Under the main menu,click the record icon to enter, click record button to start recording, click
the stop button
notice whether this record will be used or given up,you can choose it manually.
Play the record: select audio play button to play the record,first choose the record file in the explore,then
click "play"
to stop recording, and click to play the record.The system automatically
Page 9

z IE explore
When wi-fi was connected,click IE explore in the main menu and enter to IE menu,click the website
address column and input the website address to view:
z Update firmware
Turn off the tablet before upgrade the firmware. connect the tablet with your computer before
upgrade,open the updating tool file“RKBatchTool.exe”on your computer, In the Pop-up window and click
“
” and open the Image file.After click”switch”button and click”Restore”to upgrade.Information bar will
display the upgrade of the current information{successfully}.after successfully will to start to the system
again,and will connect with the computer.then exit computer to start normal operation.
Page 10

【Notice】:
upgrade system will remove all local data, before the upgrade ,please backup important information .
After the upgrade for the first time when boot disk partition, the software pre-installed on such action, will
be slow, please kindly wait a moment, the second time into the system speed is normal.
三.Technology specification
Hardware configuration
Main
Frequency
CPU
Inner
memory
Screen
Memory
Max to 1.6GHz
Cortex-A9 Quad Core 28 nm chipset
1GB DDR3
7.85 inch 1024*768
Multi-touch Capacitive screen (5PIN touch)
16GB
WiFi Wi-Fi 802.11b/g/n
Volume
Expansion
card
Battery 4000mAh/3.7V
Data port
Built-in speaker
Micro SD card,support maximum 32GB Micro SD(TF)
High speed Micro USB 2.0 ,support OTG function
Operation system
Operation
system
Google Android 4.1
Camera
Front/Rear 0.3/2.0 Mega Pixels
Function feature
Mobile
memory
Audio
It can be used as movable hardware Disk
MP3、WMA、OGG、APE、FLAC、AAC、WAV
Support H.264,VP8,RV,WMV,AVS,MPEG4 etc 1080P video output、
Video
Picture
YouTubeYouTube、720P、HTML5 、Flash10.1
Support JPG、BMP、PNG etc.
Mali-400 MP4 GPU ,Support OpenGL ES 2.0/1.1 and Open VG1.1
Others
Audio mode Normal,Popular,Rock,Classical,Bass,Jazz,User-defined
Language Multi-language(optional)
View internet,Chat online ,E-mail,E-Book,Explore
Clock,Alarm clock,Calculator,Record
Page 11

Repeated
mode
Record Support microphone,support3GPP record format
Single song once、single repeated、all once、demo
Technology specification
Battery
usage time
SNR
Audio playing time(off WIFI,in earphone output):about 15 hours;video play
time:about 5 hours
Website view time:about 5 hours
≥95db
【Note】:
The picture on the manual is only for reference.There is no notice if the
specification,button operation and appearance are exchanged. Hope you can understand.
Declaration
Please backup the own data when you operate it.The company is not responsible for the loss and
damage of data caused by wrongly operating hardware,software,product repair,battery replacement or
other unforeseen circumstances. Meanwhile,we can not control the user’s misunderstand of using the
manual, so the company is not responsible for the accidental damage,and not responsible for the third
part claims caused by using the products.
FCC WARNING
This device complies with Part 15 of the FCC Rules. Operation is subject to the following two conditions:
(1) This device may not cause harmful interference, and
(2) this device must accept any interference received, including interference that may cause
undesired operation.
NOTE 1: This equipment has been tested and found to comply with the limits for a Class B digital device, pursuant
to part 15 of the FCC Rules. These limits are designed to provide reasonable protection against harmful
interference in a residential installation. This equipment generates, uses and can radiate radio frequency energy and,
if not installed and used in accordance with the instructions, may cause harmful interference to radio
communications. However, there is no guarantee that interference will not occur in a particular installation. If this
equipment does cause harmful interference to radio or television reception, which can be determined by turning the
equipment off and on, the user is encouraged to try to correct the interference by one or more of the following
measures:
- Reorient or relocate the receiving antenna.
- Increase the separation between the equipment and receive r .
-Connect the equipment into an outlet on a circuit different from that to which the receiver is connected.
-Consult the dealer or an experienced radio/TV technician for help.
NOTE 2: Any changes or modifications to this unit not expressly approved by the party responsible for compliance
could void the user's authority to operate the equipment.
 Loading...