

Aleco Clear-Valu User Manual
Clear-Valu ImpacDor Installation Instructions
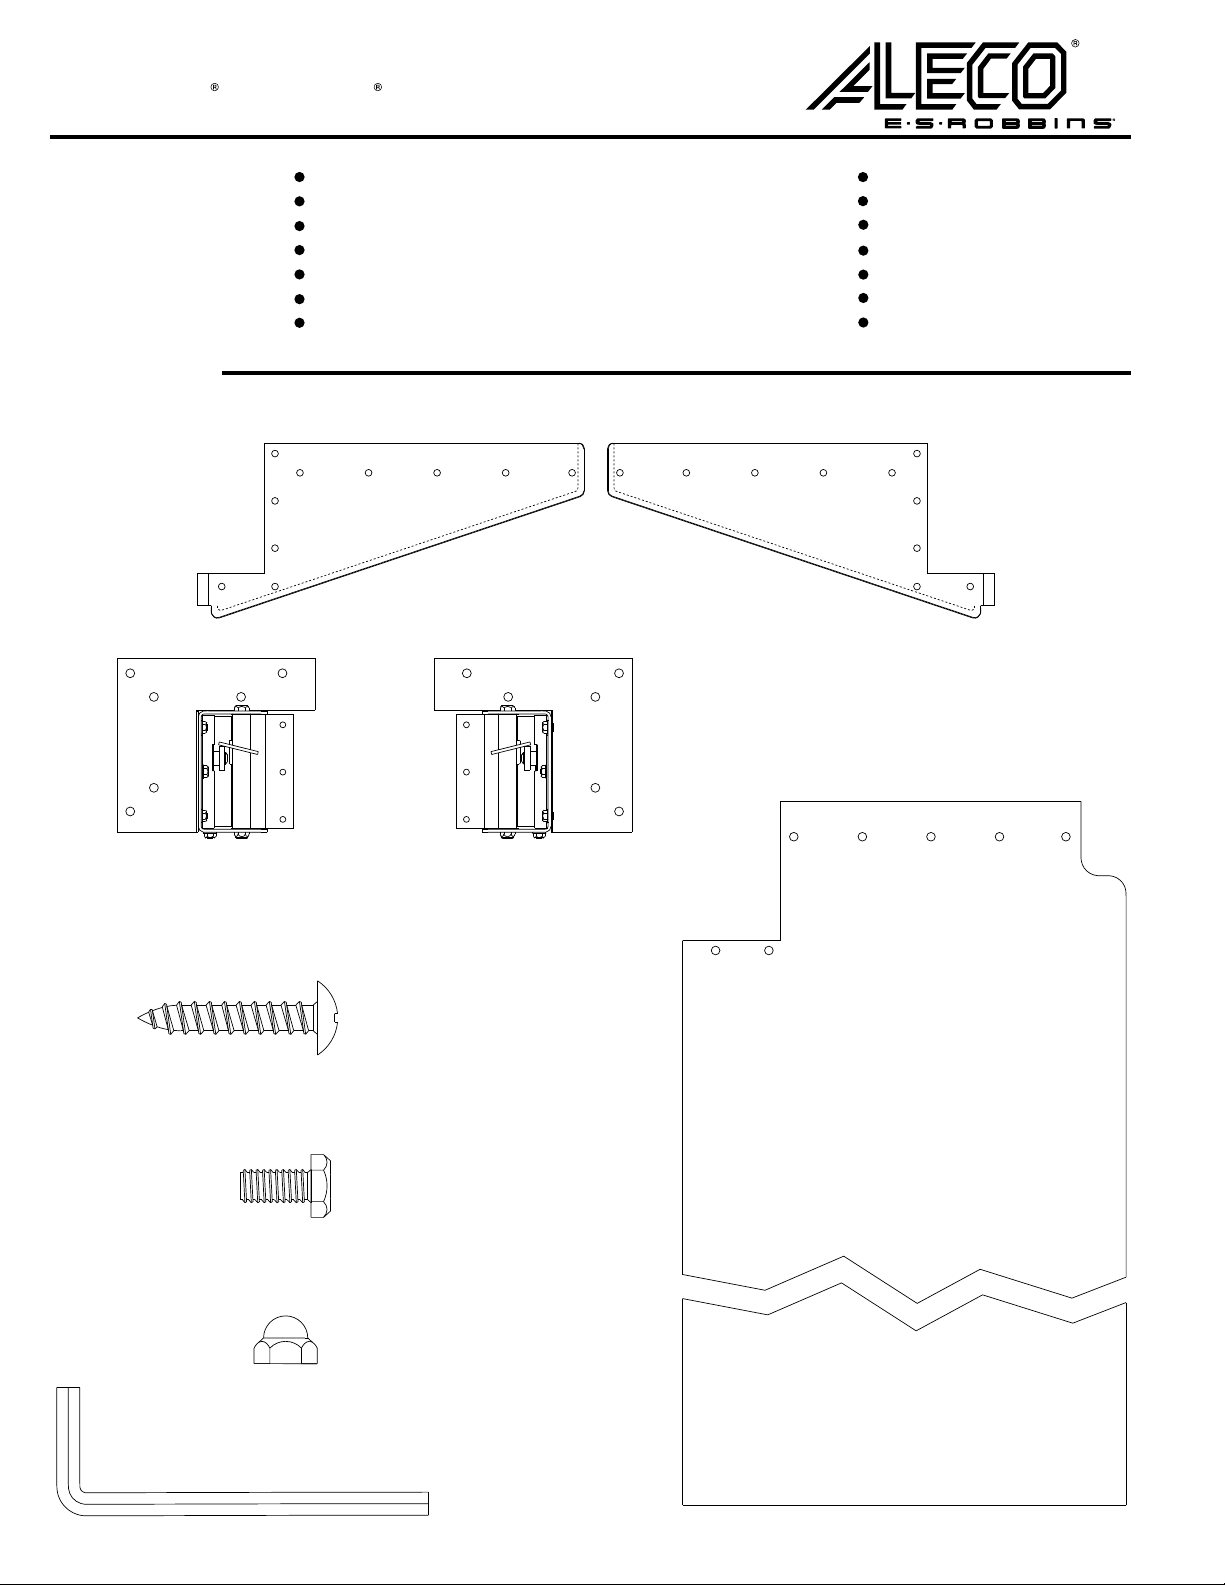
PARTS INCLUDED: TOOLS NEEDED:
KIT CONTENTS
[2] Left Arm Brackets [2] Right Arm Brackets
(4) Arm Brackets (2 for each side)
(2) Hinge Assemblies
(2) PVC Panel Doors
(12) 1/4” x 1 1/2” Screws
(20) 3/16” x 1/2” Bolts
(20) Acorn Nuts
(1) Allen Wrench
Marker to Mark Holes
Drill with 5/32” Bit
Adjustable Wrenches
Phillips Screwdriver
Step Stool or Ladder
Tape Measure
Utility Knife
[2] Hinge Assemblies (1 Left, 1 Right)
[12] 1/4” x 1 1/4” Screws
[20] 3/16” x 1/2” Bolts
[2] PVC Panel Doors
[20] Acorn Nuts
[1] Allen Wrench

INSTALLATION VARIATIONS
The drawings below illustrate the three variations that can be used when mounting your Aleco Clear-Valu ImpacDor .
The thickness of your door jamb as well as how your cooler/freezer is used will determine which installation to use. The
door jamb MUST be at least 2 1/4” wide.
NOTE: When checking the thickness of your door jamb make sure the jamb will be substantial enough to hold the
weight of the door. Check with your cooler/freezer manufacturer if questionable.
In-Jamb Mount Using Mounting Plate
A
Hinge is placed on inside of door jamb so that it is flush with door opening.
It is mounted to inside of cooler/freezer using mounting plates. This
installation is recommended for non-freezer/cooler doors.
2 1/4” or larger
Inside of Cooler/Freezer
Surface Mount
B
Hinge is mounted to inside surface of freezer door using mounting plate.
Inside of Cooler/Freezer
In-Jamb Mount Without Mounting Plate
C
Hinge is mounted on inside of door jamb using hinge bracket only,
no mounting plates.
2 1/4” or larger
Inside of Cooler/Freezer
- 2 -
 Loading...