

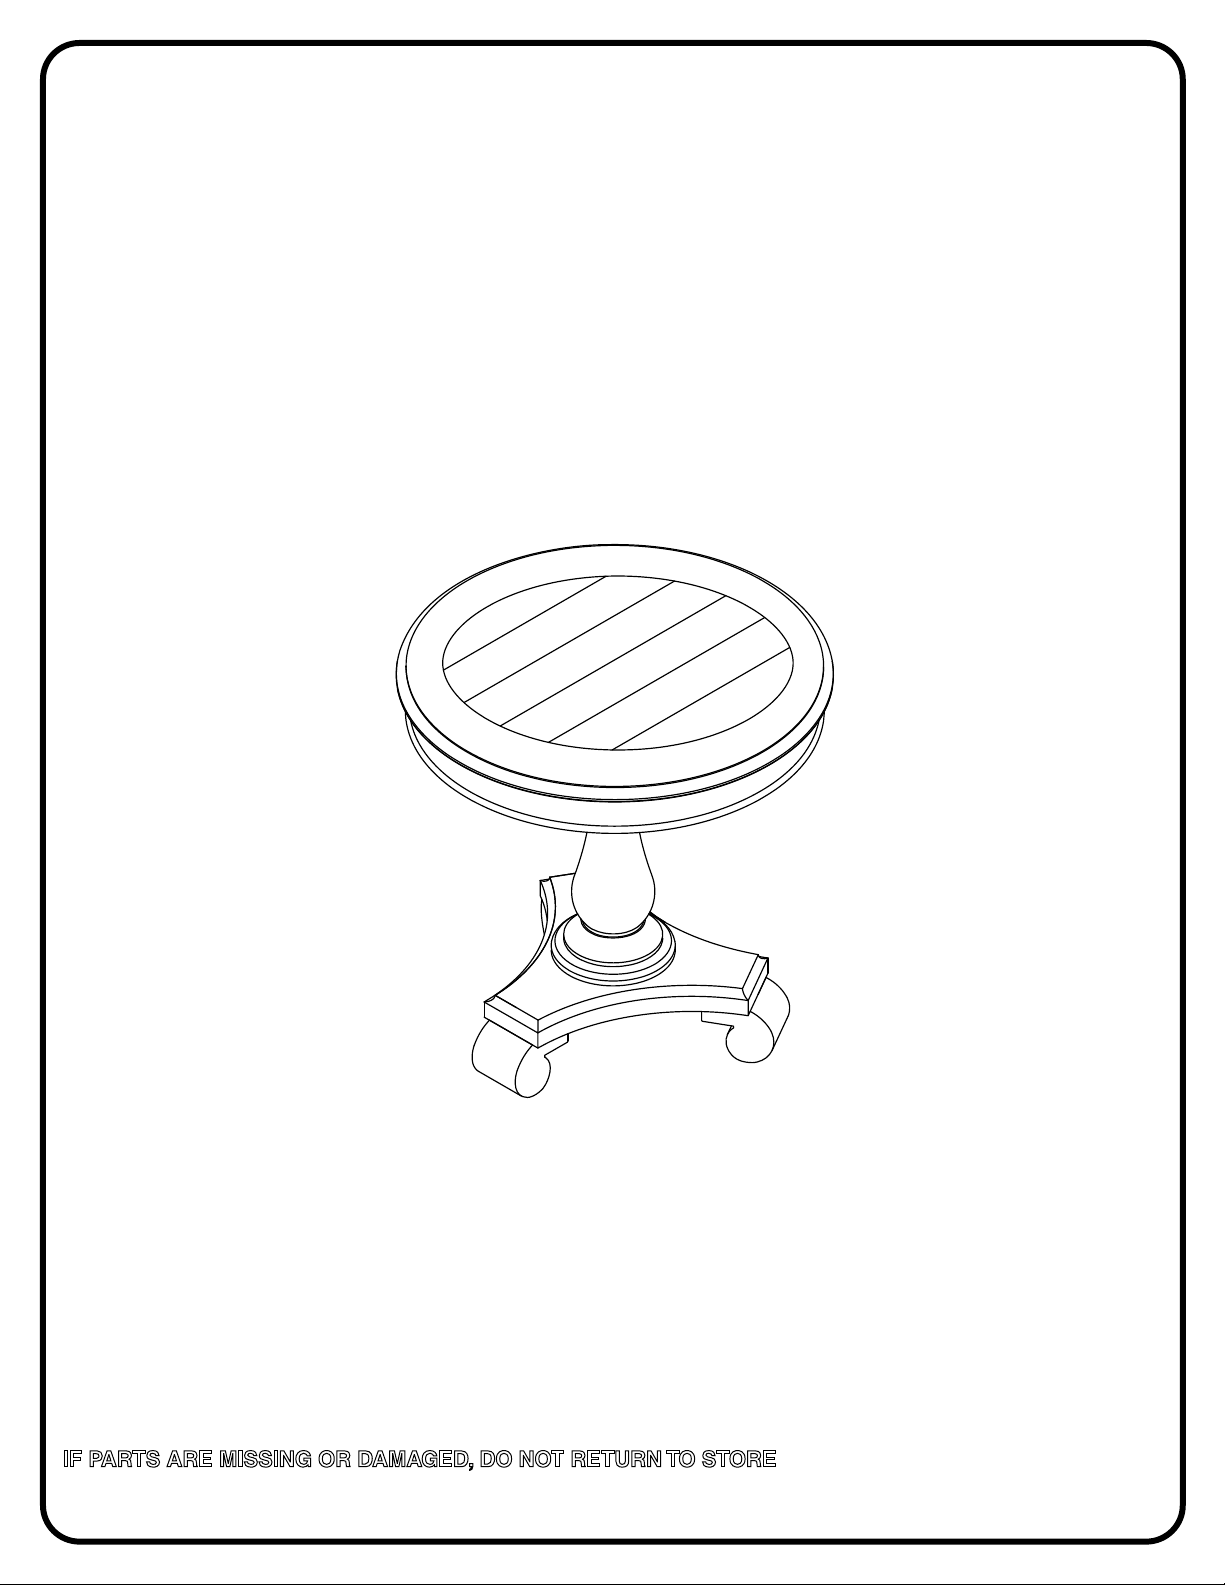
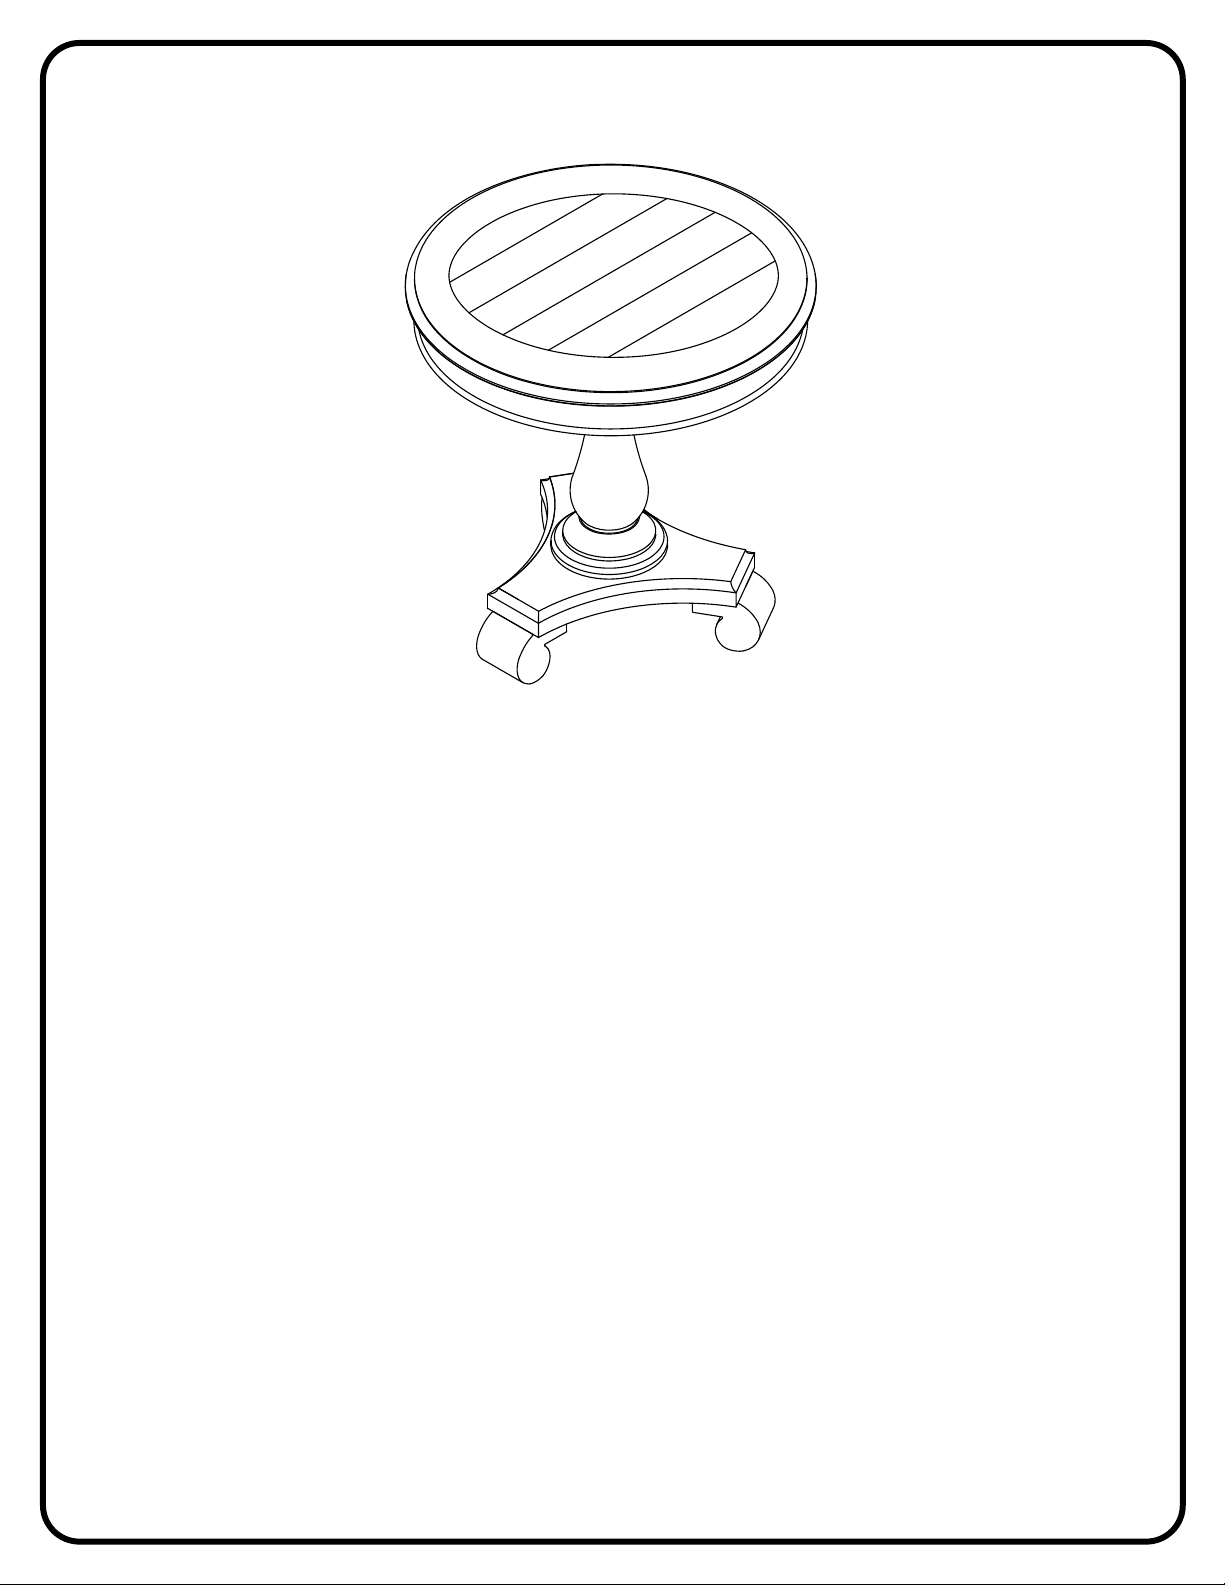
ROUND ACCENT TABLE
ASSEMBLY INSTRUCTIONS
IF PARTS ARE MISSING OR DAMAGED, DO NOT RETURN TO STORE
To order missing or replacement parts, contact us
WARNING
1. Do not use this product unless all screws and bolts are securely tightened.
2. Check that all screws and bolts are tight every three months or as needed.
3. Dispose of packing material properly. Do not use plastic cover as head covering. It may cause suffocation.
4. Do not use this product as a stepladder.
5. Use this product for its intended purpose only.
6. Intended for residential use only.
LIMITED WARRANTY
We warrant to the original purchaser our products to be free from defects in material and workmanship for a period of 5 years.
Defects and damage from misuse, abuse, negligence, alteration, accident, vandalism, rusting, acts of nature or any other event
beyond the control of us is not covered. The warranty does not cover cosmetic damage that may result from normal use. Liability
for incidental or consequential damages is excluded. The user assumes all risk of injury resulting from use of this product. This
warranty gives you specific legal rights, and you may also have other rights which vary from state to state.
To make a warranty claim, contact Customer Service, provide model number, sales receipt and description of the problem. It is the
customer’s responsibility to prepay freight on any components returned to the factory. We
covered under terms of warranty.
will pay return freight on
components
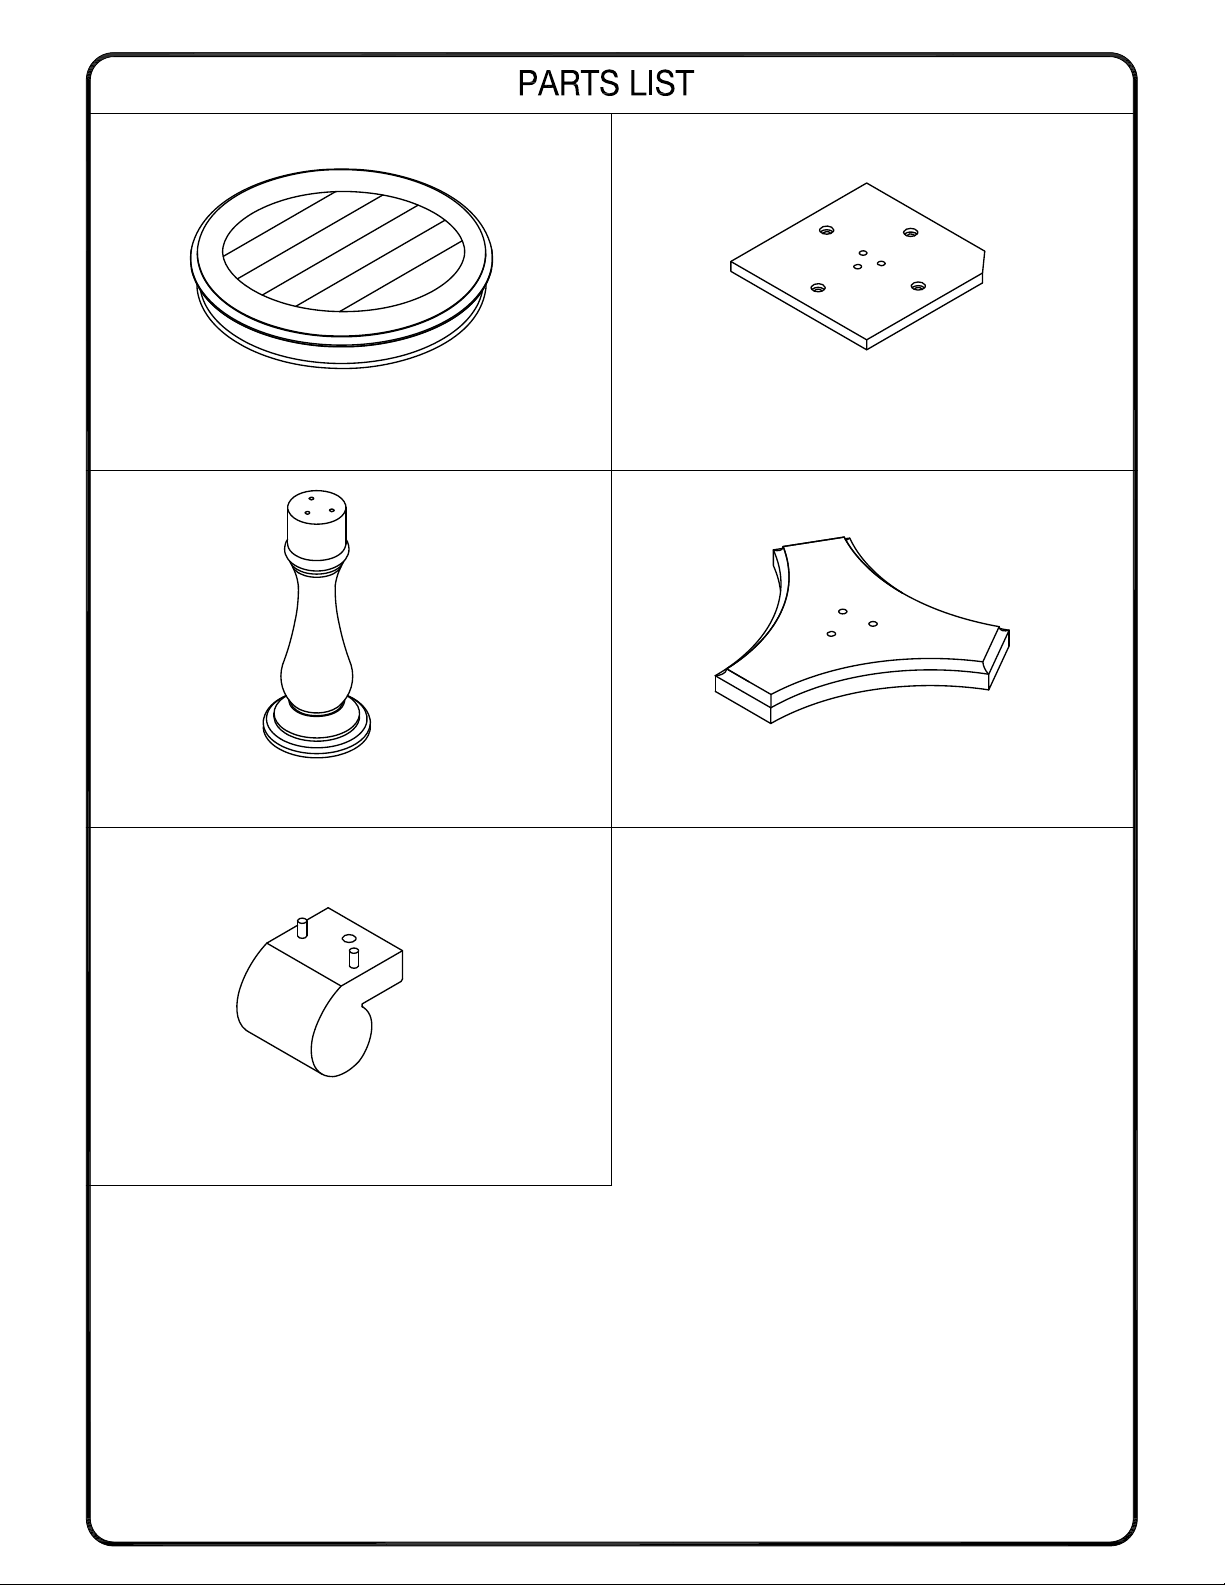
(1) Top Panel (1 PC) (2) Connection Panel (1 PC)
(3) Post (1 PC) (4) Base Panel (1 PC)
(5) Foot Pad (3 PCS)
THANK YOU for purchasing this quality product. Be sure to check all packing material carefully for small parts which may have
come loose inside the carton during shipment. Identify and count all parts and compare with the parts and hardware lists.


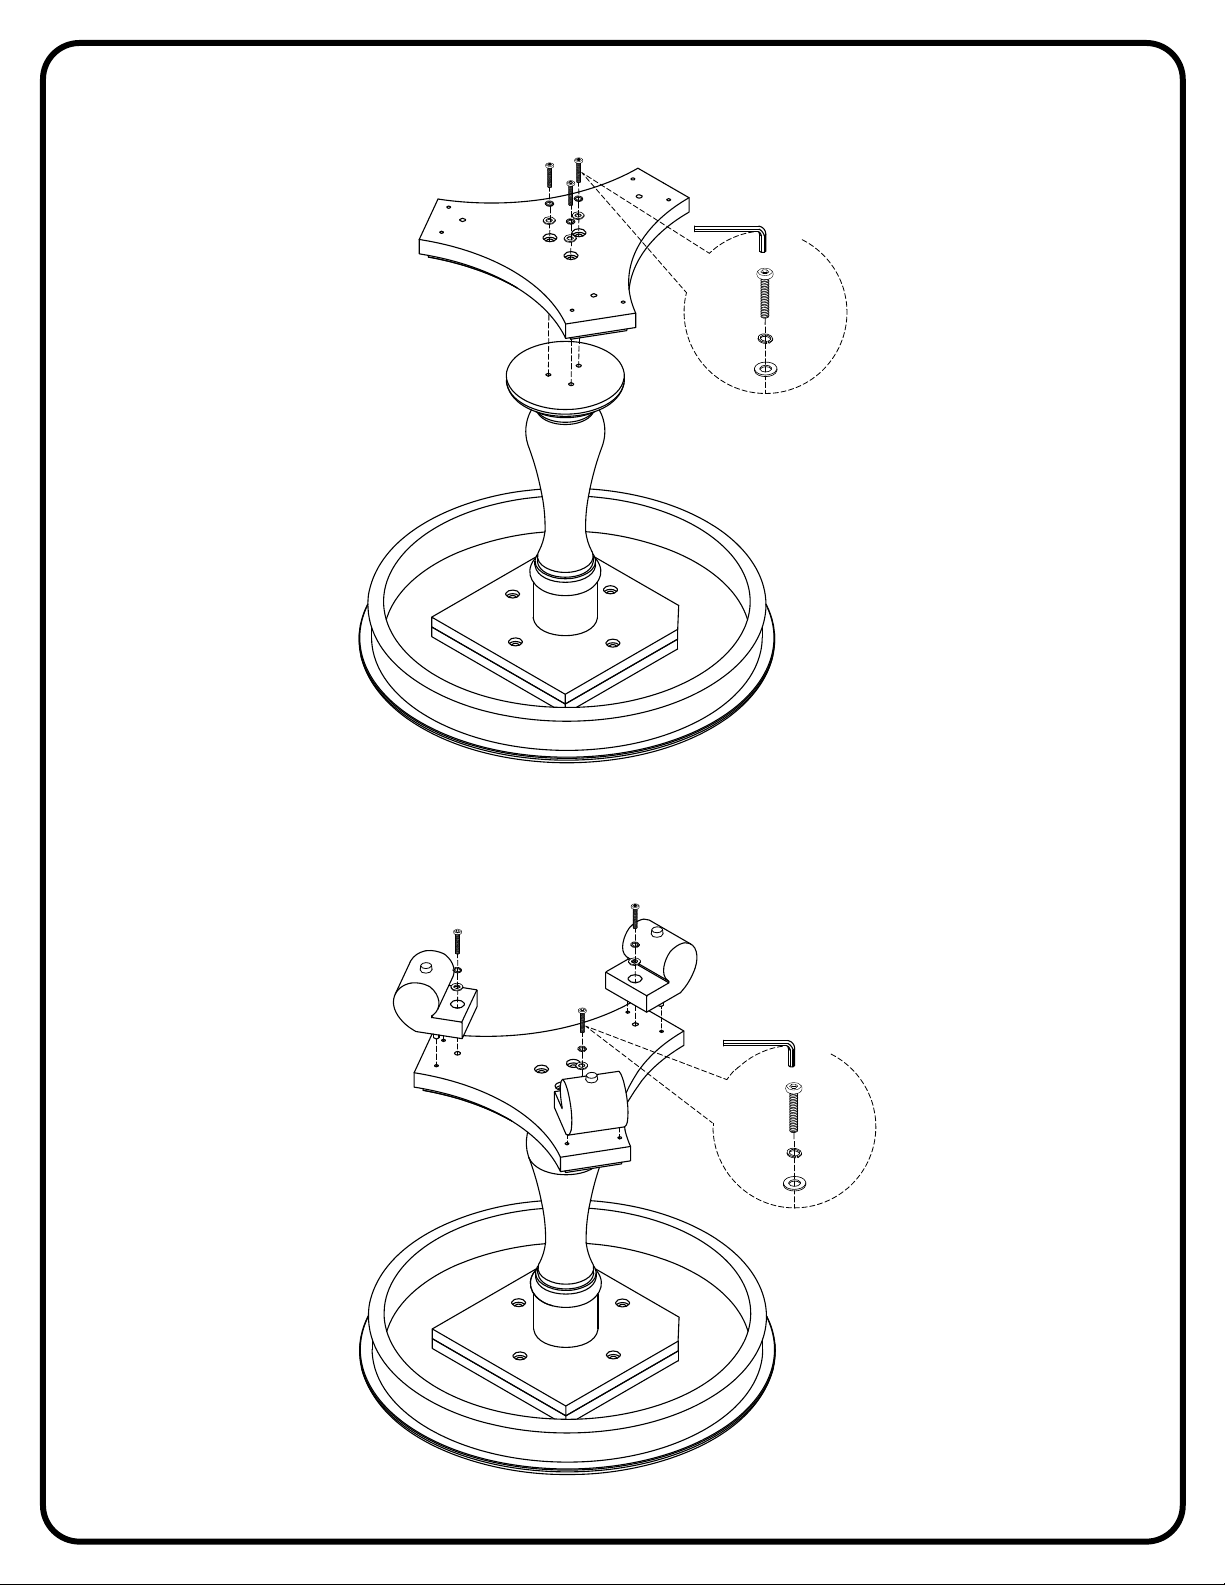
STEP 1:
Attach Connection Panel (2) to Post (3) using three Flat Washers (B), three Spring Washers (C) and three Bolts (A).
TIGHTEN ALL BOLTS USING WRENCH (D).
(D)
(A)
(C)
(B)
(2)
(3)
STEP 2:
Attach Connection Panel (2) to Top Panel (1) using four Flat Washers (B), four Spring Washers (C) and four Bolts (A).
TIGHTEN ALL BOLTS USING WRENCH (D).
(3)
(D)
(A)
(C)
(B)
(1)
(2)
STEP 3:
Attach Base Panel (4) to Post (1) using three Flat Washers (B), three Spring Washers (C) and three Bolts (A).
TIGHTEN ALL BOLTS USING WRENCH (D).
(4)
(D)
(A)
(C)
(3)
(B)
STEP 4:
Attach Foot Pads (5) to Base Panel (4) using one Flat Washer (B), one Spring Washer (C) and one Bolt (A) for each
Foot Pad (5). TIGHTEN ALL BOLTS USING WRENCH (D).
(5)
(5)
(4)
(5)
IMPORTANT: MAKE SURE BOLTS ARE SECURELY TIGHTENED BEFORE USING THIS PRODUCT.
(D)
(A)
(C)
(B)

STEP 5:
Adjust levelers to level table.

FURNITURE CARE:
- Dust with a soft cloth following the grain pattern of the wood.
- Dust often to remove the everyday abrasive particles from the wood surfaces.
- Before dusting, moisten cloth lightly with a spray product.
- Wood finishes also benefit from an occasional polishing.
 Loading...