

Page 1
OPERATING INSTRUCTIONS
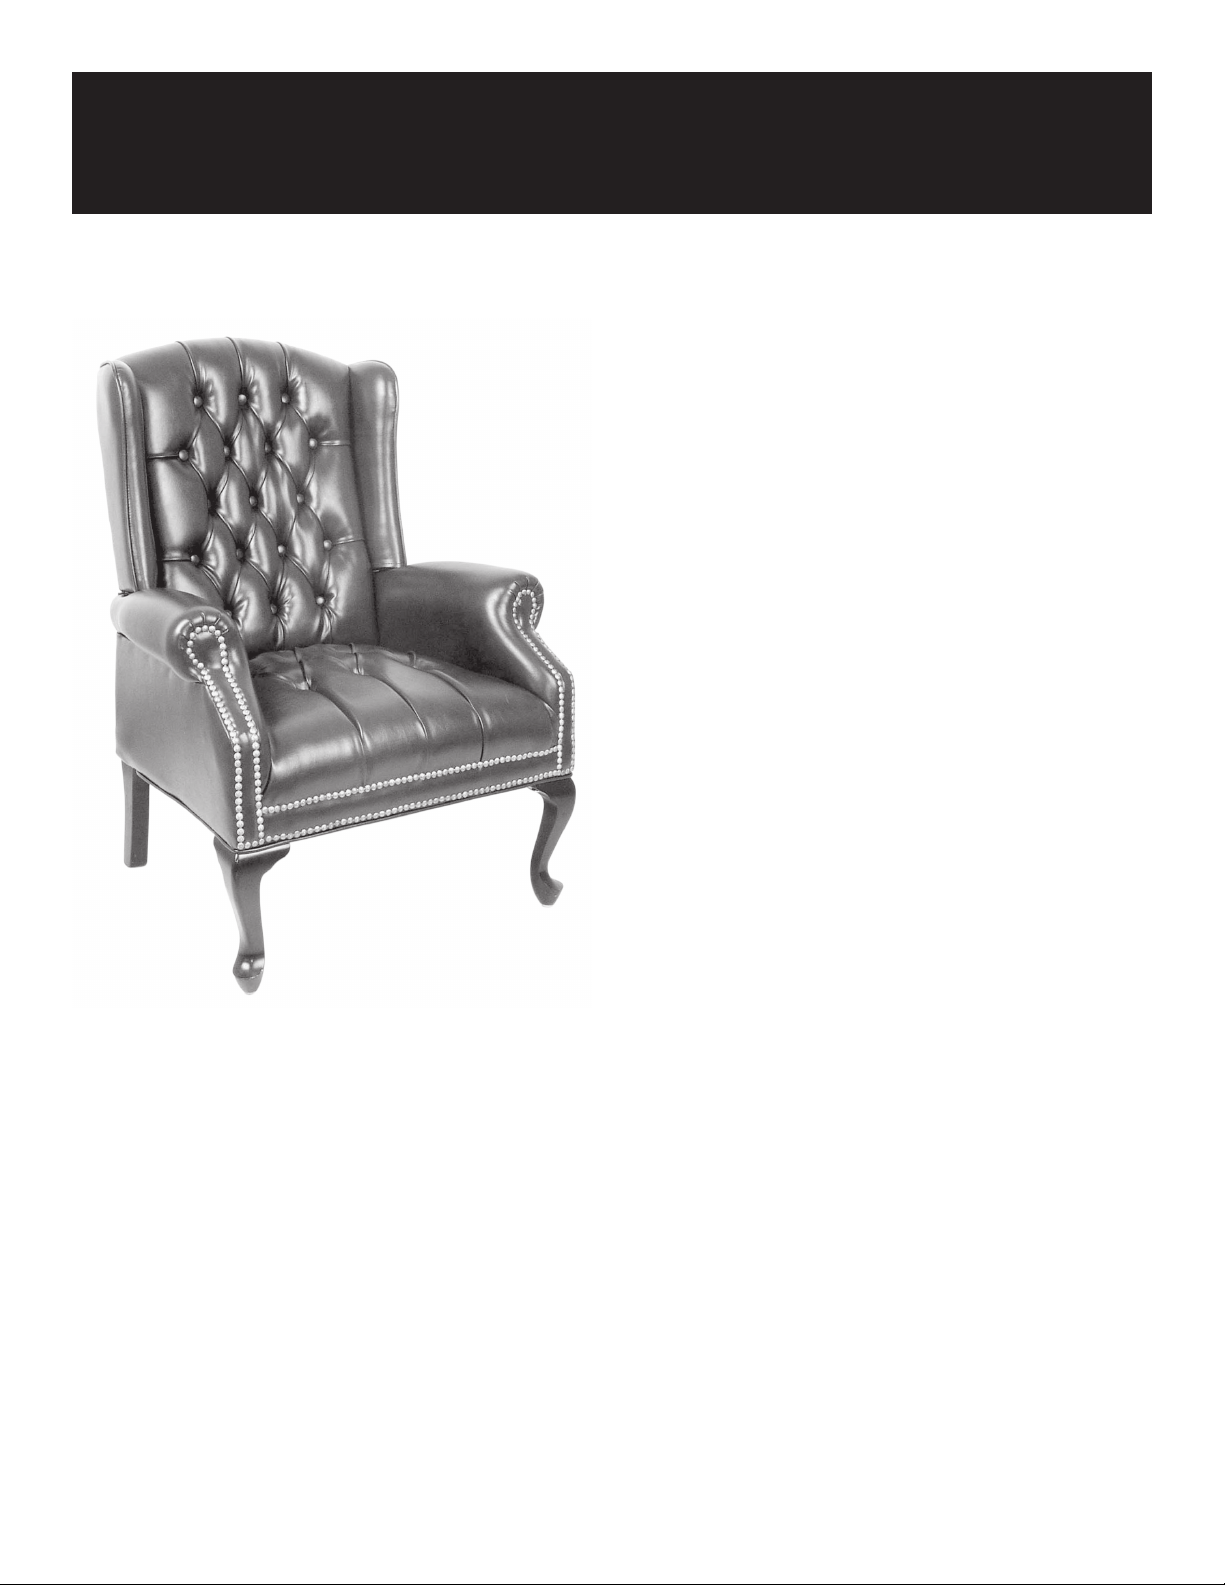
TRADITIONAL QUEEN ANNE STYLE CHAIR
WARNING
1. Use this product only one person at a time.
2. Do not use this chair unless all bolts, screws, and knobs are
securely tightened.
3. Check that all bolts, screws, and knobs are tight every three
months or as needed.
4. Dispose of packing material properly. Do not use plastic
cover as head covering. It may cause suffocation.
5. Do not use chair as a stepladder.
6. Use this chair for its intended purpose only.
7. Use mild detergent only for cleaning.
Warranty
15 Year limited warranty on all non-moving metal parts. Wood and
plastic parts are warranted for 5 years. We can not warrant vinyl
against routine scratching and scuffing, as all vinyl is subject to
minor blemishes in use.
All warranties are limited to the original purchaser for normal
commercial usage, as defined by a standard forty hour work week by
persons weighing 250 lbs. or less. When usage exceeds forty hours per
week, a two year warranty on all parts applies.
This warranty will not cover labor, freight, or damage caused by neglect,
abuse, mis-use, alterations, or damage caused by shipment, fire, or
flood.
To make warranty claim contact Parts Department. Provide model number and descrition of problem and obtain return authorization. At it’s
option we will: a. Supply compatible components of current manufacture. b. Repair the customers component. The customer must prepay
freight on any components returned to the factory. Return freight on components still in warranty will be paid by us.
Our quality standards are among the highest in the industry. Sometimes, no matter how hard we try, there are times when parts are damaged or
missing. Our Parts Department will do everything possible to promptly remedy the problem. Contact us via email, by Fax, or toll free parts
number.
Page 2

ASSEMBLY INSTRUCTIONS
TRADITIONAL QUEEN ANNE STYLE CHAIR
1L
8
2
8
2
Fig.3: Insert Rear Leg (1) next to Seat
Cushion (3) frame.
Seat Cushion
Frame Strut
1L&1R
5,7
Fig. 1
5,7
1R
3
6,9
Fig. 2
Part. . . . . . . . . . . . . . Qty
1. Rear Legs (1L & 1R) . . . . . 2
2. Front Legs . . . . . . . . . . 2
3. Seat Cushion . . . . . . . . 1
4. Back Cushion . . . . . . . . 1
5. Medium Screws . . . . . . . 6
6. Long Screws . . . . . . . . . 2
7. Washer (large hole) . . . . . . 6
8. Short Screws (zinc white) . . . 6
9. Washer (small hole). . . . . . 2
10. Allen Wrench (not shown) . . 1
STEP 1 Remove all parts from carton, separate them by part numbers indicated on the parts list, and verify parts quantities.
STEP 2 Attach Front Legs (2) to front underside of Seat Cushion (3), using six Short Screws (8). (See Fig.1)
FULLY TIGHTEN ALL SCREWS.
STEP 3 Peel back black fabric from bottom rear of Seat Cushion (3). Insert Rear Legs (1) between vinyl and frame, and attach using
six Medium Screws (5), and six Washers (large hole) (7). (See Fig. 1 & 3) When finished reattach black fabric.
FULLY TIGHTEN ALL SCREWS.
STEP 4 Slip Back Cushion (4) over metal brackets of Seat Cushion (3) and fully push down. Peel back vinyl overlap on rear of Back
Cushion (4) and attach Back Cushion (4) to Seat Cushion (3) using two Long Screws Screws (6) and two Washers (small hole) (9).
(See Fig. 2) When finished reattach vinyl.
ATTENTION: VERIFY THAT ALL SCREWS ARE FULLY TIGHTENED BEFORE USING CHAIR.
 Loading...