

Page 1
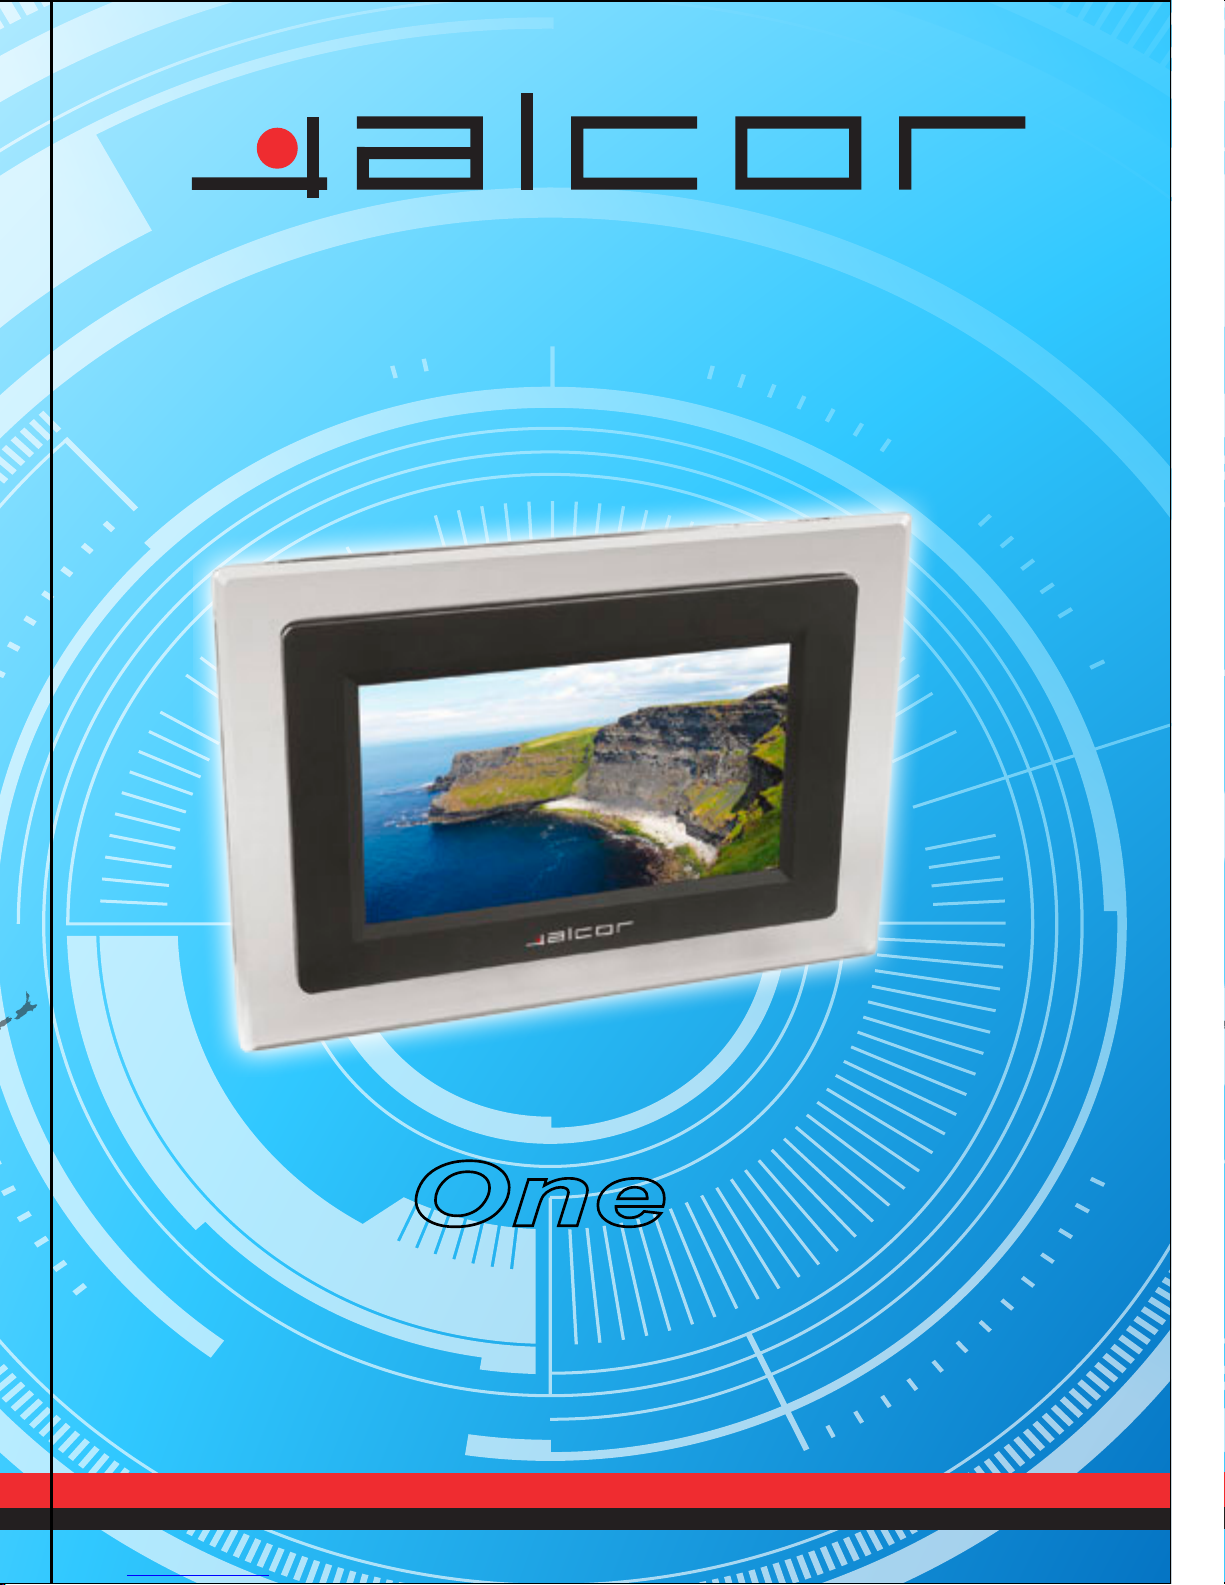
User Manual
One
Page 2

Warning:
Please turn off the power when inserting or removing a memory card to avoid damaging th e
unit or the card.
Safety precaution
(1) Use only the supplied 12V DC power adapter.
(2) Turn off power before cleaning . Use only a soft cloth to clean the unit.
Do not use liquid cleaners.
(3) Avoid exposing the unit to extreme heat.
Page 3

Contents
Introduction
Features
Packaging Check List
Specifications
Product Diagram
Using Your Frame
Troubleshooting
Page 4

Introduction
Your new digital picture frame lets you view digital pictures from me mory cards easily and
quickly
No computer or printer needed.
Includes convenient slide show mode, which starts automatically when the frame is turned
on.
Supports many popular memory card types.
Easy to take with you to share photos with family and friends anywhere.
A step beyond the traditional photo frame, view tens or even hundreds of digital photo with
Without the need to pay for printing.
1. Features:
z 7 inch TET LCD screen
z Supports Secure Digital (SD), Multimedia Card (MMC)
z View the pictures from memory cards directly.
z Supports rotation of photos for proper display of vertical pictures.
z Resolution: 480*234 pixels
z Supports high resolution photos
z Automatic start of slide show
z Key holes for wall mounting
z Removable stand allows frame to be displayed vertically or horizontally.
Page 5

Introduction
2. Packaging Check List
Digital Picture Frames 1 piece
Stand 1 piece
User Manual 1 piece
Power Adapter 1 piece
3. Specifications
Panel size 7 inches
Resolution 480*234
Brightness 350cd/m2
Contract 300
View ing Angle 60/ 60/40/60(CR=10)
Response Time 30ms
Screen Size Mode 16:9
Picture Rotation 270 degrees
File Format Type JPEG
Max. Photo Size 10 mega pixels
Power Requirement 12 V DC
Power Consumption 6W
Operating T emperature -20~60 degree centigrade
Storage Temperature -30~75 degree centigrade
Page 6
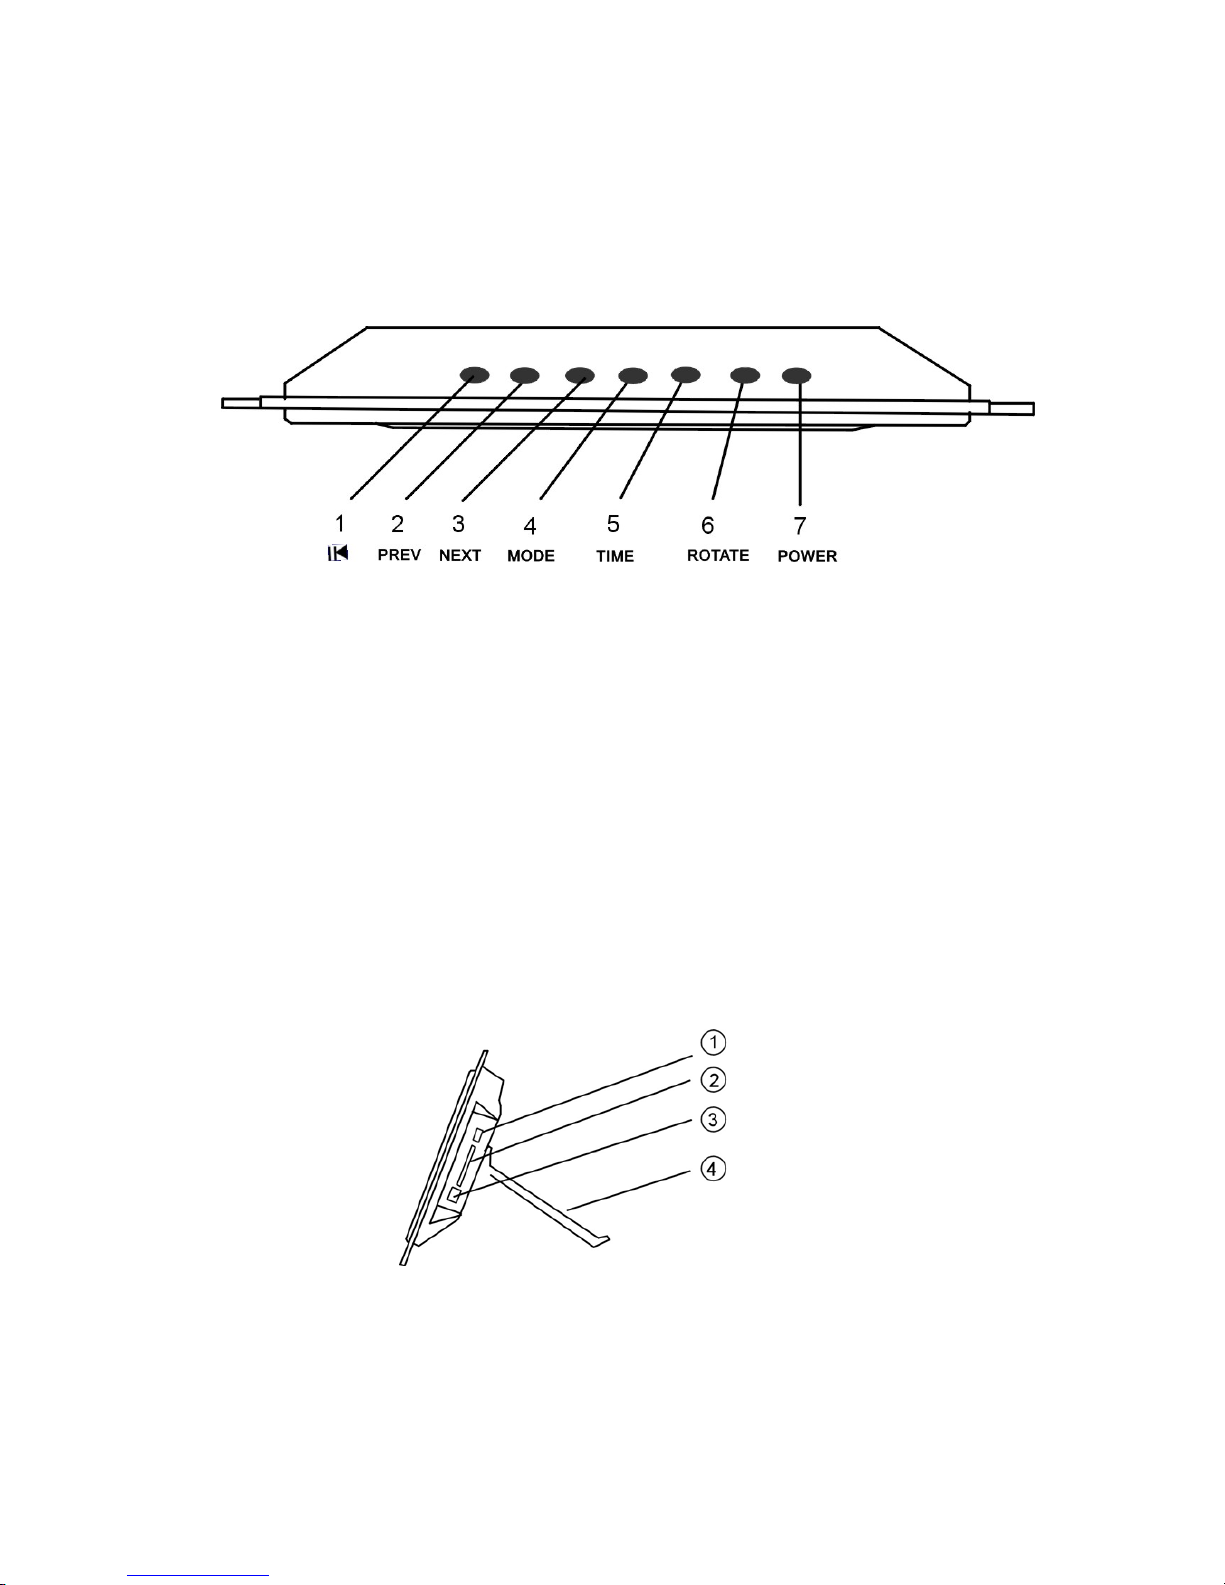
Product Diagram
a. Top view
1. Play/Pause
2. Previous
3. Next
4. Mode
5. Time
6. Rotate
7. Power
b. Side view
The removable stand can be connected to use your Digital Picture Frame vertically or horizontally
1. USB host
2. Memory card slot
3. Power input jack
Page 7

4. Stand
Using Your Digital Picture Frame
Install the stand for tabletop display, or mount to a wall. Connect the AC adapter.
Insert a memory card in the digital picture frame (with the card’s electrical contacts toward the
back of the unit) ,then press the power button.
To pause the slide show, press the PLAY/PAUSE button briefly. The word Pause will appear on
the screen briefly and the slide show will be stopped.
The current photo will remain on the screen until another button is pressed, at which time the slide
show will resume.
To display the next or previous picture, press the Next button or the Previous button
Press the Rotate button briefly allows photos to be turned to 90°,180°,270°,360°.
Press and hold the Rotate button to set the picture changing time of
5s/15s/30s/1m/5m/30m/45m/1h and never.(the interval time may vary depending on the size of the
loading photo)
View ing Mo d es
Press this button to select display mode of FILL, ORIGINAL, AUTO FIT and PAN SCAN.
Page 8

File Saving:
Photos must be saved in JPG format in order to be viewed on the digital picture frame, Nearly all
digital cameras will save in the format by default. Photos that have been saved with certain image
editing programs can fail to display properly.
Technical Notes:
1. Your digital picture frame is sophisticated electronic device. Do not drop or subject the unit to
jarring or strong vibrations.
2. Avoid placing the digital photo frame in areas of high humidity or where it might be subjected
to splashing
3. The LCD panel is made of plastic and can be easily damaged. Avoid sharp objects.
4. Use only a soft dry cloth to clean the screen.
Page 9

Questions/Troubleshooting Guide
1. Question: what kind of photos does this device support?
Answer: The frame will display digital photo that are stored in the JPEG format, which is the
standard format for nearly all digital cameras. Some cameras allow images to be stored as
TIFF or RAW files as well as JPEG Only the JPEG format is compatible with the frame.
Photos of up to 10 million pixels can be display
2. Question: What should I do if the system does not respond when the power is turned on
Answer: Please make sure the unit is properly connected to a power source. The turn it off,
re-connect the power and turn in on again.
3. Question: Why is the memory card not recognized?
Answer: The memory card might be inserted backwards or is not pushed in for enough. After
inserting the memory card in the right direction, if the card still cannot be read, please turn off
the unit and then power it on again.
Page 10

Distributor: Infopatika Ltd.
Angol str. 38. H-1149 Budapest, Hungary
www.infopatika.hu
Made in China
 Loading...