

AkitikA DH-101 Installation Manual
HAFLER DH-101
RCA JACK REPLACEMENT
INSTALLATION MANUAL
© 2020 AkitikA, LLC
All rights reserved
Revision 1p0 March 21, 2020
Page 1 of 10

Table of Contents
Table of Contents ................................................................................................................ 2
Table of Figures .................................................................................................................. 2
Section 1: About This Manual ............................................................................................ 3
Who Should Attempt these Projects? ............................................................................. 3
Tools and Supplies You’ll Need ..................................................................................... 3
Recommended Solder ..................................................................................................... 3
Project Overview ............................................................................................................ 3
Important Safety Notes ................................................................................................... 4
Section 2: Building the RCA jack PCBs............................................................................. 5
Populating the jacks and grounding lugs ........................................................................ 5
Replacing the jack fields ................................................................................................. 6
Opening your DH-101 .................................................................................................... 6
Removing the old jack fields .......................................................................................... 6
Reinstalling the jack fields .............................................................................................. 8
Final Re-assembly ........................................................................................................... 8
Appendix 1: The Toothpick Trick ................................................................................ 10
Table of Figures
Figure 1-Insert the jacks into the silk-screen side ............................................................... 5
Figure 2-tightening a jack ................................................................................................... 5
Figure 3-orientation of lugs and solder cups....................................................................... 5
Figure 4-remove jack field .................................................................................................. 6
Figure 5-Stack the jack fields ............................................................................................. 6
Figure 6-Wiring left channel phono connections................................................................ 7
Figure 7-New left channel jack field installed .................................................................... 7
Figure 8-Don't forget to solder the 0.1 uF capacitor leads .................................................. 8
Figure 9-Wire Color Summary for Signal (hot) conductors of the RCA Jacks .................. 9
Page 2 of 10

Section 1: About This Manual
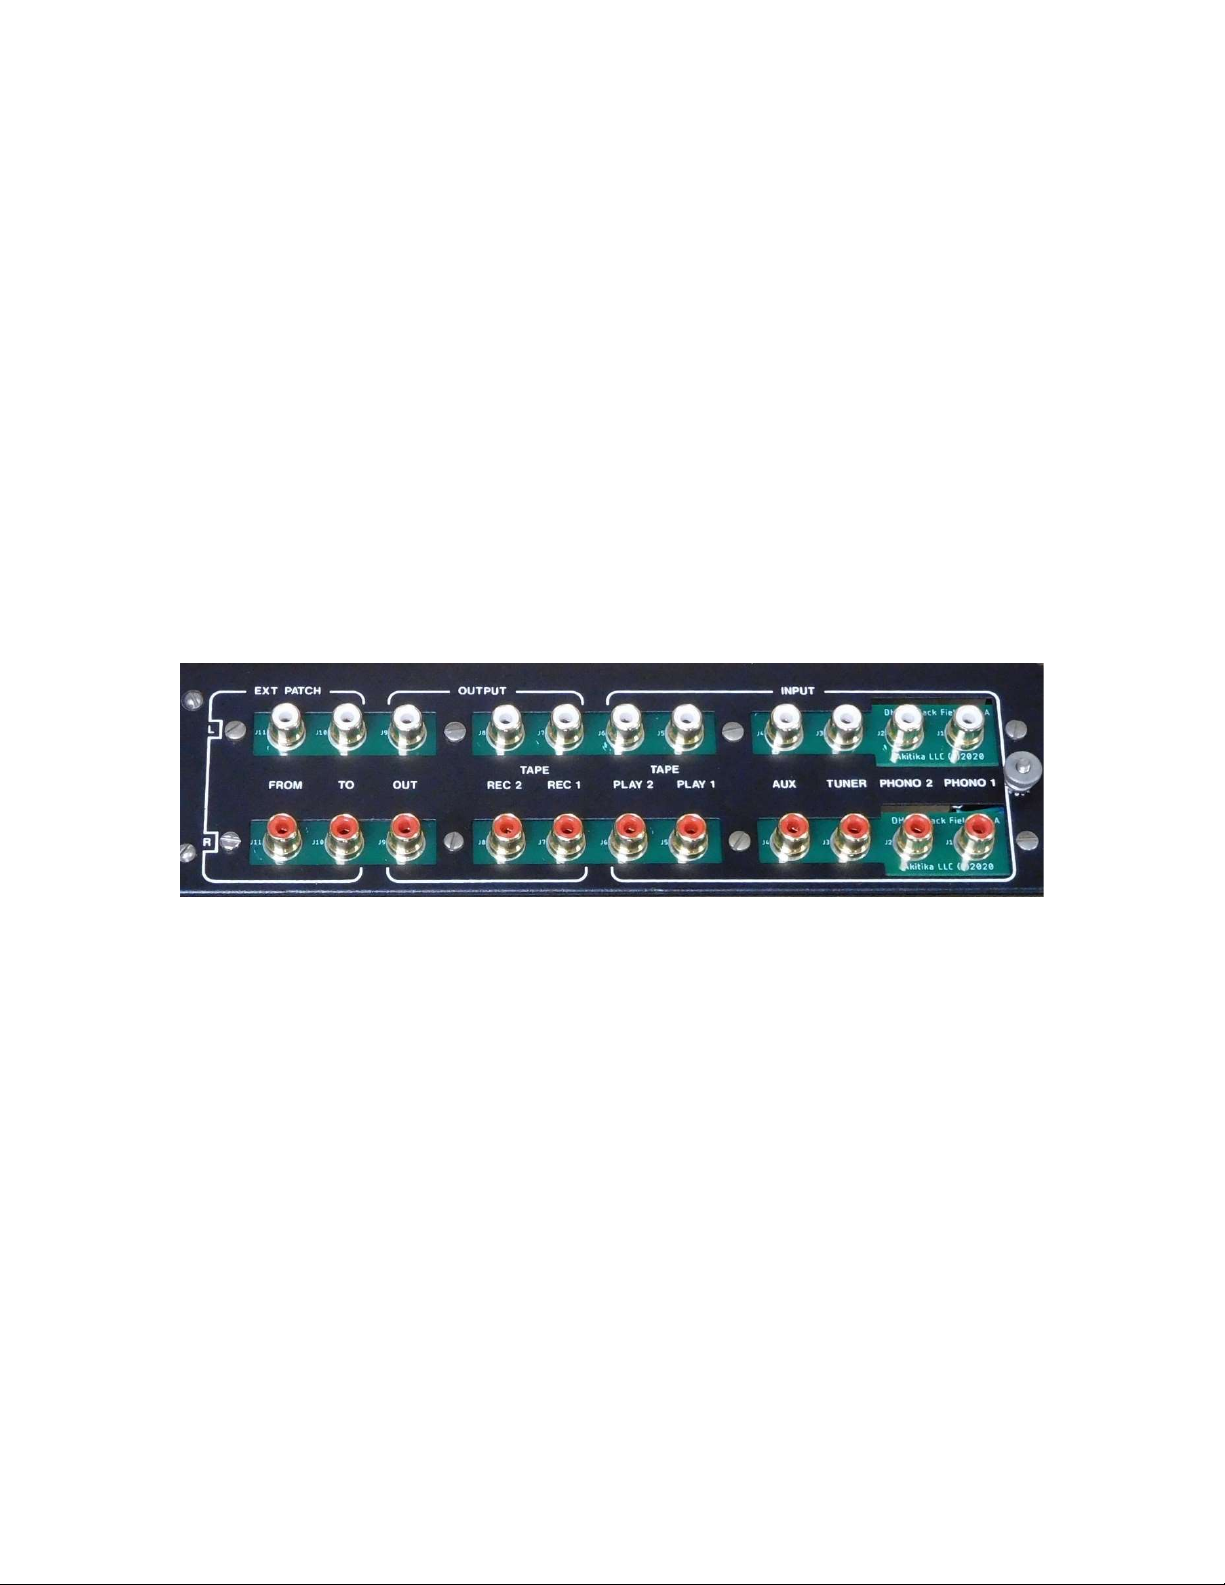
This manual gives the information you need to upgrade the RCA jacks on the Hafler DH101 preamp to gold-plated RCA jacks. This upgrade has the following advantages:
The metal in the original jacks tends to oxidize, making it difficult to get a low
resistance connection. The gold plated RCA jacks make for low resistance
connections, which leads to lower hum and noise.
The grounds between the jacks are built into the PCB mounting structure, making
installation of the upgraded jacks easier.
Separate grounds between the phono and high-level sections are maintained.
Who Should Attempt these Projects?
You can build this kit if you can:
1. solder (using normal rosin core solder and a soldering iron),
2. use simple hand tools like screwdrivers, wire cutters, and pliers, and
3. read and follow directions.
It helps if you:
1. know a bit about electronics, or
2. have a friend who knows a bit about electronics
3. can get to YouTube to watch a few helpful videos about the assembly process (not
available as of this version of the manual)
Tools and Supplies You’ll Need
You’ll need the following tools:
1. flat blade screwdrivers for #4 and #6 screws, #2 Philips head screwdriver
2. needle nose pliers (helpful, but not strictly necessary)
3. pencil type soldering iron of 25 to 50 Watts (no huge honking soldering guns or
blowtorches)
4. wire cutters and strippers
5. de-soldering tools (see Appendix 1)
6. Magnifying glass, if you’re over 42!
Recommended Solder
The kit must be assembled with 60/40 Rosin Core solder. The recommended diameter is
0.032 inches.
Project Overview
Broadly, the project consists of the following steps:
1. Building the new RCA jack circuit boards.
2. Adding a few capacitors to the new RCA jack circuit boards.
3. Installing the newly built jack circuit boards.
4. Reassembling your DH-101.
Page 3 of 10
 Loading...