

Mini-Converter
V2Digital
Installation & Operation Guide
Version 1.0
Published: November 4, 2013

Table of Contents
Notices . . . . . . . . . . . . . . . . . . . . . . . . . . . . . . . . . . . . . . . . . . . . . . . . . . . . . . . . 3
Trademarks . . . . . . . . . . . . . . . . . . . . . . . . . . . . . . . . . . . . . . . . . . . . . . . . . . . . . . . . . . . . . . . . . . . . . . . 3
Copyright . . . . . . . . . . . . . . . . . . . . . . . . . . . . . . . . . . . . . . . . . . . . . . . . . . . . . . . . . . . . . . . . . . . . . . . . . 3
Contacting Support . . . . . . . . . . . . . . . . . . . . . . . . . . . . . . . . . . . . . . . . . . . . . . . . . . . . . . . . . . . . . . . 3
Chapter 1: Introduction . . . . . . . . . . . . . . . . . . . . . . . . . . . . . . . . . . . . . . . . 4
Features . . . . . . . . . . . . . . . . . . . . . . . . . . . . . . . . . . . . . . . . . . . . . . . . . . . . . . . . . . . . . . . . . . . . . . . . . . 4
Block Diagram. . . . . . . . . . . . . . . . . . . . . . . . . . . . . . . . . . . . . . . . . . . . . . . . . . . . . . . . . . . . . . . . . . . . . 5
I/O Connections . . . . . . . . . . . . . . . . . . . . . . . . . . . . . . . . . . . . . . . . . . . . . . . . . . . . . . . . . . . . . . . . . . . 5
User Controls. . . . . . . . . . . . . . . . . . . . . . . . . . . . . . . . . . . . . . . . . . . . . . . . . . . . . . . . . . . . . . . . . . . . . . 5
External DIP Switches . . . . . . . . . . . . . . . . . . . . . . . . . . . . . . . . . . . . . . . . . . . . . . . . . . . . . . . . . 6
MiniConfig Control . . . . . . . . . . . . . . . . . . . . . . . . . . . . . . . . . . . . . . . . . . . . . . . . . . . . . . . . . . . . 6
Installation . . . . . . . . . . . . . . . . . . . . . . . . . . . . . . . . . . . . . . . . . . . . . . . . . . . . . . . . . . . . . . . . . . . . . . . . 6
Specifications . . . . . . . . . . . . . . . . . . . . . . . . . . . . . . . . . . . . . . . . . . . . . . . . . . . . . . . . . . . . . . . . . . . . . 6
Chapter 2: Operation . . . . . . . . . . . . . . . . . . . . . . . . . . . . . . . . . . . . . . . . . . . 7
Default Operational Settings. . . . . . . . . . . . . . . . . . . . . . . . . . . . . . . . . . . . . . . . . . . . . . . . . . . . . . . 7
DIP Switch Settings. . . . . . . . . . . . . . . . . . . . . . . . . . . . . . . . . . . . . . . . . . . . . . . . . . . . . . . . . . . . . . . . 7
DIP Switch Settings Summary . . . . . . . . . . . . . . . . . . . . . . . . . . . . . . . . . . . . . . . . . . . . . . . . . 8
USB Control and Setup—Using AJA MiniConfig . . . . . . . . . . . . . . . . . . . . . . . . . . . . . . . . . . . . 8
Installing MiniConfig on a Mac. . . . . . . . . . . . . . . . . . . . . . . . . . . . . . . . . . . . . . . . . . . . . . . . . 8
Installing MiniConfig on a PC . . . . . . . . . . . . . . . . . . . . . . . . . . . . . . . . . . . . . . . . . . . . . . . . . . 9
Running MiniConfig . . . . . . . . . . . . . . . . . . . . . . . . . . . . . . . . . . . . . . . . . . . . . . . . . . . . . . . . . . . 9
Operating MiniConfig . . . . . . . . . . . . . . . . . . . . . . . . . . . . . . . . . . . . . . . . . . . . . . . . . . . . . . . . 10
Tabbed Screens . . . . . . . . . . . . . . . . . . . . . . . . . . . . . . . . . . . . . . . . . . . . . . . . . . . . . . . . . . . . . . 11
Input Tab Screen . . . . . . . . . . . . . . . . . . . . . . . . . . . . . . . . . . . . . . . . . . . . . . . . . . . . . . . . . . . . . 12
Update Tab Screen . . . . . . . . . . . . . . . . . . . . . . . . . . . . . . . . . . . . . . . . . . . . . . . . . . . . . . . . . . . 13
Software Update Procedure . . . . . . . . . . . . . . . . . . . . . . . . . . . . . . . . . . . . . . . . . . . . . . 13
Info Tab Screen . . . . . . . . . . . . . . . . . . . . . . . . . . . . . . . . . . . . . . . . . . . . . . . . . . . . . . . . . . . . . . 14
MiniConfig Settings Summary . . . . . . . . . . . . . . . . . . . . . . . . . . . . . . . . . . . . . . . . . . . . . . . . 15
Appendix A: Safety and Compliance. . . . . . . . . . . . . . . . . . . . . . . . . . . .16
Federal Communications Commission (FCC) Compliance Notices . . . . . . . . . . . . . . . . . . 16
Class B Interference Statement . . . . . . . . . . . . . . . . . . . . . . . . . . . . . . . . . . . . . . . . . . . . . . . 16
FCC Caution . . . . . . . . . . . . . . . . . . . . . . . . . . . . . . . . . . . . . . . . . . . . . . . . . . . . . . . . . . . . . . . . . 16
Canadian ICES Statement . . . . . . . . . . . . . . . . . . . . . . . . . . . . . . . . . . . . . . . . . . . . . . . . . . . . . . . . . 16
European Union and European Free Trade Association (EFTA)
Regulatory Compliance . . . . . . . . . . . . . . . . . . . . . . . . . . . . . . . . . . . . . . . . . . . . . . . . . . . . . . . . . . . 17
Declaration of Conformity . . . . . . . . . . . . . . . . . . . . . . . . . . . . . . . . . . . . . . . . . . . . . . . . . . . . 17
Korea KCC Compliance Statement . . . . . . . . . . . . . . . . . . . . . . . . . . . . . . . . . . . . . . . . . . . . . . . . 18
Taiwan Compliance Statement . . . . . . . . . . . . . . . . . . . . . . . . . . . . . . . . . . . . . . . . . . . . . . . . . . . 18
Japanese Compliance Statement . . . . . . . . . . . . . . . . . . . . . . . . . . . . . . . . . . . . . . . . . . . . . . . . . 18
Translated Warning and Caution Messages. . . . . . . . . . . . . . . . . . . . . . . . . . . . . . . . . . . . . . . . 18
Before Operation Please Read These Instructions . . . . . . . . . . . . . . . . . . . . . . . . . . . . . . . . . . 19
Warranty Information . . . . . . . . . . . . . . . . . . . . . . . . . . . . . . . . . . . . . . . . .26
Limited Warranty . . . . . . . . . . . . . . . . . . . . . . . . . . . . . . . . . . . . . . . . . . . . . . . . . . . . . . . . . . . . . . . . . 26
V2Digital v1.0 www.aja.com
2

Notices
Trademarks
Copyright
AJA®, KONA®, Ki Pro®, KUMO® and XENA® are registered trademarks of AJA Video, Inc.,
Ki
Pro Mini™, Io Express™, Io HD™, Io™ and “Work. Flow.” are trademarks of AJA Video, Inc.
AirPort, Apple, the Apple logo, AppleShare, AppleTalk, FireWire, iPod, iPod Touch, Mac,
and Macintosh are registered trademarks of Apple Computer, Inc. Final Cut Pro,
QuickTime and the QuickTime Logo are trademarks of Apple Computer, Inc. Avid, Avid
Media Composer and Avid DNxHD are trademarks of Avid Technology, Inc. All other
trademarks are the property of their respective holders.
Copyright © 2013 AJA Video, Inc. All rights reserved. All information in this manual is
subject to change without notice. No part of the document may be reproduced or
transmitted in any form, or by any means, electronic or mechanical, including
photocopying or recording, without the express written permission of AJA Inc.
Contacting Support
Telephone: +1.800.251.4224 or +1.530.271.3190
Web: http://www.aja.com
Support Email: support@aja.com
Sales Email: sales@aja.com
When calling for support, have all information at hand prior to calling.
To contact AJA Video for sales or support, use any of the following methods:
V2Digital v1.0 www.aja.com
3
Chapter 1: Introduction
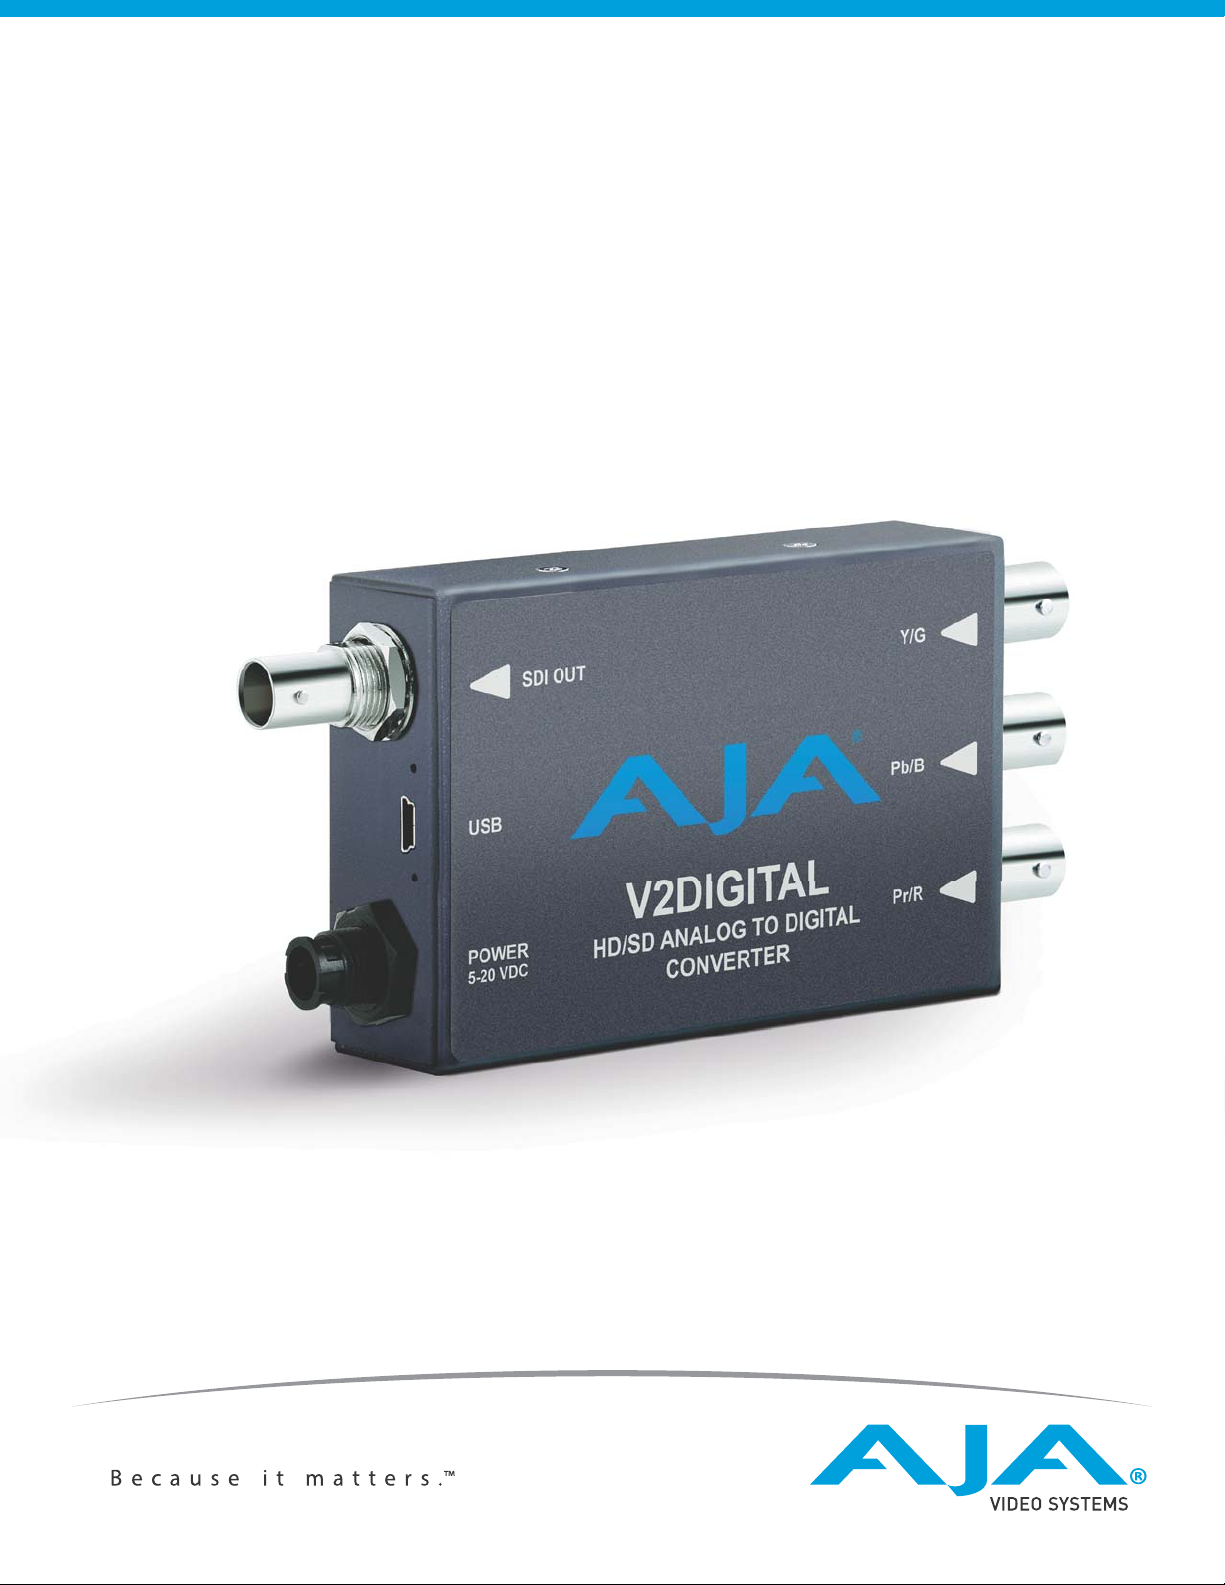
V2Digital is a high-quality, cost-effective analog to digital video converter that’s perfect
for facilities needing to integrate signal types. V2Digital provides AJA’s high-quality 10bit conversion of component or composite analog video to SDI at either SD or HD
resolutions utilizing a full 10-bit data path and 2x oversampling to ensure a quality
conversion all at an extraordinary price. V2Digital accepts YPbPr (SMPTE/EBU-N10),
Betacam, or RGB component inputs (HD only) or NTSC/PAL or Y/C (S-Video) composite
inputs (SD only). Configuration can be set by on unit DIP switches or remotely via AJA
MiniConfig software control over USB.
Features
NOTE: The V2Digital requires a Time Base Corrected source. Operation is not recommended from
VTRs, laser disks, etc., without Time Base Correction (TBC).
• 10-bit AJA quality Analog to Digital conversion
• Low power, compact size
• YPbPr/RGB Component or Composite input
• HD/SD-SDI output
• Configurable by DIP switches, or with AJA MiniConfig software for Mac and PC via USB
• DWP-U-R1 Power Supply Included
•5-year warranty
V2Digital v1.0 www.aja.com
4

Block Diagram
DIP
Switch
User
Interface
for
Feature
Selection
10-bit A/D
Converter
Genlock
AntiAlias
Filter
SD/HD
Serial Video Out
Analog
Component/Composite
Inputs
CMPST
B
G
R
YY
Pb C
Pr
Y/G
Clocks
Pb/B
Pr/R
USB Bus for MiniConfig
(connect to PC or Mac)
Control
HD/SD SDI
+ 5VDC
Analog
Input BNCs
Configuration
determined by
DIP switch or
MiniConfig
Power
Input
Output BNC
USB
Power
LED
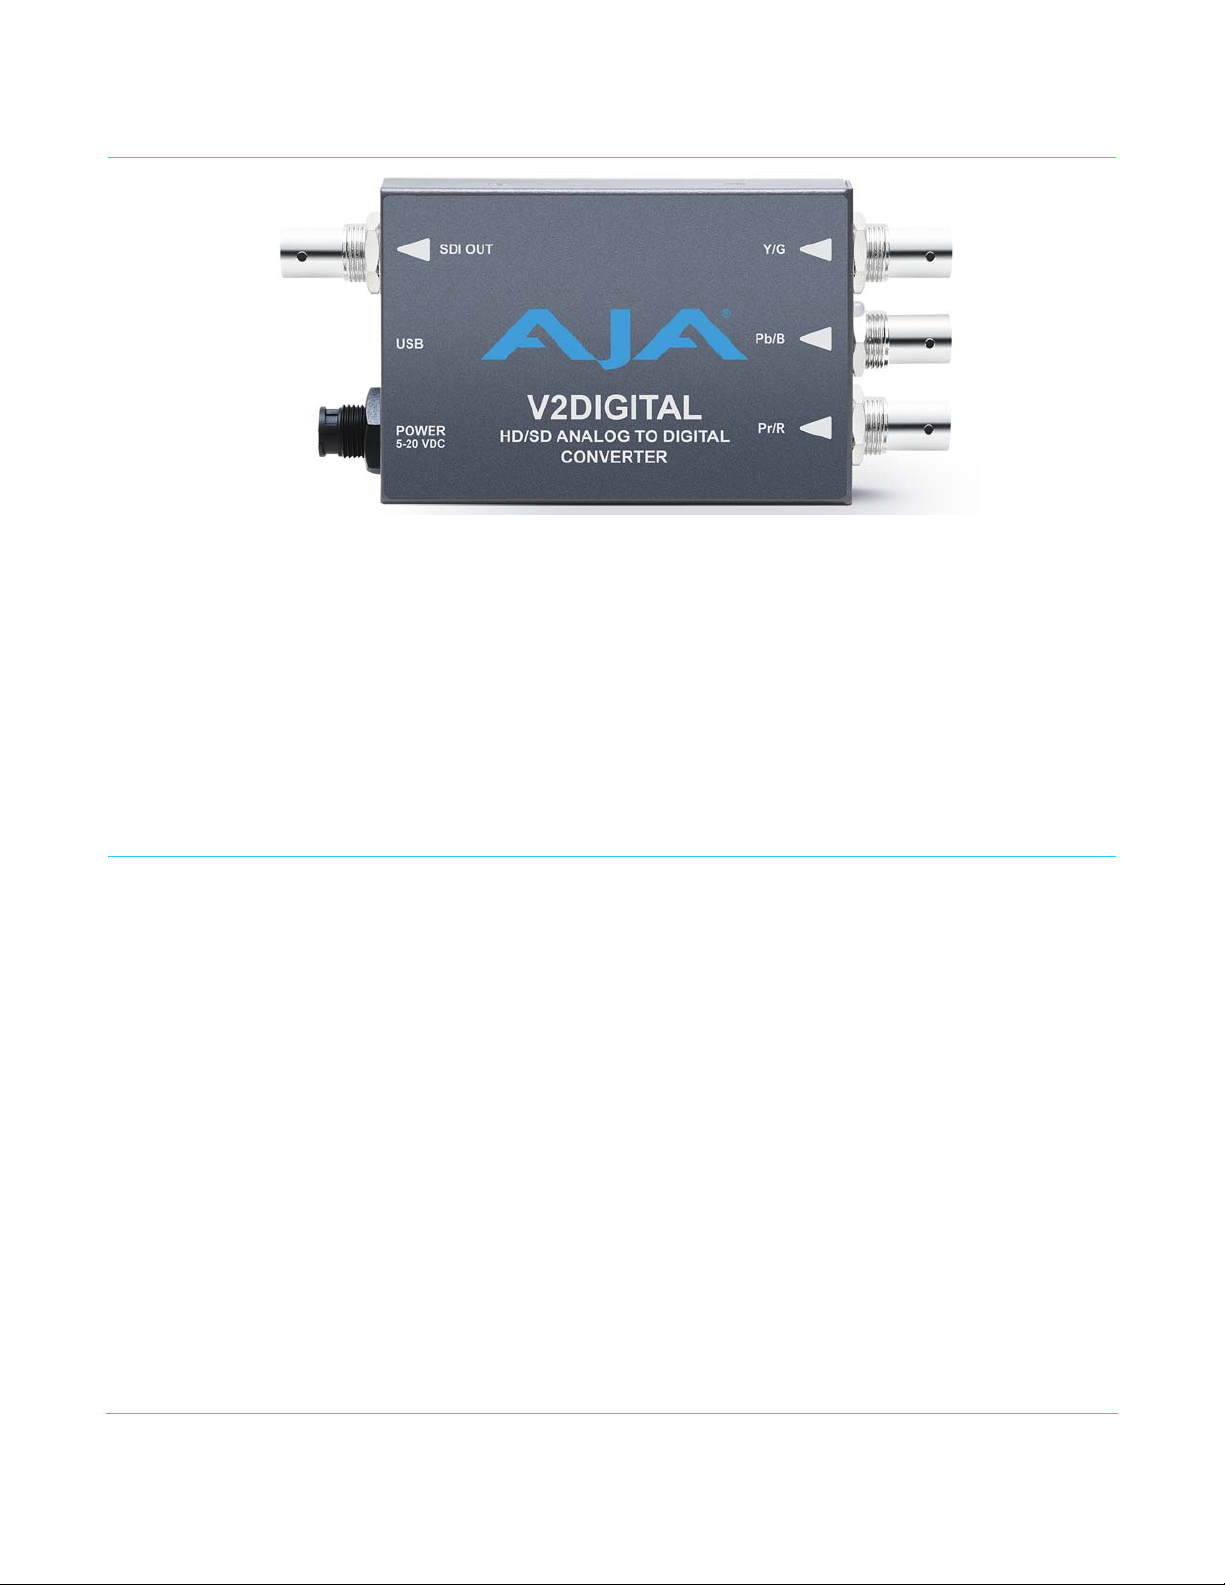
I/O Connections
Figure 1. V2Digital, Side View
User Controls
V2Digital v1.0 www.aja.com
The V2Digital converter has two user interfaces:
• DIP switch settings
• MiniConfig via USB
The DIP switch 1 setting determines which configuration parameters the converter will
use. When Off the unit is set to Local, DIP switches 2-4 will be active. When On the unit is
set to Remote and will use the MiniConfig settings. MiniConfig settings are non-volatile
and are retained through power cycles.
NOTE: The Beta-J parameter is not available through the DIP switch interface. Use MiniConfig if you
need to use the Beta-J format.
5

External DIP Switches
The V2Digital has a 4-switch DIP accessible through a cut-out in the bottom of the unit.
For specific DIP switch setting information, see
“DIP Switch Settings” on page 7.
MiniConfig Control MiniConfig is an AJA application used for configuring and updating the firmware of
several AJA products. Configuration set via MiniConfig is stored in the unit through
subsequent power cycles. See
“USB Control and Setup—Using AJA MiniConfig” on page 8.
Installation
Typically, V2Digital installation consists of the following:
1. Disconnect power from the converter.
2. Configure the DIP switches for the desired equipment configuration and video
formats.
3. Connect video equipment to the convertor BNCs.
4. Apply power to the converter (AJA power supply included).
Alternatively, you can set the unit to Remote operation using DIP switch 1, connect the
unit to a PC or Mac via USB, and then use MiniConfig to configure the unit. The
MiniConfig application is available for download from the AJA website.
NOTE: Threaded holes (unified 4-40) located on the bottom of the unit can be used for mounting.
Specifications
Formats: • 525i/625i, 1080i 50/59.94/60 Hz
Outputs: • HD/SD-SDI (SMPTE-259/292M), 1 x BNC
User Controls: • Configuration via USB with MiniConfig for Mac or PC
Physical: 5.1” x 2.4” x 1” (130 x 61 x 25 mm)
• 1080psf 23.98/24/25/29.97/30 Hz
• 720p 50/59.94/60 Hz
Inputs: • HD component YPbPr, RGB (274/296M), 3 x BNC
• SD component (Betacam, EBU-N10)/composite/ YC(S-Video), 3 x BNC
• External DIP switch
• Control (Local/Remote)
• Component/Composite (SD Only)
• Format SD only (YPbPr/YC)
• Format HD only (YPbPr/YC or RGB)
• Pedestal Present (on/off) (SD Only)
Power +5-20 VDC, 4 watts
V2Digital v1.0 www.aja.com
6
Chapter 2: Operation
ON
OFF
DIP Switches
Default Operational Settings
The V2Digital converter ships from the factory with the following configuration:
• Local (DIP switch) control
• Component video input
• YPbPr format
•Pedestal Off
If these settings apply to your requirements, you can simply connect the video input and
output signal cables and power up the V2 Digital unit.
For other applications, you can configure the unit using its DIP switch settings, or by
using MiniConfig and a PC or Mac via USB. When configured for “component” V2DIGITAL
will auto detect between various component standards.
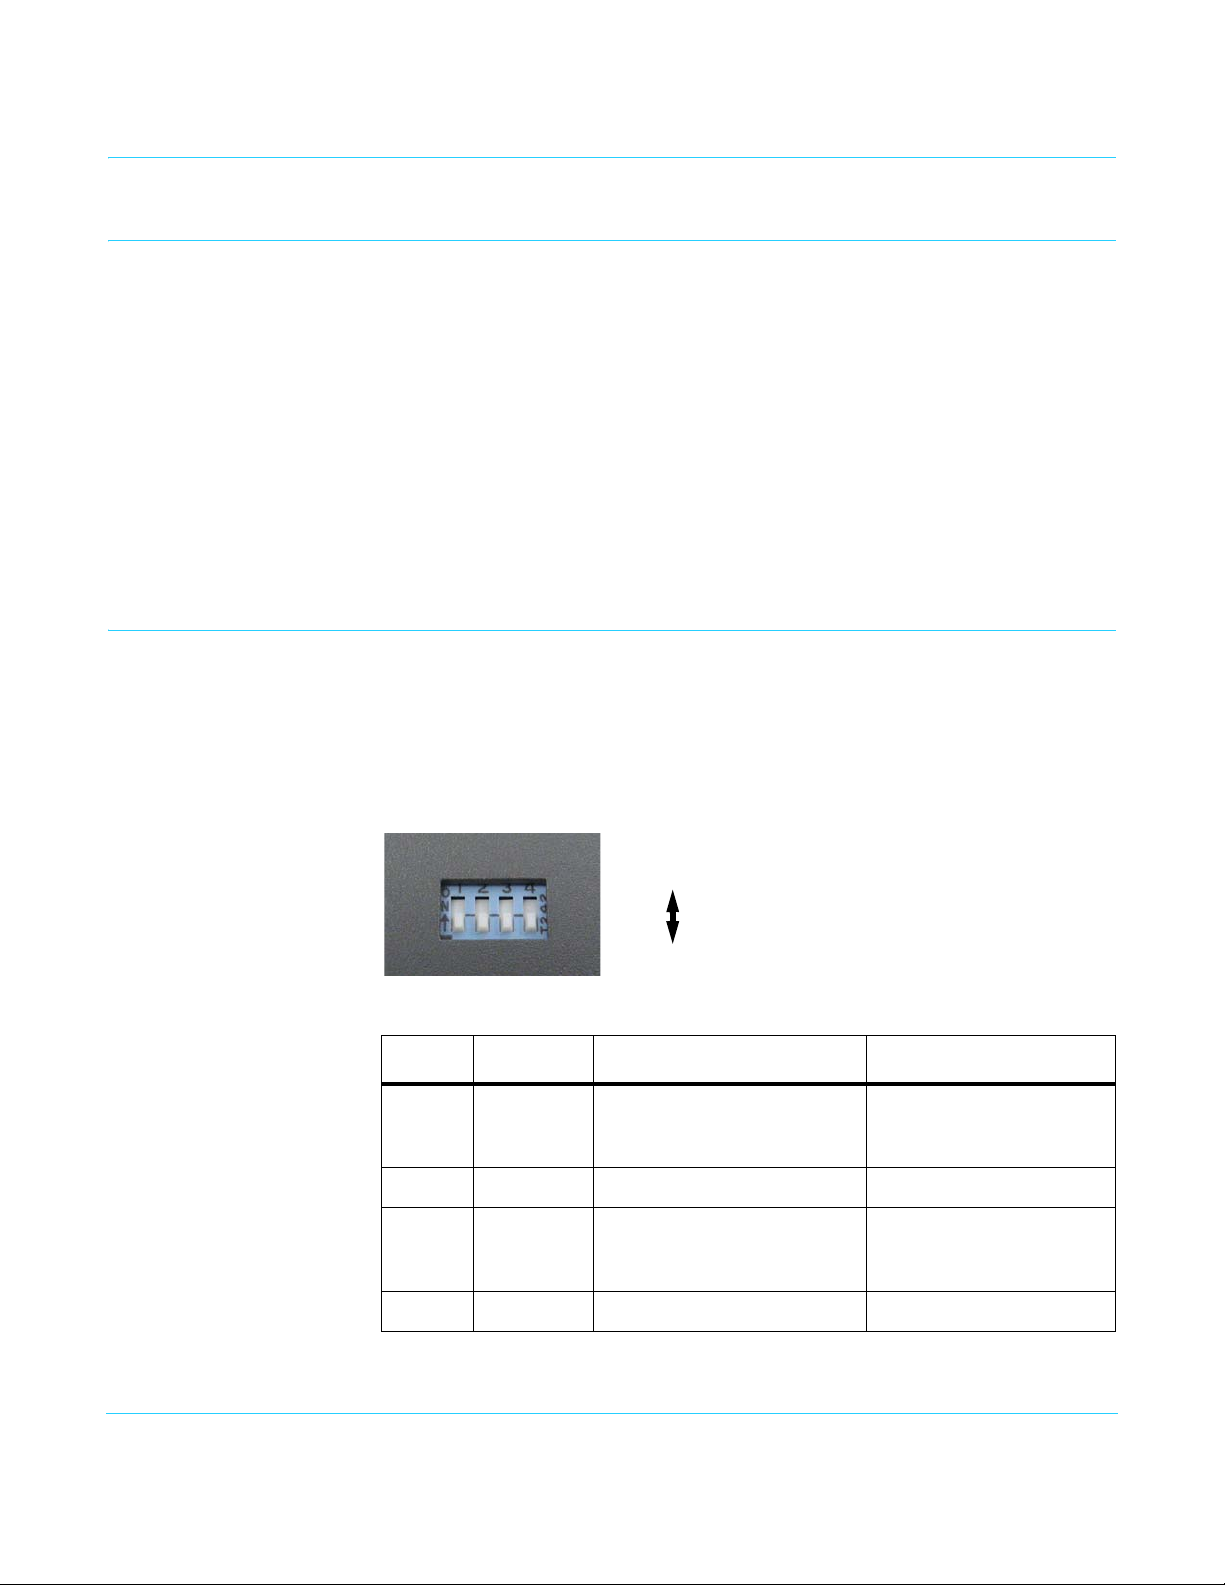
DIP Switch Settings
Four DIP switches are located on the bottom of the unit. The label on the bottom of the
unit identifies the functions of the switch positions. The default shipping position for
these switches is Off (down). By default, DIP switch configuration is enabled, and
MiniConfig control is disabled.
Use a pen-point or paper clip to change DIP switch positions.
Figure 2. DIP Switches.
Table 1. DIP Switch Setting Descriptions
SWITCH FUNCTION OFF (Down) ON (Up)
1 Control Selects Local (DIP), and blocks
MiniConfig control
2 Input Selects Component Selects Composite
3 Color Space Selects YPbPr in Component
mode, S-Video in Composite
mode
Selects Remote
(MiniConfig), and disables
DIP switches 2-4.
Selects RGB in Component
mode, Composite in
Composite mode
4 Pedestal Selects Off Selects On
NOTE: BetaJ is only accessible via MiniConfig.
V2Digital v1.0 www.aja.com
7
DIP Switch Settings
DIP switch settings for various input analog formats are shown in Table 1.
Summary
Table 1. Input Analog Format DIP Switch Settings
DIP Switch Settings Notes
Input Standard Input Analog Format 2 3 4
525i59.94 Composite NTSC ON ON ON
NTSC S-Video ON OFF ON
Composite NTSC-J ON ON OFF
NTSC-J S-Video ON OFF OFF
Component YPbPr SMPTE/EBU-N10 OFF X OFF
Component YPbPr Betacam OFF X ON
Component YPbPr Betacam-J - - - only selectable via MiniConfig
625i50 Composite PAL + S-Video ON ON X
PAL S-Video ON OFF X
Component YPbPr SMPTE/EBU-N10 OFF X X
720p * Component YPbPr SMPTE/EBU-N10 X OFF X
Component RGB X ON X
1080i/psf * Component YPbPr SMPTE/EBU-N10 X OFF X
Component RGB X ON X
* = all supported frame rates Note: X = don't care
USB Control and Setup—Using AJA MiniConfig
The V2Digital can usually be used right out of the box for most applications since it is
designed to recognize inputs and perform standard actions automatically by default.
However you can also manually configure the V2Digital using a supplied software
application for PCs and Macs called “MiniConfig.” This same application can be used to
update Mini-Converter firmware released by AJA.
Installing MiniConfig on a Mac
NOTE: Macintosh computers must be Intel-based (G5, G4 and earlier models will not work with
To install the application on a Mac, insert the CD supplied with the
Mini-Converter into the computer, drag the “AJA MiniConfig”
application for your platform (Mac or PC) to your desktop or an
applications folder.
MiniConfig).
V2Digital v1.0 www.aja.com
8
 Loading...