

Page 1
www.connects2.com
INSTRUCTION MANUAL
Page 2

www.connects2.com
2
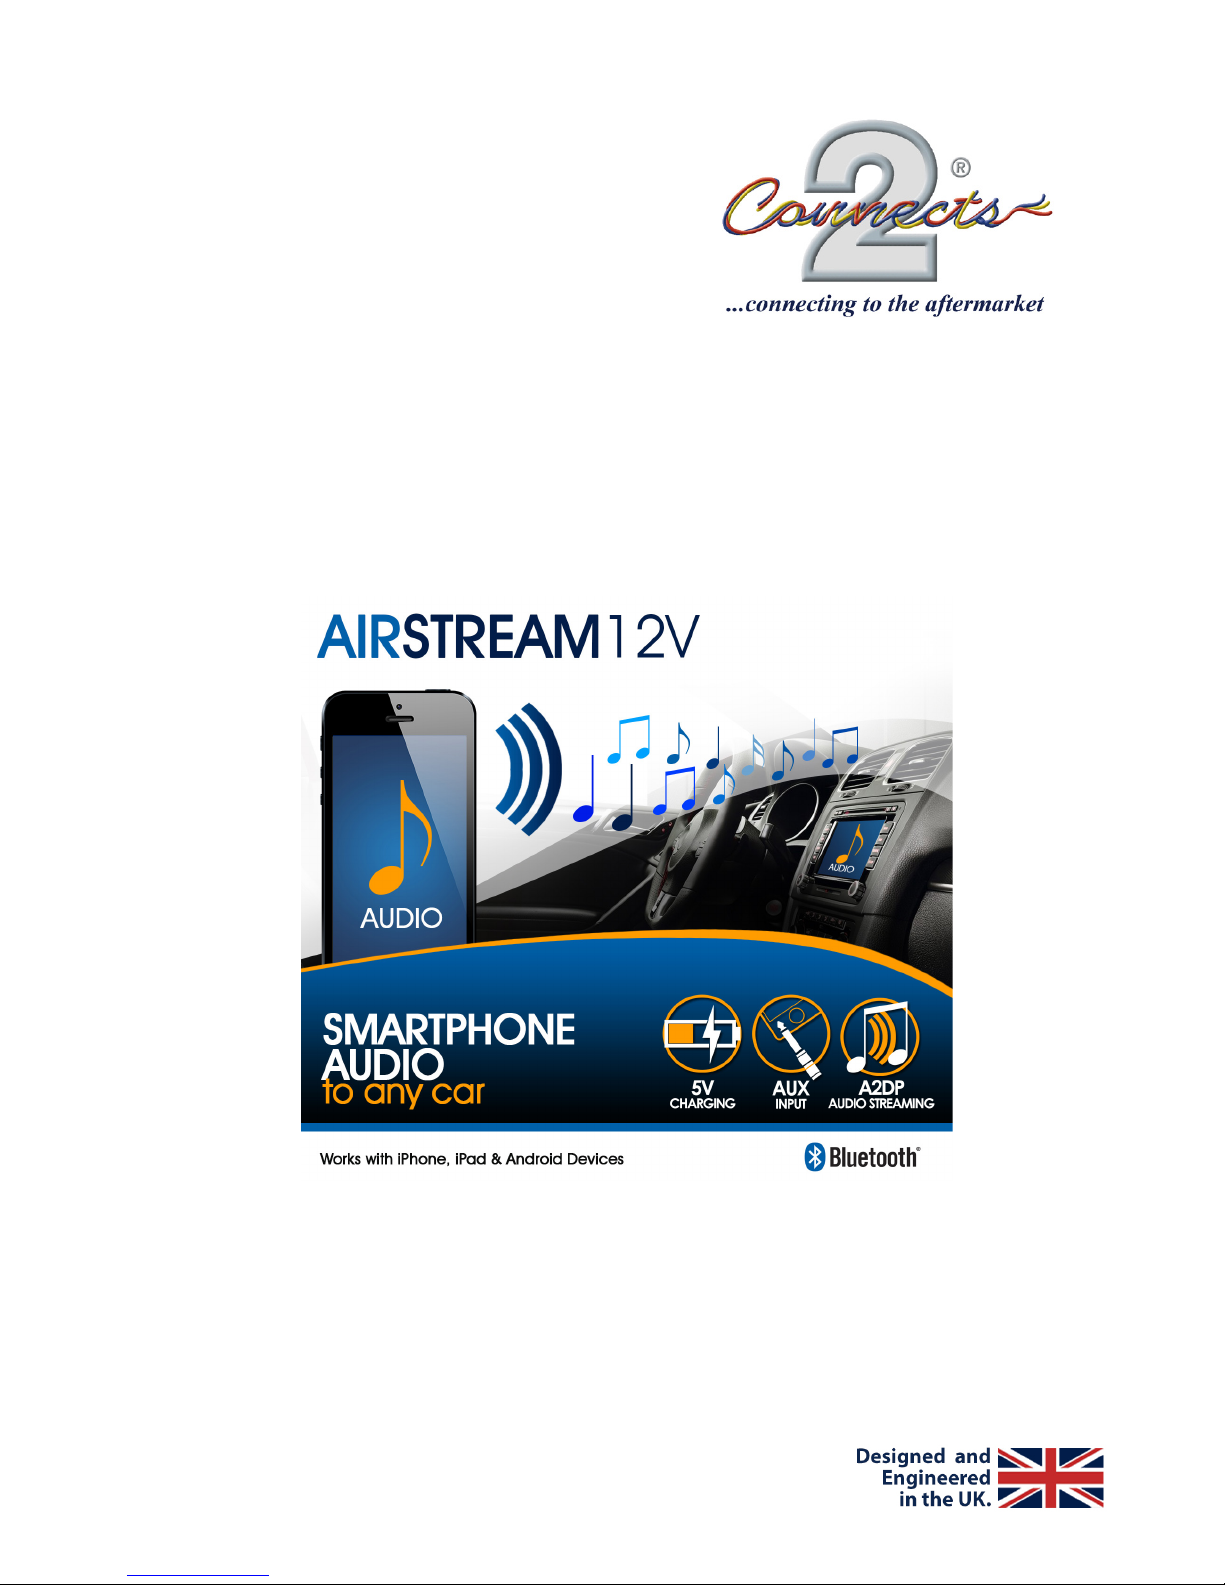
About
Installation
The AIRSTREAM12V can be installed in the glovebox in order to provide discreet, easy
access.
1. Connect the black wire to Ground.
2. Connect the red wire to a 12V Switched Ignition Source.
3. Connect the RCA/Aux Output of the AIRSTREAM12V to the RCA/Aux input
of the car stereo. Note that both RCA and Aux Outputs can be used at
the same time.
4. When the vehicles Ignition is turned on, the Power LED should illuminate green.
The AIRSTREAM12V allows you to connect any Bluetooth A2DP enabled device
wirelessly to your car stereo, enabling you to stream music and other audio les.
Simply pair your Bluetooth enabled device to the AIRSTREAM12V and connect the
AIRSTREAM12V to the Aux input of your car radio to experience high quality wireless
audio.
The AIRSTREAM12V also offers a wired AUX input as an alternative audio input and a 5V
USB port for charging of devices only.
Page 3

www.connects2.com
3
Bluetooth Pairing
Aux Input
In order to stream music wirelessly, you must rst pair your Bluetooth enabled device
with the AIRSTREAM12V.
1. Enable Bluetooth on the device you wish to pair.
2. Search for Bluetooth devices and select ‘Connects2’.
3. The Bluetooth/Aux Status LED will ash blue and then remain illuminated
when pairing is complete.
4. Select the Aux input source on your car stereo and you are ready to stream audio
from your device.
5. If Bluetooth is enabled on your device, pairing will be automatic for future
connections.
1. If an Aux cable is connected to the Aux input of the AIRSTREAM12V, this will take
priority over Bluetooth mode.
2. To enable Bluetooth mode, disconnect the Aux cable from the Aux input.
The Bluetooth/Aux status LED will be illuminated Blue in Bluetooth mode and Red in
Aux mode.
Page 4

www.connects2.com
4
Technical Support
........................................................................................................
........................................................................................................
........................................................................................................
........................................................................................................
........................................................................................................
........................................................................................................
........................................................................................................
........................................................................................................
........................................................................................................
........................................................................................................
........................................................................................................
........................................................................................................
........................................................................................................
........................................................................................................
........................................................................................................
........................................................................................................
........................................................................................................
........................................................................................................
........................................................................................................
Notes
Should you experience any issue please contact Connects2:
Email: technical@connects2.com
Online: support.connects2.com
 Loading...