

Page 1
Owner’s
Manual
For use with models:
1000G3, 3000G3, 3000XG3
This Manual Includes:
• Warranty
• Safety Warnings
• Operating Instructions
• Replacement Directions
• Troubleshooting Tips
• Cleaning and Maintenance Tips
Due to continuous improvements, the picture included
within this owner’s manual may differ slightly from the
actual product.
Before operating this unit carefully
read the contents of this manual.
R2019.04.12
Page 2

Read all instructions carefully before operating
your air purier.
Table of Contents
Safety Instructions and Cautions 2
Warranty 3
Maintenance and Customer Service 4
Placement and Operation 4
Cleaning 4
AHPCO
®
Cell Replacement 5-6
Troubleshooting Guide 7
Page 3
Important Safety Instructions
When operating electrical appliances, basic precautions should always be followed.
WARNING
To reduce the risk of re, electric shock or injury:
• Do not use outdoors or on wet surfaces.
• Use only as described in this manual.
• Do not use with damaged cord or plug. If appliance is not working as it should,
has been dropped, damaged, left outdoors, or dropped into water, call customer
service at 1-800-936-1764.
• Do not unplug by pulling on cord. To unplug, grasp the plug, not the cord.
• Do not handle plug or appliance with wet hands.
• Do not put any object into openings.
• Turn off all controls before unplugging.
CAUTION
AHPCO
posal laws. Find disposal centers at www.earth911.org.
If the UV lamp is broken do not touch the cell or glass with your hands.
UV lamp may be hot and could cause serious burns if not handled properly. Please
wait until the AHPCO® Cell has cooled to room temperature to remove from unit.
WARNING: UV Light Hazard. Harmful to skin and eyes. Can cause
temporary or permanent loss of vision. Never look at the lamp while
illuminated. To prevent exposure to ultraviolet light, be sure the power is disconnected before servicing.
WARNING: RISK OF ELECTRICAL SHOCK. CAN CAUSE INJURY OR DEATH: UNPLUG OR DISCONNECT UNIT FROM POWER
SUPPLY BEFORE SERVICING.
®
Cell contains Hg (Mercury) and should be disposed of according to dis-
2
Page 4

Lifetime
Warranty
We proudly manufacture the highest quality products and test each one individually
before it leaves our facility. We are pleased to offer the following warranties:
The following products have a lifetime warranty: iAdaptAir® (S, M, L), 1000G3,
3000G3, 3000XG3.
If you purchased a product from Air Oasis or an authorized Air Oasis reseller,
process warranty and repair requests using the RMA Form at www.airoasis.com/
rma.
The Air Oasis warranty has the following requirements:
• Purchases made and received within the USA.
• Non-transferable.
• Product Registration or proof of purchase may be required.
• Excludes lters and parts intended for regular replacement.
• Normal recommended usage, has not been subjected to physical abuse,
chemical exposure, water damage, damage caused by acts of God, the use of
voltages other than indicated on the label displayed on this product or service
of this product by anyone other than Air Oasis or an Air Oasis authorized dealer.
• Filter and AHPCO® Cell replacements have occurred as recommended.
• Warrantied products may be replaced with new or refurbished units of the
same or similar model.
Air Oasis’ liability for damages to you for any costs whatsoever arising out of this
statement of warranty shall be limited to the amount paid for this product at the
time of original purchase, and Air Oasis shall not be liable for any direct, indirect,
consequential or incidental damages arising out of the use or inability to use this
product.
NOTE: An RMA# is required for any warranty service work. All returned
packages that do not have an RMA# will be refused.
3
Page 5
Maintenance and Customer Service
If you require any additional information or have problems with your Air Oasis appliance, you may call Air Oasis customer service at:
1-800-936-1764
Please have your serial and model numbers, found on bottom of unit, handy when
calling.
Save your sales receipt to show if your Air Oasis appliance should ever need any
Placement and Operation Optional Cleaning
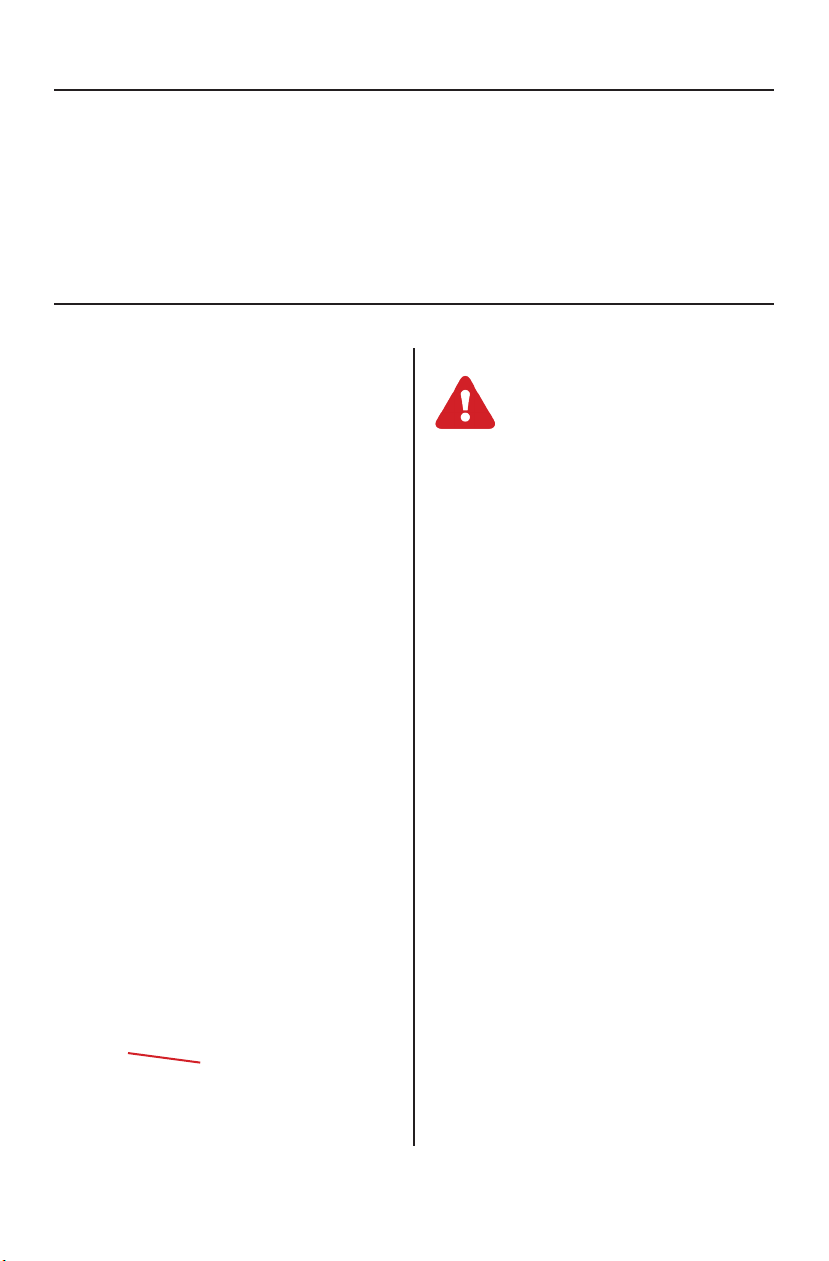
For best results the unit should
be placed in a central location
and three feet or higher from the
ground.
Operation is very simple. Remove
the Air Oasis from the packaging.
Place in desired location, plug it
in and rock the switch to the on
position. The unit can remain in
the on position 24/7.
Upon startup you will hear 3 beeps
signifying the unit has power. After
®
a brief delay AHPCO
Cell will
illuminate and you will see a blue
glow inside the unit.
Make sure that the power
cord is unplugged prior
to cleaning.
Base and Honeycomb - We
recommend wiping with a dry towel to
remove dust and build up.
Aluminum Shell - We recommend
using stainless steel/aluminum spray
on polish or multi-surface cleaners.
Make sure the polish or cleaner is
recommended for use on aluminum.
Internal - Take dry cloth and wipe
inside the shell and around the
aluminum brackets and the ballast or
spray with compressed air.
NOTE: Use compressed air only
to clean AHPCO Cell. Any removal
of catalyst coating will decrease the
effectiveness of your unit and void the
warranty.
Bi-Polar Brush Heads - The Bi-Polar
brush heads inside your unit should
be cleaned periodically to remove any
debris for optimal effectiveness.
Off / On
Switch
4
Page 6
AHPCO™ Cell Replacement
Step 1
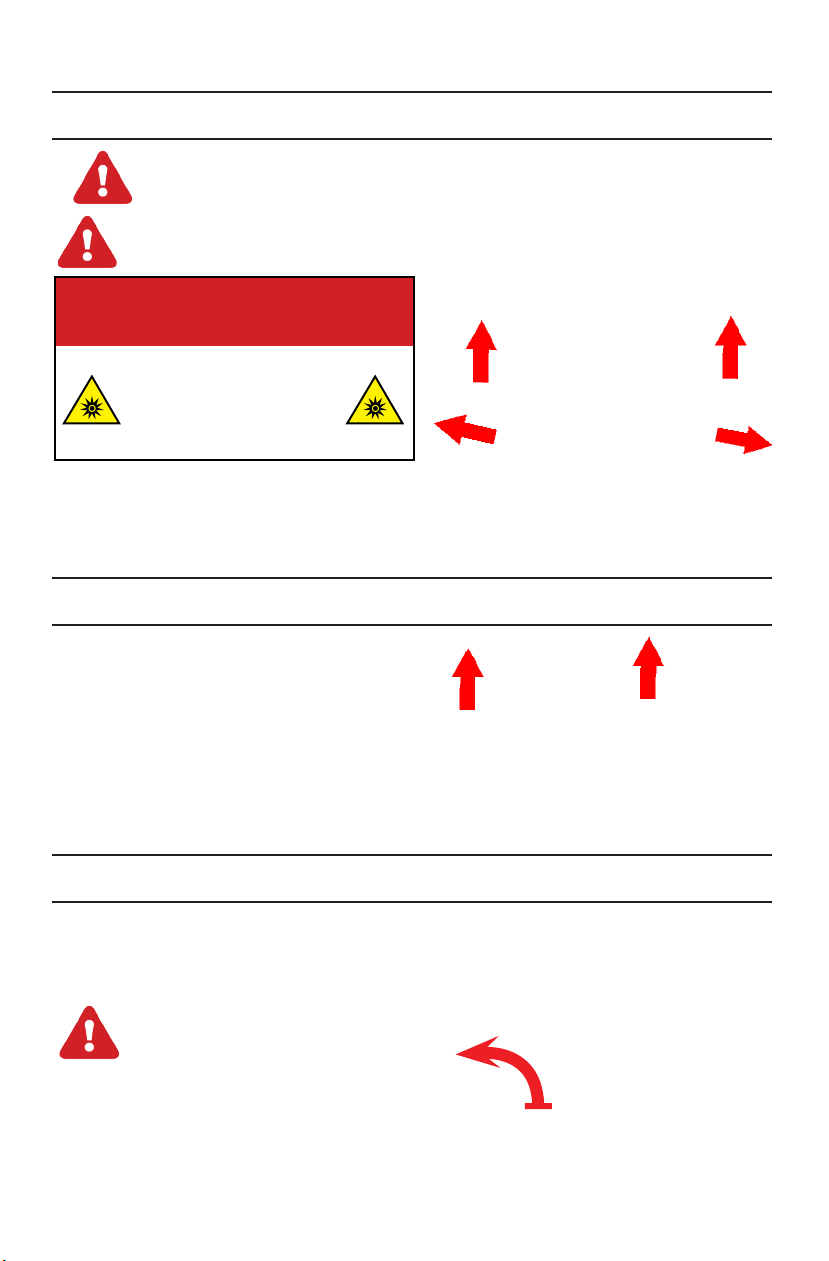
CAUTION: Before attempting to service the Air Oasis unit, be sure the
power is off and unplugged.
DANGER - NEVER LOOK DIRECTLY AT ILLUMINATED AHPCO CELL
OPTICAL RADIATION EXPOSURE HAZARD
WARNING
DO NOT ATTEMPT TO OPERATE UNIT WITHOUT
ALLUMINUM SHELL COVERING AHPCO CELL.
DO NOT ATTEMPT TO REPLACE AHPCO
CELL WITHOUT DISCONNECTING POWER.
PERMANENT EYE AND SKIN DAMAGE MAY RESULT.
1. Remove two (2) screws at the
bottom sides holding outer shell
in place. Then slide the shell up
and off of the internal base.
Step 2
2. Use a phillips head
screwdriver to remove the screws
from the AHPCO
®
Cell.
Step 3
3. Grasp the AHPCO
®
Cell and pull
to the side, then remove the lamp
connector.
CAUTION
UV lamp may be hot and could cause
serious burns if not handled properly.
Please wait until AHPCO
®
Cell has
cooled to room temperature to
remove from unit.
5
Page 7
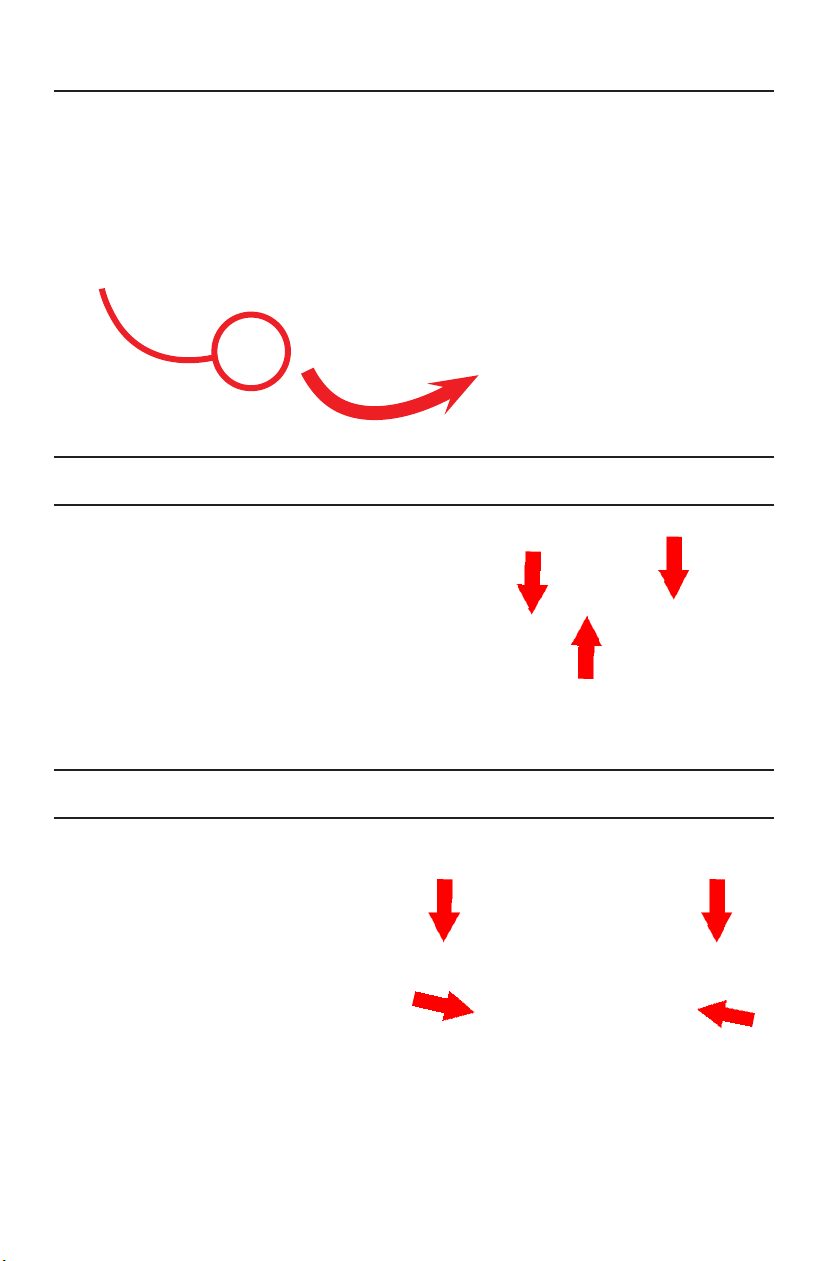
Step 4
4. Plug in the AHPCO
®
Cell, slide
the reset switch. Your unit will beep
in 2 years when it is time to replace
the AHPCO® Cell.
Older models might have a reset button instead of
a slide switch.
Step 5
5. Connect the lamp connector
securely onto the AHPCO
Cell and use a phillips head
screwdriver to tighten the screws
to secure the AHPCO
®
Cell.
®
6. Slide shell down onto base and
replace screws. (Cord and
switch are to the back.)
Step 6
6
Page 8
Troubleshooting Guide
Problem Reason Solution
Unit does not turn on. 1. Power Supply
2. Switch
3. AHPCO® Cell
Single Beep Repeated
Slowly.
Purier doesn’t seem
to be working to
optimal efciency.
The AHPCO
Expired.
Purier is being
operated in areas
with a high
®
Cell has
concentration of
particulate matter.
1. Check to make
sure power supply is
plugged in.
2. Check to make sure
switch is in the on
position.
3. Check to make
sure UV lamp within
AHPCO® Cell in
plugged in completely.
Replace the AHPCO
®
Cell.
Refer to AHPCO
Cell replacement
Instructions to remove
shell. Use compressed
air or vacuum to
remove dust & debris.
3401 Airway Blvd.
Amarillo, TX 79118
Toll-Free: 1-800-936-1764 Fax: 1-806-373-7799
www.airoasis.com
Copyright © 2019 Air Oasis, LLC. All Rights Reserved.
 Loading...