

Page 1
Quick Installation Guide
Wireless N 300 Multi-Function Access Point
with 5-Port Switch
Model # AP671W
Package Contents
Before you begin the installation, please check the items of your package:
• Wireless N 300 Multi-Function Access Point
• Power Adapter
• Ethernet Cable (Cat.5)
• Setup CD
• Quick Installation Guide
Section 1
This Quick Installation Guide only provides basic instructions. For detailed
information on using this product, please refer to the User’s Manual on the
supplied CD.
Installing the Access Point
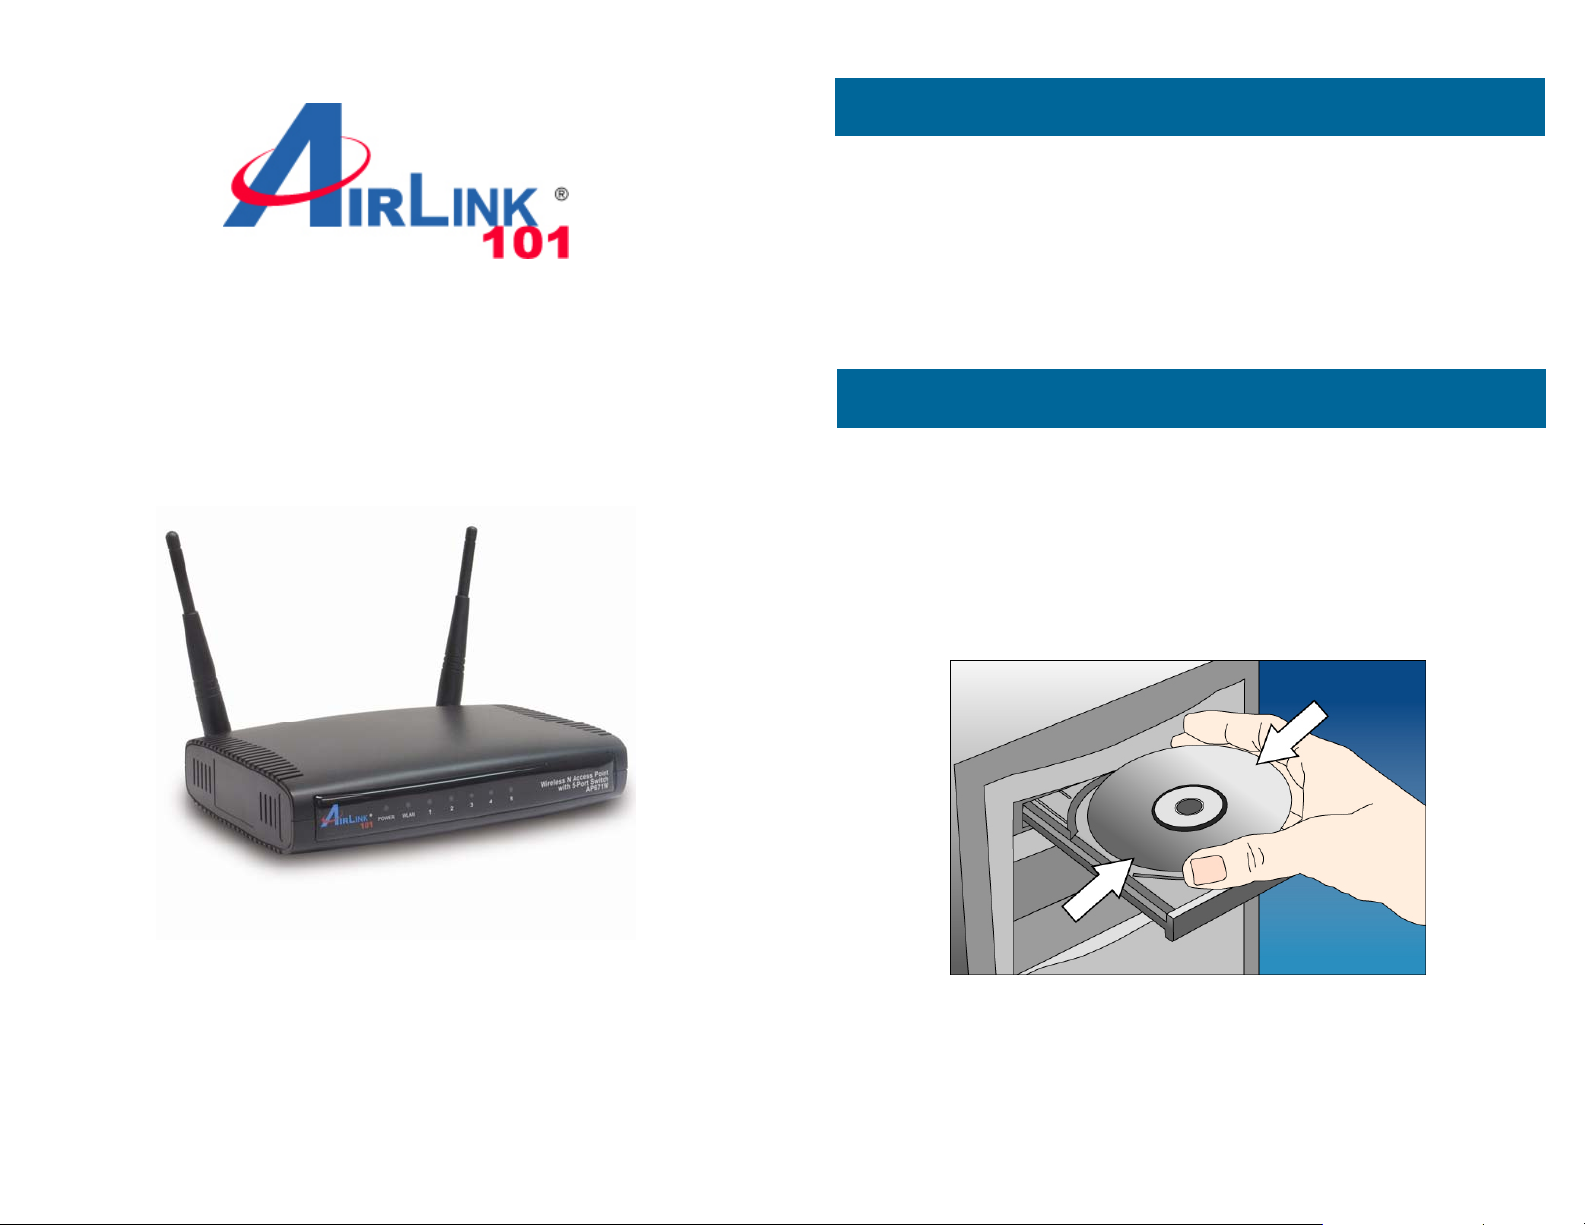
Step 1 Insert the Setup CD into your CD-ROM drive.
Ver. 1A
Page 2
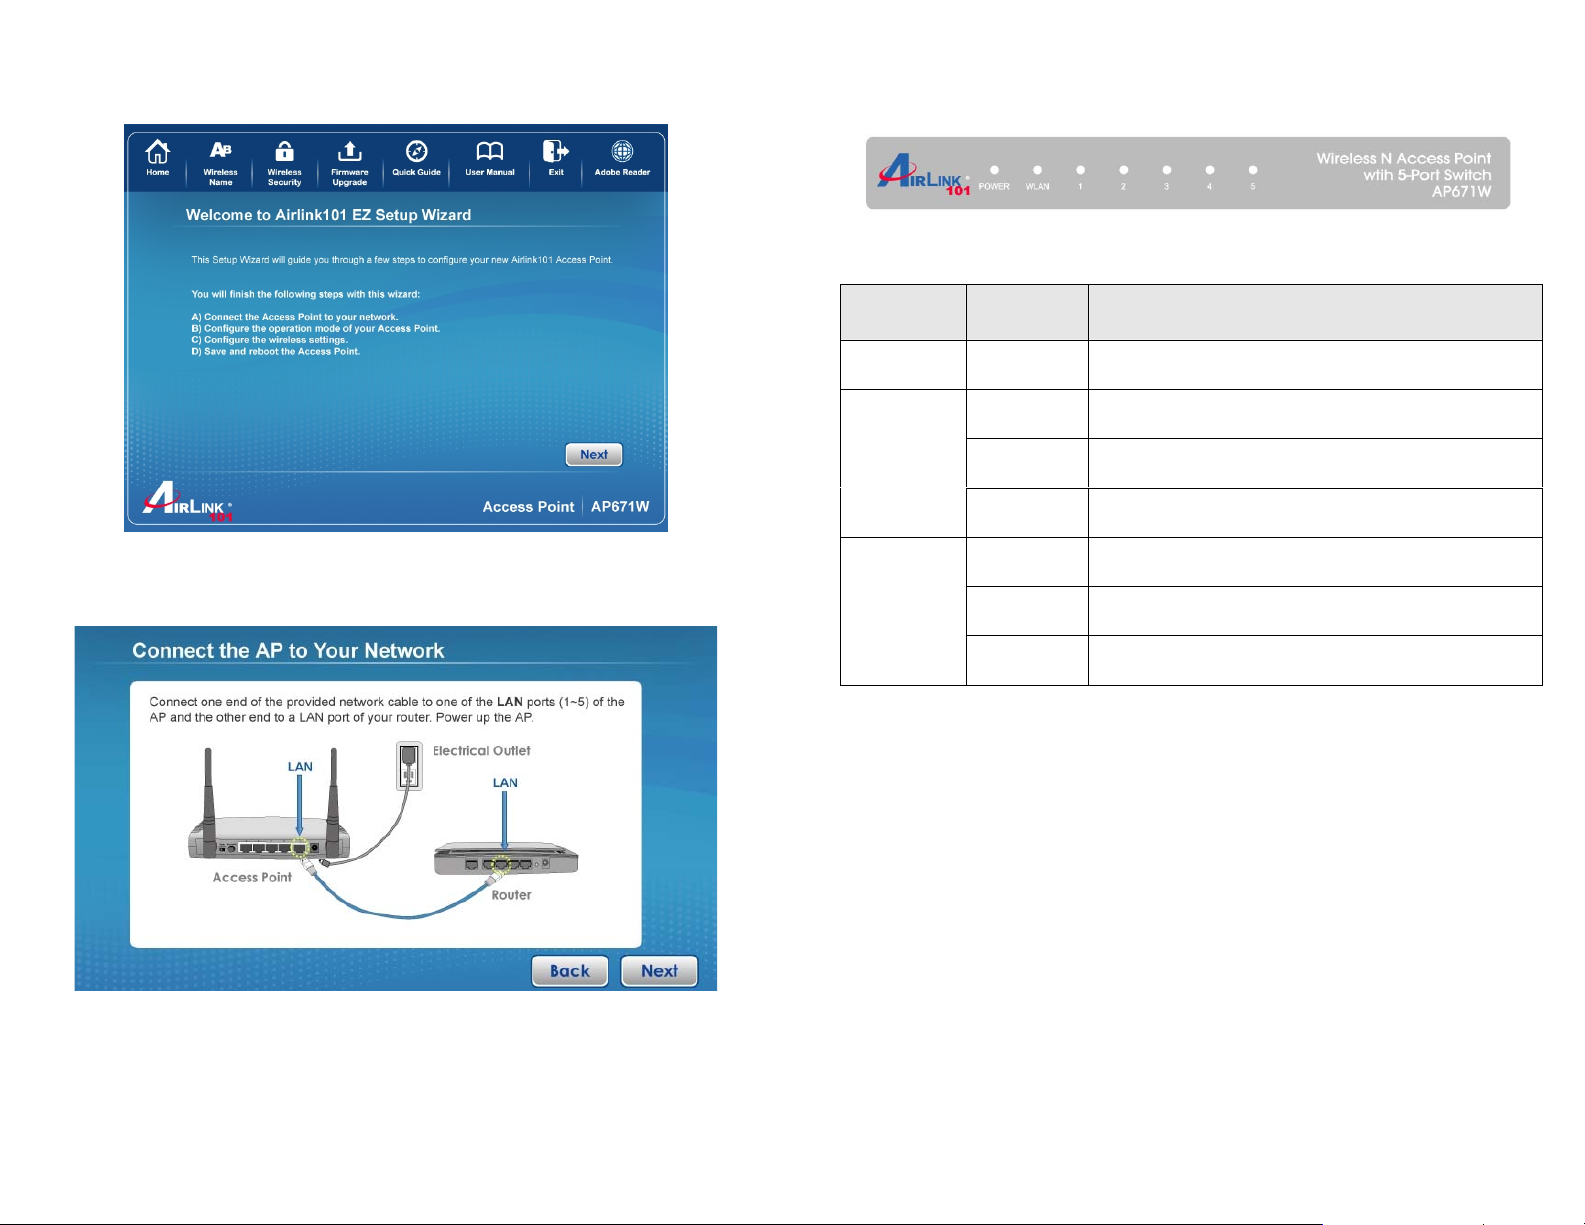
Step 2 Click Next to start the configuration.
Step 4 Make sure the LEDs of POWER, WLAN and the LAN port that is
connected to the Router are lit. If not, try the above steps again.
Step 3 Connect one end of a network cable to a LAN port (1~5) of the AP
and connect the other end to a LAN port of the router. Power on the AP.
LED Indicators:
LED
POWER On Router is powered on.
WLAN
LAN 1~5
Step 5 Enter the AP’s password to log in to the AP. The default password is
“admin”. It is recommended to change the AP’s password to protect it from
being accessed by other users. If you do not wish to change the current
password, you can leave New Password and Confirm New Password blank.
Click Log in.
Light
Status
On WPS setup is in progress.
Off Wireless network is switched off.
Flashing
On LAN port is connected.
Off LAN port is not connected.
Flashing LAN port is transferring or receiving data.
Description
Wireless network is rea dy and WPS setup is
not in progress.
Page 3

Step 6 Configure the IP Address for your Access Point for future
management use. Click Next.
Step 7 Select an operation mode for your Access Point and click Next. The
wizard will guide you to finish the following corresponding settings.
Step 8 Configure the settings for the operation mode you have selected.
8.1 Access Point
Configure the SSID and Channel Number if you have selected Access Point
mode. Click Next.
Page 4

8.2 Universal Repeater
Click on Site Survey, select the wireless router or AP you wish to repeat on
the popup Wireless Site Survey window and click Connect.
Configure a network name in Main SSID for the repeater to be identified.
8.4 Point-to-Point / Point-to-MultiPoint / WDS Bridge
Same setup procedure applies to Point-to-Point Bridge, Point-to-MultiPoint
Bridge and WDS Bridge modes. For bridge mode, you need at least two
Access Points. We will u se Point-to-Point Bridge as an exa mple.
Select a channel number you wish to use an d ente r the MAC ad dr e ss of the
other Access Point for the bridge. Click Next.
8.3 AP Client
Click on Site Survey, select the wireless router or AP you wish to connect
on the popup Wireless Site Survey window and click Connect, or enter your
wireless network’s SSID manually. Click Next.
Step 9 Configure the wireless security settings. It is recommended to use
WPA2-PSK(AES) which is the most secured encryption for general users.
Page 5

Step 10 Verify the settings you have configured and click Restart.
Step 11 Click Finish to end the EZ Setup Wizard.
If you are using Bridge mode, you need to follow the same configuration
procedure on other Access Point(s).
Congratulations! You have finished the configuration for your
Airlink101 Access Point.
Section 2
Technical Support
E-mail: support@airlink101.com
Toll Free: 1-888-746-3238
Website: www.airlink101.com
*Theoretical maximum wireless signal rate derived from IEEE standard 802.11 specifications. Actual data
throughput will vary. Network conditions and environmental factors, including volume of network traffic,
building materials and construction, mix of wireless products used, radio frequency interference (e.g.,
cordless telephones and microwaves) as well as network overhead lower actual data throughput rate.
Compatibility with 802.11n devices from other manufact urers is not guaranteed. Specifications are subject to
change without notice. Photo of product may not reflect actual content. All products and trademarks are the
property of their respective owners. Copyright© 2010 Airlink101®
 Loading...