

Page 1
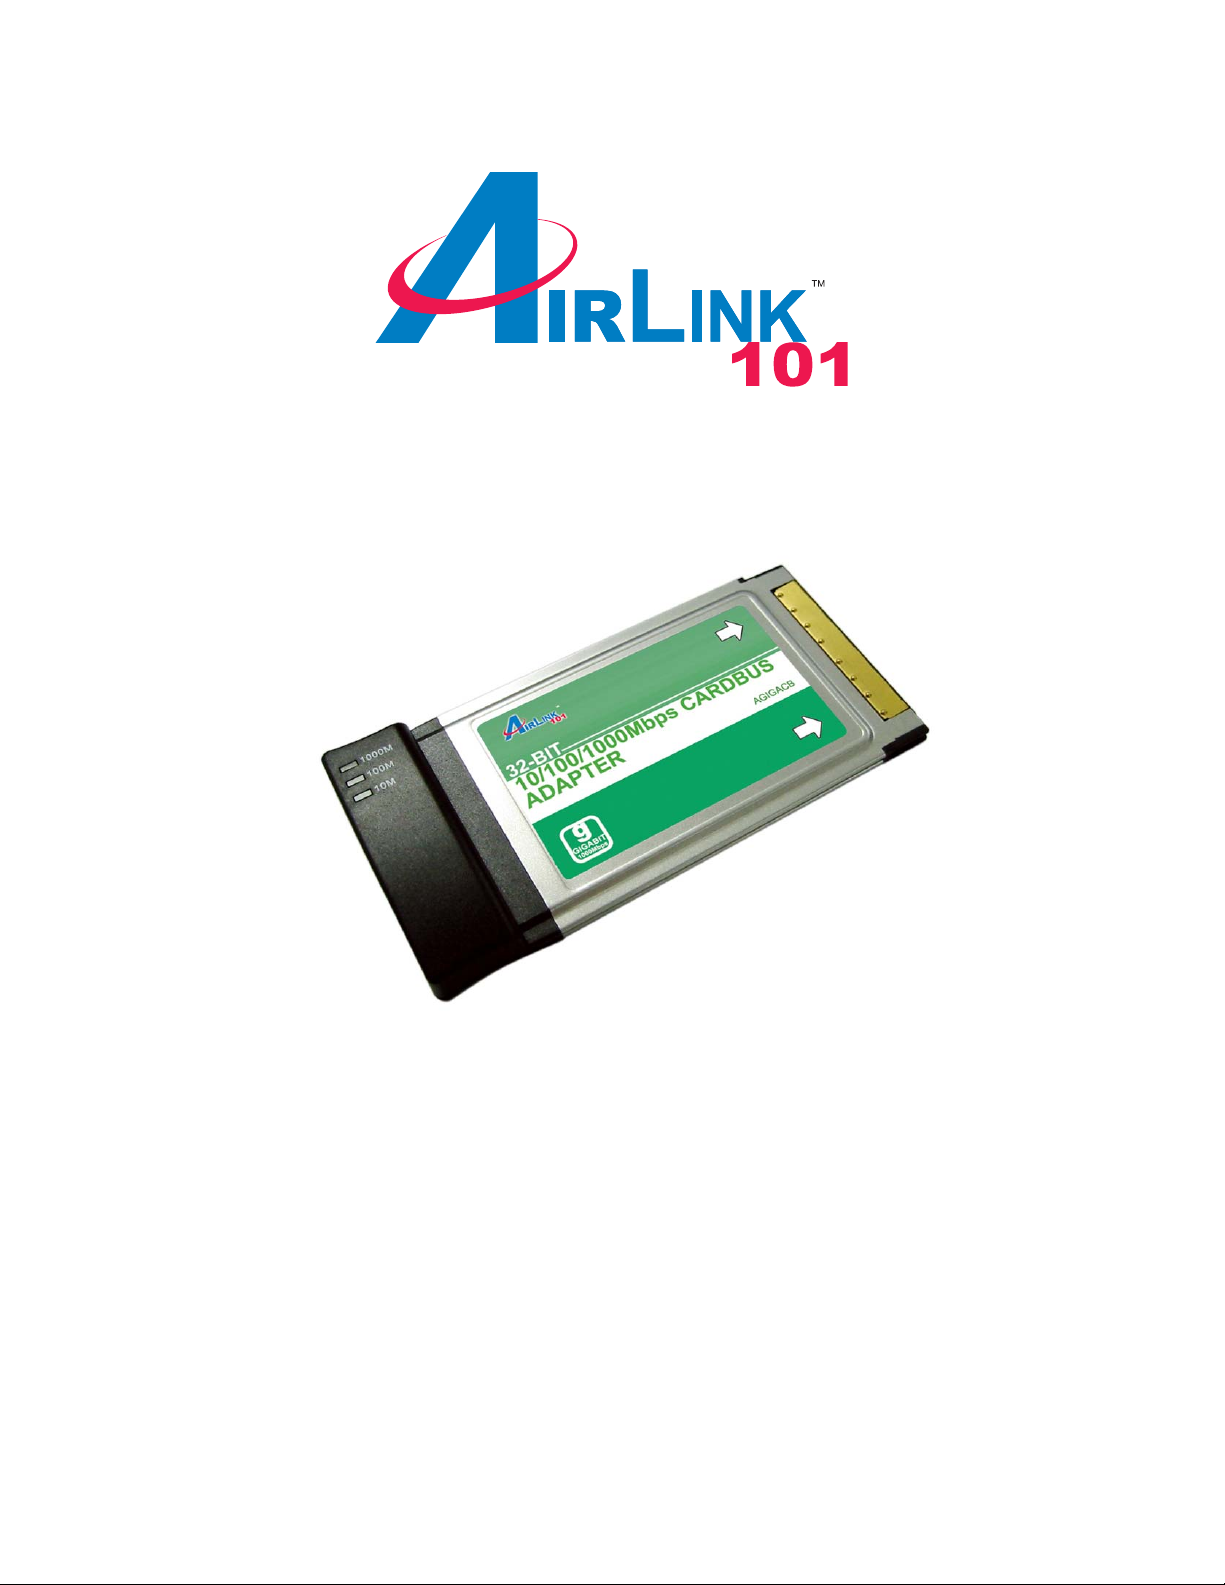
Gigabit Cardbus Adapter
Model # AGIGACB
User’s Manual
Ver. 1A
Page 2

Table of Contents
1. Introduction ..............................................................................................3
1.1 System Requirements.........................................................................3
2. Installing Hardware ..................................................................................3
3. Installing Driver ........................................................................................4
3.1 Windows 98SE....................................................................................4
3.2 Windows Me .......................................................................................7
3.3 Windows 2000 ....................................................................................9
3.4 Windows XP......................................................................................12
4. Verifying Installation...............................................................................14
5. Specifications.........................................................................................15
6. Technical Support..................................................................................15
2
Page 3
1. Introduction
The Gigabit Cardbus Adapter comes with a 32-bit bus architecture and full-duplex
capability which allows for an unmatched high-speed network performance. By
providing smooth connections to 10 Mbps, 100 Mbps and Gigabit Ethernet
environments, the Gigabit Cardbus Adapter is the ultimate solution for the Cardbus
equipped laptops.
1.1 System Requirements
• Drivers provided with this product
• Cardbus PC Card compliant Card Services and Socket Services
• Gigabit, 100Base-TX Fast Ethernet, or 10BaseT Ethernet connectivity to your
local area network.
• Windows 98SE, Windows 2000, Windows Me, or Windows XP.
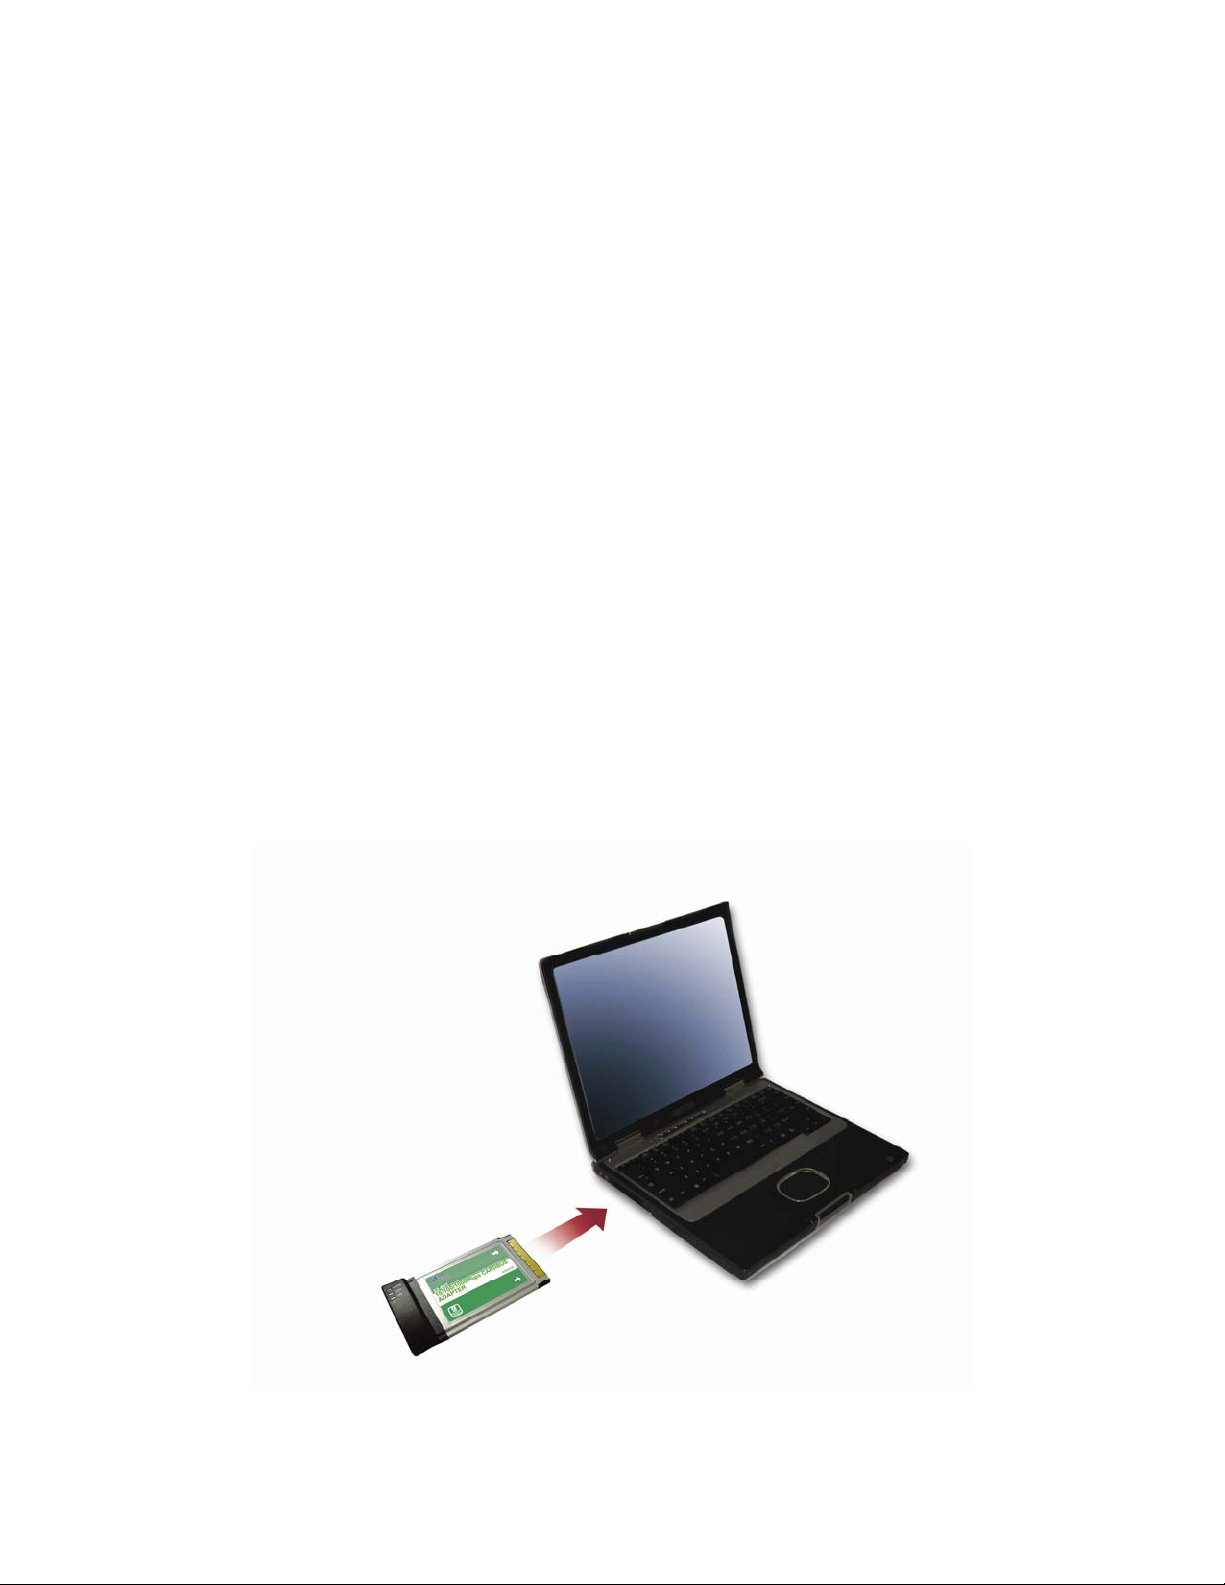
2. Installing Hardware
Step 1 Turn on the computer and wait for Windows to boot up.
Step 2 Insert the Cardbus firmly into the Cardbus slot with the LED indicators facing up.
3
Page 4
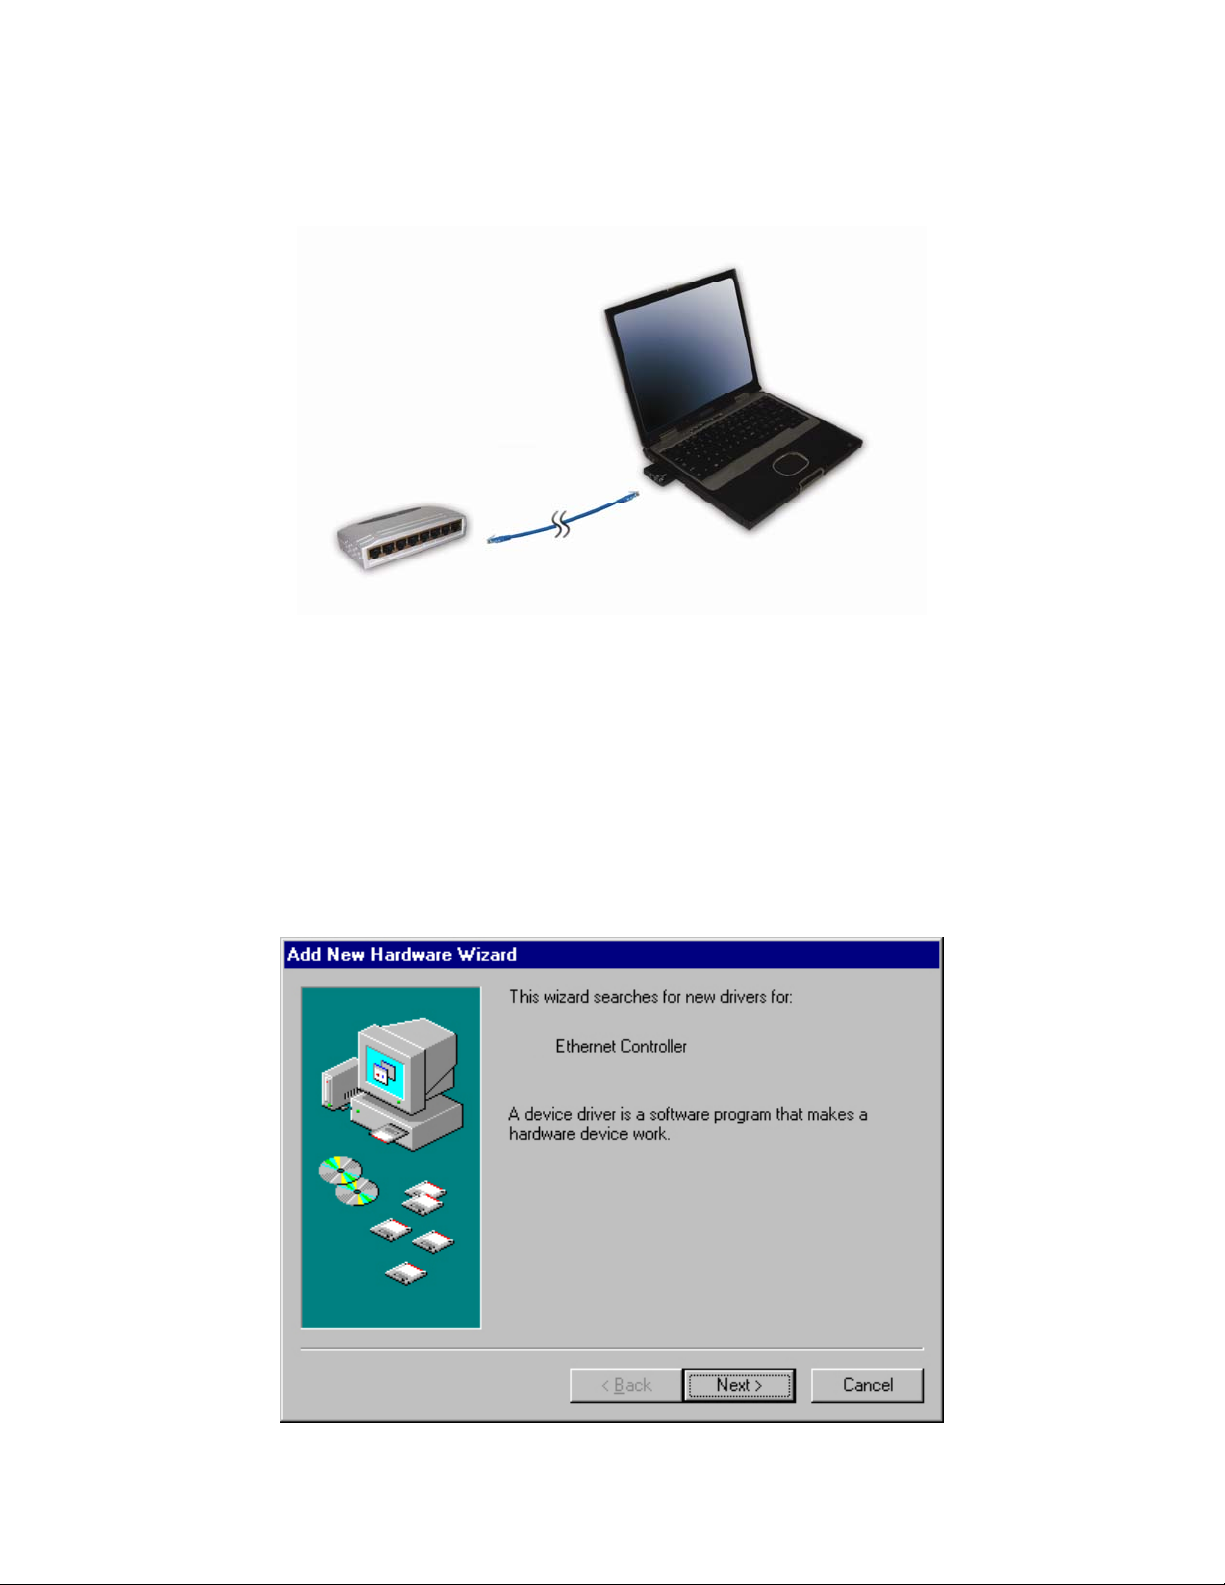
Step 3 Connect one end of the Ethernet cable into an available switch/router port and
connect the other end of the cable into the RJ-45 port of the Cardbus.
Step 4 Follow the instructions in the next section to install the drivers.
3. Installing Driver
3.1 Windows 98SE
Step 1 At the Add New Hardware Wizard, click Next.
4
Page 5
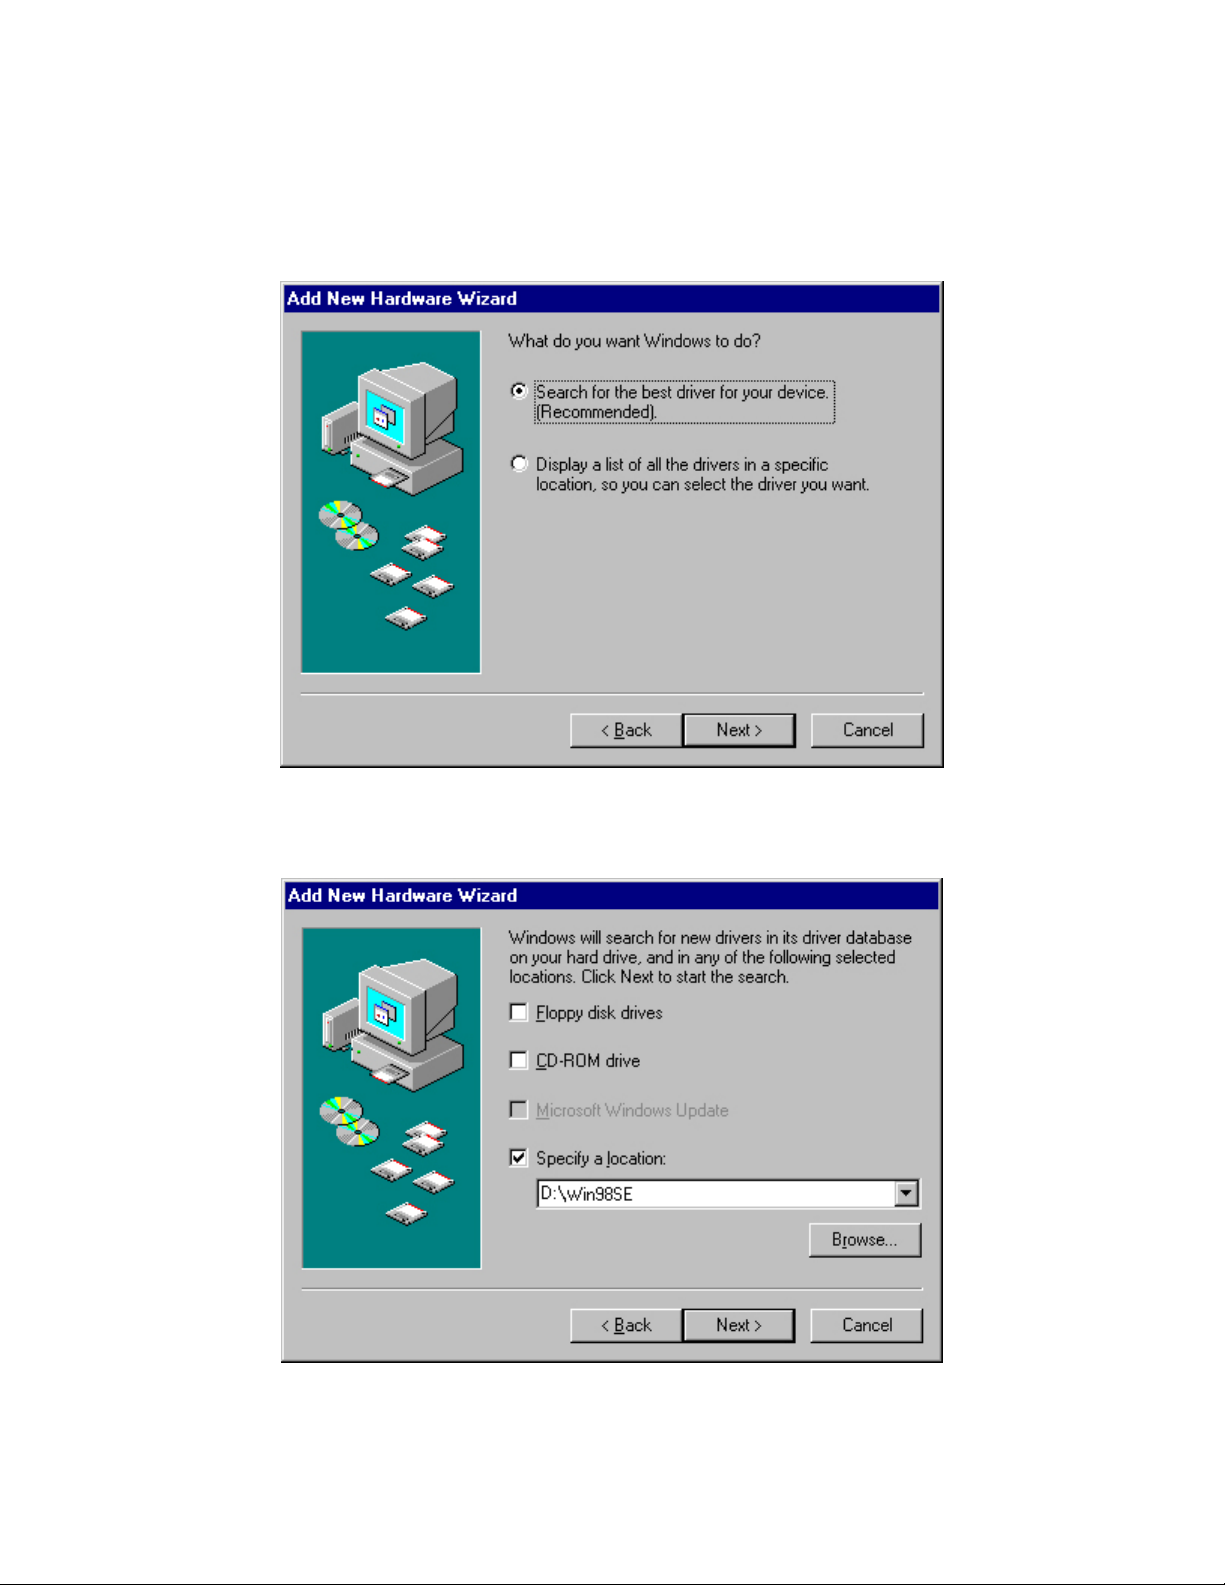
Step 2 Insert the provided Driver CD into the CD-ROM drive.
Step 3 Select Search for the best driver for your device (Recommended) and click
Next.
Step 4 Select Specify a location and click Browse. Browse to the CD-ROM drive and
select the Win98 folder. Click Next to continue.
5
Page 6

Step 5 Click Next to install the driver.
Step 6 Insert the Windows 98SE CD and click OK to continue.
Step 7 Click Finish.
Step 8 Click Yes to restart the computer and complete the driver installation.
6
Page 7

3.2 Windows Me
Step 1 At the Add New Hardware Wizard, select Specify the location of the driver
(Advanced) and click Next.
Step 2 Insert the provided Driver CD into the CD-ROM drive.
Step 3 Verify Search for the best driver for your device (Recommended) is selected.
Select Specify a location and click Browse. Browse to the CD-ROM drive and select
the WinMe folder. Click Next to continue.
7
Page 8

Step 4 Click Next to install the driver.
Step 5 Click Finish to complete the installation.
8
Page 9

3.3 Windows 2000
Step 1 At the Found New Hardware Wizard, click Next.
Step 2 Insert the provided Driver CD into the CD-ROM drive.
Step 3 Select Search for a suitable driver for my device (recommended) and click
Next.
9
Page 10

Step 4 Select Specify a location and click Next.
Step 5 Browse to the CD-Rom drive and select the Win2000 folder and click OK.
10
Page 11

Step 6 Click Next to install the driver.
Step 7 Click Yes at the Digital Signature Window.
Step 8 Click Finish to complete the driver installation.
11
Page 12

3.4 Windows XP
Step 1 At the Found New Hardware Wizard, select Install from a list or specific
location (Advanced) and click Next.
Step 2 Insert the provided Driver CD into the CD-ROM drive.
Step 3 Verify Search for the best driver in these locations is selected, and select the
Include this location in the search check box and click Browse. Browse to the CD-
ROM drive and select the WinXP folder. Click Next to continue.
12
Page 13

Step 4 Click Continue Anyway at the Windows Logo Testing prompt.
Step 5 Click Finish to complete the driver installation.
13
Page 14

4. Verifying Installation
Follow the steps below to verify if the Cardbus is installed successfully.
Step 1 Right-click on My Computer from your desktop and choose Properties.
Step 2 Select the Device Manager tab. (For Windows 2000/XP, select the Hardware
tab first then click on Device Manager).
Step 3 Expand Network adapters and verify that 10/100 Gigabit Ethernet CardBus
PC Card is in the list and that no yellow question mark or exclamation mark is beside it.
Step 4 Close the Device Manager. If you do not see 10/100 Gigabit Ethernet CardBus
PC Card under Network adapters, try to reinstall the driver again.
14
Page 15

5. Specifications
Standards
IEEE 802.3 for 10BaseT
IEEE 802.3u for 100BaseTX
IEEE 802.3ab for 1000BaseT
PCMCIA CardBus PC Card standard
Port
Power consumption
1 x RJ 45 phone jack
695 mA (in operation)
600 mA (idle)
Operating: 0~70 ℃
Temperature
Storing: -10~70 ℃
Humidity
Supported OS
10%~85% (non-condensing, storage)
Windows 98SE, Windows 2000, Windows Me, Windows
XP.
FCC
Safety & Emission
CE
VCCI
6. Technical Support
E-mail: support@airlink101.com
Toll-Free: 1-888-746-3238
Web Site: www.airlink101.com
Copyright © 2004 AirLink101. All rights reserved. AirLink101, the stylized AirLink101 logo, specific
product designations, and all other words and logos that are identified as trademarks and/or service
marks are, unless noted otherwise, the trademarks and service marks of AirLink101. All other product or
service names are the property of their respective holders. AirLink101 products are protected under
numerous U.S. and foreign patents and pending applications, mask work right s, and copyrights.
15
 Loading...