

Page 1
Golden 300N Wireless USB Adapter
Model #: AWLL6077v2
Installation Instructions for
MAC OS 10.4/10.5
Rev. 1.0
Page 2
1. Install Wireless USB Adapter
This section provides instructions on how to install the Golden 300N Wireless USB
Adapter. The driver is installed along with the utility.
Step 1 Insert the USB adapter into an available USB port of the computer. Insert the
provided CD into the CD drive.
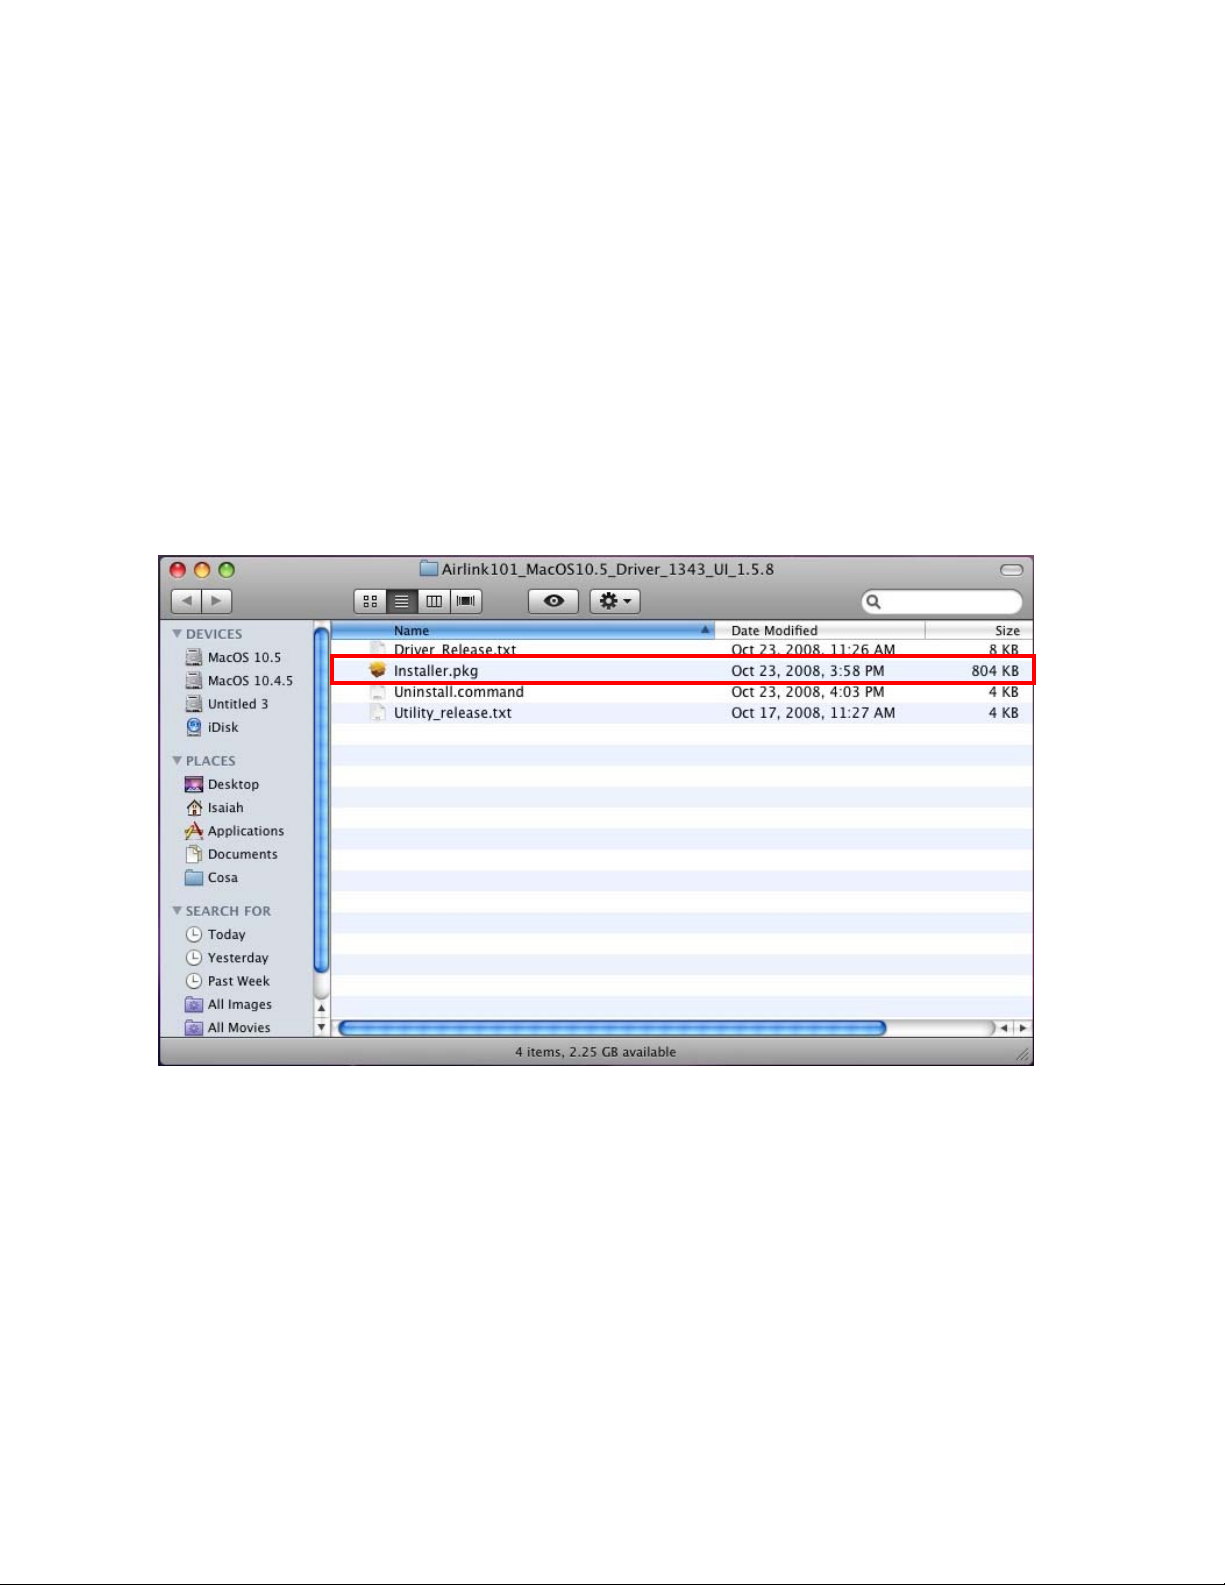
Step 2 Explore the CD content, go to MAC > Airlink101_USB_MACOS10.4_Driver or
Airlink101_USB_MACOS10.5_Driver (depends on your MAC OS version).
Double click Installer.pkg from the driver folder.
Step 3 Introduction: The “Install Airlink101 Wireless N USB Adapter” window will pop
up. Click Continue.
2
Page 3
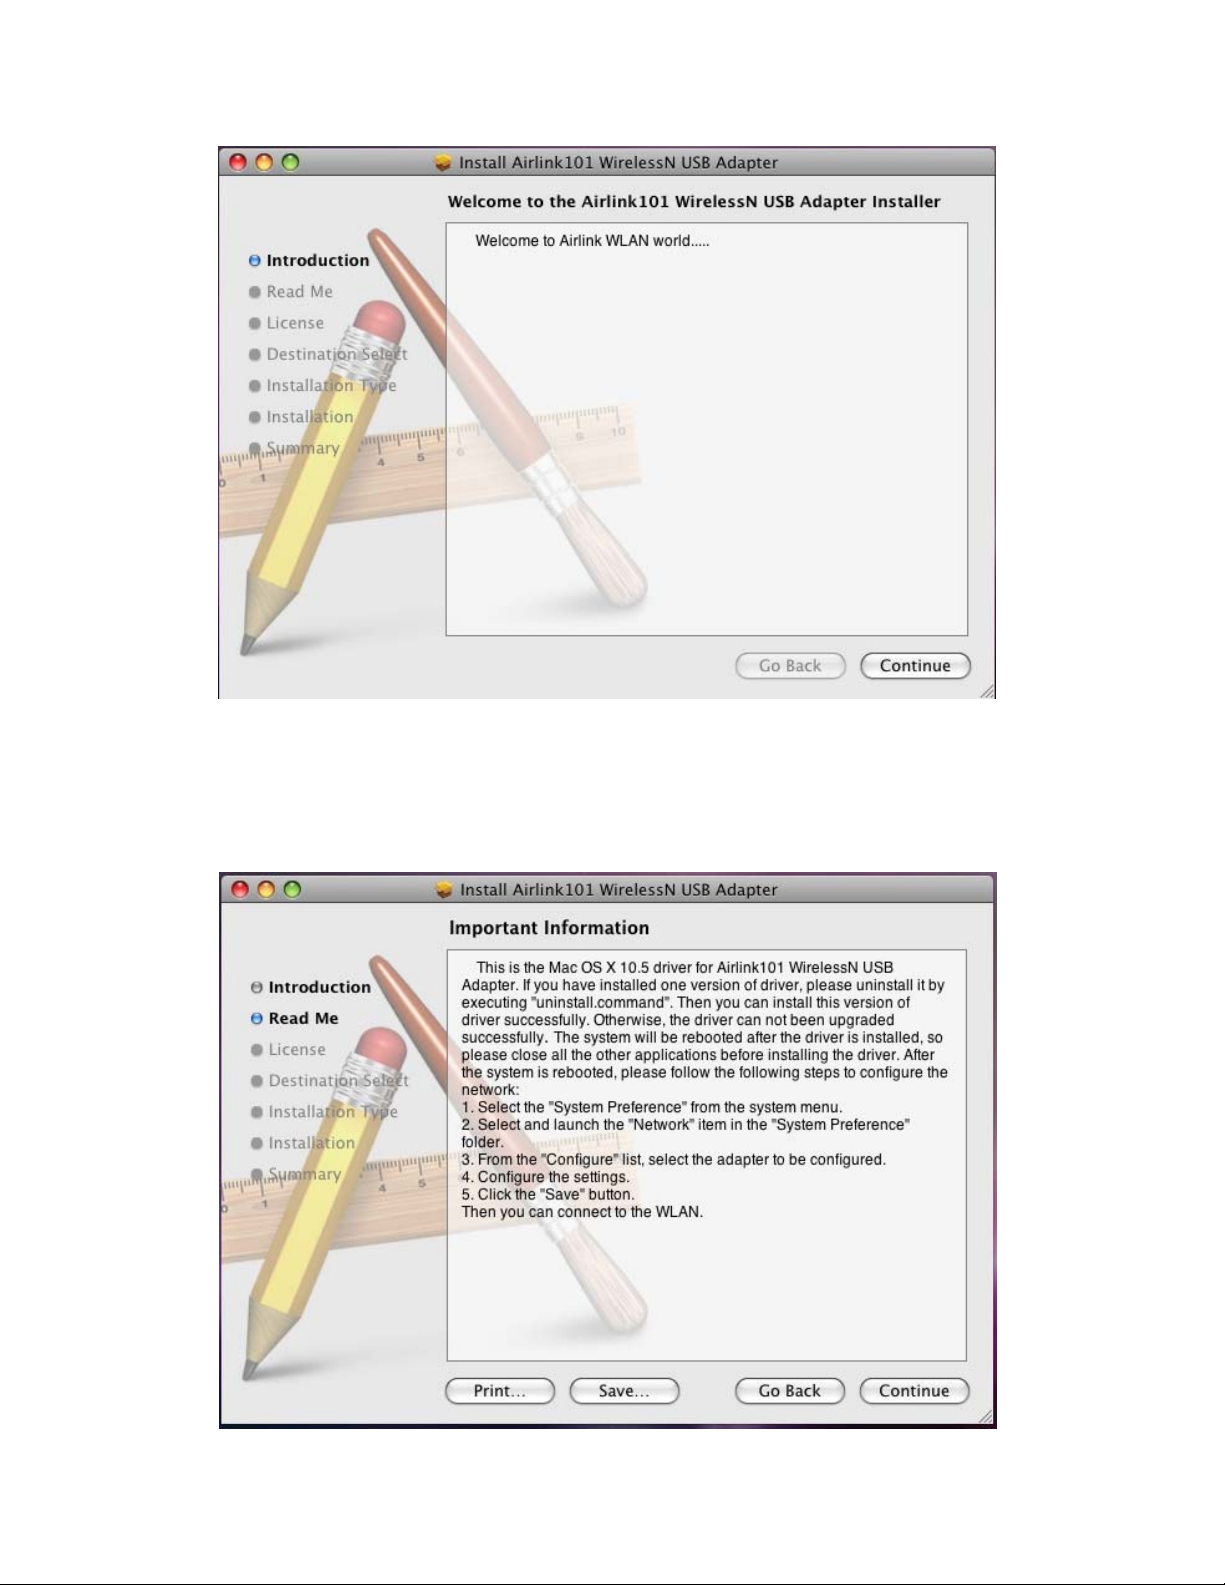
Step 4 Read Me: Click Continue to begin the installation.
3
Page 4
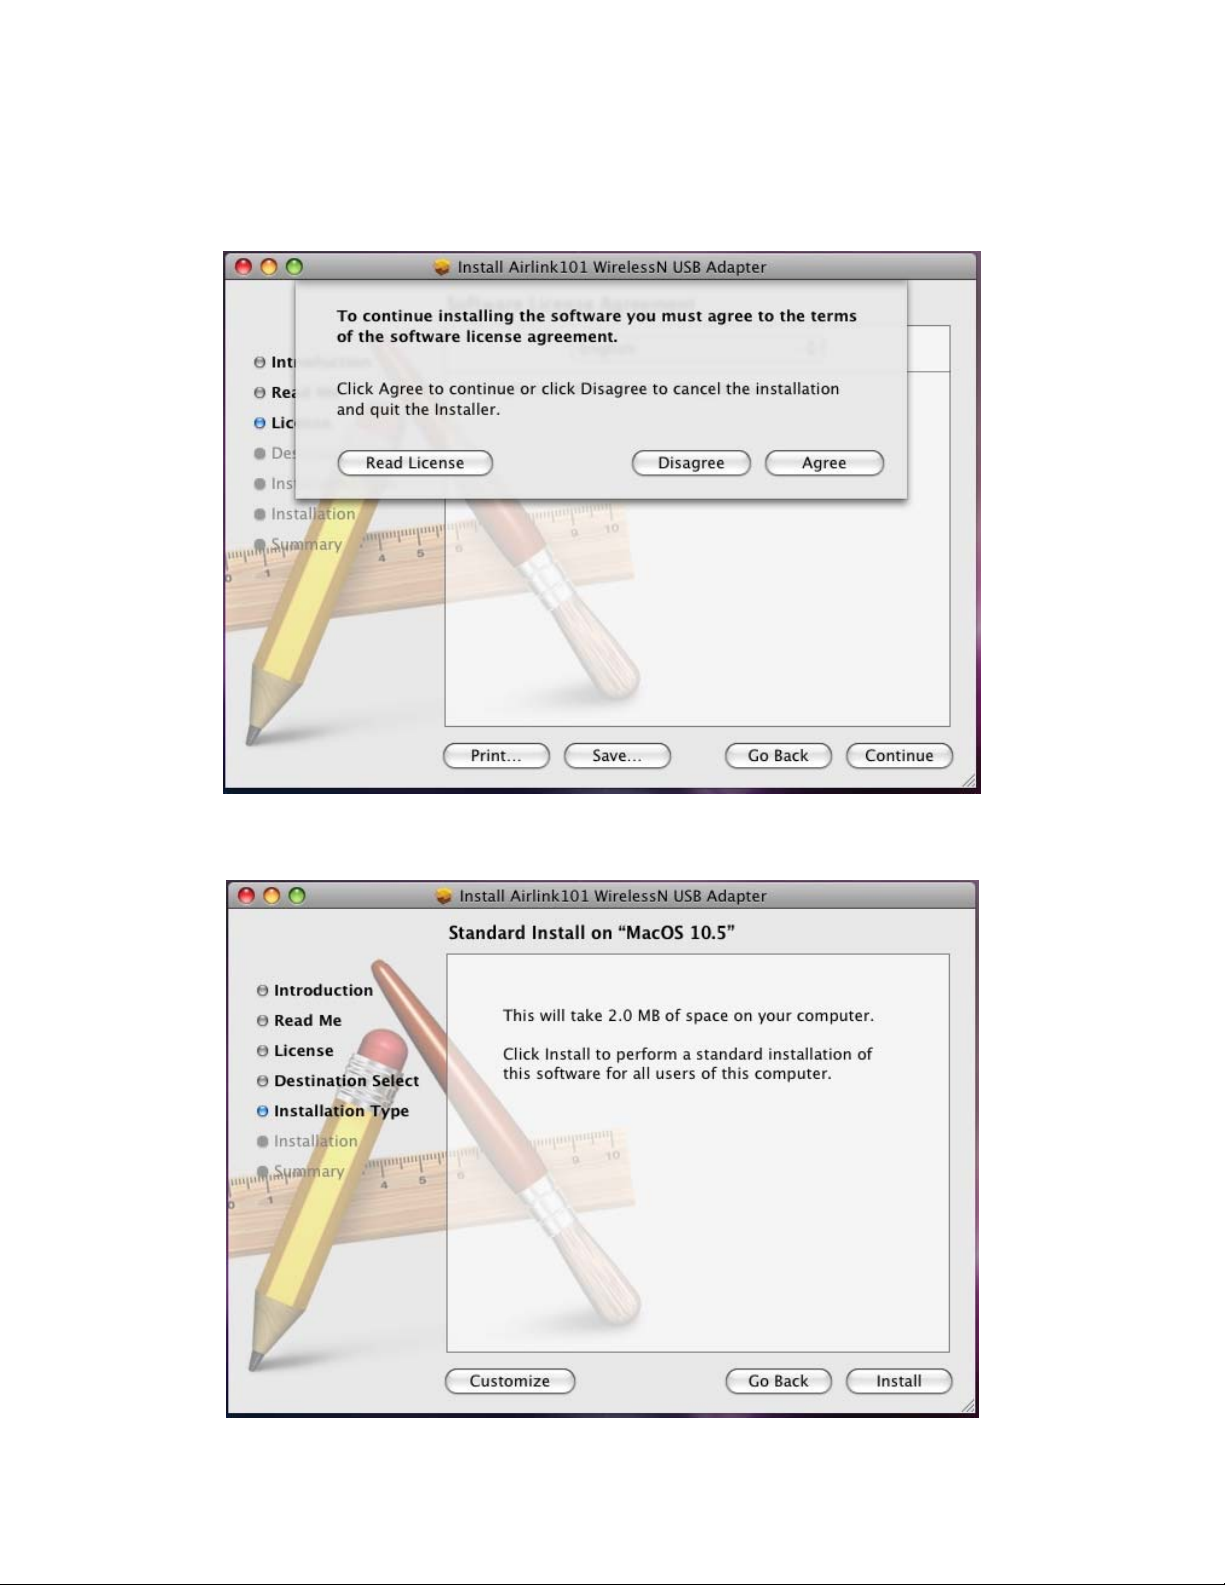
Step 5 License: Click Continue.
Click Agree to install.
Step 6 Installation Type: click Install to perform a standard installation.
4
Page 5

Enter your password and click OK.
Click Continue Installation.
5
Page 6

Step 7 Installation: Wait while the software is being installed.
Step 8 Summary: Click Restart to restart your computer.
6
Page 7

2. Connect to Wireless Network
This section describes how to connect your wireless USB adapter to a wireless network.
Open the Airlink101 Wireless Monitor utility by double clicking on its icon in the system
tray at the bottom of your screen.
Please select the wireless USB adapter you just installed in System Preferences//
Network and click Apply Now.
7
Page 8

Step 1 Click the Available Network tab, select the SSID (Network Name) of the
wireless network you wish to connect to, and click Add to Profile.
If the network that you are attempting to connect does not have encryption enabled, you
will receive a warning about connecting to an unsecured network. Click OK to complete
the connection. Go to Step 3.
If the network that you are attempting to connect is configured for encryption, the
Wireless Network Properties window will appear:
8
Page 9

Step 2 Enter the network security key of your wireless router or AP into Network key and
Confirm network key boxes.
The Adapter may automatically detect the type of Network Authentication and Data
Encryption. You need to enter the security settings in the Network key, Confirm
network key boxes according to the settings of the wireless router or AP then click OK
to connect.
Step 3 The connection is now established. You can check the status of your connection
under “Link Status” tab. The Connection should be Connected, and there should be a
blue bar displaying the Signal Strength.
9
Page 10

Congratulations! You have now successfully connected to the wireless network. You may
refer to the User Manual in this Installation CD for detailed instructions of other advanced
features of Airlink101 Wireless Monitor.
10
Page 11

Technical Support
E-mail: support@airlink101.com
Toll Free: 1-888-746-3238
Web Site: www.airlink101.com
*Theoretical maximum wireless signal rate derived from IEEE standard 802.11g and draft 802.11n specifications.
Actual data throughput will vary. Network conditions and environmental factors, including volume of network traffic,
building materials and construction, mix of wireless products used, radio frequency interference (e.g., cordless
telephones and microwaves) as well as network overhead lower actual data throughput rate. This product is based on
IEEE draft 802.11n specification and is not guaranteed to be compatible with future versions of IEEE 802.11n
specification. Compatibility with draft 802.11 n devic es from other manufactures is not guaranteed.
Specifications are subject to change without notice. Photo of product may not reflect actual content. All products and
trademarks are the property of their respective owners. Copyright ©2009 Airlink101®
11
 Loading...