

Page 1
Quick Installation Guide
Section 1
Ver. 1A
Model # A WLC4030
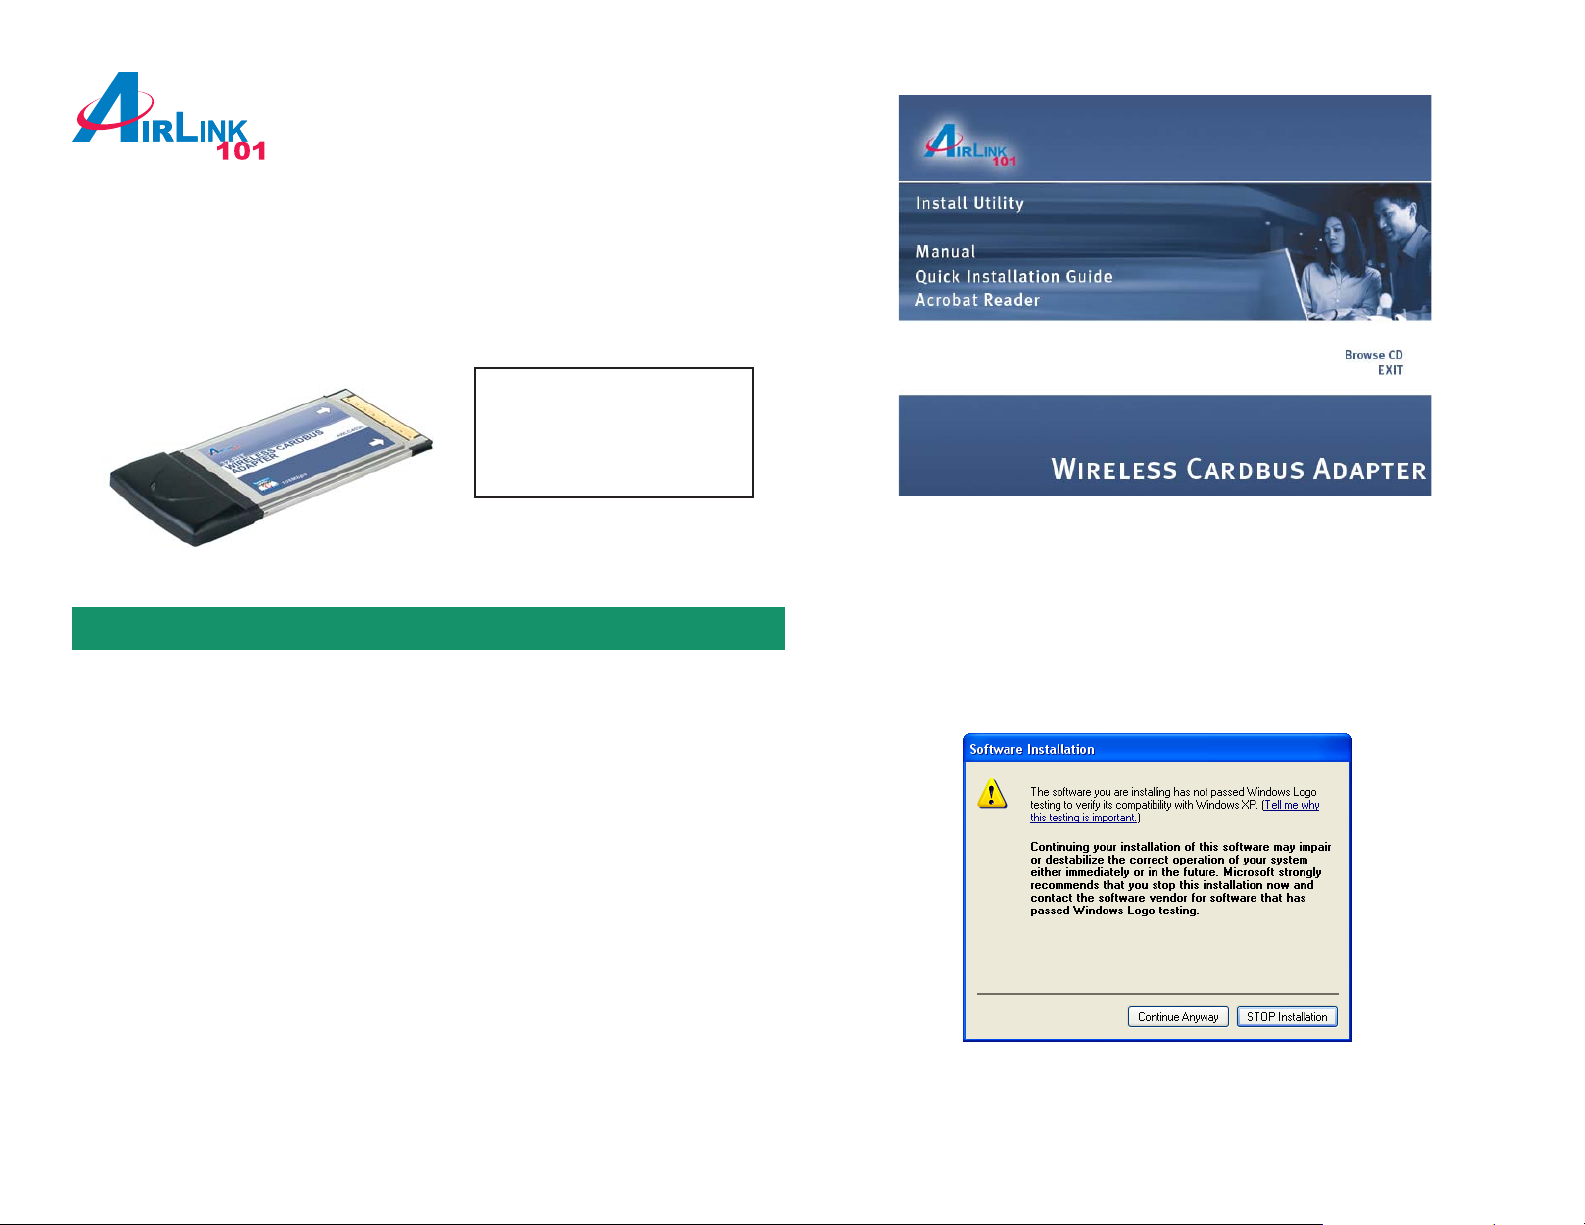
Package Content:
• Cardbus Adapter
• Driver & Utility CD
• Quick Installation Guide
Step 4 Click Next at the welcome screen.
Step 5 Click Next to accept the default destination folder to install the software or
click Browse to manually select a different destination folder .
Step 6 Click Next at the Select Program Folder screen.
Install Utility Software
Step 1 Before installing the utility software, do not insert the cardbus adapter into
your computer. If the cardbus is inserted already, Windows will detect the adapter
and request for a driver . Click Cancel to quit the wizard and remove the cardbus
adapter from your computer.
Step 2 Insert the Driver & Utility CD into your CD drive and wait for the autorun
page to appear on screen.
Step 3 Click on Install Utility at the autorun page.
Note: If the autorun page doesn’t appear automatically , go to Start, Run, and
type D:\autorun.exe (where D is the letter of your CD drive) and click OK.
Step 7 Click Continue Anyway at the Windows Logo Screen (if prompted).
Step 8 Verify “Yes, I want to restart my computer now” is selected and click
Finish to restart your computer.
Page 2
Section 2
Install Driver
Note: For Windows 98SE and ME users, you may be prompted to insert the
Windows 98SE or ME CD during the driver installation. Be sure to have your
Windows 98SE or ME CD ready .
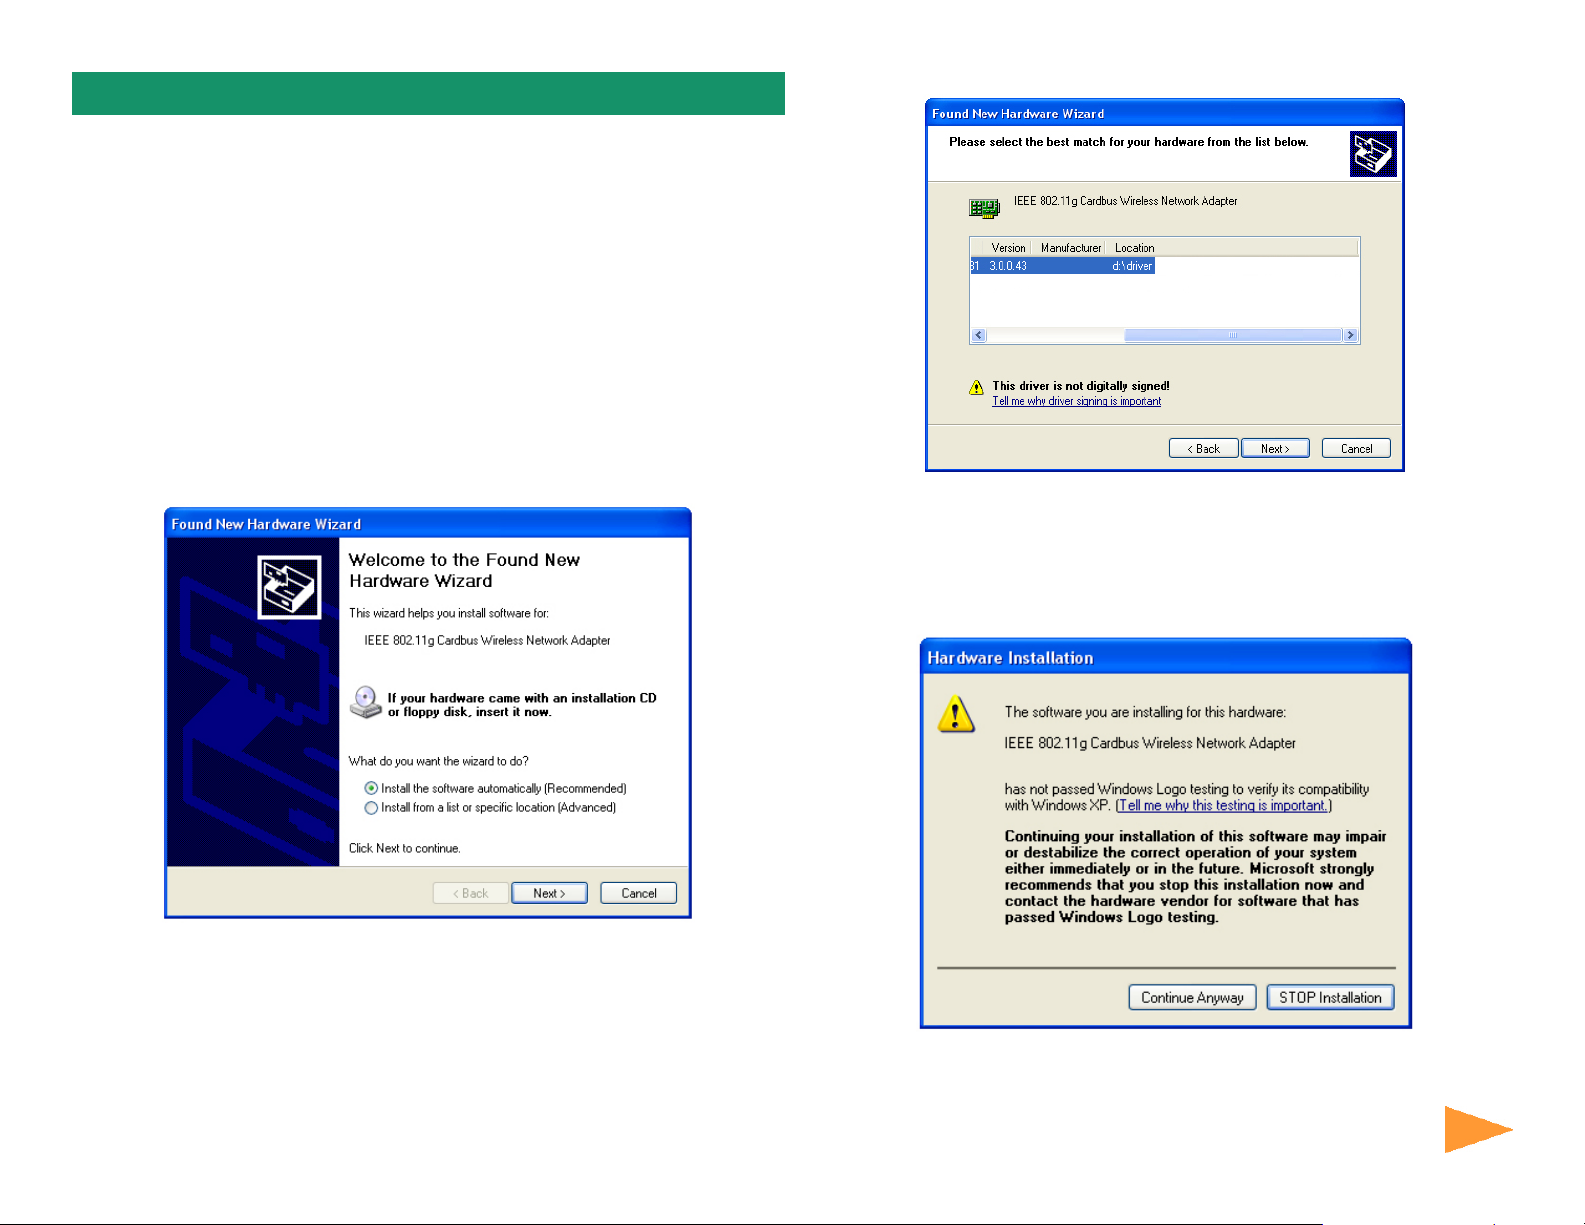
Step 1 After the computer is rest arted, insert the cardbus adapter into the
computer and wait for the Found New Hardware Wizard to appear. The Found
New Hardware Wizard will look different depending on your operating system.
Follow the on-screen instructions to complete the installation.
Step 2 Select Install the software automatically and click Next.
For Windows 98SE and ME, browse to the D:\Driver folder (where D is the letter
of your CD drive) and click OK then Next. Insert the Windows 98SE or ME CD if
you are prompted to do so.
Step 4 Click Continue Anyway at the Windows Logo Screen (if prompted).
For Windows 98SE and ME, select “Search for the best driver for your
device” and click Next. Verify all the check boxes are unchecked except for
“Specify a location” and click Browse.
Step 3 Select the driver from the “Driver” folder and click Next.
Step 5 Click Finish. Restart the computer if you are prompted to do so.
Continue on Back
Continue on back...
Page 3

Section 3
Section 3
Configure the Cardbus Adapter
Note to Windows XP Users:
Y ou must disable the Wireless Zero Configuration Utility in order to use the WLAN
Monitor. Please refer to the following step s to disable the Wireless Zero
Configuration Utility.
Step 1 Double-click on the Wireless Network Connection Icon in the system
tray, then click on Properties or Advanced.
Step 3 To open the cardbus adapter’s utility, double-click on the WLAN Monitor
Icon in the system tray.
The utility automatically adds an available wireless network to the Preferred
WLANs box. If no SSID is added, or if the SSID is wrong, please refer to the
following steps to join the appropriate wireless network. Otherwise skip to step 8.
Note: Be sure to remove the wrong SSID from the Preferred WLANs box before
adding any new SSID. Y ou can remove the wrong SSID by selecting it and
clicking on Remove.
Step 2 Go to the Wireless Networks tab, uncheck the “Use Windows to
configure my wireless network settings” check box and click OK. If the
Wireless Networks tab does not appear , skip this step.
Step 4 Select the SSID of the wireless network you wish to connect to from the
Available WLANs box and click Add.
Page 4

Step 5 Verify all the settings are correct and click OK.
Step 7 A blue circle will surround the SSID you have chosen. Click OK.
Step 6 V erify the SSID you have selected is in the Preferred WLANs box and
click Apply.
Section 4
Step 8 Restart your computer to complete the wireless network connection.
For more advanced features and additional details,
please refer to the User ’s Manual on the provided CD.
Section 4
Technical Support
E-mail: support@airlink101.com
T oll Free: 1-888-746-3238
Web Site: www .airlink101.com
 Loading...