

Page 1
Quick Installation Guide
SkyIPCam1500W
Wireless N Night Vision Network Camera
Model # AICN1500W
Ver. 1A
Page 2

Package Contents
• Wireless N Night Vision Network Camera
• Antenna
• Camera Stand
• Power Adapter
• Ethernet Cable (Cat.5)
• Utility CD
• Quick Installation Guide
System Requirement
• Accessing the Camera using Web Browser
- Supported Browsers*: Microsoft® Internet Explorer 6.0 or above;
Apple Safari, Mozilla Firefox with JAVA plug-in
CPU: Intel Pentium III 350MHz or above
RAM: 500MB
Resolution: 800x600 or above
• Accessing the Camera using Software SkyIPCam UltraView
Platform: Microsoft® Windows® 7, Vista and XP
Hard Disk: 80GB or above
Resolution: 1024x768 or above
Suggested Hardware Requirement*
▪ 1~8 cameras connected: Intel Core 2 Duo; 2GB RAM
▪ 9~32 cameras connected: Intel Core 2 Quad; 4GB RAM
NOTE If you connect multiple cameras to monitor various places
simultaneously, it is recommended that you use a higher end computer.
* It is recommended to use Internet Explore to view/manage the camera,
because Safari and Mozilla Firefox may not support certain features, such as
configuring motion detection or snapshot.
Page 3

Section 1
This Quick Installation Guide only provides basic instructions. For detailed
information on using this product, including the bundled software SkyIPCam
UltraView, please refer to the User’s Manual on the supplied CD.
Getting Started
Step 1.1 Attach the included external antenna to the camera.
Step 1.2 Connect one end of the Ethernet cable to the IP Camera and connect
the other end to one of the LAN ports on your router or switch.
Step 1.3 Power on the IP Camera by connecting one end of supplied power
adapter to the power jack of the Camera and connecting the other end to the
electrical outlet.
Step 1.4 Verify that the yellow light (Power) is solid and the green light (Link) is
blinking.
Page 4
Section 2
Installing the SkyIPCam Utility and UltraView
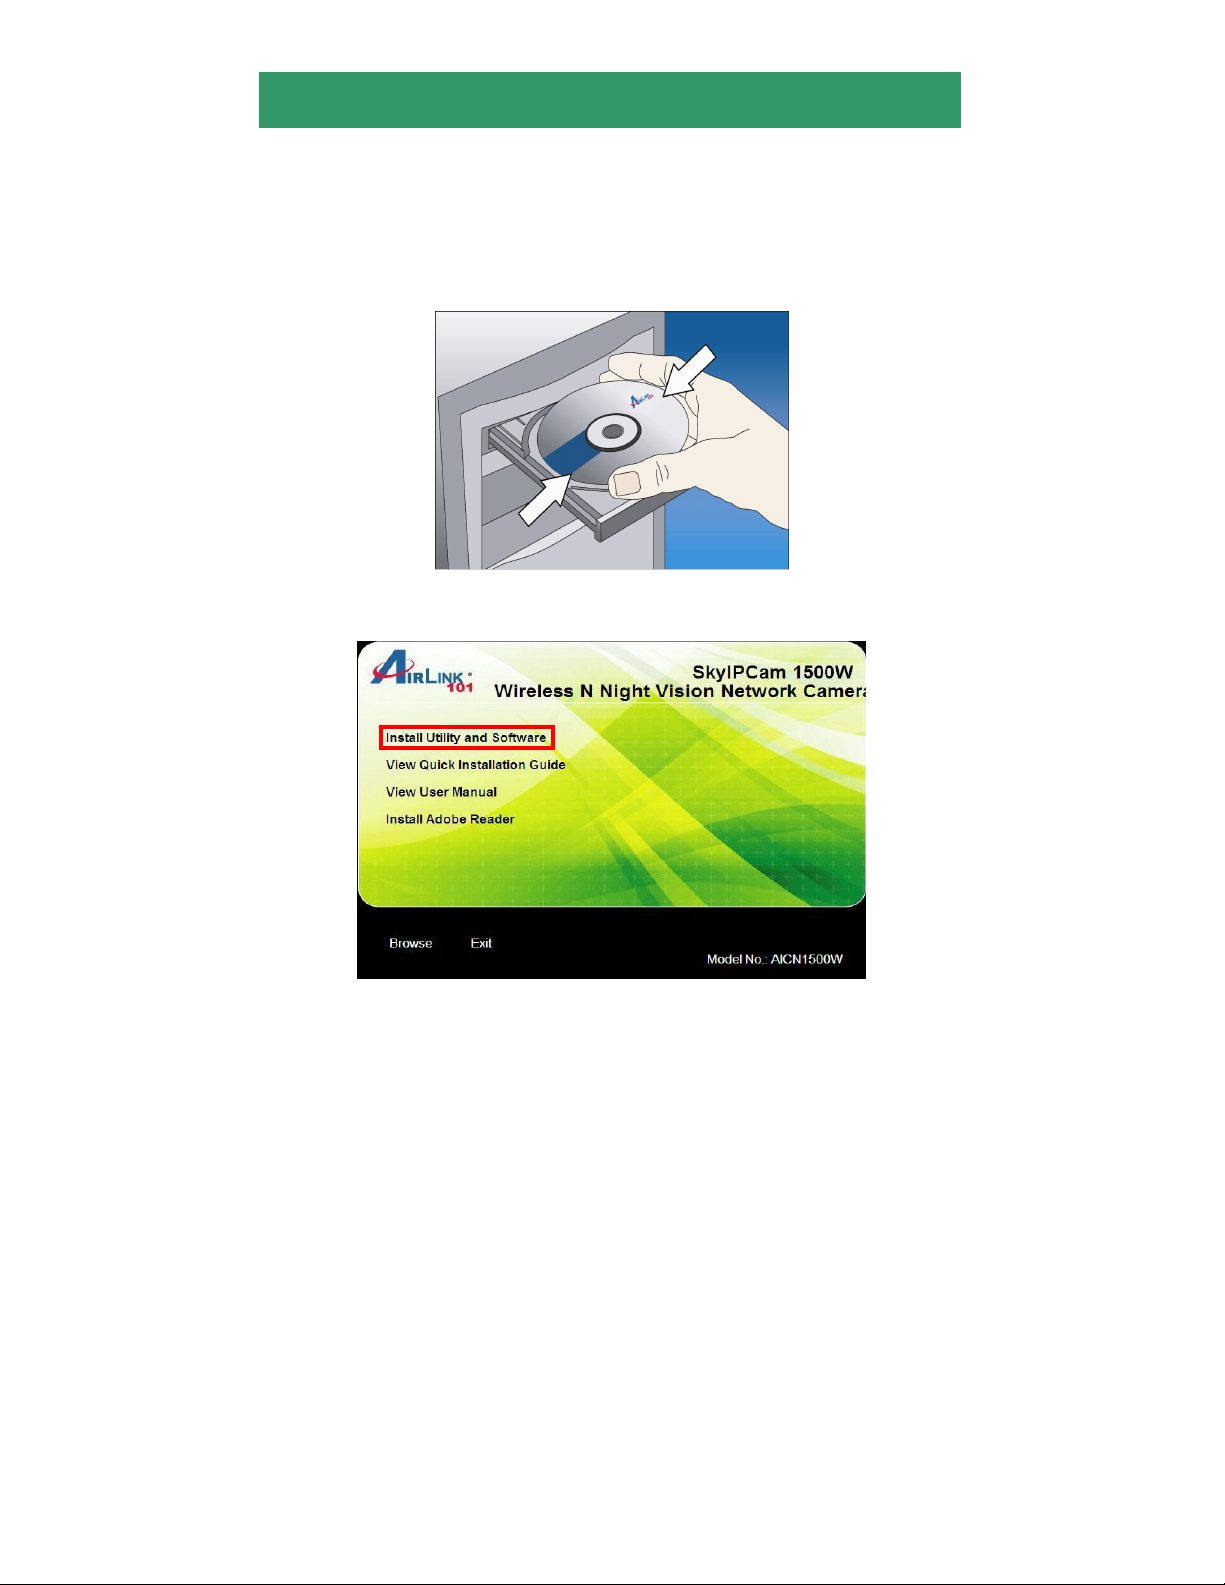
Step 2.1 Insert the provided CD into your computer’s CD ROM drive.
Step 2.2 Click on Install Utility and Software.
Page 5
Note: If you do not see the autorun menu pops up on the screen, please go to
your CD-ROM drive > UltraView folder > run “Setup.exe”.
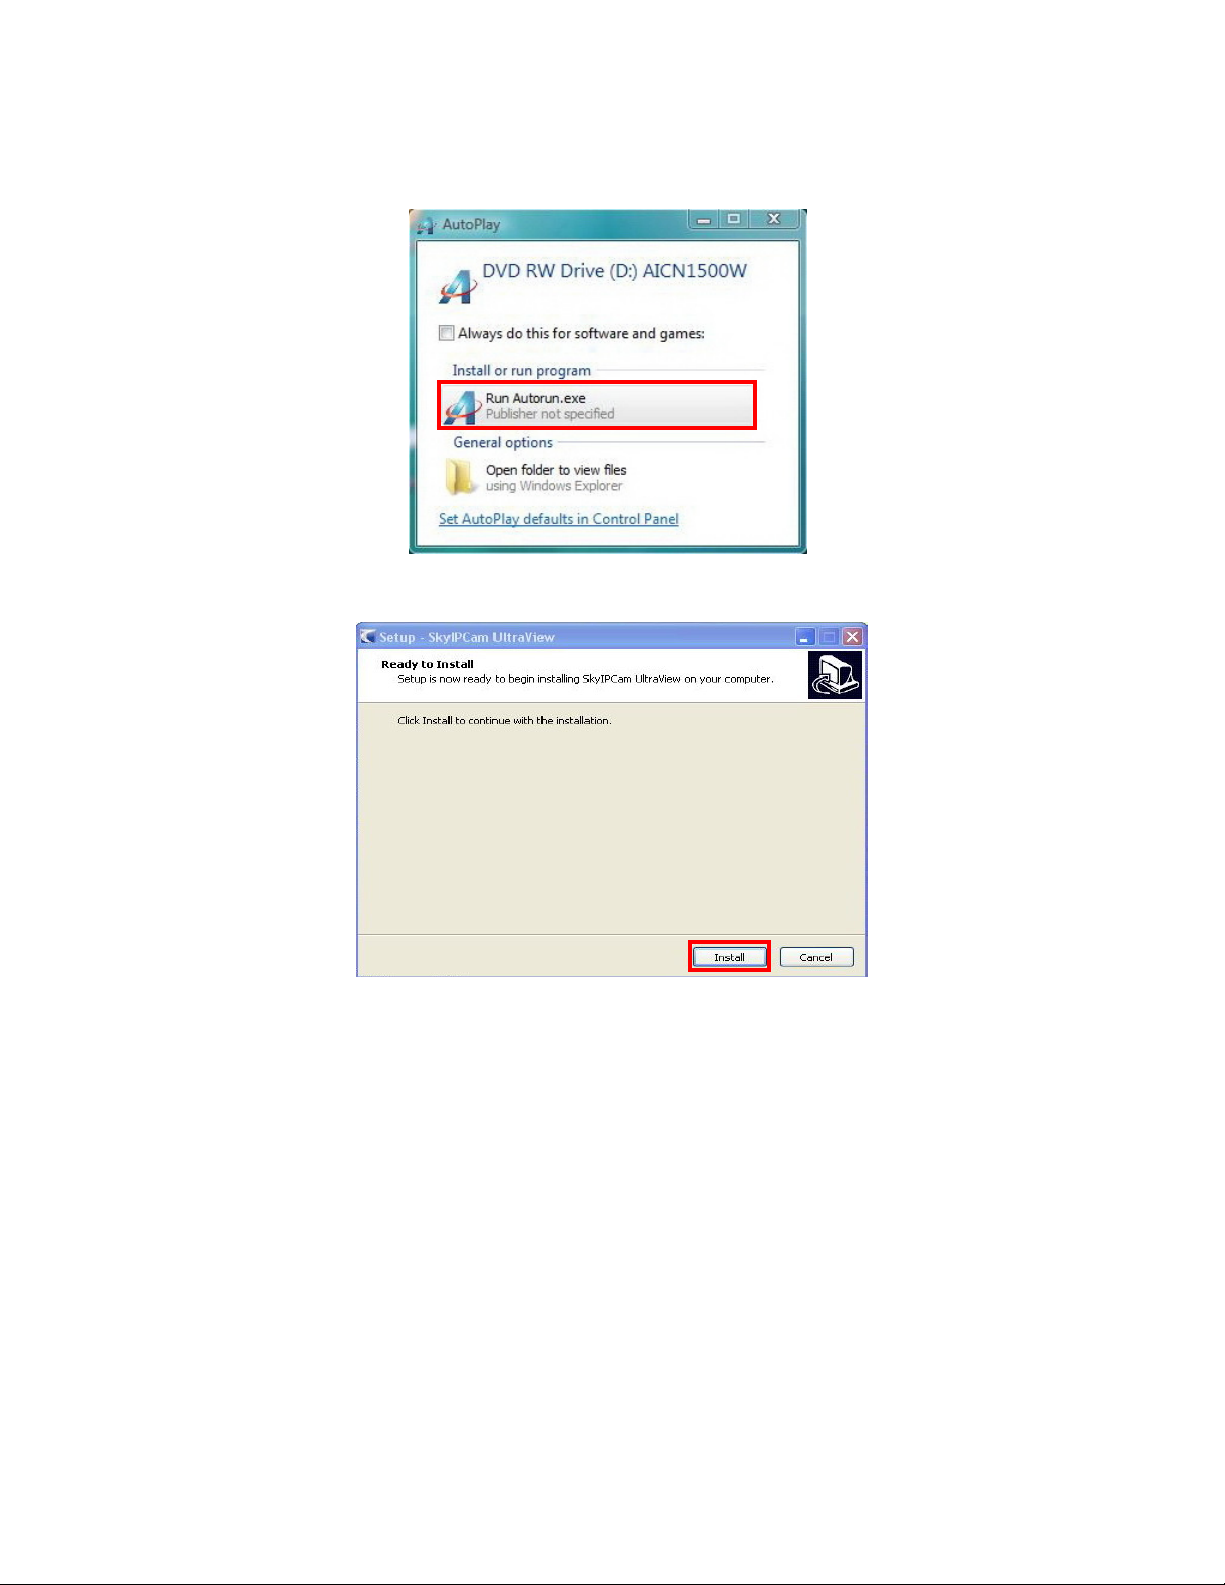
Windows 7 and Vista users: an AutoPlay window pops up on screen, please
make sure you give permission to run the setup program by clicking
Autorun.exe.
Step 2.3 Click Install to install the SkyIPCam Utility and UltraView.
Page 6
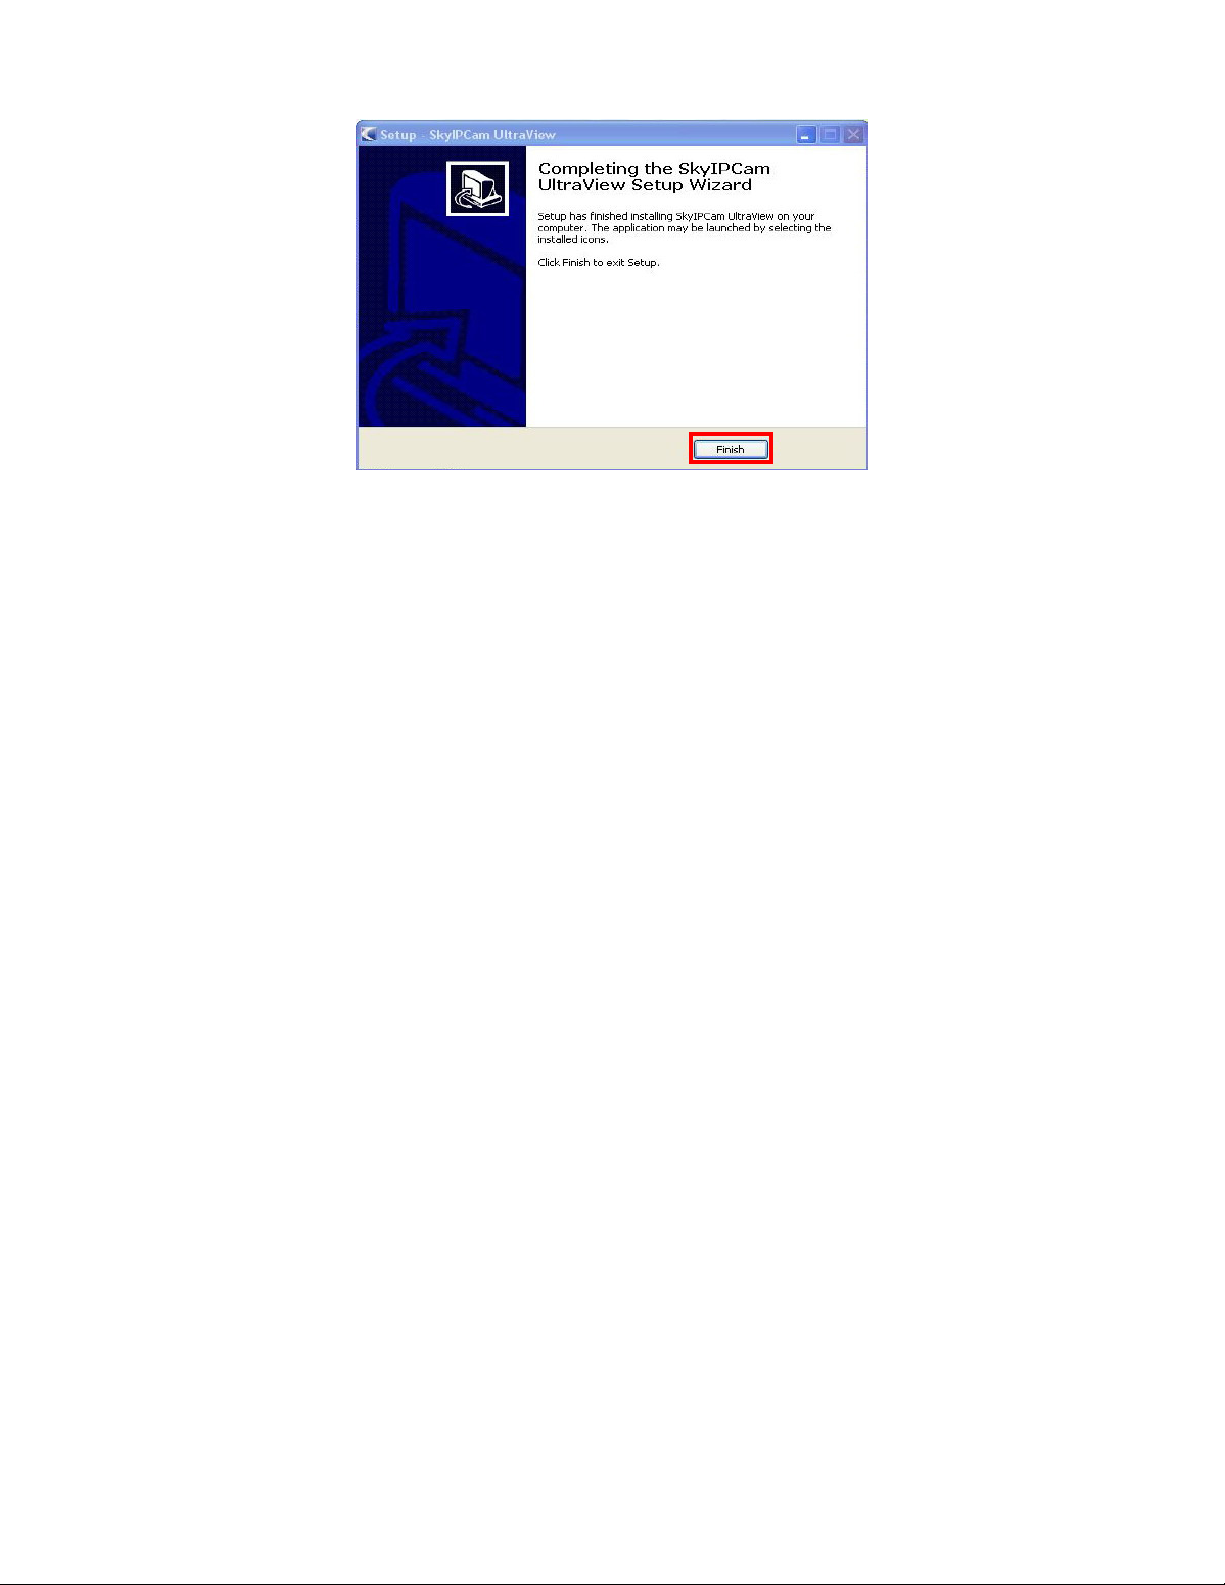
Step 2.4 Click Finish when installation finishes.
Page 7

Section 3
Configuring the Camera
Step 3.1 Go to Start > (All) Programs > Airlink101 SkyIPCam UltraView >
SkyIPCam Utility.
Step 3.2 Click on Search to find the camera on your network. Select the
Camera you wish to configure and click on Link.
Note If the Camera you wish to configure does not show up in the utility, make
sure the camera is properly connected to the same local network as your
computer is, and the Green LED should be on. Click on Search to try again.
Page 8

Step 3.3 You may simply accept the suggested default setting DHCP if your
router’s DHCP server is enabled, so the router will automatically assign a
dynamic IP address to your camera. Another option is to select Static IP, you
can manually change the last 3-digit number of the IP Address, in case that the
suggested one has already been used by another device in the same network.
Enter “admin” for both ID and password, and click Change.
Step 3.4 Once the utility has saved the changes, it will return to the original
screen. Select your camera from the list and click Link.
Page 9

Step 3.5 When you are prompted for the user name and password, enter
“admin” for both User name and Password, and click OK.
Step 3.6 The camera viewing window will appear. Click on Setup, and then
click on Smart Wizard.
Page 10

Step 3.7 Enter a name for your camera and a location if you like. Then enter
“admin” for both Admin Password and Confirm Password. Click Next.
Step 3.8 You can change the camera’s IP settings in the below window. If you
have done this in Step 3.3, click Next and go to the next step.
Page 11

Step 3.9 If you would like to set up email alerts that you can receive in the
future, enter your email information here. You can get this information from
your internet service provider. You can also set this up at a later time. Click
Next.
Step 3.10 Enter the wireless information according to your wireless router’s (or
access point’s) setting if you would like to connect the camera wirelessly to the
network. You can log in to the router’s (or AP’s) web configuration pages to get
the SSID and encryption details. Click Next.
Page 12

Step 3.11 Confirm your settings at the last window. If everything is correct,
click Apply and the configuration is completed.
Page 13

Section 4
Viewing Images
Method 1 --- Access from Web Browser
Step 4.1 If you know the IP address of your network camera, you may open the
Web Browser on your computer.
Step 4.2 Type the IP address of your camera (the default IP is 192.168.2.240)
in the Address bar, and then press [Enter].
Step 4.3 Enter “admin” for both the User name and Password, and click OK.
Page 14

Step 4.4 If it is the first time for your computer to access the Web based
viewing page, you may be prompted to install the software of ActiveX Control.
Click on the bar on top of the screen and click on Run Add-on or Install
ActiveX Control (depends on different IE versions).
Step 4.5 Click on Run, and then you may be able to view images.
Page 15

Step 4.6 To get a clear view of images, you can simply rotate the camera’s lens
clockwise or counter-clockwise to adjust the focus.
Page 16

Method 2 --- Access from SkyIPCam Utility
Step 4.7 Go to Start > (All) Programs > AirLink101 > AirLink101 SkyIPCam
UtraView, and open the Airlink101 SkyIPCam Utility.
Step 4.8 Select your camera from the list and click Link
Step 4.9 Follow Step 4.3 to Step 4.6 mentioned in Method 1.
Page 17

Section 5
Technical Support
E-mail: support@airlink101.com
Toll Free: 1-888-746-3238
*Theoretical maximum wireless signal rate based on IEEE standard 802.11g specifications. Actual
data throughput will vary. Network conditions and environmental factors, including volume of
network traffic, building materials and construction, mix of wireless products used, radio frequency
interference (e.g., cordless telephones and microwaves) as well as network overhead lower actual
data throughput rate. Specifications are subject to change without notice. All products and
trademarks are the property of their respective owners. Copyright ©2008 AirLink101®
Website: www.airlink101.com
 Loading...