

Page 1
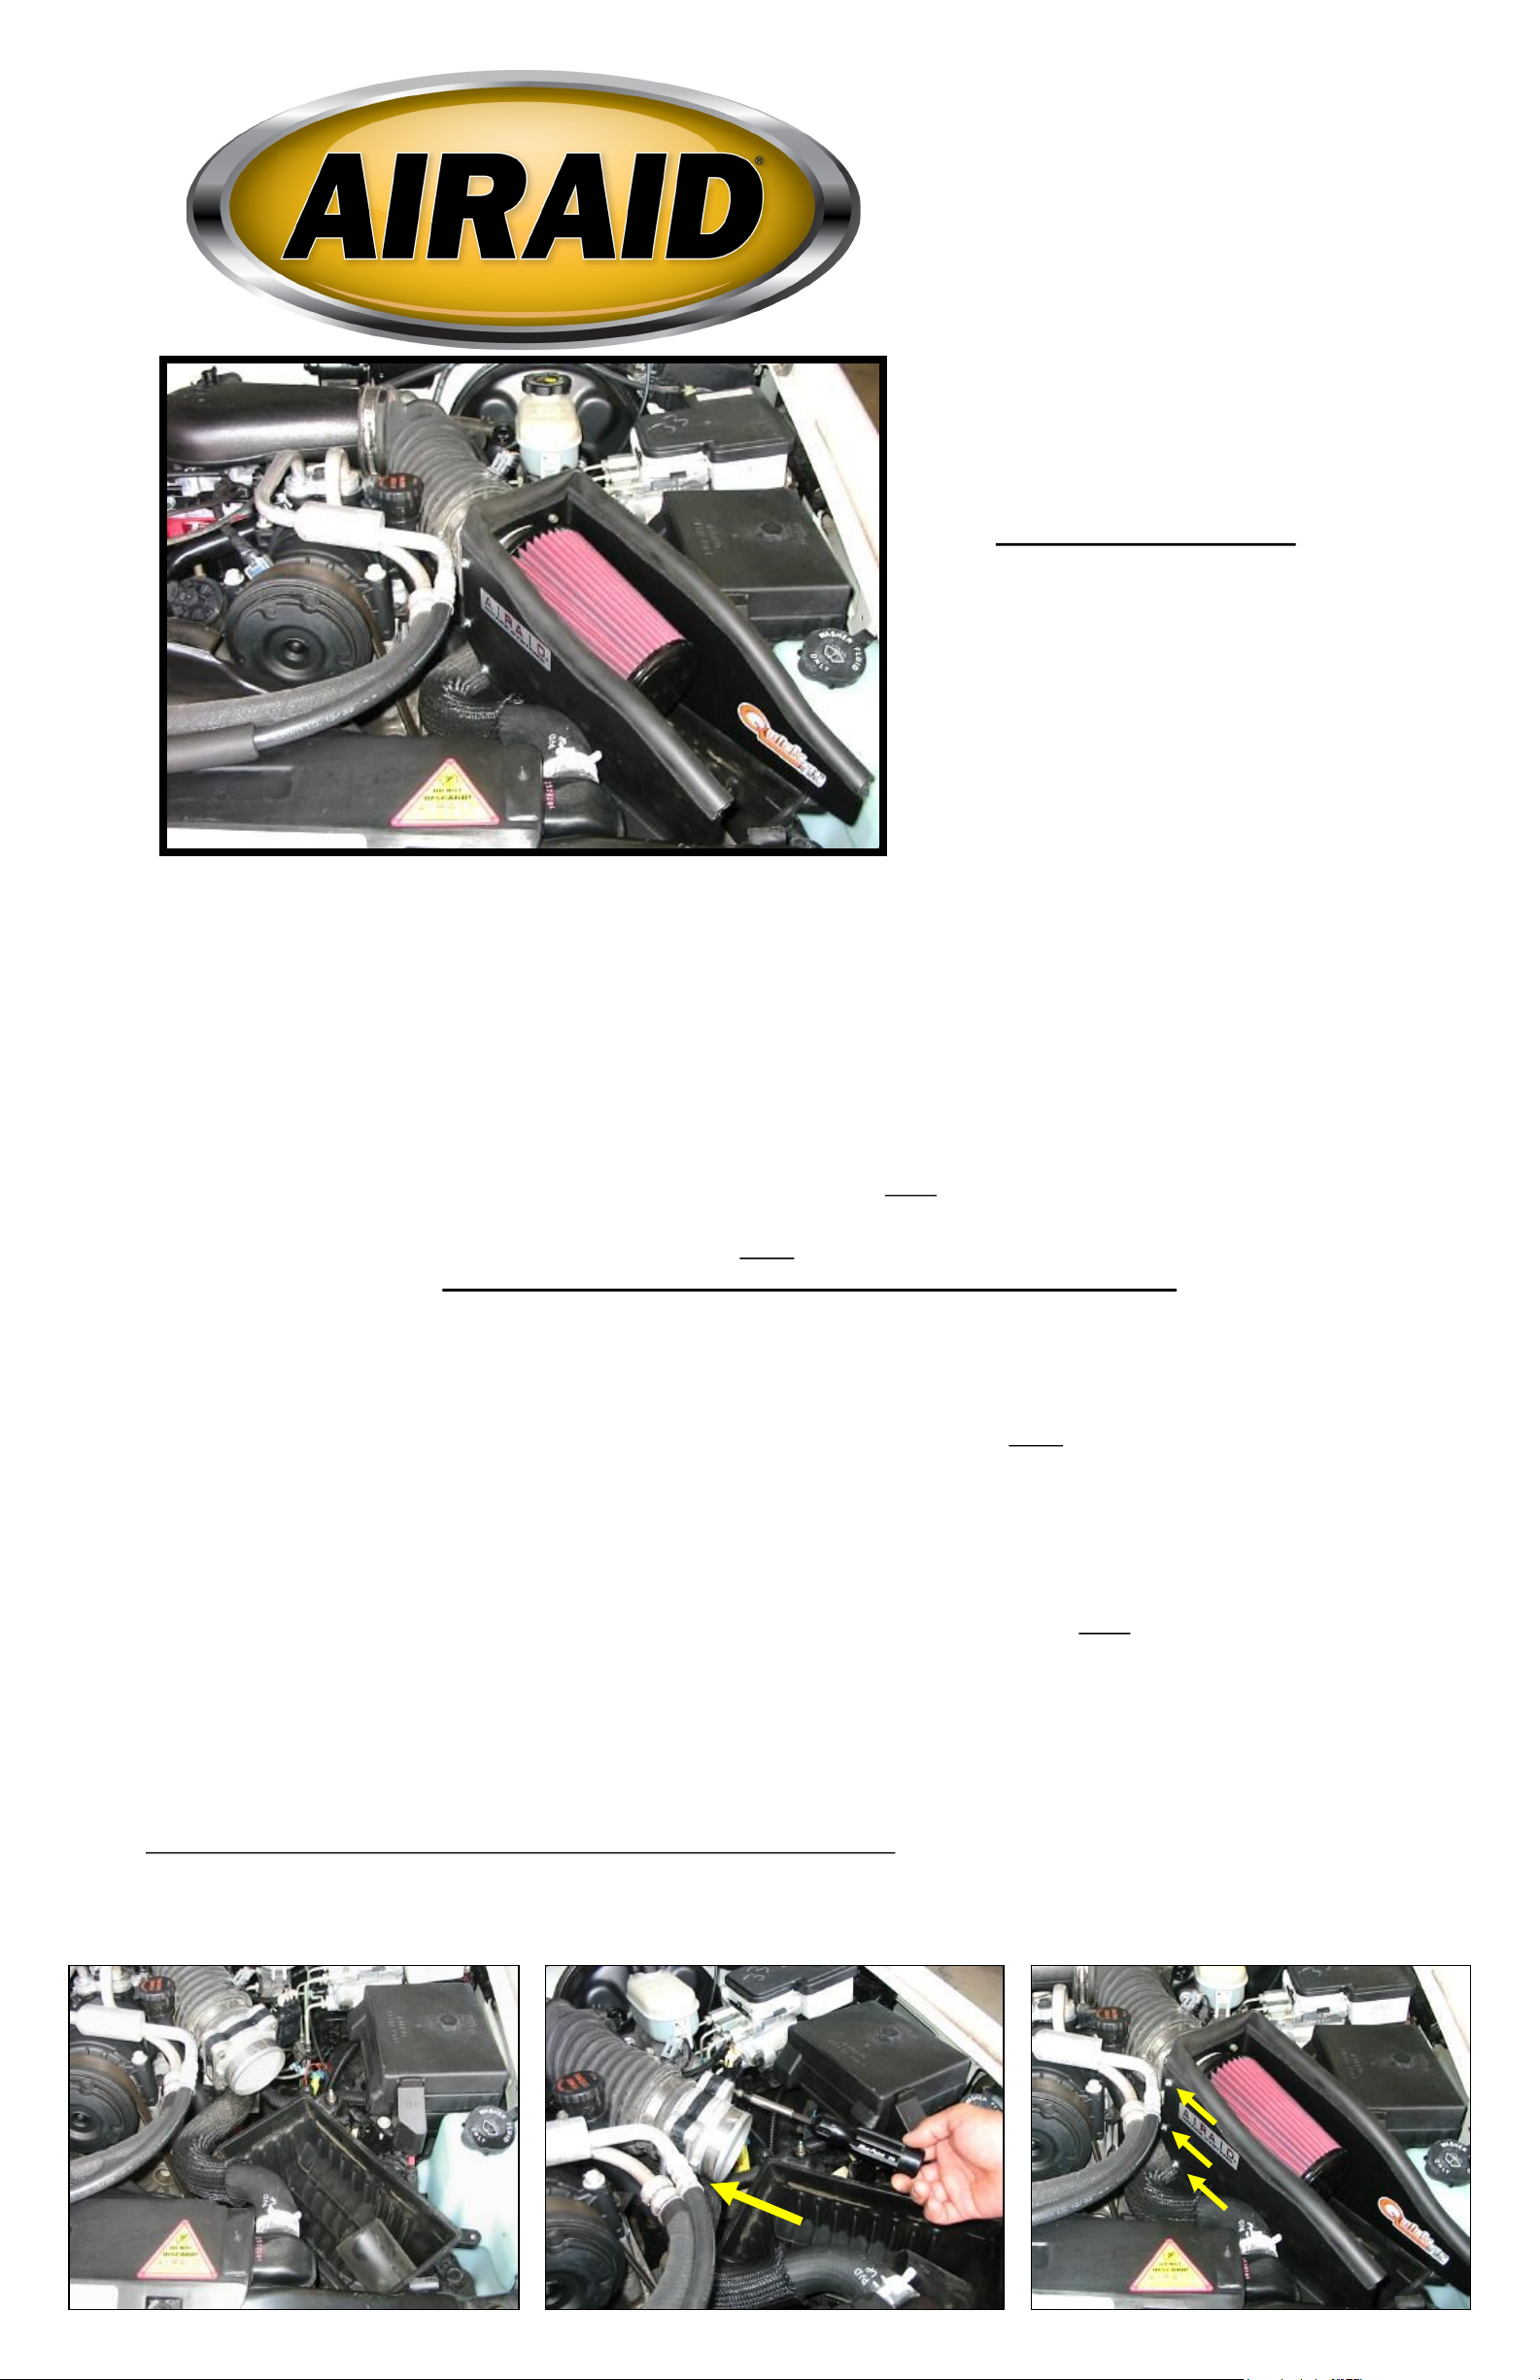
Installation Instructions
For Part Numbers:
200-133 700-433 Airaid Oiled Media Filter
201-133 701-433 SynthaMax Dry Media Filter - Red
202-133 702-433 SynthaMax Dry Media Filter - Black
203-133 703-433 SynthaMax Dry Media Filter - Blue
1996-05 Chevrolet S10 Blazer
1996-04 Chevrolet S10/GMC Sonoma
1996-01 GMC Jimmy
1991-01 Oldsmobile Bravada
4.3L V6
Component Identification
1. Airaid Premium Filter 1
2. Black MAF Panel 1
3. Black Side Panel 1
4. Weather Strip 32 ¾” 1
5. M6-1x25 Hex Bolt 4
6. ¼” Flat Washer 4
7. 6/32 Screw 3
8. 6/32 Keps Nut 3
9. #6 Flat Washer 3
Full color instructions can be viewed on our web site at Airaid.com. Use the Product Search function to find your part number, and click View Details.
1) DISCONNECT NEGATIVE (-) BATTERY CABLE.
2) Remove the Factory Air Filter Housing.
A) Unscrew & remove the four wing nuts from the air cleaner housing lid.
B) Loosen the r ubber clamp to the mass air flow meter and r emove air filter lid fr om vehicle. Do not r emove mass
air sensor. See Fig#1
C) Remove the factor y air filter from the air filter base. See Fig#1 (Note: Retain the air filter housing base. The Airaid
Quick Fit intake system will mount on top of the factory base.)
D) Using a T-25 torx bit screwdriver (star head), remove three of the four bolts from the factory mass air sensor. See Fig#2
Retain bolts for later use. (Important: The lower left bolt must remain in the mass air sensor)
3) Airaid Intake System Assembly & Installation
A) Assemble the Quick Fit panels with the three nuts and bolts supplied. Refer to Fig#3
B) Position the Quick Fit panel assembly on top of the factory air filter base. (Note: The factor y mass air sensor
slides into the cool air box.)
C) Mount the mass air sensor on the Quick Fit panel using the thr ee factory tor x bolts r emoved previously.
D) Using the supplied bolts and washer s, mount the Quick Fit panel on the factor y air filter base.
E) Install the Airaid pr emium filter on the end of the mass air sensor. Tighten hose clamp using a flat blade screw-
driver. Refer to Fig#3
F) Install the supplied weather striping onto top of Quick Fit panel. Refer to Fig#3 (Note: Weather stripping has been
pre cut for proper fit.)
4) Finishing Up
A) Check for any foreign objects or debr is in the intake path.
B) Check for proper hood clear ance.
C) Reconnect the negative batter y cable & double check your work.
Fig#1 Fig#2 Fig#3
Leave bottom left bolt in place
Page 2

WARNING! If your vehicle has a Vehicle Emission Control Infor mation decal affixed to the factor y airbox, a new r e-
placement label must be obtained and installed in a readily visible position in the engine compartment in order to remain
CARB compliant. Failure to do so will prevent the vehicle from passing a smog check. Replacement labels can be ordered
from your local dealership. Regulations state that the VECI label shall not be affixed to any equipment which is easily detached from the vehicle. Label placement, under the hood on a painted surface is recommended.
Thank you for purchasing the Airaid Intake System. Contact Airaid @ (800) 498-6951 8:00 AM - 5:00 PM MST weekdays for questions regarding fit or instructions that are not clear to you. Your Airaid Intake System was carefully inspected and
packaged. Check that no parts are missing, or were damaged during shipping. If any parts are missing, contact Airaid. The air
filter element is protected from direct exposure to water and debris; care should be taken not to drive through deep water. WATER INGESTION IS THE DRIVERS RESPONSIBILITY! The air filter is reusable and should be cleaned periodically.
FILTER IDENTIFICATION
700-433 Airaid Oiled Media 701-433 Airaid SynthaMax Dry Media - Red
702-433 Airaid SynthaMax Dry Media - Black 703-433 Airaid SynthaMax Dry Media - Blue
For your Oiled media filter
we suggest using the AIRAID
Filter Tune-Up Kit!
Synthamax Air Filters do not require
oil. Service air filter as needed by
cleaning with common nonpetroleum all-purpose household
cleaner and water. Simple Green®,
Formula 409® or equivalent works
great. Apply cleaner to outside of air
filter and allow to soak. Then flush
filter clean from the inside out with a
garden hose and repeat steps if necessary. Do not apply high pressure
water or air to clean filter. Allow filter to air dry and reinstall.
P/N 790-551 Aerosol Spray
P/N 790-550 Squeeze Spray
Airaid Filter Co. 2688 E Rose Garden Ln. Phoenix AZ 85050 (800) 498-6951 AiraidInfo@airaid.com www.airaid.com
REV.11.12.13
 Loading...