

Page 1
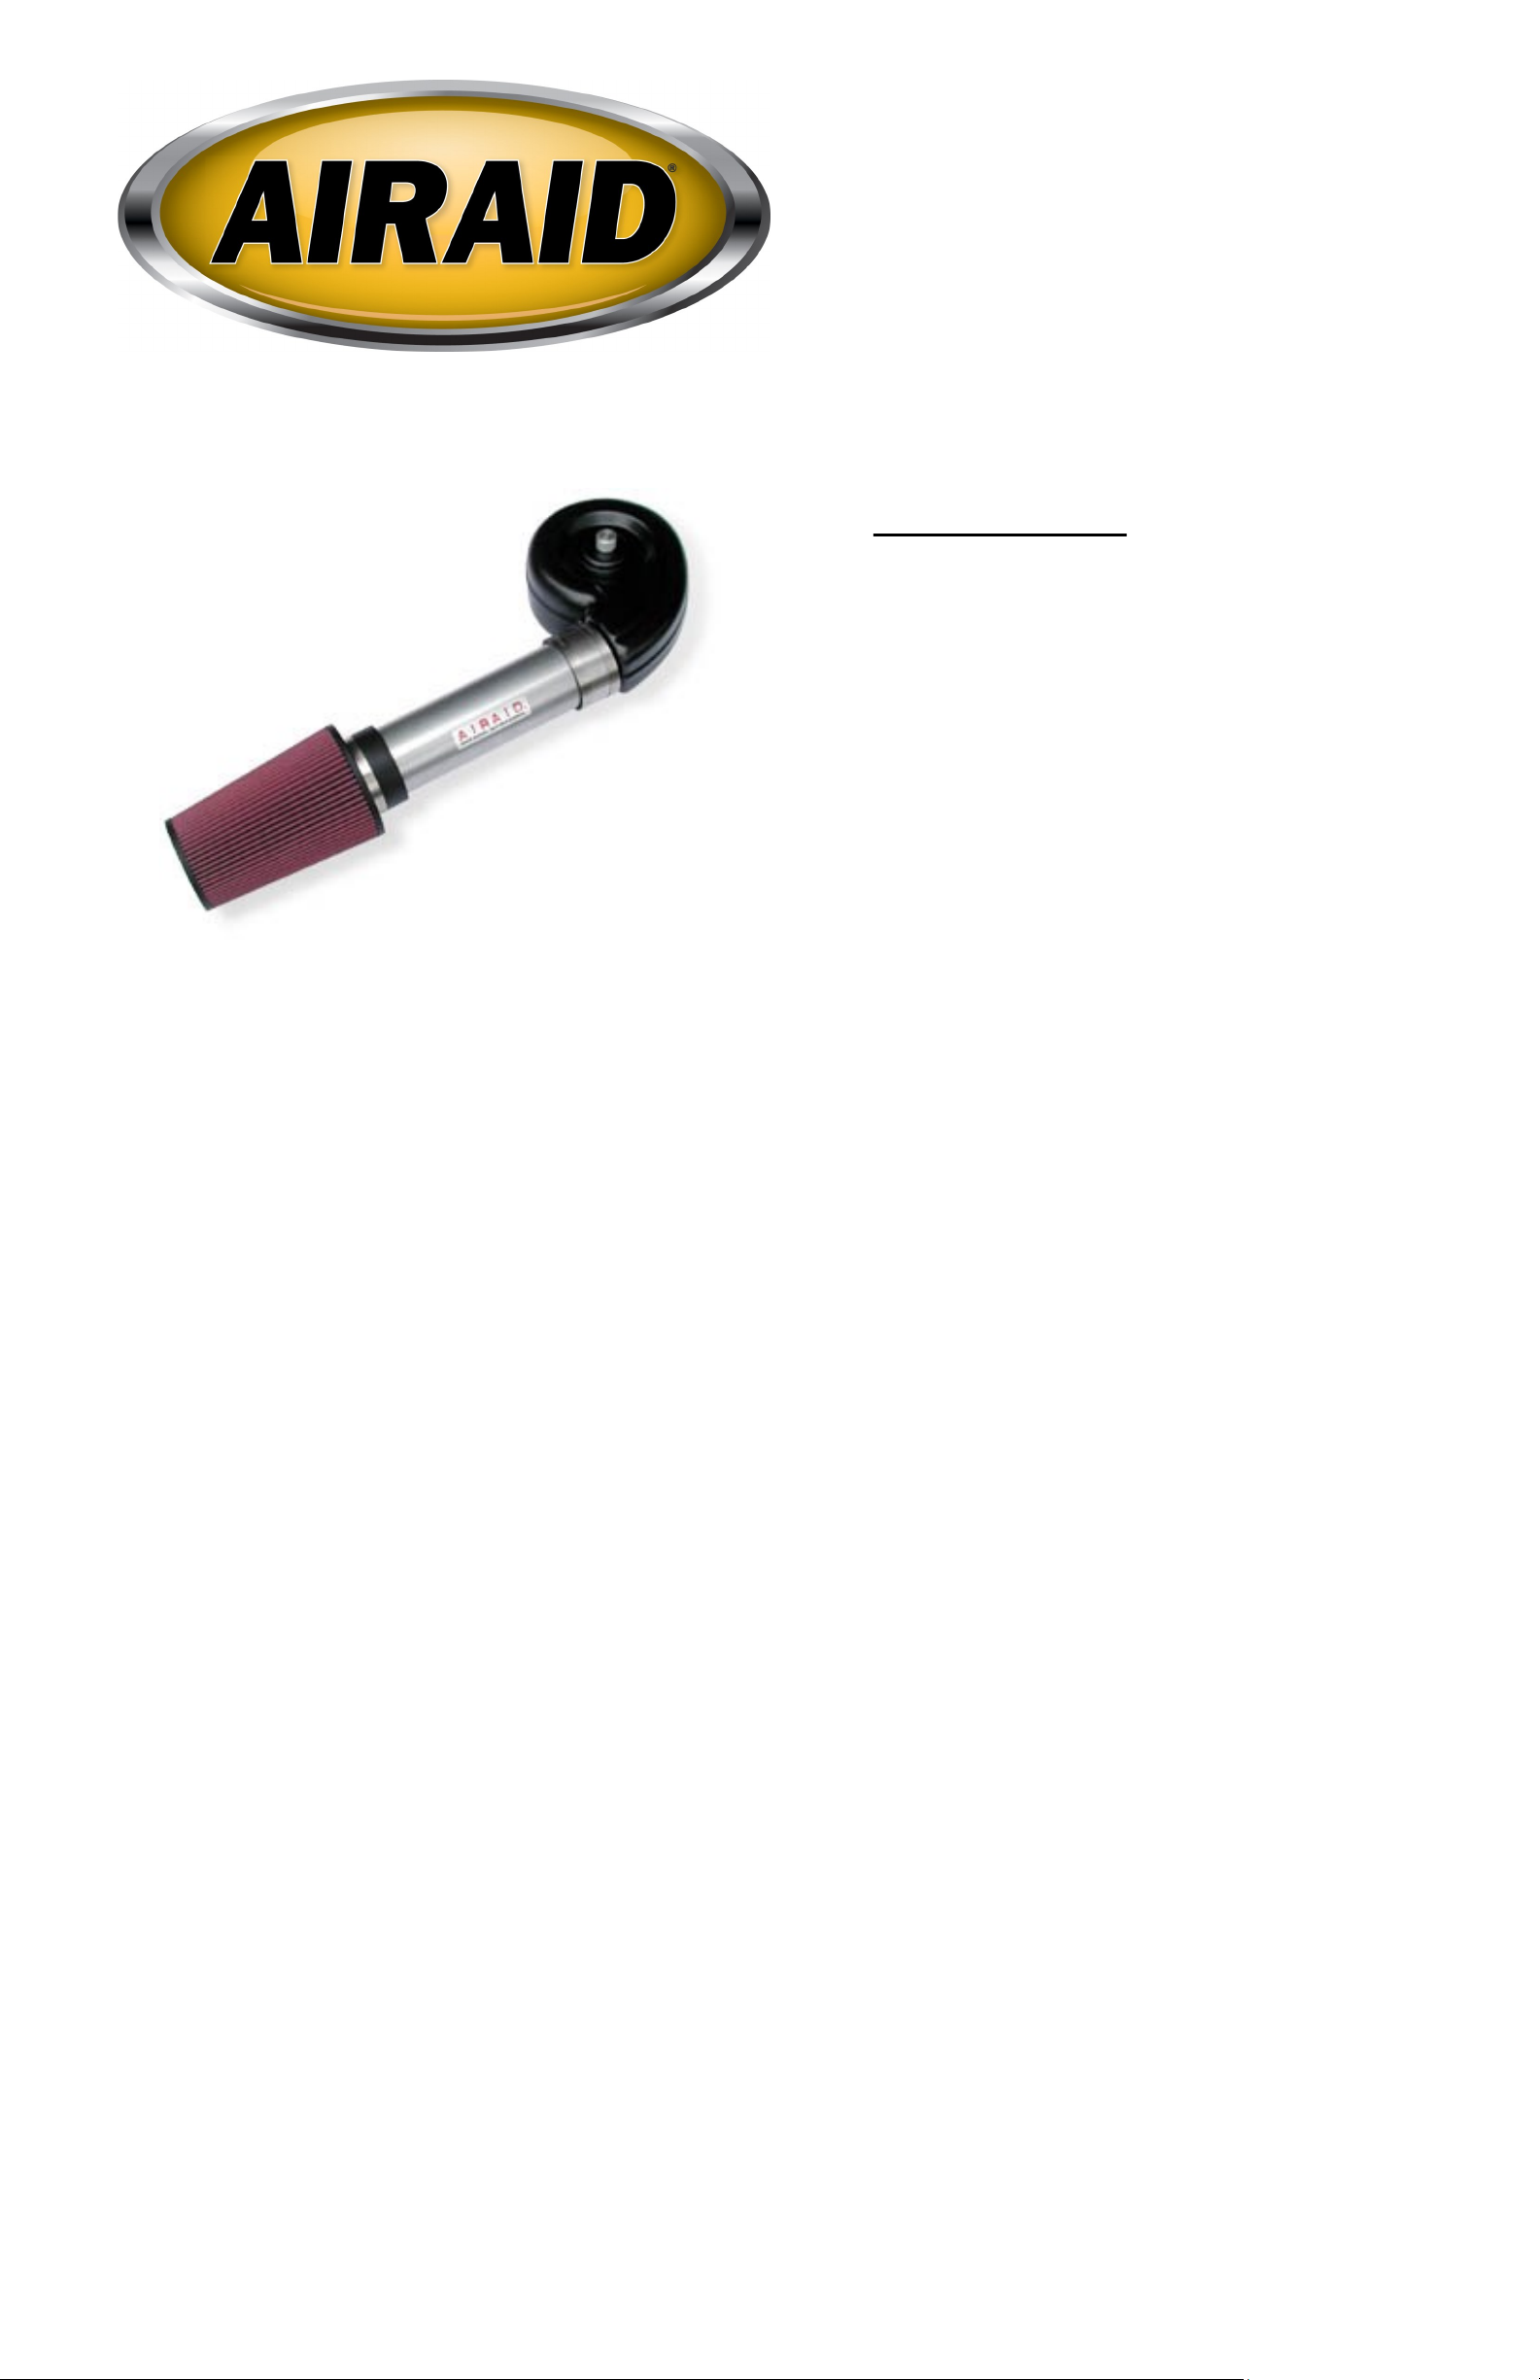
Installation Instructions
For Part Numbers:
200-104 700-420 Airaid Oiled Media Filter
201-104 701-420 SynthaMax Dry Media Filter - Red
202-104 702-420 SynthaMax Dry Media Filter - Black
203-104 703-420 SynthaMax Dry Media Filter - Blue
1988-95 Chevrolet Blazer/Tahoe
1988-95 Chevrolet C/K/R/V Pickup 10/ 20/ 30
1988-95 Chevrolet C/K/R/V Suburban 10/ 20
1988-95 GMC Jimmy/Yukon
1988-95 GMC C/K/R/V Pickup 1500/ 2500/ 3500
1988-95 GMC C/K/R/V Suburban 1500/ 2500
4.3L V6, 5.0L V8, 5.7L V8
Component Identification
1. Airaid Premium Filter 1
2. Plastic “Hat” 1
3. 13” x 3..5” Tube 1
4. 3.5” x 3.5” Coupler 1
5. 5.25” Gasket 1
6. Black Speed Clamp 2
7. Bent Black Stud 1
8. Aluminum Polished Nut 1
9. Silver Bracket 1
10. 90° Plastic Elbow 1
11. ½” x 4” Hose 1
12. Rubber Grommet 1
13. Serrated 5/16-18 Nut 1
14. M6-1 Hex Nut 1
15. 5/16-18 x ¾ Hex Bolt 1
Full color instructions can be viewed on our web site at Airaid.com. Use the Product Search function to find your part number, and click View Details.
I DISCONNECT NEGATIVE (-) BATTERY CABLE
II Remove Factory Intake Assembly
A. Loosen the wing on the top of the factory air intake assembly and r emove assembly fr om vehicle.
B. Remove and discar d the 1” cr ankcase breat her ring. See Fig#1 (save valve cover breather tube for later use)
C. Use a 13mm socket and wrench to r emove the strap that secur es the silencer tube on the passenger side fender housing. See Fig#2
D. Remove entir e factory air cleaner assembly fr om vehicle.
III 1987-1992 : Install the AIRAID Throttle Body Stud and Airaid Hat
A. Replace the “S” shaped thr eaded stud into the top of the thrott le body. (Note: also scr ew the 6mm ser r ated nut onto the stud .) See Fig#3
IV 1993-1995: Install the AIRAID Throttle Body Stud and Airaid Hat
A. Remove the two air cleaner hold down studs with a 5/16” wr ench. See Fig# 4. Take care not to loosen throttle body.
B. Screw the “S” shaped ¼”x20 thr eaded stud into the top of the throttle body. (Note: The factory threaded hole is ¼”x20 thr ead, located in front of the
injectors and between the throttle bores.) See Fig#3
C. Also screw the 6mm serrated nut onto the stud. See Fig#3
V Mount the AIRAID Intake System Brace
A. Locate the dipstick tube mounting br acket on the passenger side cylinder head. Using a 3/8” socket, remove the bolt and save for later use.
B. Carefully pull the dipstick away fr om the cylinder hea d and position t he silver Air aid mounting br acket between the cylinder head and the dipstick
bracket. See Fig#5
C. Reinstall bolt and tighten loosely so that adjustments may be made later .
VI Assemble and Install the AIRAID Intake System (Refer to Fig#6 & Fig#7)
A. Check for and r emove and foreign debr is in the intake tube and filter.
B. Insert rubber gr ommet into the hole in the rear of the Air aid hat.
C. Insert the b lack plastic elbow into the grommet hole in the r ear of the Airaid hat.
D. Place the supplied gasket around t he top per imet er of the thr ottle body.
E. Position the Air aid hat over the thr ottle body and guide over the Airaid stud.
F. Tighten the Airaid hat loosely with the billet nut pr ovided.
G. Insert ½”x 4” hose over plastic elbow and connect to valve cover br eather tube, secure using the two black clamps provided.
H. Slide the stainless steel clamp with rubber insert over the opening of the Airaid hat.
I. Inser t the silver Air aid tube into the stainless steel coupler , connecting the tube to the hat.
J. Align the tab on the tube with the end of the br acket attached to t he dipstick br acket and fasten with t he hardware pr ovided.
VI Finishing Up
A. Tighten all clamps, br ackets, nuts & bolts.
B. Inspect overall wor k and check hood clear ance.
C. Re-connect negative battery cable.
Page 2

FIG#1
FIG#2 FIG#3 FIG#4
FIG#5 FIG#6 FIG#7
WARNING! If your vehicle has a Vehicle Emission Cont rol Infor mation decal affixed to the factory air box, a new r eplacement label must be obt ained and inst alled
in a readily visible position in the engine compartment in order to remain CARB compliant. Failure to do so will prevent the vehicle from passing a smog check. Replacement
labels can be ordered from your local dealership. Regulations state that the VECI label shall not be affixed to any equipment which is easily detached from the vehicle. Label
placement, under the hood on a painted surface is recommended.
Thank you for purchasing the Airaid Intake System. Contact Airaid @ (800) 498-6951 8:00 AM - 5:00 PM MST weekdays for questions
regarding fit or instructions that are not clear to you. Your Airaid Intake System was carefully inspected and packaged. Check that no parts are
missing, or were damaged during shipping. If any parts are missing, contact Airaid. The air filter element is protected from direct exposure to water and debris; care should be taken not to drive through deep water. WATER INGESTION IS THE DRIVERS RESPONSIBILITY! The air filter
is reusable and should be cleaned periodically.
FILTER IDENTIFICATION
700-420 Airaid Oiled Media 701-420 Airaid SynthaMax Dry Media - Red
702-420 Airaid SynthaMax Dry Media - Black 703-420 Airaid SynthaMax Dry Media - Blue
For your Oiled media filter we
suggest using the AIRAID Filter
Tune-Up Kit!
P/N 790-551 Aerosol Spray
P/N 790-550 Squeeze Spray
Airaid Filter Co. 2688 E Rose Garden Ln. Phoenix AZ 85050 (800) 498-6951 AiraidInfo@airaid.com www.airaid.com
Synthamax Air Filters do not require oil.
Service air filter as needed by cleaning
with common non-petroleum all-purpose
household cleaner and water. Simple
Green®, Formula 409® or equivalent
works great. Apply cleaner to outside of
air filter and allow to soak. Then flush
filter clean from the inside out with a garden hose and repeat steps if necessary.
Do not apply high pressure water or air
to clean filter. Allow filter to air dry and
reinstall.
REV.11.8.13
 Loading...