

AIMS Power PV60CASE, PV130CASE User manual
PORTABLE FOLDABLE SOLAR PANEL INSTRUCTIONS
PV60CASE & PV130CASE
Product Inspection
1. Confirm there is no visible damage to the product.
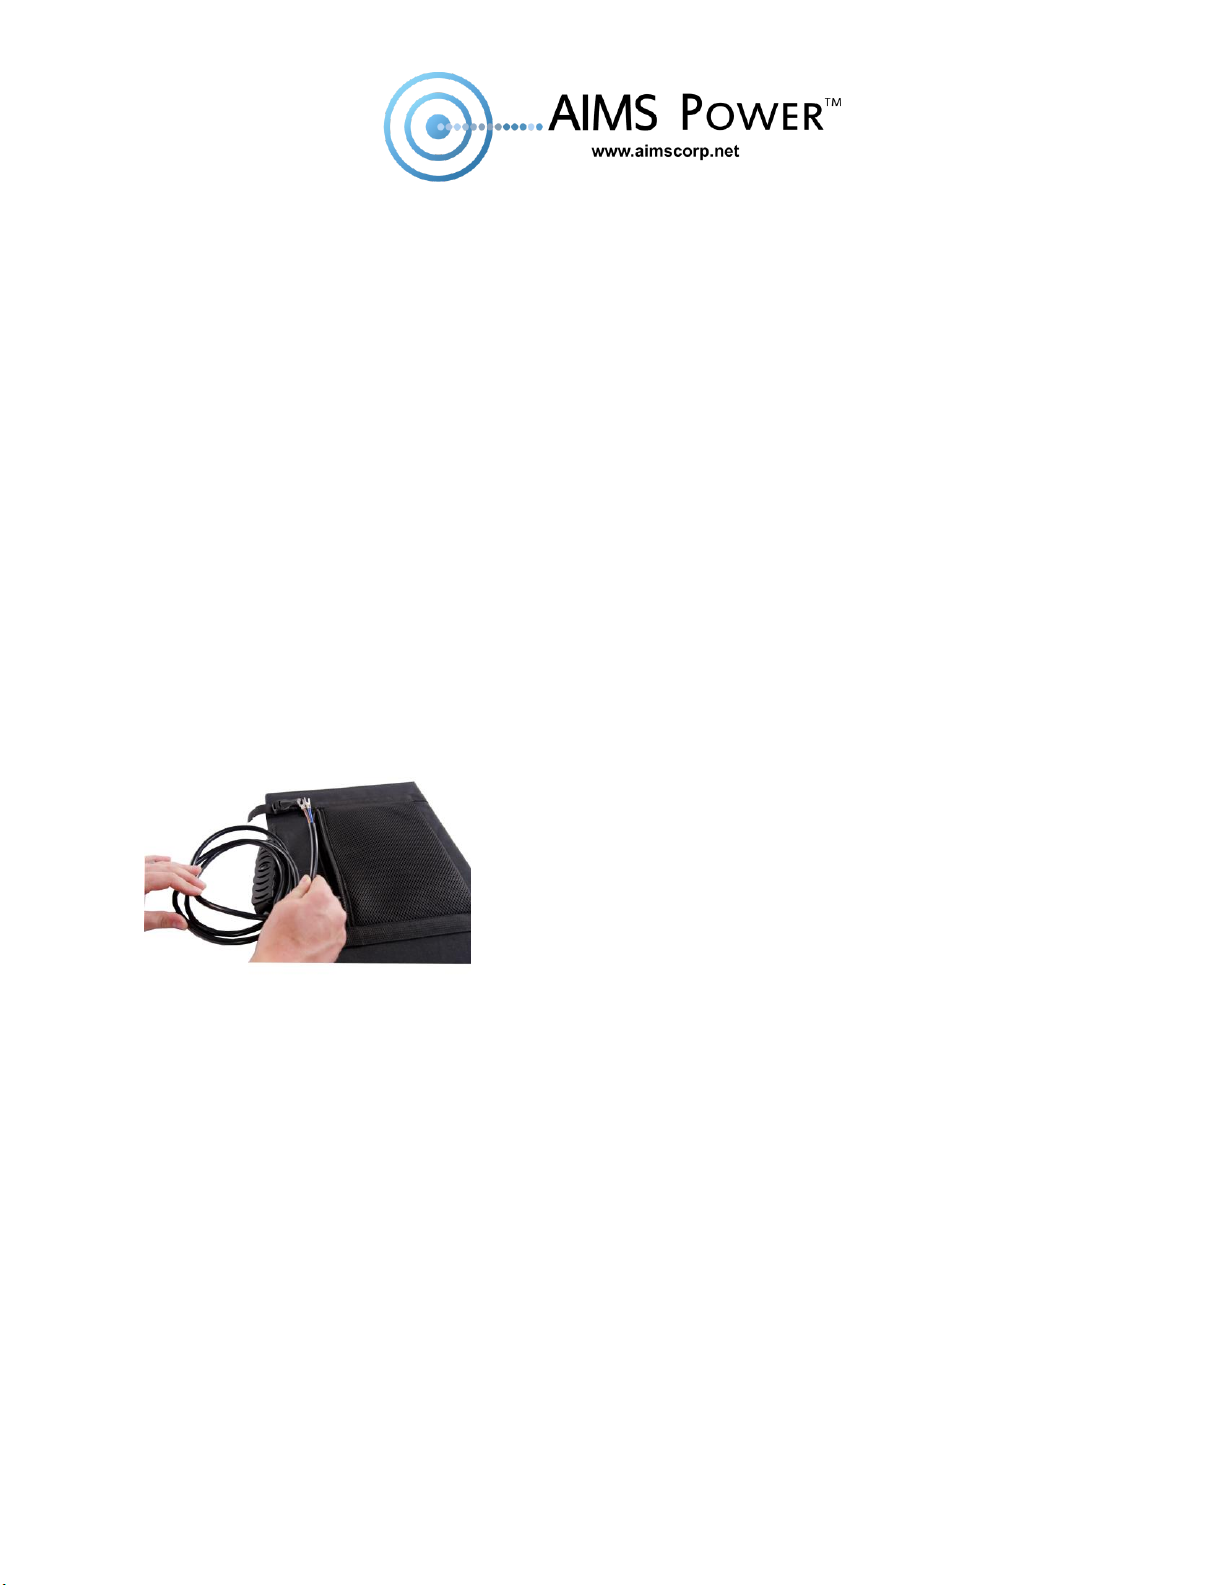
2. Contents include panel and pre-wired charge controller cables.
Installation
1. The panel includes a prewired positive and negative cable that connects to a solar charge controller
providing a charge to an external battery.
Brown wire = positive (+)
Blue wire = negative (-)
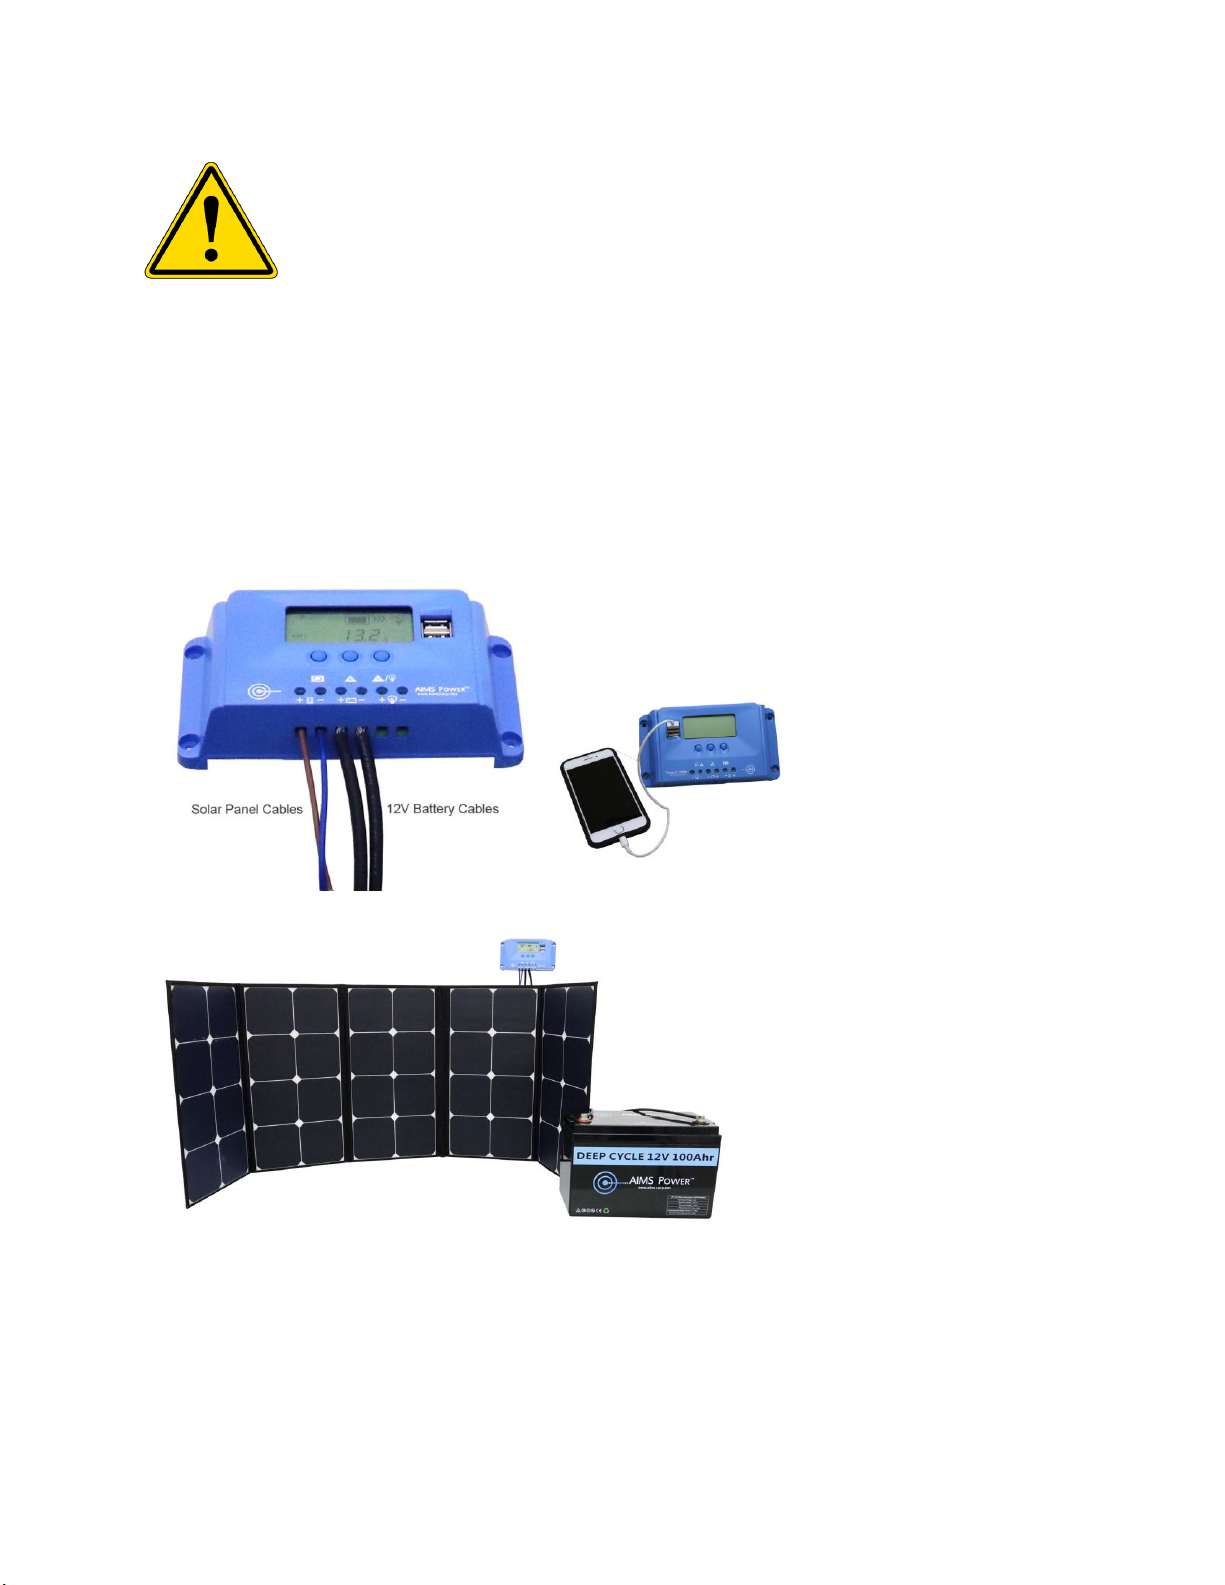
2. The wires connect to a charge controller via the spade lug on the end. Some charge controllers may
connect via bare wire. If this is the case, simply cut off the spade lugs and slide bare wire into the
controller.
3. Ensure the cables are connected securely. Do NOT reverse the polarity. This will damage the panel and
void the warranty.
4. Position the solar panel so the panel is receiving optimal sunlight.
5. Connecting the solar panel to charge controller:
-Make sure the charge controller is connected to the battery FIRST, then connect the panel to the charge
controller.
6. Disconnecting the solar panel to charge controller:
-Make sure to disconnect the solar panel FIRST, then disconnect solar charge controller from battery.
CAUTION
Make certain that the brown and blue solar panel cables never touch/cross. The solar panel provides
electricity as soon as the panel receives sunlight. The wires are hot and can cause a short, which will
damage the panel. Do NOT reverse the polarity! This will damage the charge controller and the panel. This
will void the warranty.
Example of the portable, foldable solar panel connected to a charge controller and battery:
AIMS Power Corporation 9550 Gateway Drive Reno, NV 89521 T: 775-359-6703 Email: Sales@aimscorp.net
 Loading...