

Aik RA7001 User Manual

User’s Manual
EN
Welcome
Thank you very much for purchasing this product. Before you start, you are
recommended to read this manual step by step to obtain the best results with your
new Pico projector. We wish you enjoy it.
About the product
This is the latest generation of Pico projector with DLP technology inside. Known for
great cinema projectors, the DLP technology provides rich colors and enhances the
contrast of the image. Integrated with WLAN, the Pico projector provides cable-free
connection from your notebook, tablet, or smartphone to the Pico projector by
streaming pictures, videos, websites, and documents wirelessly and projecting the
images up to 120’’ (300 cm) in size. With its powerful wireless functionality, and
versatile connection options including HDMI, MHL, Audio -Out, and USB, this Pico
projector is the best solution for mobile use in business and entertainment.
Safety Notice
1. Keep the device and packaging materials out of the reach of infants and children.
2. Avoid subjecting the power adapter and other contacts to dripping or splashing
water and dry your hands before you use it. Do not place objects filled with liquids
such as vases, etc. on or near the device.
3. Make sure that the used power outlet is always readily available and never hidden.
In case of emergency, use the power adapter to separate the device from the power
network.
4. Keep your device away from all flames such as candles and do not set them up in
the vicinity of the device.
5. Keep the unit at least 10 cm away from other objects. Make sure the ventilation is
not covered by newspapers, tablecloths, curtains, etc.
6. For your own safety, do not use the projector during thunderstorms or lightning.
7. Relative Humidity is 20% ~ 80%, non-condensing.
8. The battery is integrated with the device. Do not dissemble and modify. The battery
should be replaced by an authorized service center only.
9. Ensure that the ambient room temperature is within 5 ~ 35°C.
10. W ait before using if the device has been moved from a cold location into a warm one.
Any condensation that has formed may in certain circumstances destroy the device.
As soon as the device has reached room temperature it can be used without risk.
11. Handle the product with care. Avoid contact with sharp objects. Keep device away
from metallic objects.
12. Place the projector on a flat surface. Any collision or falling to the ground is likely to
damage the product.
Page 1
User’s Manual
EN
Avoid Hearing Damage:
Listening at high volume for a
long period of time could cause
damage to your ears.
13. Do not drop or disassemble the product otherwise the warranty voids. Opening or
removing covers may expose you to dangerous voltage or other hazards. Refer all
servicing to an authorized service center.
14. Use only the accessories supplied by the manufacturer.
15. Both product and user’s manual are subject to further improvement or supplement
without further notice.
Care and Safety Information for Pico Projectors
1. Avoid facing directly into the projector’s lens.
2. During the operation, this product may heat
lightly, which is normal.
3. The device should not be used in a very
dusty environment. Dust particles and other
foreign objects may damage the unit.
4. Do not expose the device to extreme
vibrations. It may damage the internal
components.
5. Use the enclosed power adapter (see technical data):
Check whether the mains voltage of the power supply matches the mains voltage
available at the setup location. This equipment complies with the voltage type
specified on the unit.
Notice for Long-time Projection
The built-in battery supports approximately 120 mins of projection. For long time
projection, you are recommended to use AC adapter.
When the battery is too weak to stay in operation, the low battery capacity icon ( )
will flash. You need to charge the product while the icon showed.
It’s normal that the projector will feel warm with continuous use due to its high
performance. If the projector runs for a long time and over-heated, the
High-Temperature icon ( ) will appear on the screen. The system will automatically
enter the standby mode.
Page 2
User’s Manual
EN
If the time arises to throw away your
product, please recycle all the components
possible. Batteries and rechargeable
batteries are not to be disposed in your
domestic waste! Please recycle them at
your local recycling point.
Together we can help to protect the
environment.
FCC Compliance Statement:
This device complies with Part 15 of the FCC Rules. Operation is
subjected to the following two conditions: (1) this device may not cause
harmful interference, and (2) this device must accept any interference
received, including interference that may cause undesired operation.
This equipment has been tested and found to comply with limits for a Class B digital device,
pursuant to Part 15 of the FCC rules. These limits are designed to provide reasonable protection
against harmful interference in residential installations. This equipment generates, uses, and
can radiate radio frequency energy, and if not installed and used in accordance with the
instructions, may cause harmful interference to radio communications.
However, there is no guarantee that interference will not occur in a particular installation. If this
equipment does cause interference to radio or television equipment reception, which can be
determined by turning the equipment off and on, the user is encouraged to try to correct the
interference by one or more of the following measures:
-
Reorient or relocate the receiving antenna.
-
Increase the separation between the equipment and receiver.
-
Connect the equipment into an outlet on a circuit different from that to which the receiver is
connected.
-
Consult the dealer or an experienced radio/TV technician for help.
For product available in the USA/Canada market, only channel 1~11 can be operated. Selection
of other channels is not possible.
This device and it's antennas(s) must not be co-located or operating in conjunction with any
other antenna or transmitter except in accordance with FCC multi-transmitter product
procedures.
FCC Radiation Exposure Statement:
This equipment complies with FCC radiation exposure limits set forth for an uncontrolled
environment. This equipment should be installed and operated with minimum distance 20cm
between the radiator & your body.
All cables used to connect peripherals must be shielded and grounded. Operation with cables
connected to peripherals that are not shielded and grounded may result in interference to radio
and television reception.
You are cautioned that any change or modifications to the equipment not expressly approved by
the party responsible for compliance could void your authority to operate such equipment.
Page 3
User’s Manual
EN
About the Product, Safety Notice
1
Package Content
5
Knowing Your LED Projector
6
Getting Started
7
Charging the product
7
LED Indicators
7
Power On / Off the Projector
7
Adjusting the Focus according to distance
8
Adjusting the brightness of your projector
8
Projecting from External Video Input Source
9
HDMI Input
9
Projecting from Smartphones or Tablets
9
Displaying the image on an external LCD monitor
10
HDMI Output
10
Charging the external mobile devices
10
Overview of the Main Screen
11
Install the wireless application software on your
computer
12
Peer-to-Peer wireless projection from computer
14
Install the wireless application software on Apple or
Android devices
18
Installing EZCast for Android device
18
Installing EZCast for Apple devices
19
Content
Page 4

User’s Manual
EN
Peer-to-Peer wireless projection from Apple or
Android devices
20
Adding Content to EZCast using iTunes® (For
Apple Device)
22
Sketch the image from EZCast
23
Wireless mirror projection with your Miracast
enabled devices.
24
DLNA feature for EZCast App
25
Connect the projector to available Wi-Fi network
(Home Network Mode) for Internet access
26
Trouble Shooting
28
Support Input Timings
28
Specifications
29
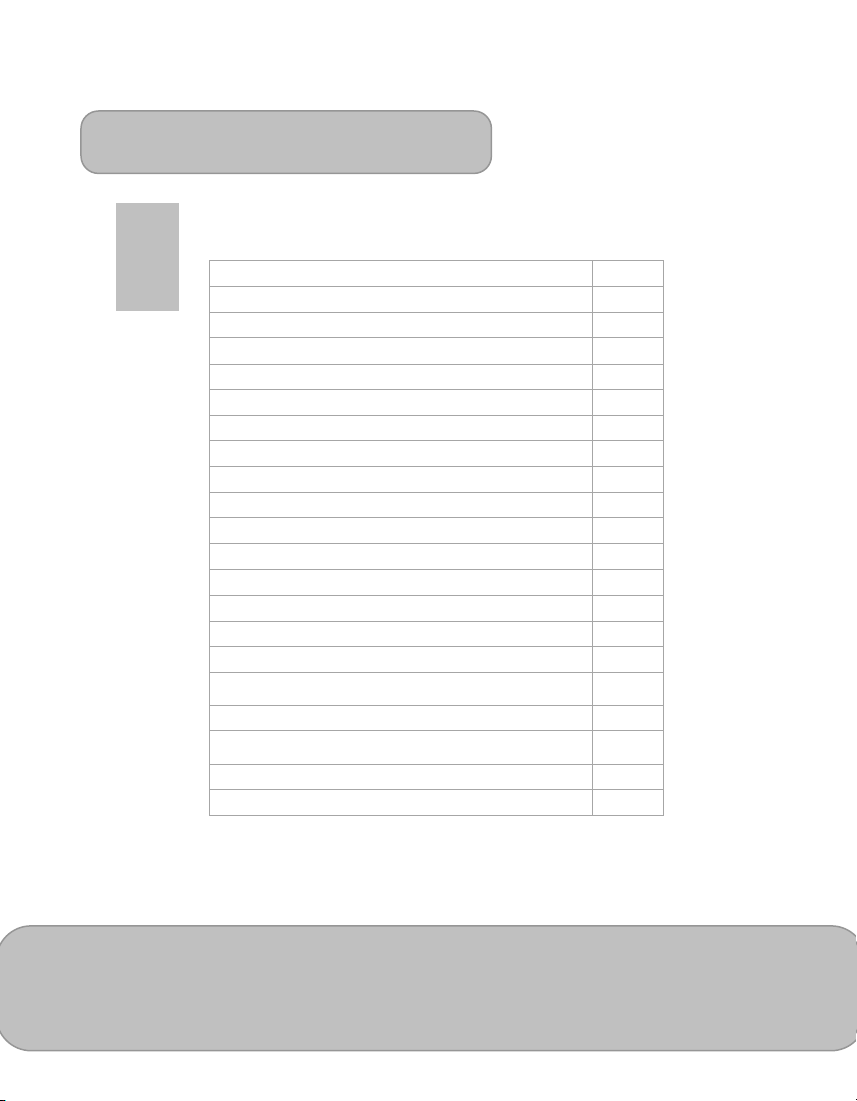
Package Content
Please check if the following items are located in your packaging:
Pico Projector
Power Adapter
Exchangeable Power Plug
MHL Cable (HDMI Type A to USB Type D)
HDMI Cable
Carry Bag
User’s Manual
Page 5
User’s Manual
EN
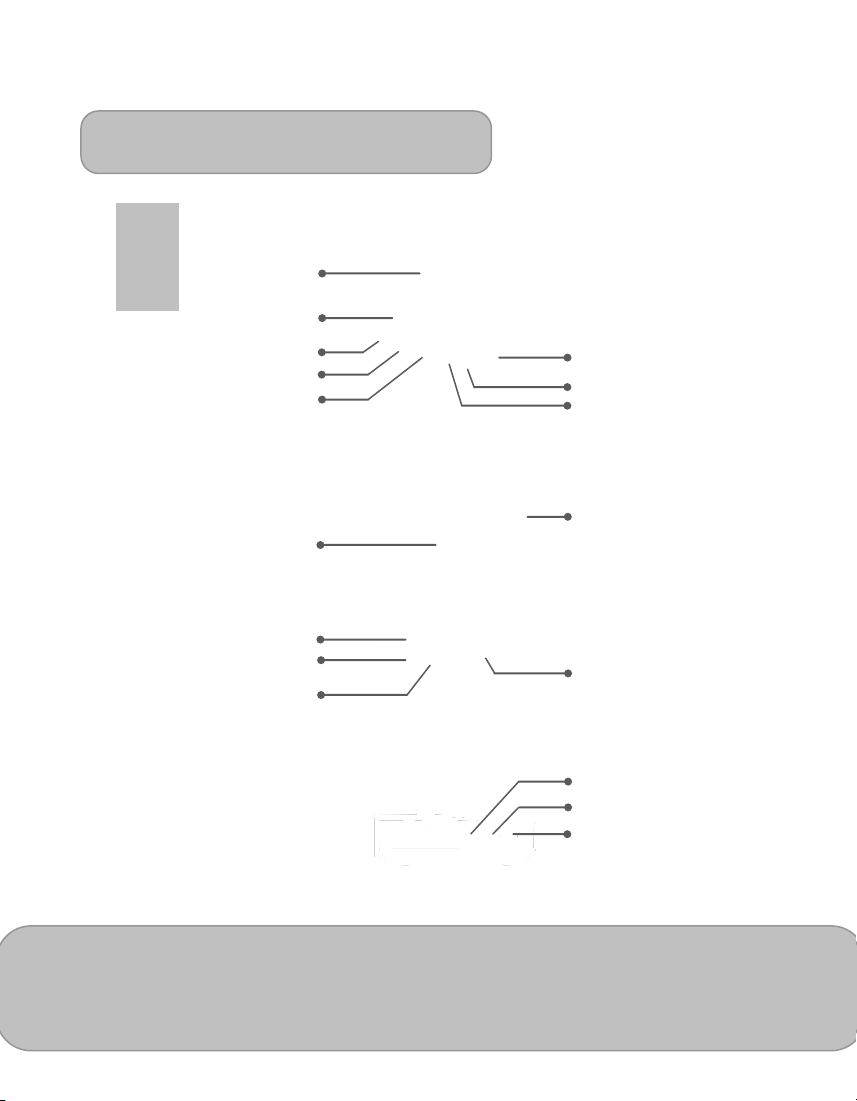
Brightness Adjustment
Volume Up
Volume Down
Projection Lens
Ventilation holes
LED Indicator
HDMI / MHL Input
Connector
HDMI Output
Connector
Power
USB Connector
DC IN
Reset Hole
Audio Output Jack
Focus Ring
Speaker
Tripod Socket
Fan
Knowing your LED Projector
Page 6
User’s Manual
EN
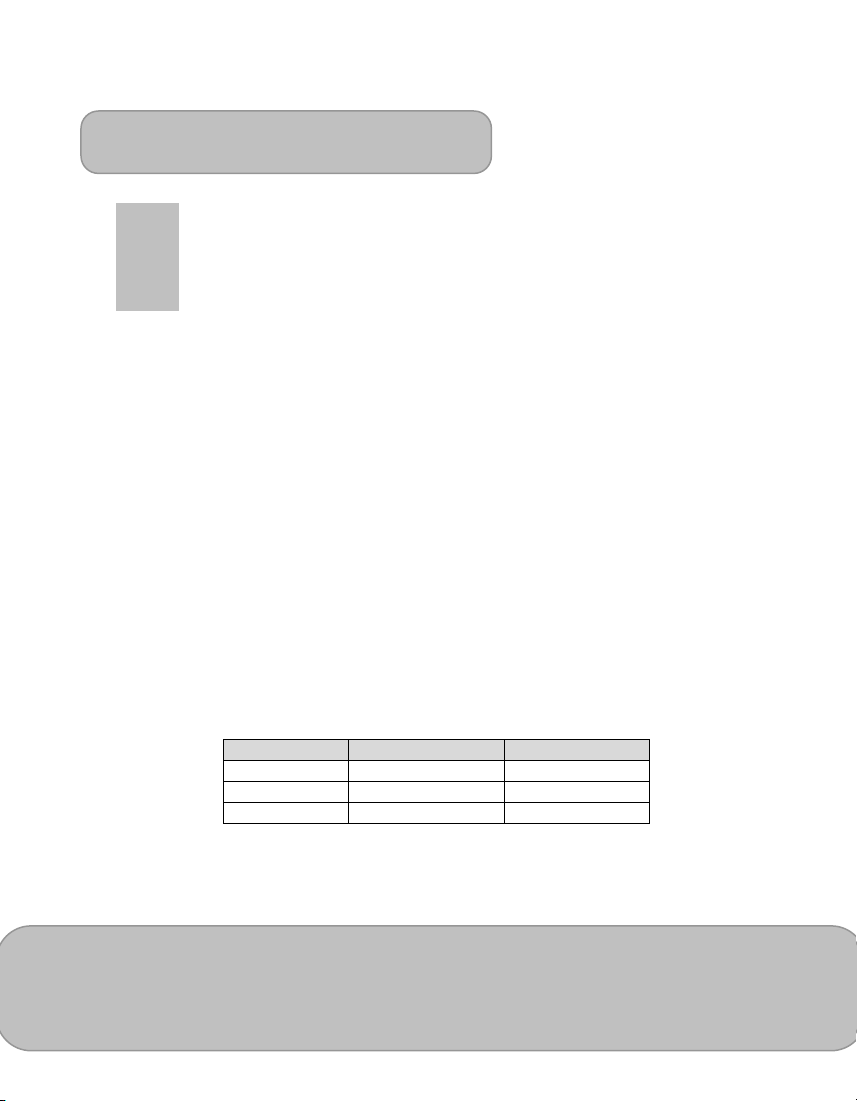
LED Status
Indication
3 blue LEDs stay on
Power capacity is between 80% to 100%
2 blue LEDs stay on
Power capacity is between 45% to 80%
1 blue LED stays on
Power capacity is between 10% to 45%
1 blue LED blinks
Power capacity is below 10%
LED Marquee
Projector is being charged
3 blue LEDs blink
Charging the external mobile device
Getting Started
Charging the product
The projector is built in a Li-Polymer battery
for mobile use. Please charge the projector
for 8 hours prior to its first use. Repeat
charging will take around 4 hours.
The battery will be charged only when the projector is not in use (Power off). Connect
one end of the supplied power adapter to DC IN jack and the other end to a power
outlet to start charging.
Exchange the plug (EU, US and etc.) of AC adapter that accommodates the type of
power outlet in your country if it’s different.
Charging LED Indicator
During charging, the LED indicator lights will flash as marquee. When the battery is
fully charged, the LED indicator lights turns to solid blue.
LED indicators
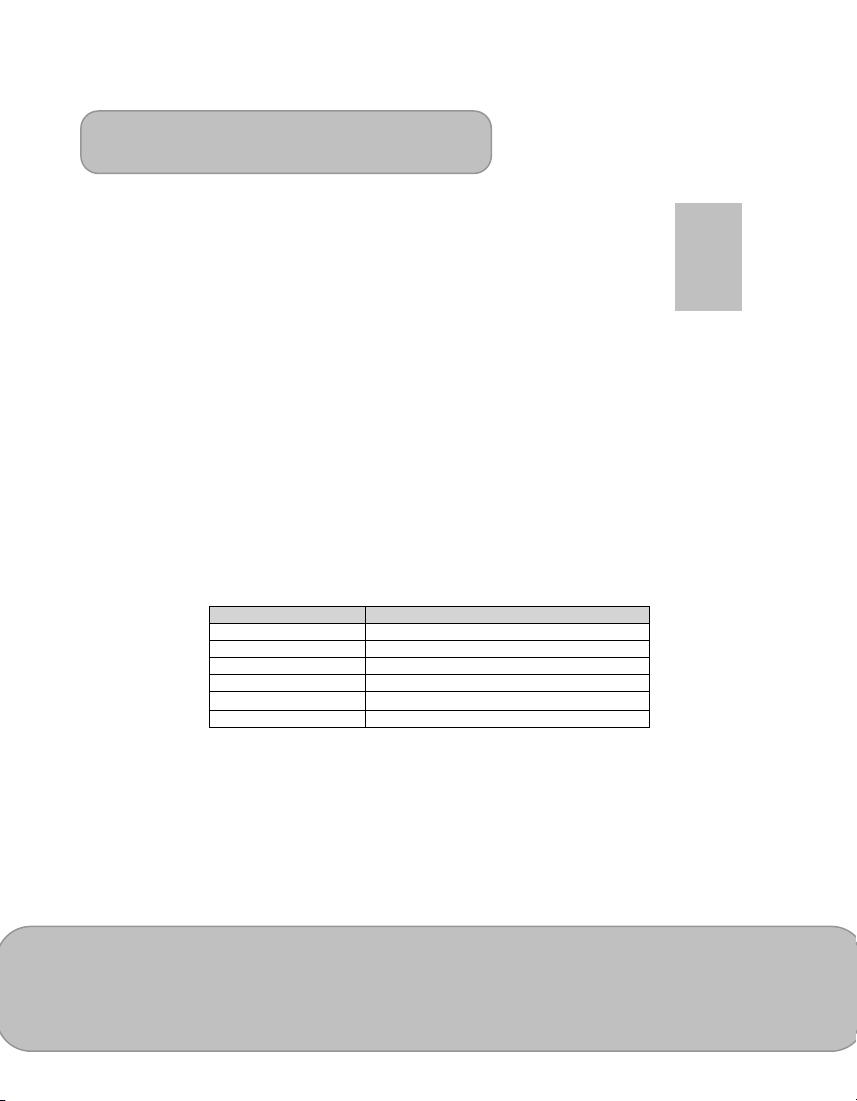
Power On / Off the Projector
Push the Power button for 2 seconds to turn on the projector.
To power off the projector, push the Power button again for 2 seconds.
Page 7
User’s Manual
EN
Mode
Brightness
Battery Life
Enhanced
Up to 100 lumens
80 mins
Normal
Up to 60 lumens
100 mins
Eco
Up to 40 lumens
120 mins
Adjusting the Focus according to distance
Place the projector on a flat surface and
toward a wall or a projection screen. The
projectional distance and projectional size are:
Distance: 50 cm ~ 425 cm (20 ” ~ 167 ”)
Image size: 36 cm ~ 305 cm (14 ” ~ 120 ”)
Adjust the focus by turning the focus ring to get a sharp and clear picture.
Note: Use a tripod (not included) to increase the height of the projectional image
when necessary. The tripod socket is located under the projector.
Adjusting the brightness of your projector
There is a brightness adjustment button on the right side of the projector. It allows you
to change the brightness according to the environment and the power consumption.
1) Enhanced: Select this mode when external power supply is available to
maximize the brightness performance.
2) Standard: The default mode for optimizing the projection performance and
battery capacity.
3) Eco: This mode is recommended when the projector is operated under battery
mode to save power.
Note: The projector is automatically switched to Enhanced mode when It’s
powered by the power adapter.
Page 8

User’s Manual
EN
Projecting from External Video Input Source
The projector has built-in HDMI interface on the rear side. You can connect your
external video Input source to the projector or output the projector’s screen to a LCD
monitor or HDTV by using the appropriate cable.
HDMI Input
Use the HDMI cable to connect the HDMI port on
the rear panel of the projector to the external
HDMI signal source. After connected, the screen
switches to HDMI source automatically.
Projecting from Smartphones or Tablets
1. Connect your smartphone supporteing MHL (Mobile High-Definition Link) for
projection.
Connect your smartphone (e.G.Samsung Galaxy
S2, Note; new HTC one, one X; or Sony Xperia
Z2, Z Ultra, Z) with the projector via the bundled
MHL (Type A to USB Type D type HDMI) cable.
Note: 1. For Samsung Galaxy S5, S4, S3, Note 4, Note 3, Note 2, Samsung 5
to 11 pin MHL converter (as illustration shows) is needed.
2. It’s normal that the projector is automatically charging the smartphones
or tablets when connected with the MHL cable for projection.
3. Samsung 5 to 11 pin MHL coverter is not included in the package.
2. Connect iPhone 6 plus, 6, 5S, 5, iPad Air2, Air,
iPad mini 3, mini 2, mini and iPod touch 5th
with the projector via Apple Lightning Digital
AV adapter and A-to-A type HDMI cable.
iPhone 4S, 4, New iPad, iPad 2, and iPod
touch (4th) can connect with projector with
Apple 30-pin digital AV adapter and A-to-A type HDMI cable
Note: Apple Lightning Digital AV adapter and 30-pin digital AV adapter are not
included in the package.
Page 9
 Loading...