

Page 1
Step 7. Network Setup
QUICK START GUIDE
ISDN Configuration
In order select the icons:
“menu”
“settings”
”installation”
“network interface”
”isdn”
In this section :
·Select the protocol “Euro” or “National”.
·Move to the icon Configure Access and press OK.
Access configuration (ISDN BRI National)
IP Configuration
The default setting is Automatic IP Address
For manual LAN configuration contact
the network administrator
ee sthsu
THESEUS
VIDEOPHONE
Installing The Theseus is simple and easy. For easier installation follow the step-by-step
procedure below
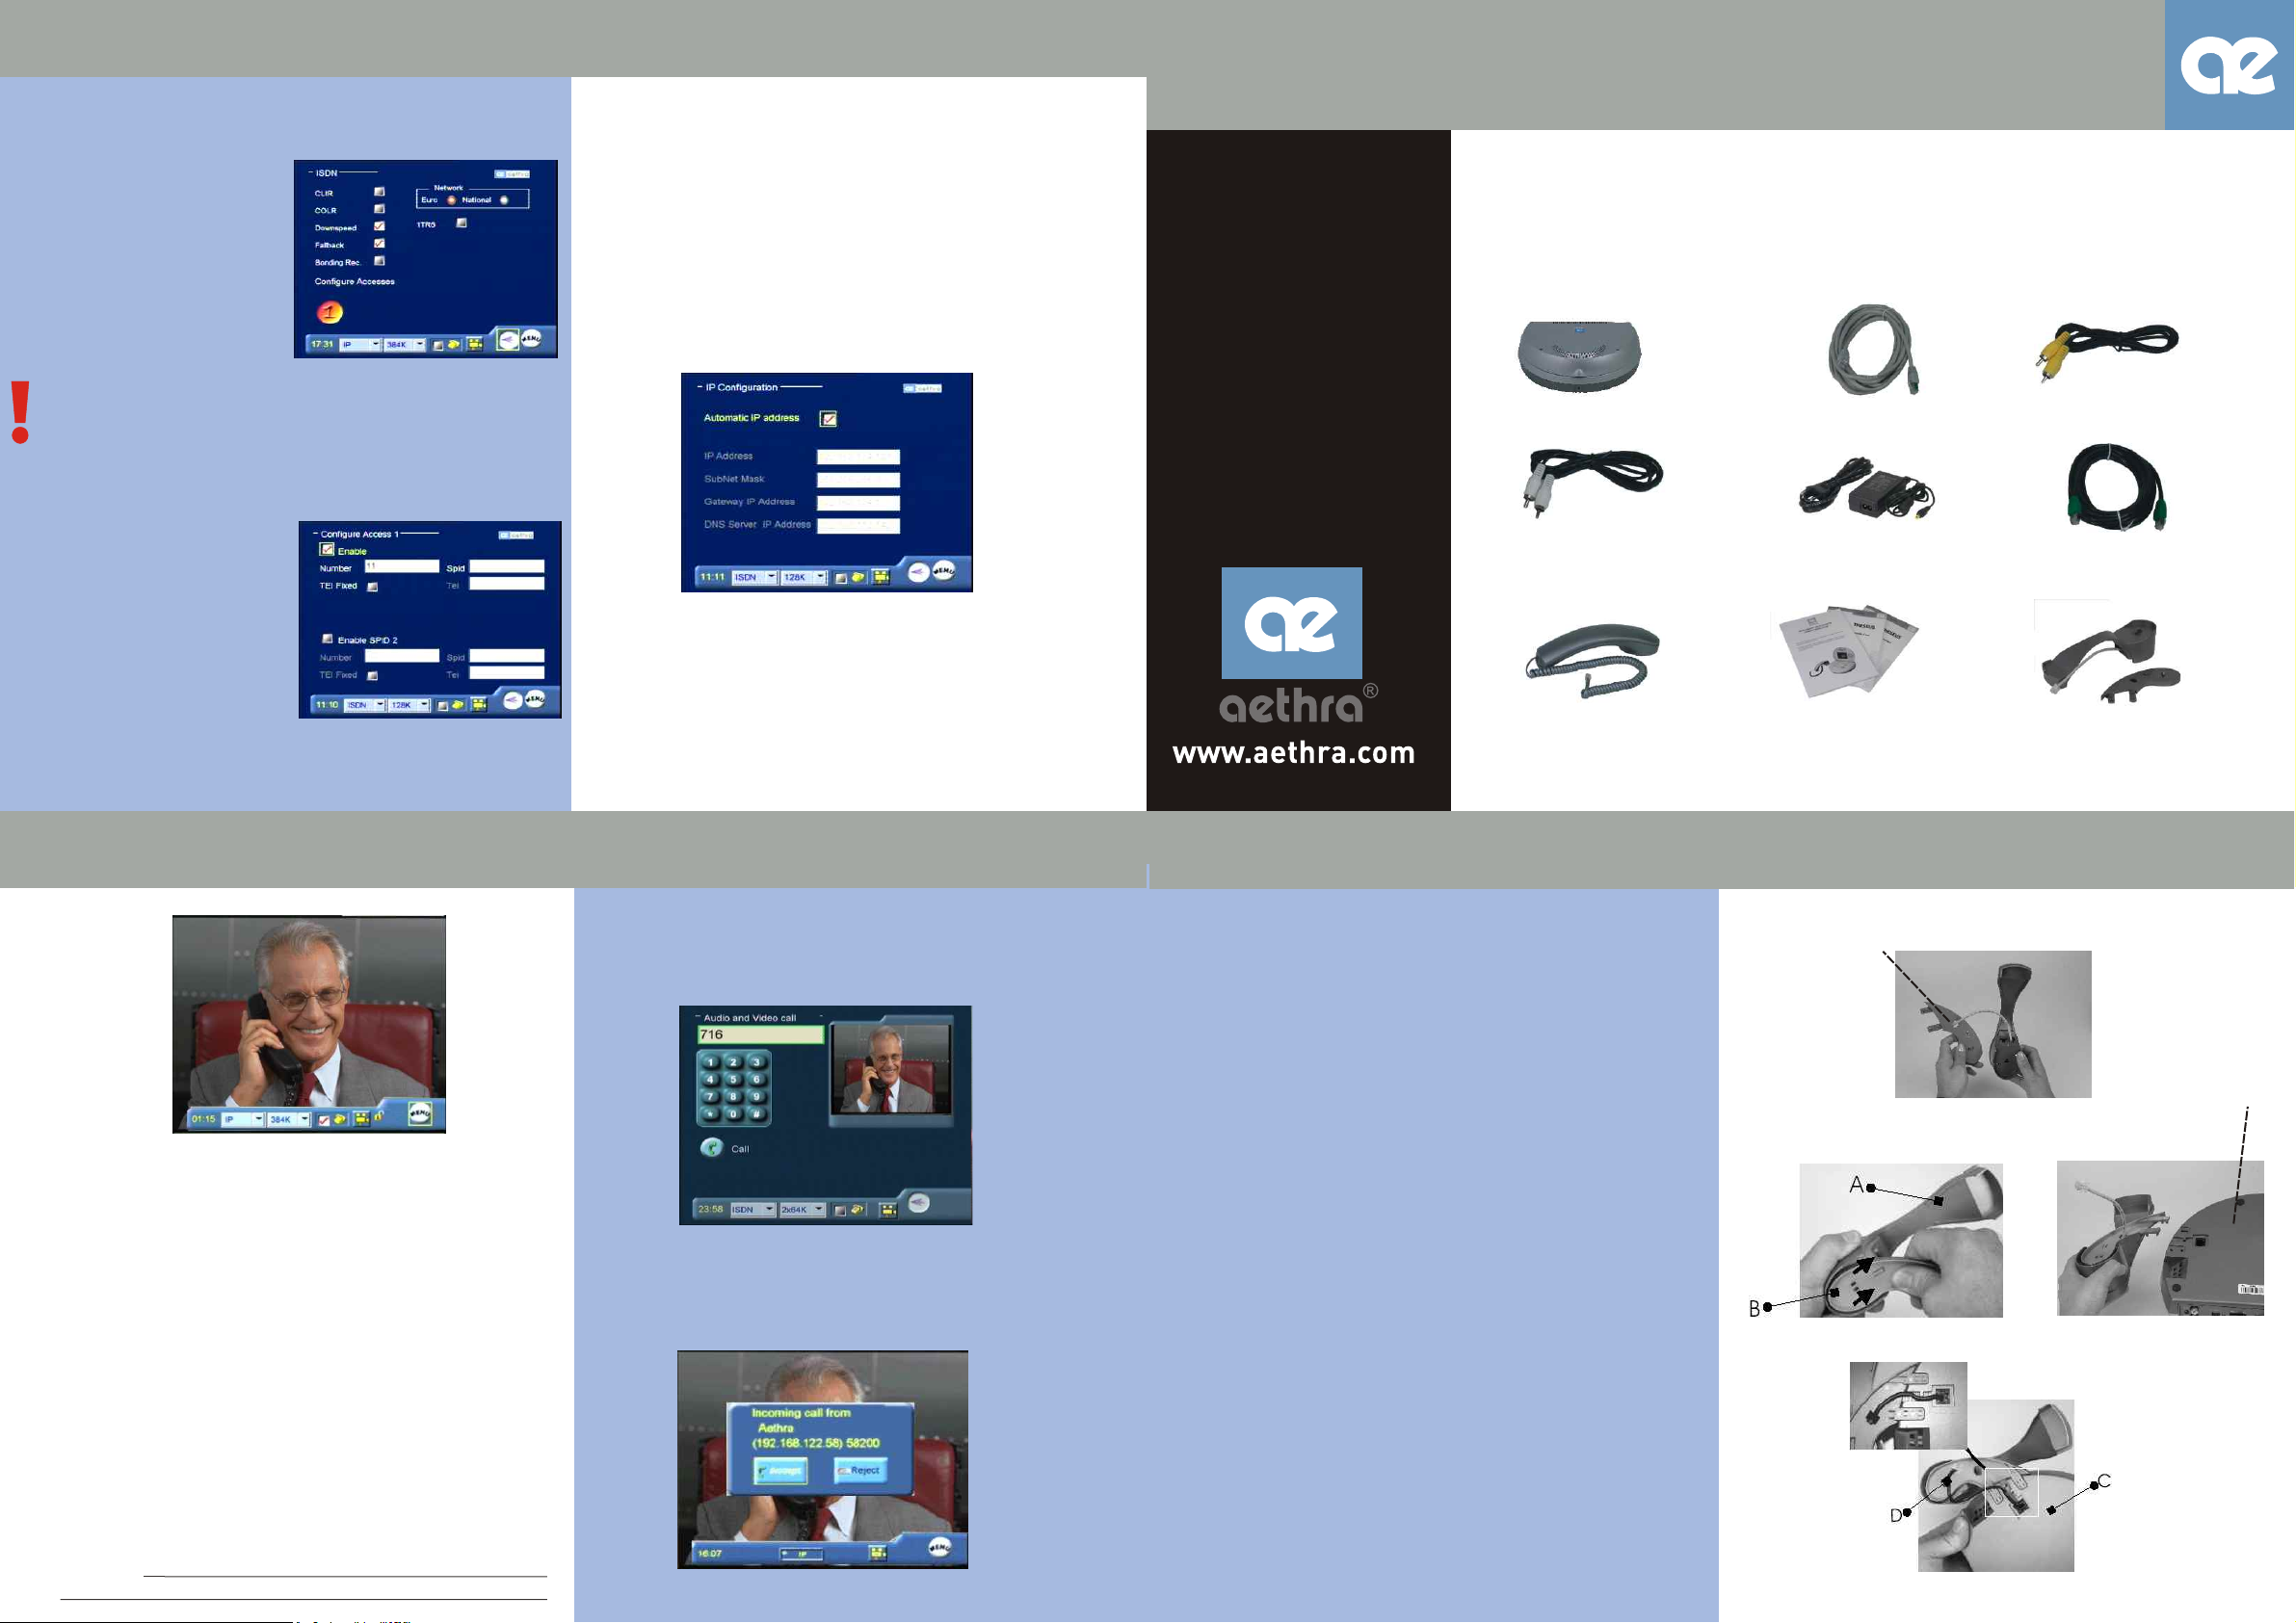
Step 1. UNPACKING THE BOX
Remove The Theseus and accessories from packing. Make sure that all the
parts shown in the figure are present
THESEUS
AUDIO
.
.
ISDN CABLE
VIDEO
LAN CABLEPOWER SUPPLY
Number: enter the number associated
with ISDN access.
Step 8. How to make a call
HOW TO MAKE A CALL
1
2 Select the call rate.
ISDN calls.
1 From the main interface, lift the handset or press the
“HANDSFREE” button.
2 Dial the number to call using the numeric buttons
on the keypad
3 To end the call in HANDSFREE mode, press
the corresponding button.
IP calls.
1 From the main interface, lift the handset or press the
“HANDSFREE” button.
2 Enter the IP address of the terminal to be called using
the videophone's numeric keypad.
3 To end the call in HANDSFREE mode, press
the corresponding button.
Technical Manuals Online! - http://www.tech-man.com
We reserve the right to modify the technical specification
© Aethra Telecomunicazioni - All rights reserved
HOW TO RECEIVE A CALL
Take the handset or press handfree button
.
Select the call type (ISDN or IP).
HANDSET
Step 2. Handset Installation
The THESEUS guarantees optimum reproduction and
transmission of sound in handsfree mode. The telephone
receiver is intended for users who require private
communications.
The system is designed for handsfree operation. The
handset is for
users who desire private conversation.
1: Thread the CABLE D through the hole in the
BRACKET B (fig.1)
2: Lock the FIXING BRACKET B to the HANDSET
SUPPORT A, by sliding the BRACKET in the
direction of the arrows. (fig.2)
3: Lock the group to the BASE C. (fig.3)
4: Connect the CABLE plug D to the BASE C and fix
the cable as in the figure. (fig.4)
5: Connect the SPIRAL CABLE to the Handset
support.
MANUALS
D
BRACKET
HANDSET
C
FIG.1
FIG.2 FIG.3
FIG.4
Page 2

Step 3: Installation of the Handset (optional)
1: Disconnect the HANDSET cable
from the BASE C.
2 Dismantle the HANDSET SUPPORT and
:
the FIXING BRACKET.
3 Plug the HEADSET connector cable
:
in the BASE C.
4 Activate use of the headset via the Audio Out
:
settings.Refer to the section “Audio-Video-Data”
in this manual.
Step 5. Keyboard
For opening or closing the last calls list.
For opening or closing the phonebook.
For viewing your own image on the display.
For suppressing audio transmission during a connection.
To enable or disable the sending of video of yourself.
For selecting from different choices in menus.
For selecting from different choices in menus.
For selecting from different choices in menus.
For selecting from different choices in menus.
For selecting from different choices in menus.
For entering or exiting the main configuration
and management menu.
Step 4. Cable connection
For reducing the current value of certain parameters
(volume, digital zoom).
For increasing the current value of certain parameters
(volume, digital zoom).
For viewing the local video camera image.
For disabling the micro-telephone and activating
the handsfree function.
Step 6. First time equipment is switched on
When the equipment is switched on for the first time,
the following menu will appear:
For confirming the last selection.
For opening the Help menu.
For closing the Help menu.
10
To S bus
LANLAN
Local Area Network
Technical Manuals Online! - http://www.tech-man.com
Ethernet connection
NT1
S
S
a/b1
a
/
b
2
1 To select the desired language.
2 To control and to fill up the other edit box.
3 To select icon “menu” and save the setup.
 Loading...