

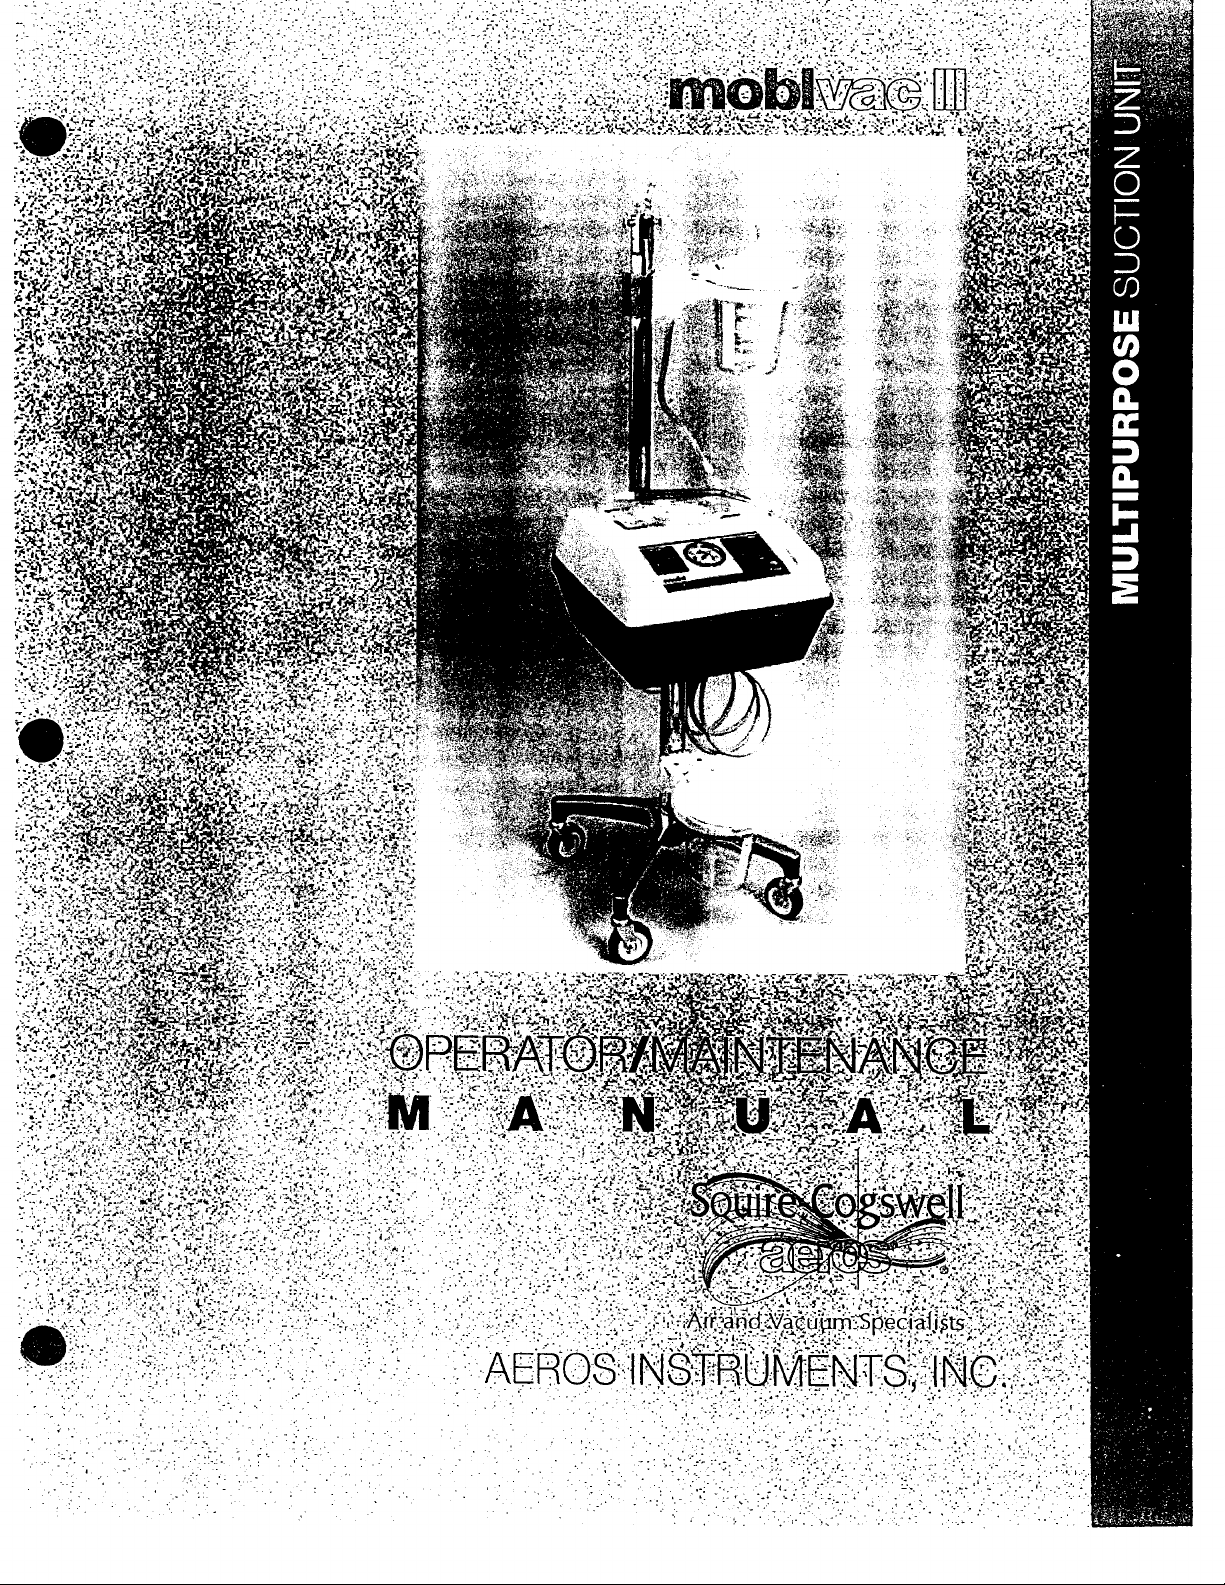
Aeros Moblvac Ill User manual
NEL
6
UL)
us
9N56
MEDICAL
UNDERWRITERS
WITH
FIRE,
ONLY
AND
EQUIPMENT
RESPECT
MECHANICAL
IN
ACCORDANCE
CAN/CSA
CLASSIFIED
LABORATORIES
TO
ELECTRIC
AND
WITH
C22.2
NO.601.1
OTHER
INC.
SHOCK,
HAZARDS
UL
2601-1,
BY
ATTENTION,
DOCUMENTS
TYPE B EQUIPMENT
1.
2.
3.
NOT
FLAMMABLE
4.
Protection
type B equipment.
Protection
ordinary
Degree
anesthetics
SUITABLE
Mode
767000 - continuous;
CONSULT
equipment
of
FOR
ANESTHETICS
of
operation
-
intermittent
ACCOMPANYING
against
against
safety
or
oxygen.
USE
and
electric
harmful
in
the
IN
(5.6).
continuous.
shock
presence
THE
PRESENCE
OR
OXYGEN.
Models
Models
(5.1,
ingress
of a flammable
757000
756000
of
and
5.2)
Class
water
OF
and
766000
I,
(5.3)
the
purpose
The
oral
and
The
Aeros
and
physicians
vacuum
rotary
of
This
carbon
tubing, a disposable
manual
of
aspiration,
Mobivac
offices.
system.
vane
covers
Mobivac
wound
Ill
is a multipurpose
The
Mobivac’s
pump.
1200cc
Moblvac
Ill
drainage,
Because
It
comes
Ill
perform
to
is
gastrointestinal,
suction
of
the
Moblivac
constant
equipped
collection
in
the
canister
following
routine
all
and
unit
designed
Ili’s
capacities,
and
intermittent
with a disposable
with
mounting
sections:
suctioning
thoracic
for
it
suction
exhaust
bracket,
procedures.
drainage.
general
can
capabilities
use
in
also
be
are
filter,
an
and a preventative
the
hospital,
driven
inline
may
as a back
suction
These
utilized
include
surgery
by a fan
filter
maintenance
tracheal
center,
up
to
wall
cooled,
with
©
14”
kit.
1.
2.
3.
4.
5.
6.
If,
Service
INSTRUCTIONS
MAİNTENANCE
PERFORMANCE
TROUBLESHOOTING
DEVICE
DETAILED
after
SPECIFICATIONS
reading
Department
this
FOR
USE.........
……………………………
TEST
&
ADJUSTMENTS
nenes
DRAWINGS
manual
at
800-662-5822
ccoo
you
require
„onen
additional
or
your
information,
local
Aeros
ἐκ
please
distributor.
contact
nen
Aeros
mo
Page3
Page
Page
Page
Page
Page
Instruments’
Customer
7
11
13
5
16
Y
1.
INSTRUCTIONS
IMPORTANT:
and
in
the
operations
FOR
This
device
operations
manual
to
USE
is
for
of
suction
familiarize
use
only
by
equipment.
yourself
with
persons
Improper
the
Mobivac
properly
use
could
lil
trained
cause
before
in
medical
injury.
using
Thoroughly
the
device.
suction
techniques
read
this
DANGER:
NESTHETICS.
PRIOR
Upon
working
SET
1.
2.
TO
receiving
order
UP
INSTRUCTIONS
Visually
After
Moblvac
Align
towards
Tighten
Connect
Plug
the
POSSIBLE
INITIAL
your
and
inspect
removing
Ill
the
two
the
the
the
the
power
pump
starts.
EXPLOSION
USE
new
Moblvac
that
no
damage
ail
components
all
components
base.
“collection
front
of
the
5/32”
screw
tubing
from
cord
into
Ill,
perform
has
occurred
for
from
mounting
unit. .
located
the
bottom
an
electrical
HAZARD
the
physical
their
brackets”
at
the
back
of
the
outlet.
IF
following
during
cartons,
shipment.
damage
located
of
the
backpole
Depress
USED
initial
that
insert
at
base
to
IN
THE
tests
may
the
backpole
the
top
assembly.
the
safety
the
“POWER?”
to
ensure
have
of
the
overflow
PRESENCE
that
occurred
assembly
backpole
trap
switch
and
OF
your
unit
during
into
shipping.
the
assembly
assembly.
listen
FLAMMABLE
is
in
good
back
of
to
verify
the
that
10.
NOTE:
located
Verify
that
position.
Switch
Adjust
a
Depress
220V
charge
on
the
the
the
the
unit
bottom
both
unit
vacuum
in
vacuum
“POWER?”
comes
vacuum
to
ports,
“CONSTANT”
level
by
turning
level
while
switch
with a detachable
of
the
unit
located
suction
tuming
to
turn
before
at
the
with
the
vacuum
the
the
unit
power
plugging
top
of
the
the
“MODE
regulator
regulator
OFF
(O).
cord.
unit
in.
backpole,
SELECTION”
knob.
knob.
Attach
are
Verify
power
pushed
switch.
that
cord
to
down
in
the v vacuum
the
appliance
the
gauge
“OFF”
reflects
outlet
11.
The
collection
Place a collection
pedestal
Moblvac
canister,
mechanism
stand
Ii
will
to
protect
and
use
make
the
canister
insert a collection
any
sure
pump
bracket
collection
that
the
from
accidental
device.
collection
(ring)
canister.
However,
in
the
mounting
if
device
that
overflow.
you
is
bracket
are
not
being
of
using
used
the
backpole
an
Aeros
is
eguipped
assembly
1200cc
or
disposable
with a safety
©
overflow
Ensure
sure
that
patient
use.
OPERATING
Verify
tubing
that a clean
are
ORAL,
1.
Place a clean
Mobivac
Mobivac
canister
2.
3.
4.
Verify
in
Tum
Switch
that
you
to
have
The
installed
NASAL
that
the
“OFF”
the
have
the
appropriate
the
appropriate
Mobivac
INSTRUCTIONS
bacteriostatic
on
the
AND
TRACHEAL
collection
Ill.
Ensure
Il!
to
the
“vacuum
to
the
aspirating
both
vacuum
position.
Mobivac
the
unit
Ill
to
“CONSTANT”
Chest
III
is
now
exhaust
Moblvac
ASPIRATION
canister
that
tubing
tip
ports
ON
(1).
collection
Drainage
ready
filter,
Ill.
in
is
connected
port”
of
that
is
located
suction
device
to
place
in
line
the
upper
the
collection
being
used.
on
the
with
and
Unit,
Nasal
into
service.
suction
bracket,
from
“DUAL
the
suction
Gastroic
filter,
located
the
“DUAL
canister
VACUUM
“MODE
SELECTION”
tubing.
tube,
collection
on
the
VACUUM
and
from
PORT
Depending
aspirating
canister,
backpole
PORT
the
“patient
ASSEMBLY”
switch.
on
the
procedure,
tip,
or
wound
and
the
necessary
assembly
ASSEMBLY”
port’
of
the
are
pushed
be
drain
of
your
of
the
collection
down,
for
©
5.
6.
Adjust
Open
release
NASOGASTRIC
1.
Place a clean
Moblvac
Moblvac
canister
the
vacuum
the
appropriate
knob
and
INTERMITTENT
collection
Ensure
Ill
to
the
to
the
Nasogastric
to
the
vacuum
proceed
canister
that
“vacuum
desired
with
vacuum
port
the
SUCTIONING.
in
tubing
port”
tube
is
connected
of
that
of
the
“DUAL
suction
the
upper
the
collection
is
being
level
by
using
VACUUM
procedure.
bracket,
from
the
canister
used.
the
“VACUUM
PORT
located
“DUAL
and
ASSEMBLY”
on
the
VACUUM
from
the
REGULATOR’
backpole
PORT
“patient
knob.
by
pulling out
assembly
ASSEMBLY”
port”
of
the
the
of
your
of
the
collection
Verify
in
the
Turn
the
that
“OFF”
Mobivac
both
vacuum
position.
Ili
ON
ports
(1).
located
on
the
“DUAL
VACUUM
PORT
ASSEMBLY”
are
pushed
down,
4.
5.
6.
7.
PLEURAL
Mobivac
drainage
Assembly
Follow
Chest
Place
connected
Assembly
Needle
Switch
Adjust
Switch
Open
release
all
Drainage
the
the
unit
the
vacuum
the
unit
the
appropriate
knob
and
DRAINAGE
III
can
be
utilized
units
come
with a built
is
available
manufacturers’
Units
Chest
which
Valve
from
the
Assembly
Drainage
“DUAL
is
mounted
to
“CONSTANT”
to
the
desired
to
“INTERMITTENT”
vacuum
proceed
with
for
those
directions
Without
Unit
VACUUM
to
the
any
in
units
Built
in
in
the
vacuum
with
“Disposable
flow
on the
In
the
collection
suction
port
the
adjustment
that
Flow
“optional”
PORT
port
with
vacuum
suction
of
the
suction
do
not
Chest
Adjustment
Aeros
ASSEMBLY”
canister
tubing
the
“MODE
level
by
with
the
“DUAL
Chest
offer
Drainage
VACUUM
procedure.
Drainage
valve
this
Valves.
Chest
bracket
of
the
SELECTION”
using
the
“MODE
and
some
feature.
Unit
for
Drainage
of
the
of
the
Chest
Drainage
“VACUUM
SELECTION?
PORT
Unit”
available
do
not.
its
setup and
Unit
Mobivac
backpole.
switch.
REGULATOR"
switch.
ASSEMBLY”
on
the
The
Aeros
use.
Bracket.
Ill
to
the
Aeros
Connect
Unit.
by
pulling
market.
Needle
Ensure
Needle
tubing
knob.
Some
Valve
that
from
|
out
the
chest
tubing
Valve
the
is
@
Chest
Place
connected
Chest
1.
Drainage
the
Drainage
Verify
in
Turn
Switch
Adjust
Chest
from
that
the
“OFF”
the
the
the
units
With
Drainage
the
“DUAL
Unit.
both
vacuum
position.
Mobivac
unit
to
Moblvac
Built
In
Flow
Unit
in
the
VACUUM
ports
III
ON
(I).
“CONSTANT”
Ill
to a low
Adjustment
“optional”
PORT
located
suction
vacuum
Aeros
ASSEMBLY”
on
with
setting
Valves.
the
“DUAL
the
OR
Chest
“MODE
by
Drainage
of
the
VACUUM
using
Unit
Moblvac
PORT
SELECTION”
the
“VACUUM
Bracket.
ll!
to
the
ASSEMBLY”
switch.
REGULATOR?”
Ensure
vacuum
that
port
are
tubing
tubing
pushed
knob.
is
of
the
down,
NOTE:
Moblvac
chest
drainage
The
vacuum
to a low
vacuum
unit.
level
provided
level
ensures
to
the
that
chest
you
cavity
are
producing
is
regulated
by
the
sufficient
vacuum
]
Chest
Drainage
to
properly
Unit.
operate
Setting
the
the
o
REPROCESSING
1.
Discard
the
ing.
2.
3.
4.
Wipe
Place a new
Check
Sary,
After
5.
Inspect
occurred,
OVERFLOW - Aspirant
according
SEVERE
tubing.
CLEANING
flow.
AND
CLEANING
all
contaminated
collection
the
the
vacuum
the
surface
collection
air
filter
the
overflow
use
to
canister,
of
inlet
filter
the
filter
is
completely
the
following
procedures
OVERFLOW - Aspirant
Replace
and/or
PROCEDURE
parts
disposable
the
unit
canister,
at
the
or,
if
trap
assembly
has
described
clean
INSTRUCTIONS
after
any
chest
clean
with a mild
suction
back
of
the
dirt
is
excessive,
dried,
reinstall
for
any
guidelines.
contaminated
in
OVERFLOW
has
contaminated
external
below.
In
addition,
suctioning
drainage
antiseptic
tubing,
unit
wash
the
and
to
see
filter.
evidence
the
overflow
parts
according
open
procedure.
unit,
in-line
and a clean
filters
with
that
it
in a mild
of
an
accidental
trap
CLEANING
the
overflow
to
procedure
the
unit
These
filter,
exhaust
soft
the
Moblvac
is
clear
of
antiseptic
assembly.
PROCEDURE
trap
to
assess
components
filter,
cloth.
11.
any
dirt.
If
and
thoroughly
overflow.
Replace
below.
assembly
described
the
extent
may
and
all
cleaning
rinse
If
an
overflow
and/or
and
the
in
OVERFLOW
of
the
include
suction
is
neces
in
water.
clean
parts
vacuum
intemal
tub
has
port
©
over
OVERFLOW
NOTE:
1.
2.
Discard
Clean
Wash
and
CLEANING
THESE
all
external
the
overflow
all
parts
the
cap
PROCEDURE
PROCEDURES
contaminated
trap
with
mild
seals
tightly
ARE
tubing.
assembly
antiseptic,
on
the
glass
ONLY
by
unscrewing
dry,
reassemble
jar.
REQUIRED
the
and
cap
WHEN
and
verify
AN
disassembling
that
OVERFLOW
the
float
the
is
in
HAS
OCCURRED.
various
the
down
components.
position
3.
Replace
all
discarded
tubing.
4.
2.
MAINTENANCE
CAUTION:
AN
ELECTRICAL
To
access
in
the
If
the
vacuum
contamination
All
Internal
Regulator
Solenoid
page
8.
Pump
Tools
required
(1)
Pliers
(1)
11/32”
(1)
Adjustable
(1)
Flathead
NEVER
the
rear
of
nut
OUTLET.
internal
the
unit
port
tubing
(see
Assembly:
Manifold
Assembly:
to
service
driver
wrench
screwdriver
DISASSEMBLE
components
near
was
MAINTENANCE
Tubing:
the
the
contaminated,
section
lf
contaminated,
If
contaminated,
Assembly:
If
contaminated,
Moblvac
(1)
Phillips
(1)
5/64”
(1)
1/16”
THE
MOBLVAC
of
the
back
assembly.
open
below
replace.
clean
If
contaminated,
clean
Ill.
screwdriver
Allen
wrench
Allen
wrench
II!
Mobivac
Tilt
the
Ill,
the
unit
and inspect
for
opening
according
clean
according
WHEN
remove
cover
THE
forward.
the
unit):
to
according
to
procedure
POWER
the
two
the
following
procedure
to
procedure
on
CORD
(2)
Phillips
on
page
IS
head
page
parts
for
8.
on
10.
CONNECTED
screws
TO
located
PREVENTATIVE
Preventative
unit
more
often
Preventative
the
preventative
VACUUM
1.
2.
3.
REGULATOR
Tilt
the
and
Disconnect
Use a 5/64”
remove
MAINTENANCE
maintenance
after
frequent
Maintenance
maintenance
shroud
the
regulator
the
assembly
all
three
Allen
vacuum
is
recommended
use
or
Kit
is
available
procedure.
REPLACEMENT
forward
body).
(3)
tubing
wrench
to
regulator
every
to
lengthen
which
off
of
connections
loosen
knob
the
from
six
the
schedule
contains
the
Mobivac
from
set
screw
the
control
months.
all
necessary
lil
the
regulator
on
the
panel.
It
is
if
use
base
shaft
up
to
the
is
infrequent.
items
(make
note
body.
of
the
user's
regulator
discretion
and
instructions
of
the
orientation
body.
to
clean
for
performing
of
all
Unscrew
the
tubing
and
 Loading...