

Page 1

Aeotec by Aeon Labs Home Energy Meter.
You hear a lot about energy use these days. About how if you reduce the amount of energy you use you’ll both save
money and the environment. But saving money by using less electricity is only possible if you understand when and how
you are using it. That’s what Aeotec’s Home Energy Meters provide you with: understanding, for your whole home.
Installed in an electricity box, your new energy meter will monitor the total amount of electricity your home uses with
accuracy and speed. Using a wireless Z-Wave
gateway. In near real-time you’ll have a full understanding of how much electricity you use and when you use it.
®
connection, it’ll then feed the data it records back to your smart home’s
Familiarise yourself with your Home Energy Meter.
Diagram of USA Version(2 Phases):
In 230 volt countries with a 3 phases and 3 wires installation;
Diagram of EU/AU Version(3 Phases,3 Wires):
It is now time to permanently affix the Home Energy Meter to a surface. Within each meter is a low-frequency radio
antenna that’s used for wireless communication. This must be taken into consideration when selecting a nal location for
the meter. Thick concrete walls, metals, or motor devices will affect the signal strength of the controller and the meter.
If the home’s circuit box is made of a metal, it is recommended that the Main Body of the meter be installed outside of
the circuit box. Placing the meter inside the circuit box could degrade the quality of the radio signal and negatively impact
its wireless range. To assist with such an installation, each meter is weatherised to the IP44 international standard. This
makes it resistant to rain and snow when installed vertically.
To place the Home Energy Meter (HEM):
1. Remove the backing plate from the back of the HEM.
2. Afx the plate to the selected wall space using the provided screws. The plate should be installed vertically and aligned
so that the wires of the HEM are at the bottom.
3. Attach the HEM to the backing plate.
Home Energy Meter
View the expanded manual:
http://aeotec.com/support
Model: ZW095-A
Your Home Energy Meter from Aeotec by Aeon Labs is comprised of two parts: the Main Body and Clamps. Once installed,
the meter will sit near your home’s main circuit box, while the clamps are attached to it.
RedLED
Action Button
AC Input Wire
Clamps
Quick start.
The installation of your Home Energy Meter has two major parts: the installation of it into your home’s main circuit box and
the syncing of it to your Z-Wave network. What follows are the instructions for both parts. Please note that only a licensed
electrician, with knowledge and understanding of electrical systems and electrical safety, should perform the electrical
installation of your meter into your home’s circuit box. The syncing of your Home Energy Meter with your Z-Wave network
can be performed by you.
Installing the meter into a circuit box.
Important:Only a licensed electrician should perform these steps.
Important: The circuit box's main breaker should be turned off to perform these installation steps.
The following diagrams highlight how the Home Energy Meter should be installed dependent on the region you are in;
In the United States, it is always a 2-phase installation;
NOTE : If you cannot nd a Socket , ask your electrician for help on wiring.
In 230 volt countries with a 1 phase installation;
Diagram of EU/AU Version(1 Phase):
In 230 volt countries with a 3 phases and 4 wires installation;
Diagram of EU/AU Version(3 Phases,4 Wires):
To perform the electrical installation for your Home Energy Meter (HEM), utilise the previous images to determine the
phase version of the HEM and to also illustrate the following steps 3 through 7.
1. Turn off the home’s main electricity breaker and open the main circuit box panel.
2. Connect each clamp to the HEM using the clamp connector. Screw them tight.
3. Clip the clamps of the HEM around the incoming electricity cables that connect to the main circuit breaker.
4. Connect AC Wire to the meter using the AC Wire Connector.
5. Insert the HEM’s neutral AC Wire into the main circuit breaker’s neutral bus terminal.
6. Insert the HEM’s live AC Wire into the main circuit breaker’s live terminal.
7. Replace the main circuit box panel.
8. Turn the main breaker back on.
Linking your meter to an existing Z-Wave network.
The electrical installation of your Home Energy Meter (HEM) is now complete. You must now wirelessly link it to your Z-Wave
network.
1. Put your primary Z-Wave controller, usually a gateway or hub, into inclusion mode. If you are not sure how to do this,
please refer to your controller’s user manual.
2. Press the Action Button on your HEM. If it has been successfully linked to your network, its LED will remain illuminated.
If the linking was unsuccessful, your HEM’s LED will continue to blink.
The installation of your Home Energy Meter is now complete.The next step is to set up your Home Energy Meter within the
interface of your primary Z-Wave controller. This will allow you to visualise and utilise the energy consumption data that
your meter collects.
Your Home Energy Meter can report wattage energy usage or KWH energy usage to your primary controller. As each
controller is different, please refer to your controller’s user manual for further information on monitoring and visualising this
data.The specic Z-Wave commands supporting energy monitoring are the Meter Command Classes.
Advanced functions.
Removing your meter from a Z-Wave network.
Your Home Energy Meter (HEM) can be removed from your Z-Wave network at any time. You'll need to use your Z-Wave
network’s primary to do this..
1. Put your main controller into its device removal mode. If you are unsure how to do this, please refer to your controller’s
user manual.
2. Press the Action Button on your HEM. If it has been successfully removed from your network, its LED will blink. If the
removal was unsuccessful, its LED will be solid and it will be then repeated again.
Resetting your Home Energy Meter.
Your Home Energy Meter can be reset to default factory settings with ease.
1. Press and hold the Action Button for 10 seconds.
2. If successful, the LED on the HEM should begin to blink slowly.
Page 2
Associating your Home Energy Meter to Report Automatically.
Your Home Energy Meter can send Wattage and KWH usage reports to associated devices. To enable this, please refer to
your controller’s manual on how to congure settings on Z-Wave devices linked to your controller. Initially, the meter is set
up to report Watt and KWH reports.
Some gateways/controllers will automatically congure devices enabling you to take full advantage of the Home Energy
Meter’s features. Others may not perform any automatic configuration. In such a case you can choose to manually
congure your meter to output the data that you wish to view.
Setting automatic report ags.
Parameter 101-103 [4 byte dec] can be congured through your gateway in case that the default settings of your meter are
not what you desire.
Decimal Flag Report Total HEM: Decimal Flag Report Watt for Clamps:
1 Report KWH 256 Clamp 1
2 Report Watt 512 Clamp 2
4 Report Voltage 1024 Clamp 3
8 Report Current
Decimal Flag Report KWH for Clamps: Decimal Flag Report Voltage (V) for Clamps:
2048 Clamp 1 65536 Clamp 1
4096 Clamp 2 131072 Clamp 2
8192 Clamp 3 262144 Clamp 3
Decimal Flag Report Current (A) for
Clamps:
524288 Clamp 1
1048576 Clamp 2
2097152 Clamp 3
The table above shows a decimal representation of all ags that can be set on parameter 101-103 to report specic data.
Example use of the Report Table.
For example, if you want to report only the total KWH consumption, and the Wattage for clamp 3, you would add 1 + 1024
and set the sum (1025) to parameter 101, 102, or 103.
As another example, if you want to report Wattage and KWH power consumptions for all clamps, you would add 256 + 512
+ 1024 + 2048 + 4096 + 8192, then set the sum (16128) to parameter 101, 102, or 103.
And if you want to report everything, you would add the whole table together and set it to 101, 102, or 103.
Setting an automatic report interval.
Parameter 111-113 [4 byte dec] can be congured through your gateway in case the default settings of your HEM is not
what you desire.
Parameter 111 will set the interval for Group 1 (parameter 101), parameter 112 will set the interval for Group 2 (parameter
102), and parameter 113 will set the interval for Group 3 (parameter 103).
As an example, you have set parameter 101 to report the total KWH consumption and the wattage for clamp 3, and you
want to report it every 500 seconds. Set parameter 111 to 500 to accomplish this.
Utilising different groups.
Your Home Energy Meter has 3 different groups that you may setup, from the settings and examples above, you may
congure each group to report different clamps and total reports to report at different interval. Group 1 uses Parameter 101
and 111, group 2 uses parameter 102 and 112, and group 3 uses parameter 103 and 113.
Technical specications.
Model number: ZW095
Input: 120V~, 60Hz, 10mA (USA version, 2P)
230V~, 50Hz, 10mA (EU/AU version, 1P/3P4)
380V~, 50Hz, 18mA (EU/AU version, 3P3)
Measure range of voltage:
80V~ to 150V~ (USA version, 2P)
180V~ to 260V~ (EU/AU version, 1P/3P4)
220V~ to 400V~ (EU/AU version, 3P3)
Measure range of current: 0A to 200A.
Operating distance: Up to 300 feet/100 metres outdoors.
Operating temperature: -10 to 50 .
Relative humidity: 8% to 80%.
Warranty.
6
Aeon Labs warrants to the original purchaser of Products that for the Warranty Period (as dened below), the Products will
be free from material defects in materials and workmanship. The foregoing warranty is subject to the proper installation,
operation and maintenance of the Products in accordance with installation instructions and the operating manual supplied
to Customer. Warranty claims must be made by Customer in writing within thirty (30) days of the manifestation of a
problem. Aeon Labs' sole obligation under the foregoing warranty is, at Aeon Labs' option, to repair, replace or correct
any such defect that was present at the time of delivery, or to remove the Products and to refund the purchase price to
Customer.
The "Warranty Period" begins on the date the Products is delivered and continues for 12 months.
Any repairs under this warranty must be conducted by an authorized Aeon Labs service representative and under Aeon
Labs' RMA policy. Any repairs conducted by unauthorized persons shall void this warranty.
Excluded from the warranty are problems due to accidents, acts of God, civil or military authority, civil disturbance, war,
strikes, fires, other catastrophes, misuse, misapplication, storage damage, negligence, electrical power problems, or
modication to the Products or its components.
Aeon Labs does not authorize any person or party to assume or create for it any other obligation or liability in connection
with the Products except as set forth herein.
Aeon Labs will pass on to Customer all manufacturers’ Material warranties to the extent that they are transferable, but will
not independently warrant any Material.
Customer must prepay shipping and transportation charges for returned Products, and insure the shipment or accept the
risk of loss or damage during such shipment and transportation. Aeon Labs will ship the repaired or replacement products
to Customer freight prepaid.
-A
C C
Customer shall indemnify, defend, and hold Aeon Labs and Aeon Labs' affiliates, shareholders, directors, officers,
employees, contractors, agents and other representatives harmless from all demands, claims, actions, causes of action,
proceedings, suits, assessments, losses, damages, liabilities, settlements, judgments, nes, penalties, interest, costs and
expenses (including fees and disbursements of counsel) of every kind (i) based upon personal injury or death or injury to
property to the extent any of the foregoing is proximately caused either by a defective product (including strict liability in
tort) or by the negligent or willful acts or omissions of Customer or its ofcers, employees, subcontractors or agents, and/
or (ii) arising from or relating to any actual or alleged infringement or misappropriation of any patent, trademark, mask
work, copyright, trade secret or any actual or alleged violation of any other intellectual property rights arising from or in
connection with the products, except to the extent that such infringement exists as a result of Aeon Labs' manufacturing
processes.
IN NO EVENT SHALL AEON LABS BE LIABLE FOR ANY INDIRECT, INCIDENTAL, PUNITIVE, SPECIAL OR CONSEQUENTIAL
DAMAGES, OR DAMAGES FOR LOSS OF PROFITS, REVENUE, OR USE INCURRED BY CUSTOMER OR ANY THIRD PARTY,
WHETHER IN AN ACTION IN CONTRACT, OR TORT, OR OTHERWISE EVEN IF ADVISED OF THE POSSIBILITY OF SUCH
DAMAGES. AEON LABS' LIABILITY AND CUSTOMER'S EXCLUSIVE REMEDY FOR ANY CAUSE OF ACTION ARISING IN
CONNECTION WITH THIS AGREEMENT OR THE SALE OR USE OF THE PRODUCTS, WHETHER BASED ON NEGLIGENCE,
STRICT LIABILITY, BREACH OF WARRANTY, BREACH OF AGREEMENT, OR EQUITABLE PRINCIPLES, IS EXPRESSLY
LIMITED TO, AT AEON LABS' OPTION, REPLACEMENT OF, OR REPAYMENT OF THE PURCHASE PRICE FOR THAT PORTION
OF PRODUCTS WITH RESPECT TO WHICH DAMAGES ARE CLAIMED. ALL CLAIMS OF ANY KIND ARISING IN CONNECTION
WITH THIS AGREEMENT OR THE SALE OR USE OF PRODUCTS SHALL BE DEEMED WAIVED UNLESS MADE IN WRITING
WITHIN THIRTY (30) DAYS FROM AEON LABS'S DELIVERY, OR THE DATE FIXED FOR DELIVERY IN THE EVENT OF
NONDELIVERY.
THE INDEMNITY AND WARRANTY IN ABOVE ARE EXCLUSIVE AND IN LIEU OF ALL OTHER INDEMNITIES OR WARRANTIES,
WHETHER EXPRESS OR IMPLIED, INCLUDING THE IMPLIED WARRANTIES OF MERCHANTABILITY AND FITNESS FOR A
PARTICULAR PURPOSE.
FCC NOTICE (for USA)
THE MANUFACTURER IS NOT RESPONSIBLE FOR ANY RADIO OR TV INTERFERENCE CAUSED BY UNAUTHORIZED
MODIFICATIONS TO THIS EQUIPMENT.SUCH MODIFICATIONS COULD VOID THE USER’S AUTHORITY TO OPERATE THE
EQUIPMENT.
STORE INDOORS WHEN NOT IN USE. SUITABLE FOR DRY LOCATIONS. DO NOT IMMERSE IN WATER. NOT FOR USE
WHERE DIRECTLY EXPOSED TO WATER.
This device complies with Part 15 of the FCC Rules. Operation is subject to the following two conditions:
This device may not cause harmful interference, and
1
This
device must accept any interference received, including interference that may cause undesired operation.
2
Warning
Do not dispose of electrical appliances as unsorted municipal waste, use separate collection facilities.
Contact your local government for information regarding the collection systems available.
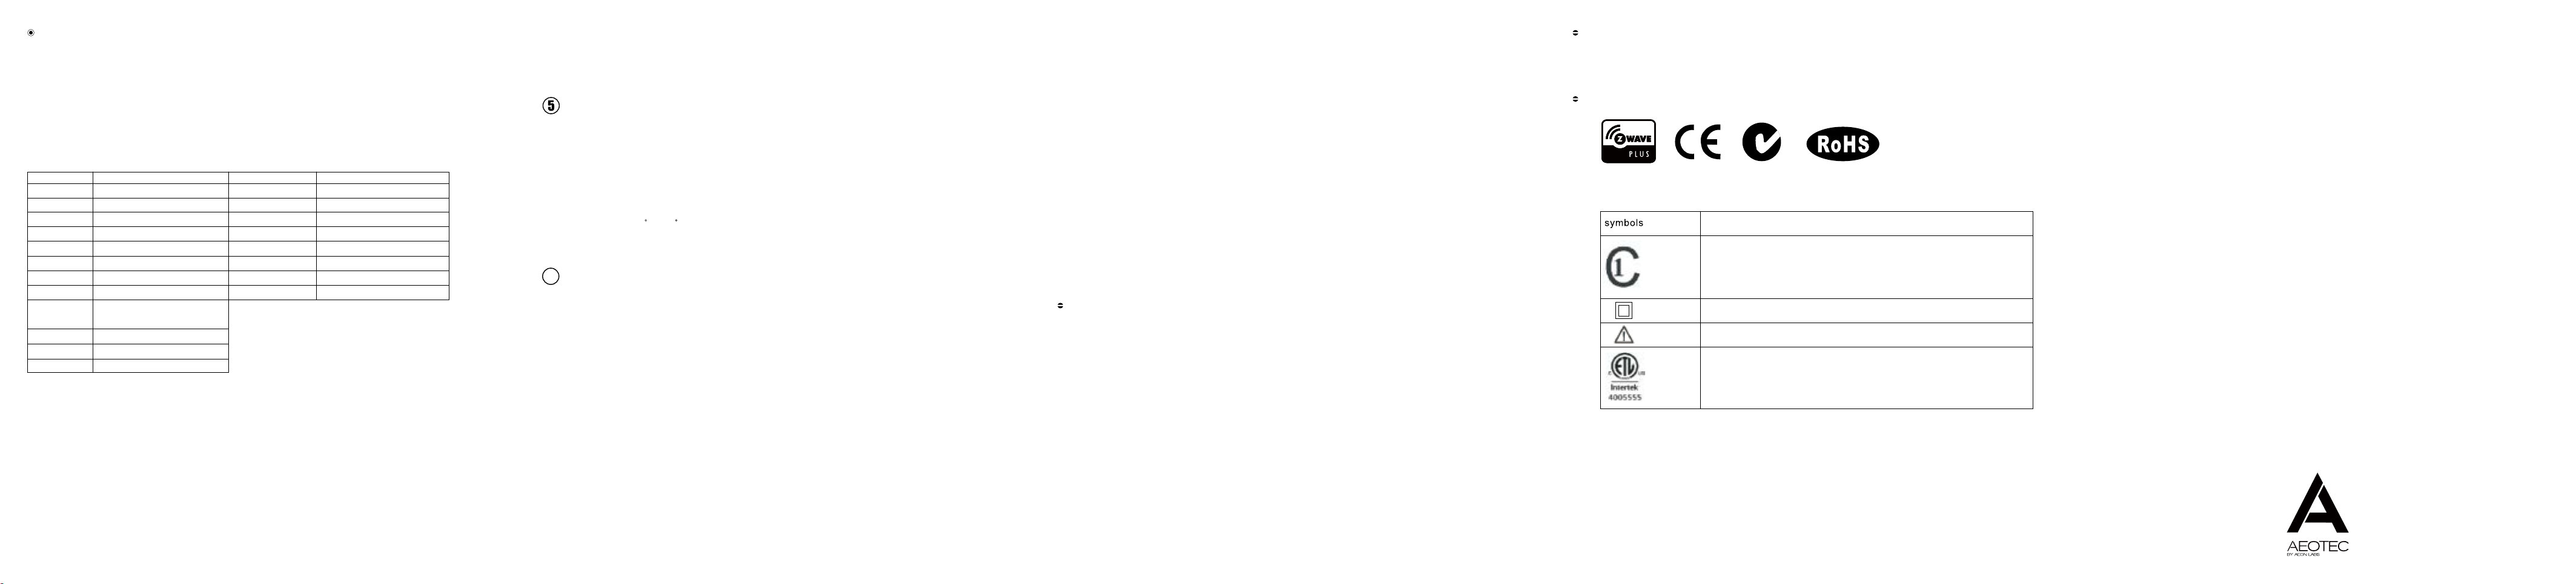
ertications (regional):
C
Z-Wave and Z-Wave Plus are registered trademarks of Sigma Designs and its subsidiaries in the United States
and other countries
This product has been tested to the requirements of CAN/CSA-C22.2 No.610101, second edition, including Amendment 1, or a later version of the same standard
incorporating the same level of testing requirements.
Double insulation
Caution, risk of danger
CONFORMS TO UL STD 61010-1, CERFIFIED TO CSA STD C22.2 NO.61010-1, IEC610102-032
Version:501005400001-AA www.aeotec.com
 Loading...