

Page 1
Ceranette MiniKitchen
USER MANUAL
892932007-A-0409
EN
Page 2

Contents
For the user
Safety information 3
Unpacking 4-5
- Damage
- Lifting the minikitchen
- Material marking
- Set-up
- Adjusting the doors
Use 6
- Refrigerator
- Glass ceramic hob
- Timer
Maintenance 7
- Defrosting
- Changing the bulb in the refrigerator
- When the refrigerator is not in use
- Cleaning
- Glass ceramic hob
In the event of a fault 8
For the installer
Installation 10
- Use
- Installation
- Setting up
Servicing 9
- Servicing and spare parts
- Customer Services
- Claims
- 2 -
Page 3

Safety information
Please carefully read through this user manual and instructions, advice and warnings before installing or
using the minikitchen. In order to avoid unnecessary mistakes and accidents, it is important that everyone
who uses the minikitchen is familiar with its use and safety functions. Please retain this user manual and
pass it on when the minikitchen is moved or changes owner, so that the new user or owner can read about
the various functions and safety instructions.
Installation and servicing
□ All the packaging must be removed before the
minikitchen is used for the first time. If the
packaging is not removed, both the appliance
and other property could be damaged.
□ All installation work and modifications to the
minikitchen must be carried out by an
authorised professional in accordance with the
instructions given in this user and installation
manual. Work carried out by unskilled people
could affect the operation of the minikitchen and
cause injuries and/or damage to property.
□ Make sure that the electricity supply to the
appliance has been isolated during repairs and
maintenance work by removing the plugs from
the wall sockets or removing the fuse from the
fuse panel.
□ The minikitchen is heavy take care when
moving it.
□ Make sure that the minikitchen does not rest on
the power cables.
□ If a power cable is damaged or needs to be
replaced by a longer cable, your authorised
Service Engineers should be contacted.
□ The minikitchen should be installed indoors and
kept at a room temperature of between +10°C
and +32°C, and preferably not in a busy
passageway/corridor.
□ Any servicing or repairs carried out on your
appliance should be completed by your
authorised service engineers. Only spare parts
provided by these companies should be used.
Never attempt to repair the minikitchen yourself.
Child safety
□ Please carefully dipose of any plastic bags used
in the packaging to prevent any danger to small
children.
□ The minikitchen must not be left unattended by
adults. Never let children play with the knobs or
touch any of the other controls.
□ Make sure that under no circumstances are
children allowed to touch the hob or cooking
vessels during use. Always turn the handles of
frying pans and casserole dishes inwards in
order to make access difficult for young
children. Remember that the heating zones of
the hob can remain very hot for a long time after
use.
Using the minikitchen
□ The minikitchen is intended for normal
household use only in accordance with the
terms and conditions outlined in this user
manual. If it is used for any other purpose, there
may be a risk of injury or damage to property.
□ Never keep flammable liquids stored in the
cupboard, e.g. lighter fluid, petrol, ether, etc.
□ When the refrigerator is switched off and not in
use, the door should be left slightly open. This will
reduce wear on the sealing strip and avoid bad
odours and the risk of fungal damage.
□ Avoid opening the refrigerator door in the event of
a power cut. If the freezer compartment is
completely full, the frozen produce will not be
affected by a short power cut (3-4 hours). If the
food produce has already started to defrost, it
should be consumed as soon as possible.
□ Never store bottles containing liquids in the
freezer compartment, as there is a risk that the
liquids will freeze and burst the bottle.
□ Never use a naked flame or heater/hairdryer for
defrosting purposes. If you use a casserole dish
with hot water, the dish should not touch the
plastic sides or the bottom of the refrigerator. The
frozen produce should be well-insulated during
defrosting in order to minimise any temperature
increase. Remember that if the temperature of
frozen produce rises during defrosting, the shelflife time of the produce can be shortened.
□ Never use a knife or other sharp object to remove
ice during defrosting. Such sharp implements can
easily damage the cooling element.
□ HINTS! When storing deep-frozen produce, the
storage time stated on the packaging for storage
at -12°C should not be exceeded. If frozen
produce has been defrosted, it should not be
refrozen but consumed as soon as possible.
□ Never stand on the sink unit. Do not steam-clean.
□ Deep-fat frying could cause a fire hazard. Never
leave the Ceranette MiniKitchen unattended when
deep-fat frying. In the event of a fire, extinguish
the fire using a pan-lid. Never use water. Switch
off the cooker hood immediately.
□ Never leave flammable objects on the hob’s
heating zones, even if they are never used.
Electrical appliances and associated cords must
always be kept at a safe distance from the hob’s
heating zones.
□ Always make sure that the hob’s heating zones
are switched off after use.
□ Warning! Never use a cracked ceramic glass
plate. During cleaning or in the event of
overboiling, liquids can penetrate down into live
components. Switch off the hob by removing the
plug from the wall socket or removing the fuse
from the distribution unit.
□ When the you wish to dispose of the minikitchen,
unplug it from the wall socket and cut the cables
at the output of the appliance. Children must
never be allowed to play with the loose cables.
Remove the refrigerator door in order to prevent
the danger of children becoming trapped inside.
- 3 -
Page 4

Unpacking
- 4 -
Page 5

Unpacking
Damage
Report any transit damage immediately, and within not
more than seven working days, to the Trinette
department on tel. 036 31 80 30 or fax. 036-31 80 25.
Check that the appliance is undamaged. Any damage,
faults or missing parts should be reported to your
retailer immediately.
Never leave packaging material lying
around so that children can play with it.
Lifting the minikitchen
Take care when lifting the kitchen. Incorrect lifting can
cause personal injury and also a risk of damage to the
appliance.
Material marking
All packaging material is environmentally friendly. The
various types of plastic are marked and can be
recycled:
■ ‘PE’ stands for polyethylene and concerns the
bag for the user manual.
■ ‘PS’ stands for extruded polystyrene and
concerns the impact-absorbing packaging
components.
The packaging is made from recyclable materials and
should be delivered to a recycling centre.
Set-up
The minikitchen should be placed horizontally on a
solid and stable base. The spirit-level should be
placed against the top of the front and side faces, and
also diagonally. If necessary, adjust using wedges
under the base. Secure the appliance to the wall
using screws through the wooden strip underneath
the sink.
Adjusting the doors
Sideways adjustment:
Turn screw A to the right or left.
Depth adjustment:
Carried out at the factory. Further adjustments can be
made by loosening screw B. For products with a
refrigerator, screw B is only accessible on the side of
the refrigerator when the door has been removed.
This can be done using the quick-release function on
the hinge.
Height adjustment:
Has been done at the factory (screws C + a
concealed locking screw).
Removing the doors:
This is easily done using the quick-release function at
the rear of the hinge.
The
that the product may not be treated as household
waste. It should instead be delivered to a recycling
centre for the recycling of electrical and electronic
components. By ensuring that the minikitchen is
disposed of in the right way, you contribute towards
preventing negative environmental and health effects
that could result if the appliance is disposed of as
ordinary waste. For more information about recycling,
contact your local authority or refuse collection service
or the shop where you bought the appliance.
symbol on the product or packaging states
- 5 -
Page 6

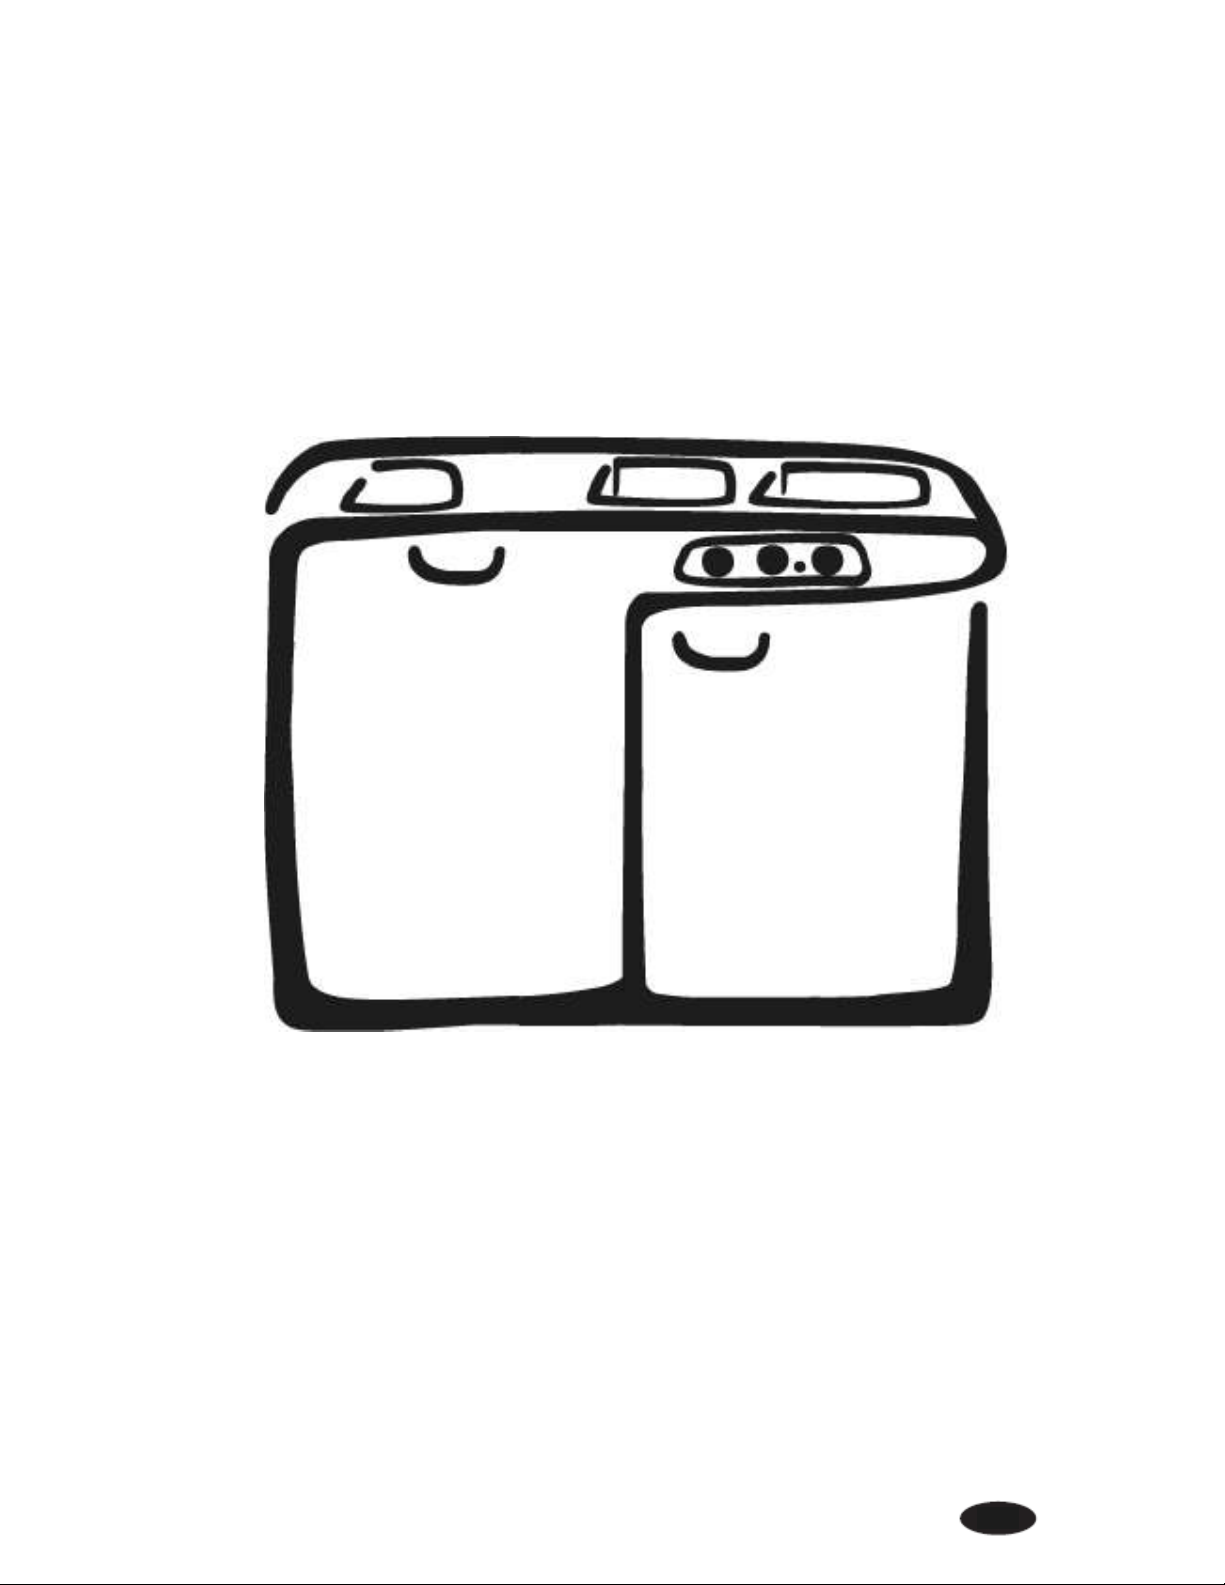
Use
Refrigerator
Turn the thermostat control to an middel setting and
then re-adjust to a temperature of +5°C after a few
days if necessary. The right-hand numbers on the
control correspond to the lower temperature in the
refrigerator.
Glass ceramic hob
The glass ceramic hob has two heating zones and a
heat warning indicator. During use, the heating zones
will fluctuate on and off in order to maintain the set
temperature.
The heating zones will switch on and off for varying
lengths of time depending on the temperature
selected. A high heat will result in longer periods when
the power is switched on. However, even on the
maximum setting, the zones will be switched on and
off by an overheating safety device when the heat
becomes too high/low.
The heat warning indicator consists of two lights,
which light up when the corresponding zone is too hot
to touch.
The hob has two heating zones, which are adjusted by
turning the knob which has 13 settings - 12
temperature settings and a ‘0’ position. The indicator
light will come on when a ring is switched on.
Using the timer function
All minikitchens with a glass ceramic hob also have
an inbuilt timer function. The heating zones cannot
become hot until a time has been set on the timer.
The timer can be set to a maximum of 60 min. If you
need the heating zones to be switched on for longer,
e.g. when cooking something that takes a long time,
you will have to reset the required time on the timer.
You can also set the required time on the timer if you
want the heating zones to switch off automatically.
After you have set the timer, set the required heat
setting using the heating zone knob. At the end of the
preset time, the zone will be switched off and the
indicator light will go out.
Remember to reset the heating zone knob to zero
when you have finished using the appliance.
aluminium
Pretreating the glass ceramic hob
Rub a thin layer of the abrasive cleaning agent
provided into the glass ceramic hob. Use a clean,
damp cloth or a piece of kitchen roll.
If necessary, remove any excess cleaning
agent. Any leftover cleaning agent could
become etched onto the hob the next time it
becomes hot.
Remember to only use cooking equipment with a flat
base in order to avoid poor heat contact. To save
energy and time, the base of the saucepan/frying pan
should be smooth and the same size as the heating
zone.
Handy hints
■ Aluminium has a good thermal conductivity, but
can leave silvery marks on the hob.
■ Copper has a greater tendency to become
damaged when hot than other materials.
■ Enamel bases (particularly coarsely patterned
bases) and saucepans/pots made from glass can,
if they are pulled forwards and backwards on the
hob, wear out the markings more easily than other
types of base.
■ Flakes of paint can fall off lacquered saucepans
and burn onto the hob.
When buying new saucepans and frying pans,
you should choose types that are recommended
for glass ceramic hobs wherever possible, e.g.
stainless saucepans with a sandwich base, i.e. a
base with layers of different metals.
- 6 -
Page 7

Maintenance
Defrosting
Frost on the cooling element is unavoidable. Frost
occurs when moisture in the air settles on the cold
cooling element. The Freezer compartment door for
the absorption refrigerator and the cover for the cold
compartment refrigerators should not be opened
unnecessarily, nor should the refrigerator door be left
open. The refrigerator door should also not be left
open. The refrigerator should be defrosted when the
frost layer reaches a thickness of 5-10mm. Manual
defrosting is carried out as follows:
■ Remove the frozen produce from the freezer
compartment and wrap it in newspaper for
example to insulate it against heat and place it
somewhere cool.
■ Turn off the refrigerator by turning the thermostat
knob to the left, to the ‘0’ position. Models
equipped with an absorption refrigerator can also
be switched off using the power controller, which
can be found at the bottom of the refrigerator on
the outside by the thermostat knob.
■ When the refrigerator has been defrosted, reset
the thermostat knob back to the required
temperature.
■ The melted water which has collected in a bowl
below the cooling element can be emptied and
the frozen produce put back in the freezer
compartment.
Changing the bulb in the refrigerator
The bulb is situated on the right inside the refrigerator
and can be changed as follows:
■ Switch off the power by removing the plug.
■ Remove the protective glass, which is secured by
a screw.
■ The new bulb should be marked 230V 10-12 W
and have an E14 fitting.
Glass ceramic hob
A dirty hob can prevent the transfer of heat between
your cooking equipment and the hob. After use, clean
the hob with a clean damp cloth. In the event of heavy
soiling:
■ Use the scraper blade to remove stains, etc.
■ Overboiled food/water should be removed
immediately before the hob has cooled. This is
particularly important in the case of spillages of
sugar and food dishes that contain sugar,
melted plastic and aluminium film.
■ When the heat warning indicator has
extinguished, clean the hob with a suitable
detergent for glass ceramic hobs.
■ Shake the bottle and spray a couple of narrow
strips onto the hob.
■ Rub clean with a damp cloth or a piece of
kitchen roll.
■ Remove any excess detergent with a clean
damp cloth; otherwise it can etch into the hob
the next time it becomes hot.
■ In order to avoid rainbow-like stains, the hob
must be dry the next time it is heated.
Never use scouring agents, abrasive
sponges, oven-cleaners, etc. on a glass
ceramic hob.
Cleaning the refrigerator
Switch off the power by removing the plug. Remove
the produce and place somewhere cool. Clean the
refrigerator internally and externally with a mixture of
water and a mild unperfumed detergent. Close the
door and switch on the power. After 10-20 minutes,
the produce can be put back in the refrigerator.
The sink and wooden fittings can also be cleaned
using a mixture of lukewarm water and a mild
detergent.
When the refrigerator is not in use:
■ Switch off the power by removing the plug.
■ Empty the refrigerator of produce.
■ Clean in accordance with the section entitled
“Cleaning the refrigerator”.
■ Leave the refrigerator door open slightly to
prevent bad odours from developing inside the
refrigerator.
- 7 -
Page 8

In the event of a fault
■ FAULT □ CAUSE
■ The heating zones will not heat up. □ Is the appliance plugged in?
□ Are the fuses intact?
□ Are the knobs for the timer and heating zones
switched on?
■ The refrigerator is not working properly. □ Is the thermostat knob set correctly?
□ Is the refrigerator door properly closed?
□ Is there a lot of frost in the freezer compartment?
Never make any modifications to the
product yourself. Incorrect modifications can
result in injury or faulty operation.
- 8 -
Page 9

Service
Service and spare parts
If a problem arises, first work through the check-list "If
Trinette kitchen is not working" to make sure that
the cause is not something which you can put right
yourself.
If the solution to the problem is one of the points in this
check-list, you may be charged for the cost of the callout. The same applies to faults caused by use of the
Trinette kitchen for purposes other than those for
which it was intended.
Service and spare parts for your Trinette kitchen can
be obtained from your dealer. You should quote the
model and product number on the product's data
plate. You can note these details here:
TYPE: ..........................................................................
MODEL:.......................................................................
PRODUCT NO.:...........................................................
SERIAL NO.: ..............................................................
Date of purchase .........................................................
Guarantee
1 year from the invoice date (keep the invoice). The
guarantee covers defects in workmanship and
materials occurring while being used for domestic
purposes in the U.K. The guarantee covers materials,
transport and wages.
- 9 -
Page 10

Installation
Use
The minikitchen is intended for normal household use.
It should be placed indoors in a room temperature of
between +10°C and +32°C.
Installation
Kitchens with a refrigerator and hob rings are supplied
with two power cords with earthed plugs for
connection to a single-phase 230V 10A power supply
for the hob and refrigerator. The maximum power
consumption is therefore 2300W.
The water and waste water systems should be
installed by an authorised plumbing and sanitary
engineer. The external diameter of the waste water
connection is 50mm.
Damage caused by incorrect installation is not covered
by the guarantee.
Setting up
The minikitchen should not be placed in a corridor or
anywhere else where it will be passed frequently.
The kitchen should not be placed with the refrigerator
side against a heat source, e.g. an element. It should
also not be placed in direct sunlight.
It must be placed so that the plug is accessible. The
appliance should be stable and horizontal.
The distance from the hob rings to a wall cupboard or
other flammable material should not be less than
45cm.
- 10 -
Page 11

- 11 -
Page 12

With reservations for possible changes
 Loading...