

Page 1
Kylskåp / Refrigerator / Frigorifero / Koelkast / Kühlgeräte / Réfrigérateur
BRUKSANVISNING
INSTRUCTION BOOKLET
ISTRUZIONI D’USO
GEBRAUCHANWEISUNG
GEBRUIKSAANWIJZING
NOTICE D’UTILISATION
818 17 32--00/2
ER8801C
SE
GB
IT
NL
DE
FR
Page 2
Safety instructions
Your new fridge may have other functions compared to your previous one.
Carefully read these instructions to learn how the appliance works and how to care for it. Keep the
booklet. It will come in handy if you later sell the cabinet or give it to somebody else.
These warnings are provided in the interests of your safety. Ensure that you understand them all before
installing or using the appliance. Your safety is of paramount importance. If you are insure about any of the
meanings or warnings contact the Customer Care Department.
For the User
· The cabinet is intended for keeping foodstuff in a
normal household as explained in this instruction
booklet.
· Do not keep explosive gases or liquids in the
refrigerator or freezer compartment. They may
explode and cause injury and material damage.
· Do not let sharp objects come into contact with
the refrigerating system on the back of and inside
the cabinet. If the refrigerating system is
punctured, the cabinet will be damaged and
foodstuff inside may spoil.
· Do not keep carbonised drinks or bottles in the
freezer compartment. The glass bottles may
break.
· The cabinet is heavy. The edges and projecting
parts of the cabinet may be sharp. Be careful
when moving the cabinet and always use gloves.
Child Safety
· Pay attention so that small children do not gain
access to the operating controls or the inside of
the cabinet.
Scrapping old cabinets
When discarding the cabinet, hand it over to a
recycling station. For more information, call your
local city office or your dealer.
GB
instruction
Contents
Safety instructions 9.................
Scrapping old cabinets 9.......................
Contents 9..........................
Control Panel 10..............................
Before use 10.........................
Using the fridge 10....................
To start the fridge and set the correct temperature 10.
Switching off 10..............................
Measuring the temperature 10...................
Cabinet interior 11............................
Hints and Tips 11.....................
Saving energy 11.............................
Protect the environment 11......................
Maintenance and Cleaning 11..........
Removing the ventilation grille 11................
GB
Cleaning 11..................................
Defrosting the fridge 12........................
To Change the Light Bulb 12....................
When the appliance is not in use 12...............
Something Not Working 13............
Guarantee Conditions 13.......................
Customer Care Department 13...................
Service and Spare Parts 14......................
Technical specification 14.............
Installation 14........................
Unpacking 14................................
Remove the transport supports 14................
Cleaning 15..................................
Installing the cabinet 15........................
Electrical connection 15........................
Door Reversal 16.............................
Eletrolux 818 17 32-00/2
9
Page 3

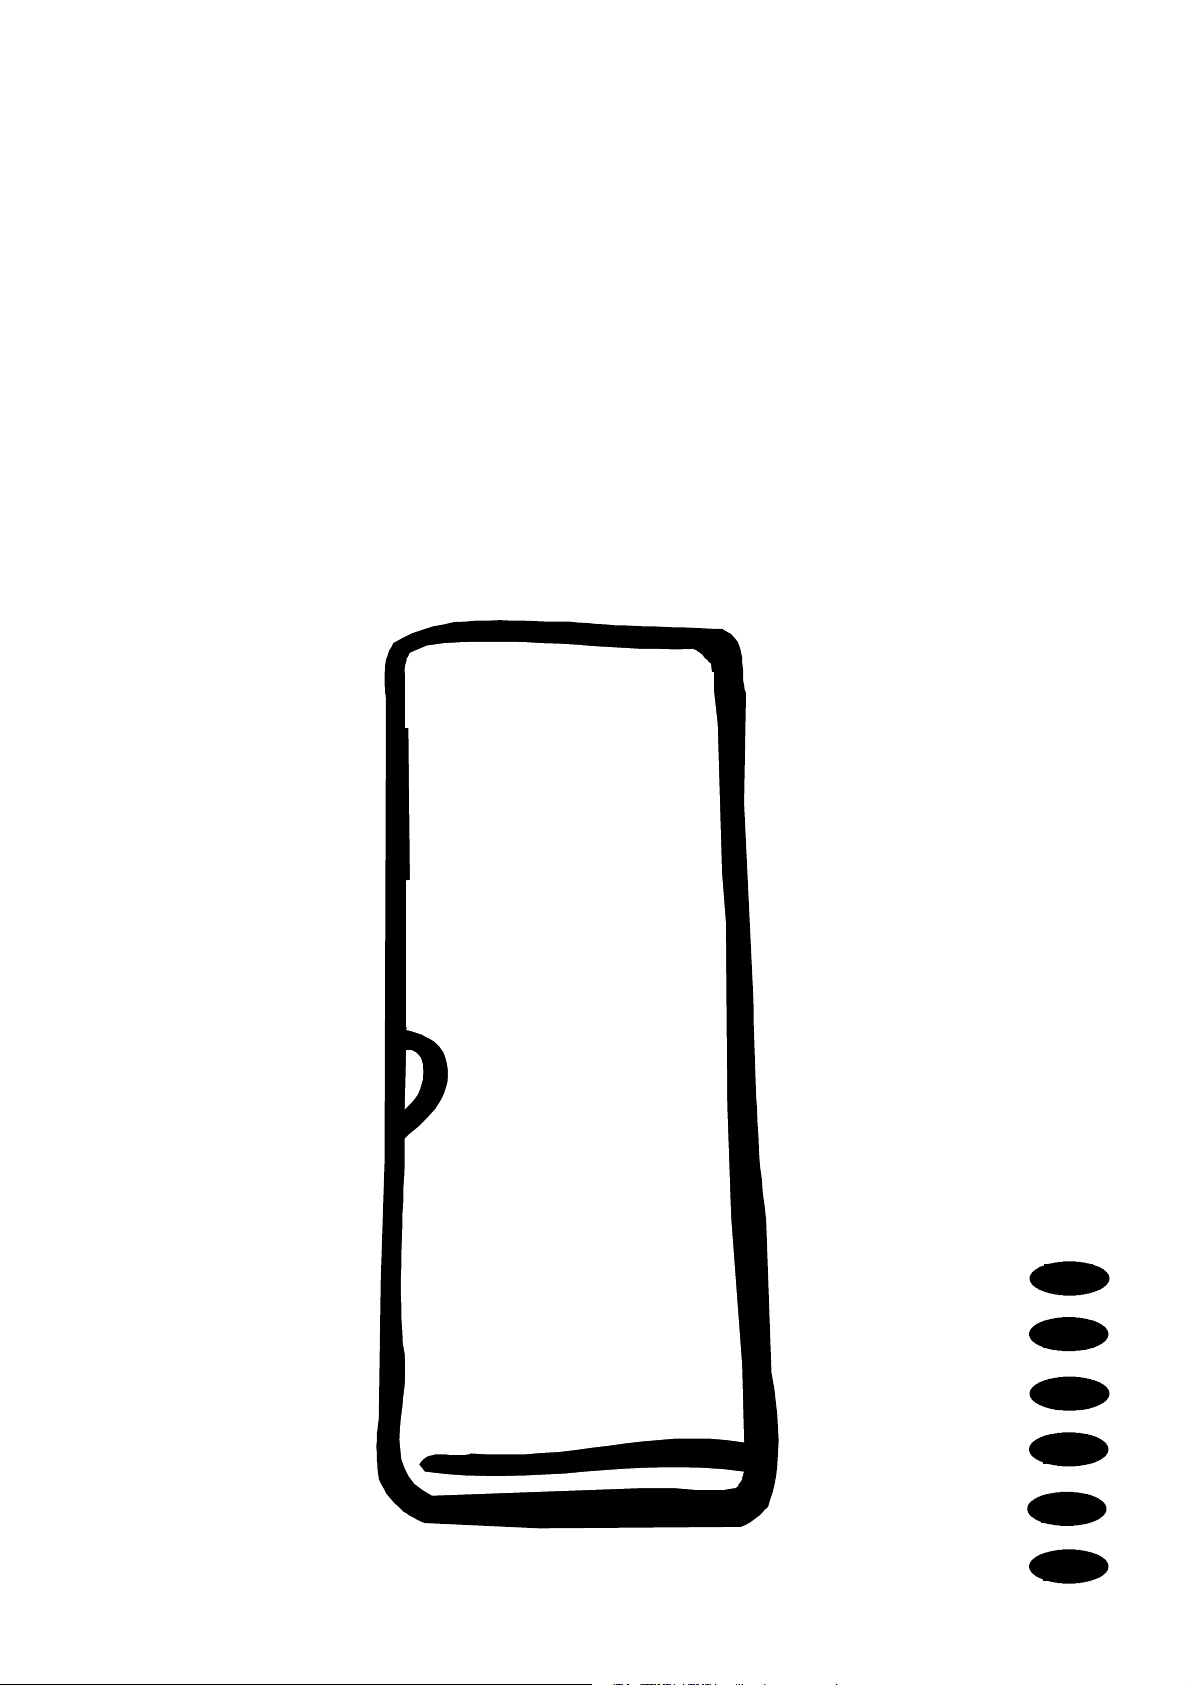
Control Panel
A. Thermostat control
Use to s witch on and set the desired temperature.
Before use
Position and clean the cabinet as explained in the
section "Installation".
Check that the drain hose at the rear of the cabinet
discharges into the drip tray.
Before inserting the power plug into the
outlet and switching on the cabinet for
the first time, leave it standing upright
for about 30 minutes, or for 4 hours if it
was transported horizontally. Otherwise
the compressor may sustain damage.
This time will allow the oil sufficient
time to return to the compressor.
Using the fridge
To start the fridge and set the
correct temperature
Turn the t hermostat control to the desired position.
MIN The lowest position of the thermostat control
results in the highest temperature inside the cabinet.
MAX The highest position of the thermostat control
results in the lowest temperature inside the cabinet.
H : Switched off.
Allow t he cabinet to run for a period of 24 hours
whenever the temperature setting is changed. This
will allow the temperature to stabilise inside the
cabinet.
GB
GB
Switching off
Turn the control anti-clockwise past the click
position to "H".
Unplug the power supply plug from the wall socket
or, alternatively, remove the fuse.
Measuring the temperature
If the temperature is measured using a standard,
single thermometer, this should be put in a glass of
water centrally placed inside the cabinet. This will
reflect the temperature inside the food products. Do
not place the thermometer hanging or lying directly
on the shelf.
Eletrolux 818 17 32-00/2
10
Page 4

Cabinet interior
Dividing plate
The dividing plate separates the chiller compartment
from the fridge. The dividing plate features a grille
that can be opened and closed to control the amount
of cold air entering the chiller compartment. When
the grille is opened, the chiller compartment will
become colder .
In fridges with a single door, the dividing plate can
be moved to increase the size of the refrigerator
compartment. The dividing plate should always be
placed under the drip channel and opposite a door
compartment.
Hints and Tips
Saving energy
· Pay careful attention to where the cabinet is
placed. See the section "Installation". When
installed correctly, the cabinet will consume less
energy.
· Try to avoid keeping the door open for long
periods, or opening the door too frequently as
warm air will enter the cabinet, and cause the
compressor to switch on unnecessarily often.
· Ensure there are no obstructions preventing the
door from closing properly.
· It is advisable to periodically clean the
refrigeration system at t he back of the appliance
with a duster or vacuum cleaner.
· Make sure the door gasket is complete and
always clean.
Protect the environment
· Hand over the cabinet packaging and discarded
fridges and freezers to a recycling station.
Contact your local city office or your closest
dealer for more information.
· When cleaning the cabinet, use a mild
washing-up detergent.
· Follow the advice in the section "Saving energy"
· The door gasket and coolant used in this
cabinet will not harm the ozone layer.
· All parts in the packaging can be recycled.
· The cabinet has been designed for easy
dismantling and subsequent recycling.
Maintenance and Cleaning
Removing the ventilation grille
The ventilation grille can be removed, e.g. to wash
the grille.
Unsnap the ventilation grille by pulling it toward
you.
GB
GB
Cleaning
Clean the cabinet at regular intervals.
Don't use detergents, abrasive powers,
high perfumed cleaning products, wax
polishes or cleaning products
containing bleach or alcohol when
cleaning the product
Clean out the drip channel inside the fridge at
regular intervals and ensure that the drip channel is
clear at all times. If blocked carefully clear using a
piece of flexible curtain wire inserted into the drain
outlet to remove the blockage.
Eletrolux 818 17 32-00/2
11
Page 5

Internal Cleaning
Clean the inside and accossories with warm wather
and bicarbonate of soda (5ml to 0,5 liter water)
Rinse and dry thoroughly.
Regularly check the door seals and wipe clean to
ensure they are clean and free from debris.
Disconnect the appliance from electricity supply.
External Cleaning
Wash the outer cabinet with warm soapy water.
Remove the ventilation grille (see the section
"Removing the ventilation grille") and vacuum-clean
under the cabinet. Twice a year pull out the cabinet
from the wall and vacuum-clean the back of the
cabinet, the refrigerating system and the compressor.
Defrosting the fridge
The fridge is defrosted automatically every time the
compressor stops. Frost formation can be prevented
by:
· not putting warm foodstuff inside the cabinet.
· avoiding frequently opening the door or keeping
it open too long.
· do not place foodstuffs directly against the cold
cooling plate.
When moving the cabinet, lift it by
the front edge to avoid scratching the
floor.
To Change the Light Bulb
The light is switched on automatically when the
door is opened. Before replacing the light bulb,
disconnect the power plug from the outlet.
Fold the grille backward by unsnapping the front
edge.
Use a bulb of the same type, E14 socket, maximum
ratingof25W.
When replacing the light bulb, use a bulb of the
same type as the original one. The glass must
measure at least 18 mm in diameter at the socket.
This will ensure close fitting of the bulb against the
rubber seal in the socket.
When the appliance is not in use
Disconnect the appliance from electricity supply.
Empty all foods and clean the appliance, leaving the
doors ajar to prevent unpleasant smells.
If the cabinet will be kept on, ask somebody to
check it once in a while to prevent the food inside
from spoiling in case of a power failure.
12
Eletrolux 818 17 32-00/2
Page 6

Something Not Working
Before contacting your local S ervice Force Centre check the following point:
Problem Possible cause / Remedy
It is too warm inside the refrigerator. Set a lower temperature.
Put food products in the right place inside the refrigerator. See
the chapter "Temperature inside the refrigerator".
Distribute the food products to allow cold air to circulate
around them.
Make sure that the door is completely closed and that the
insulating strip is complete and clean.
The temperature where the cabinet is placed is above normal
room temperature.
It is too cold inside the refrigerator. Set a higher temperature.
GB
There is water on the cooling plate inside
the refrigerator.
Water is running inside the refrigerator. Clean the water drain and drain hole inside the refrigerator
Water comes out on the floor. Place the drain hose at the back of the cabinet above the drain
The compressor operates continuously. Set a higher temperature.
Sound level in cabinet is too high. The refrigerating system will always produce some sounds. A
This is normal. During automatic defrosting, frost thaws on the
cooling plate.
using e.g. cotton swabs or a bottle cleaner brush.
Some food products could have been placed near the rear of the
appliance prevetung the water from running into the drain.
bowl. See the chapter "Before using the cabinet the first time".
Make sure that the door is completely closed and that the
insulating strip is complete and clean.
The temperature where the cabinet is placed is above normal
room temperature.
pulsing sound is heard when coolant is pumped inside the
cooling pipes. A ticking sound from the thermostat can be
heard when the compressor switches on and off. The sound
level varies depending on the operation of the cabinet.
If you feel the sound level is incorrect:
Make sure the pipes at the back of the cabinet not touch each
other. Carefully bend them if they do.
If the cushion spacers (between the cabinet wall and pipes)
come loose, put them back in place again.
Carefully follow t he instructions in the chapter "Installing the
cabinet".
Guarantee Conditions
See Guarantee C onditions on the Registration Card.
Customer Care Department
Fore general enquiries concerning your Electrolux
appliance or futher information on Electrolux
products, you areinvited to contact our C ostumer
Care Department by letter or phone as follows:
Customer Care Department
Electrolux
Electrolux House
Hambridge Road
Newbury
Berkshire
RG14 5EP
Phone: 01635 521313
Eletrolux 818 17 32-00/2
13
Page 7

ServiceandSpareParts
In the event of your appliance requiring service, or
if oyu wish to purchase spare parts please contact
your local Electrolux Service Force Centre by
telephoning:
XXXXXXXXXXX
Your call be routed the Service Force Centre
covering your post code area. The address of your
local Service Force Center ids detailed in the
accompanying Customer Care Book.
Before calling out an engineer, please ensure you
have read the details under the heading "Something
Not Working"
When you contact the Service Center you will need
to give the following details.They will be found
inside your appliance.
MOD (modell):.....................................................
PROD.NO (model number):..................................
SER:NO (serial number):.......................................
Purchase date............................................................
Technical specification
Modell ER8801C
Volume Refridgerator 378 l
Width 595 mm
Height 1750 mm
Depth 600 mm
Energy consumption 248 kWh/year
Energy class B
Rated power 110W
Number of compressors 1
Installation
Unpacking
Unpack the cabinet and check that it is in good
condition and free of any transport damage. Notify
the dealer immediately of any damage. Hand the
packaging over for recycling. For more information,
contact your local city office or the dealer.
GB
GB
Do not allow children to play with the
packaging. The plastic film can cause
suffocation.
Remove the transport supports
Remove the tape and the transport supports from
· the door sides
· inside the door hinges
· the shelves
Remove the transport support on the glass shelf by
pushing the support forward along the edge of the
shelf until it stops. Take hold of the rear edge of the
glass shelf and pull the shelf and transport support
forward until the shelf tilts and the transport support
can be removed. Some models are fitted with a
silencing pad under the cabinet. Do not remove this
pad.
Eletrolux 818 17 32-00/2
14
Page 8

Cleaning
Wash the inside of the cabinet using lukewarm
water, a mild washing-up detergent and a soft cloth.
Installing the cabinet
To obtain the best performance from the cabinet,
ensure :
· the cabinet is placed in a dry, cool place and
is not exposed to direct sunlight.
· the cabinet is not placed close to a source of
heat, e.g. a cooker or dishwasher.
· the room in which the cabinet is placed
has a temperature of +16Cto+32C.
· the cabinet is level.The cabinet should not lean
against any wall. If necessary adjust the
feet using the adjustment spanner supplied.
· there is good air circulation around the cabinet
and that the air channels below and behind
the cabinet are not blocked. The ventilation
space above the cabinet must be at least 200 cm@.
The ventilation space can either be
a) directly above the cabinet, or
b) behind and above the top cupboard. In this case,
the space behind the cupboard must be at least
50 mm deep.
If the cabinet is placed in a corner and the side with
the hinges faces the wall, the distance between the
wall and the cabinet must be at least 10 mm to allow
the door to open enough so that the shelves can be
removed.
Check that the drain hose at the rear of the cabinet
discharges into the drip tray.
a)
b)
50mm
Electrical connection
Connect the cabinet to a grounded electrical outlet.
Voltage: 230 V.
Fuse: 10 A.
Refer to the rating plate on the left inside the
cabinet.
15
Eletrolux 818 17 32-00/2
Page 9

Door Reversal
1. Close the cabinet and disconnect the appliance
from the electricity supply.
2. Remove the ventilation grille. There is a part on
the grille that can be removed. Remove it and put it
on the other side.
3. Put the cabinet on a wooden block when it is laid
down. Later, when raising the cabinet, it will be
easier to grip under the cabinet thanks to the board.
1
2
3
4. On the upper part of the cabinet. Move the hinge
pin and cover washer.
On the lower part of the cabinet. Unscrew the hinge.
Move the hinge pin and plastic cover. Secure the
hinge on the other side.
5. Raise the cabinet and replace the ventilation grille.
6. Unscrew the handle. Carefully press in the plastic
plugs on the opposite side using a drift. Secure the
handle in the plug holes. Then press the supplied
plastic plugs into the holes to which the handle was
previously fitted.
7. Put the cabinet in position. Check that it stands
straight. See the section "Positioning the cabinet".
4
6
16
Eletrolux 818 17 32-00/2
Page 10

MARIESTAD DD--AV
 Loading...