

Page 1
Instruktionsbok, Bruksanvisning
Brugsvejledning, Liesituuletin, User manual
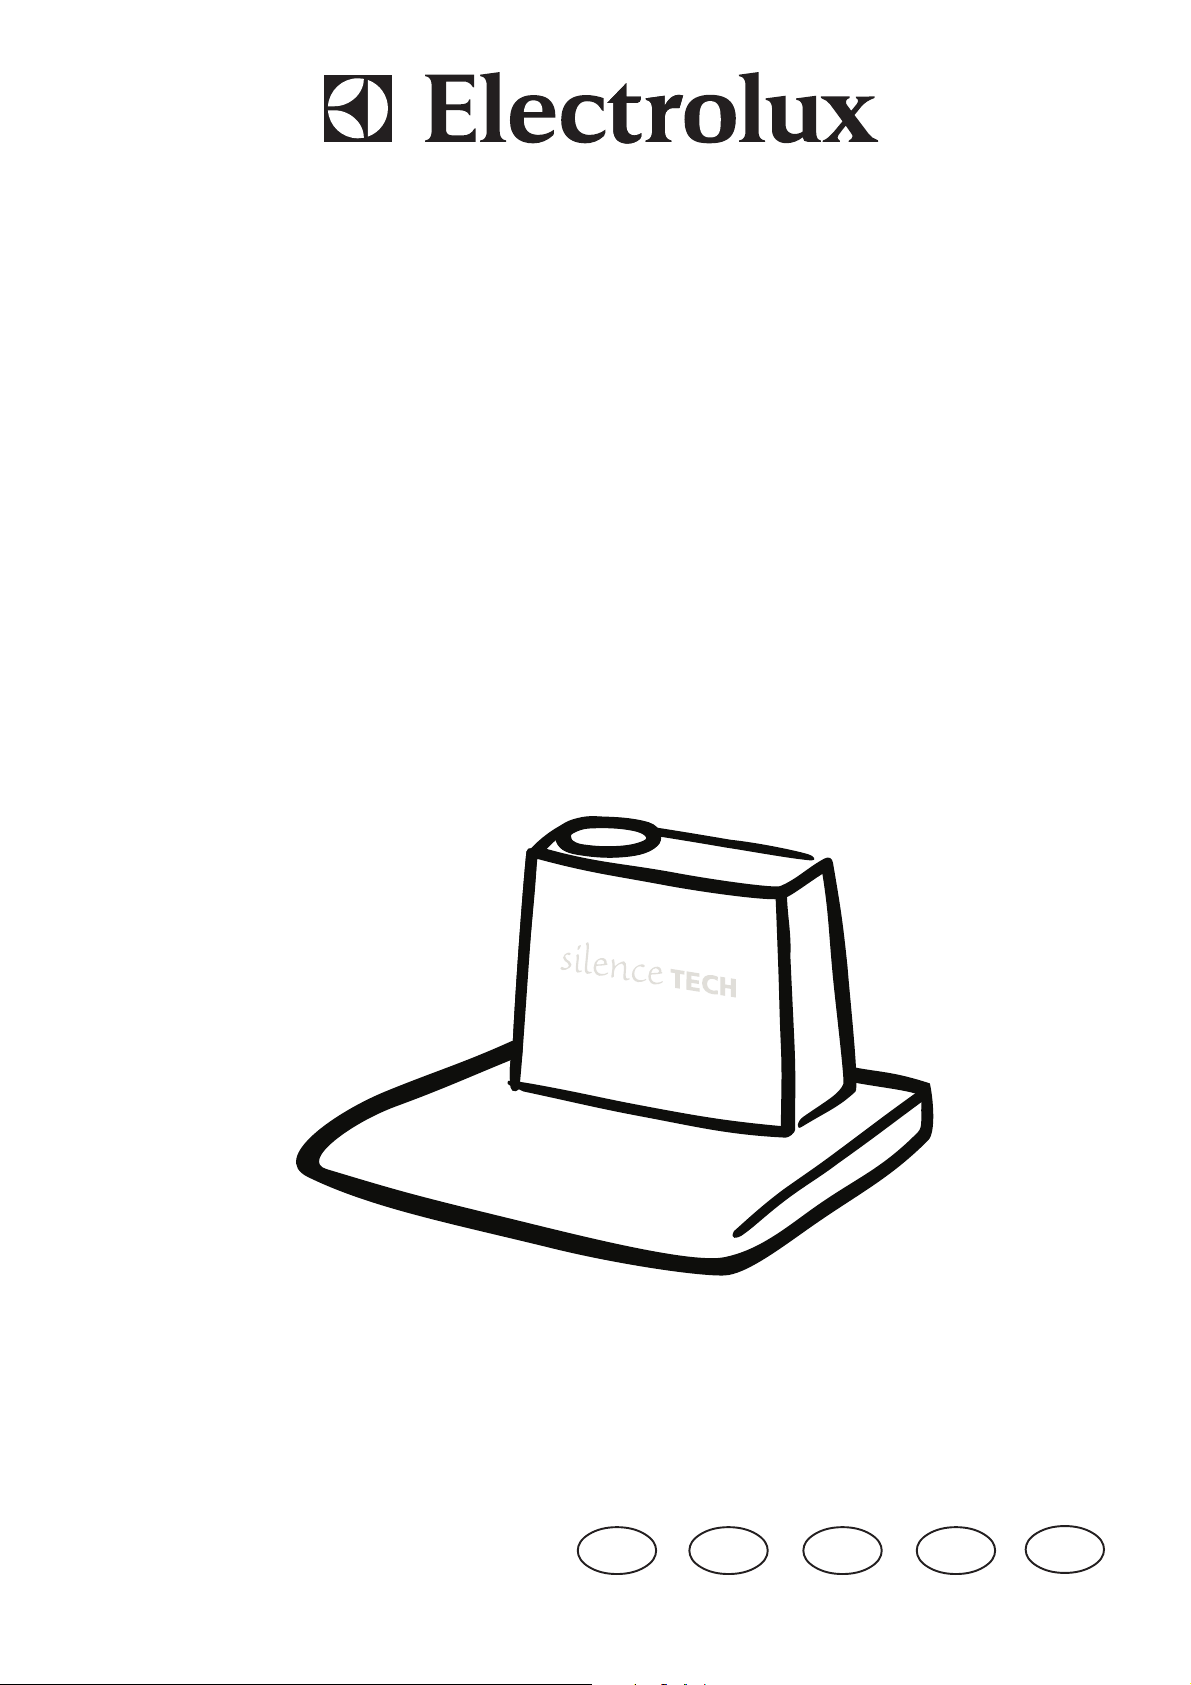
EFT 5466
EFT 6466
EFT 7466
S
N
DK
FIN
UK
Page 2
SERVICE
UK
The hood consists of modules that facilitate maintenance and the substitution of spare parts.
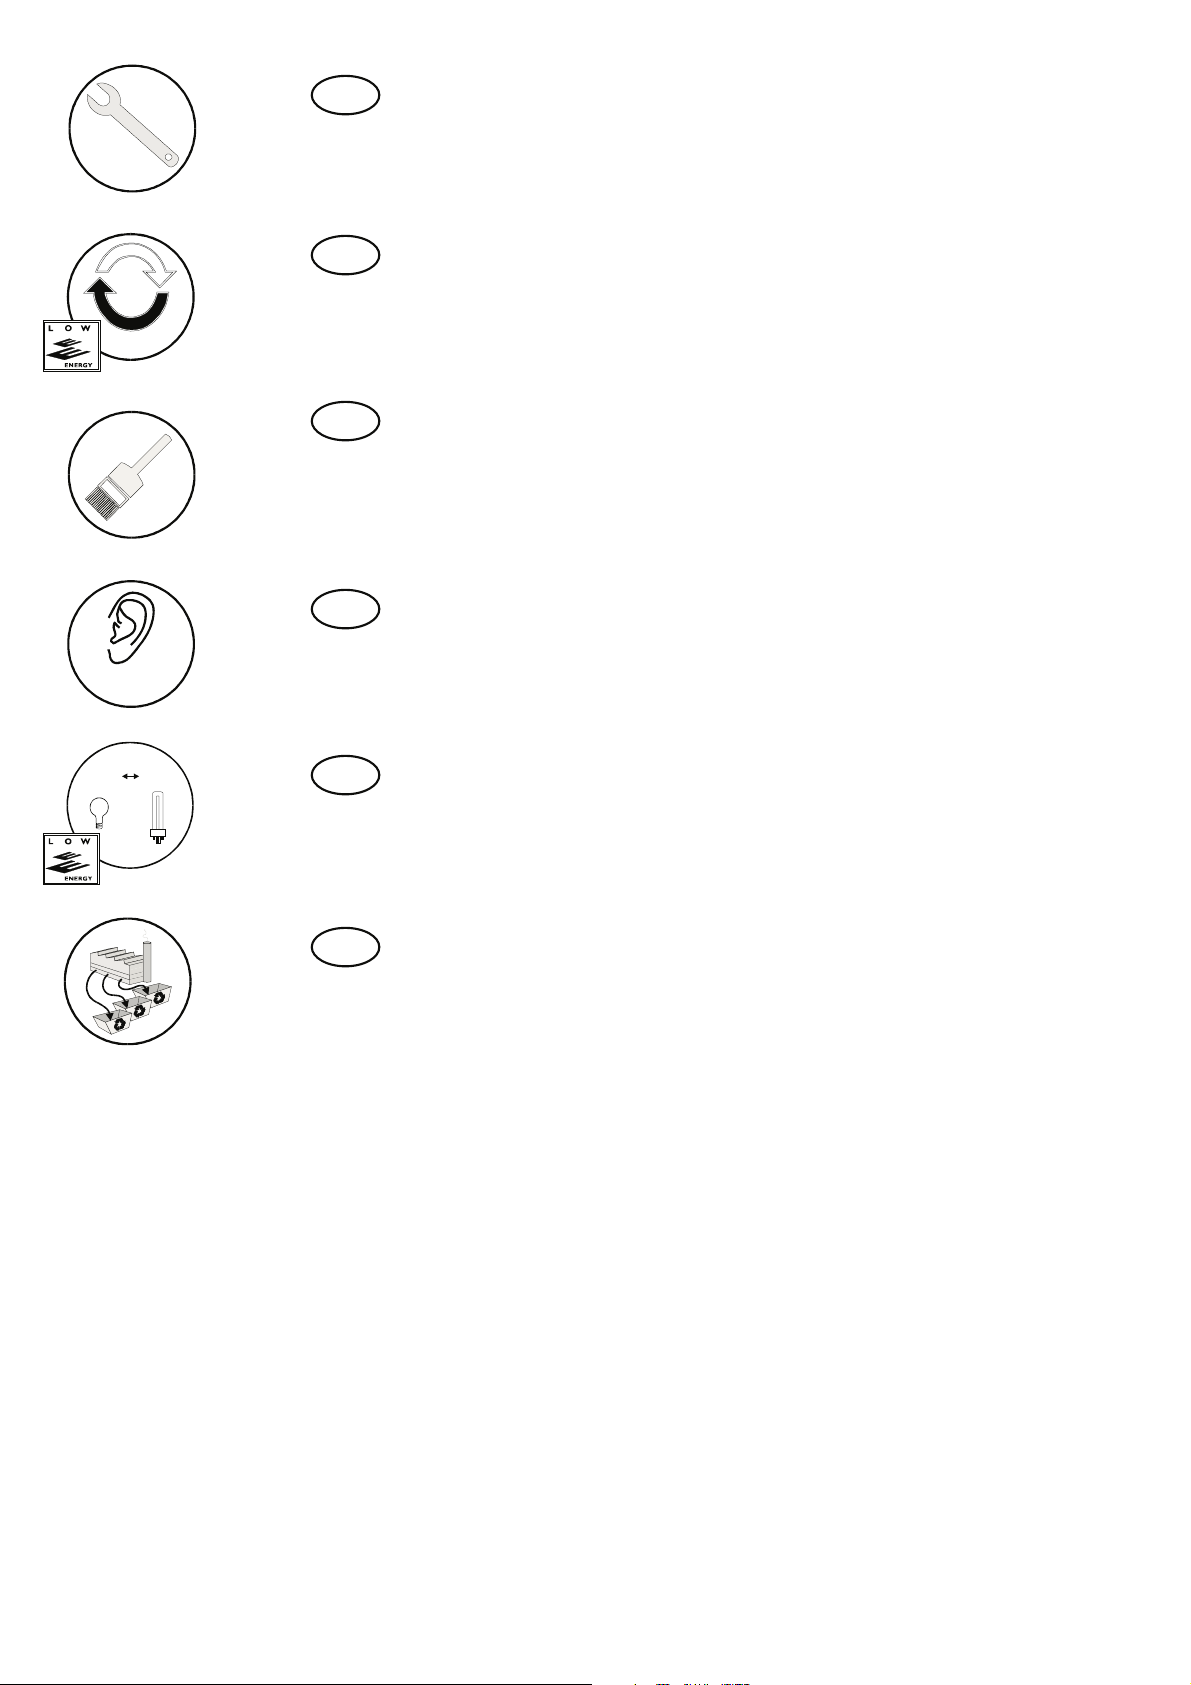
50 dBA
75 W 11 W
UK
UK
UK
UK
The hood can be equipped with a WASHABLE and extremely efficient active carbon filter.
The surface of the hood is treated with powder paint without solvents.
The hood is 2-3 times more silent than other hoods.
The hood is equipped with a low consumption 11 W neon tube equal to a normal 75 W lamp.
UK
The factory collects differentiated waste and separates metal, cardboard, wood, paper, and plastic.
Contents
Information about safety ................................................................35
Description of the hood .......................................................36
How to use the hood.................................................37
Maintenance and cleaning.................................................................38
When the hood does not function ............................................................39
Technical data................................................................................40
Installation............................................................................. 41
34
Page 3
Information about safety
The hood is destined uniquely for non-professional use in a domestic setting. It complies with international
safety quality regulations and requisites. The safety measures cannot, however, eliminate all risks of accidents.
Read the instructions, suggestions, and warnings carefully before installing and starting to use the hood.
Pay particular attention to the paragraphs with a triangular warning symbol to avoid damage to people or
objects. We recommend conserving the instructions booklet that must be supplied in case of sale or cession
of the hood to third parties.
During use
Never leave fried food, melted fat, paraffin or other inflammable liquids unattended on the cooking top.
In case of fire: turn the hood and the cooking top off immediately. ATTENTION! Put the fire out with a lid. Do not
use water.
Flambé cooking beneath the hood is forbidden because it could provoke a fire. Remember that overheated oil can
begin to burn spontaneously. Never leave a frying-pan unattended.
The anti-fat filter of the hood must be cleaned periodically to avoid fat dripping onto the cooking top and catching
fire. Read the chapter on Maintenance and cleaning in the instruction booklet.
Waste Disposal
Avoid accidents during the disposal of waste from the aspiration hood. Disconnect the plug from the electricity
socket and the supply cable from the entrance of the hood. Contact the local authorities for information about the
disposal of waste from the aspiration hood, or contact AB Elektroservice.
How to use the instructions
In the text you will find the following symbols that will guide you through the instructions:
Information about safety.
Environmental information.
Installation and assistance
Every eventual electrical connection must be carried out by a specialised electrician and the installation of the hood
must be carried out by a qualified technician. The installation of the hood by non-qualified personnel can lead to
malfunctioning of the hood and cause damage to people and/or objects.
Installation must be carried out in conformity with the Boverket regulations.
The hood must be installed at least 400 mm above the cooking top or electric plates, or at least 650 mm above
gas rings or gas tubes.
Check that the connection cable is not crushed during installation.
The hood is considered unconnected only when the plug or the fuse is disconnected.
Observe the rules and regulations concerning the elimination of fumes. The waste tube of the hood cannot therefore
be connected to a tube that is used for removing fumes from equipment supplied by power different to electricity,
e.g. a boiler or a fireplace.
35
Page 4
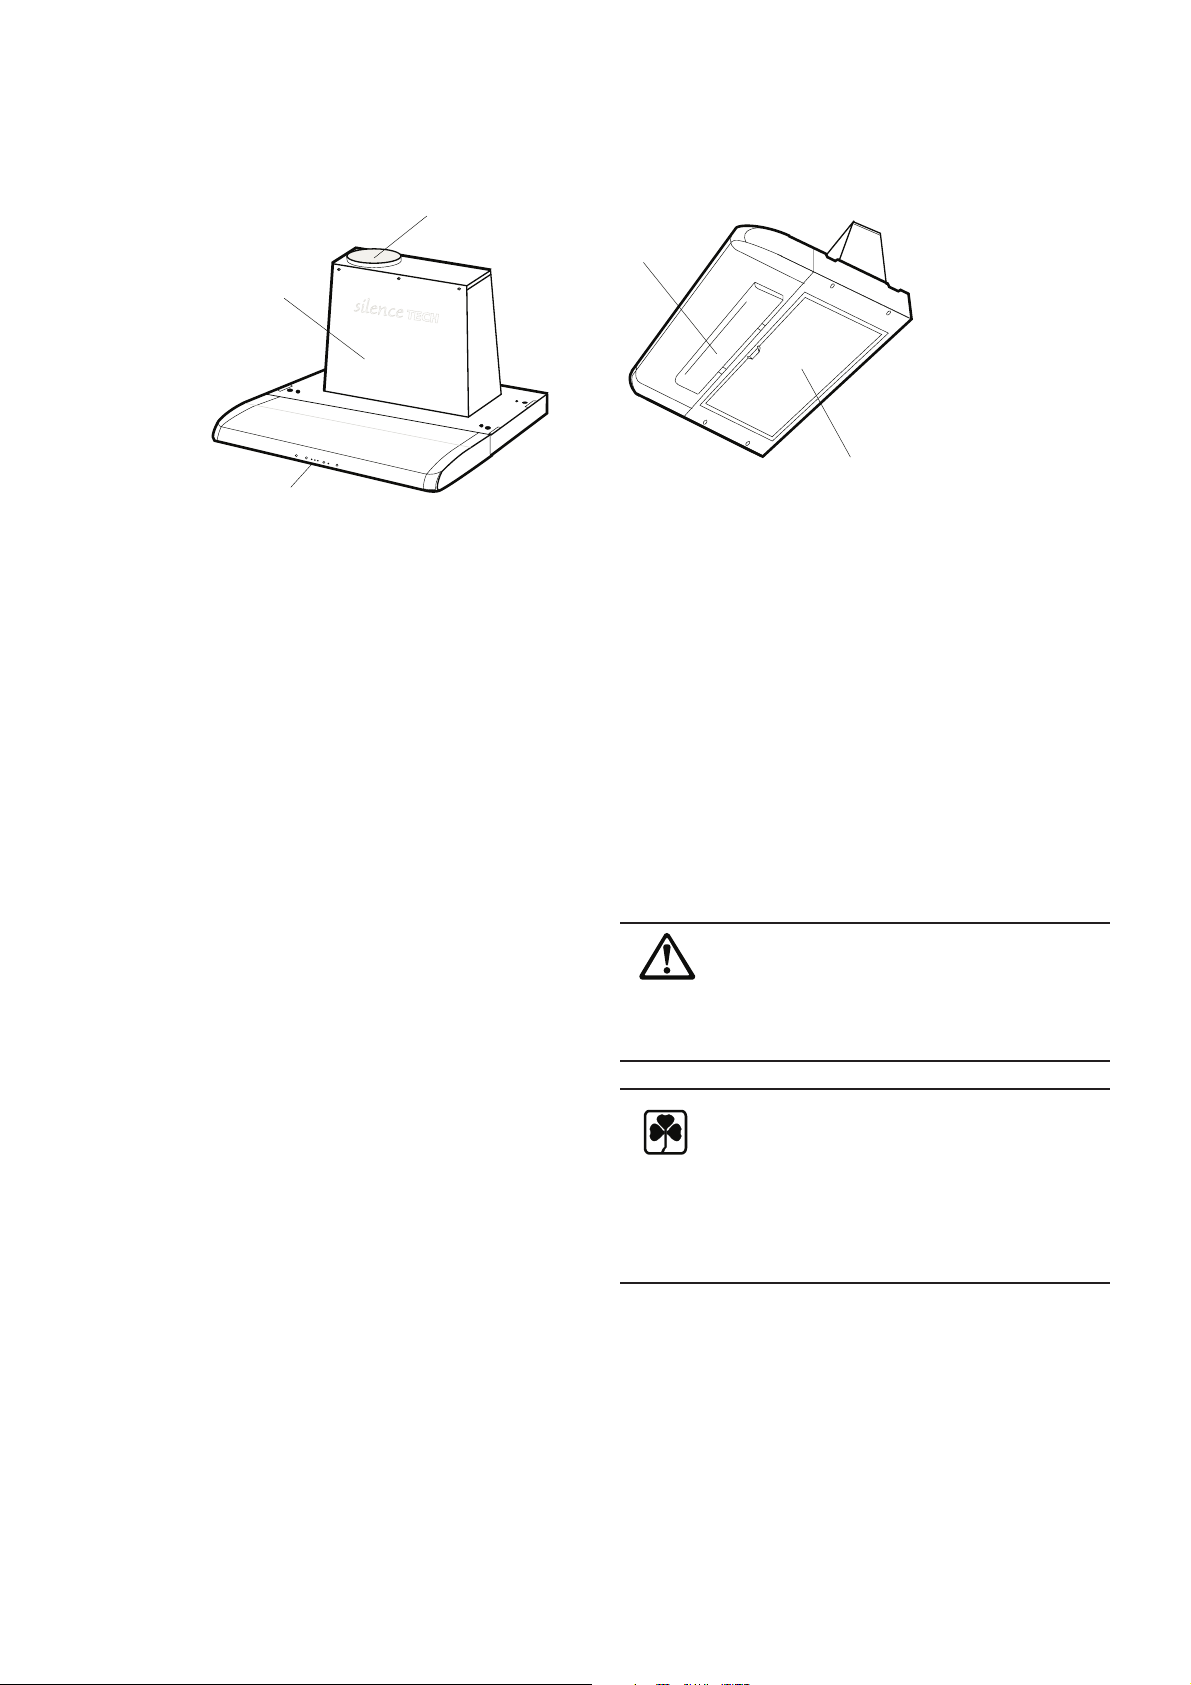
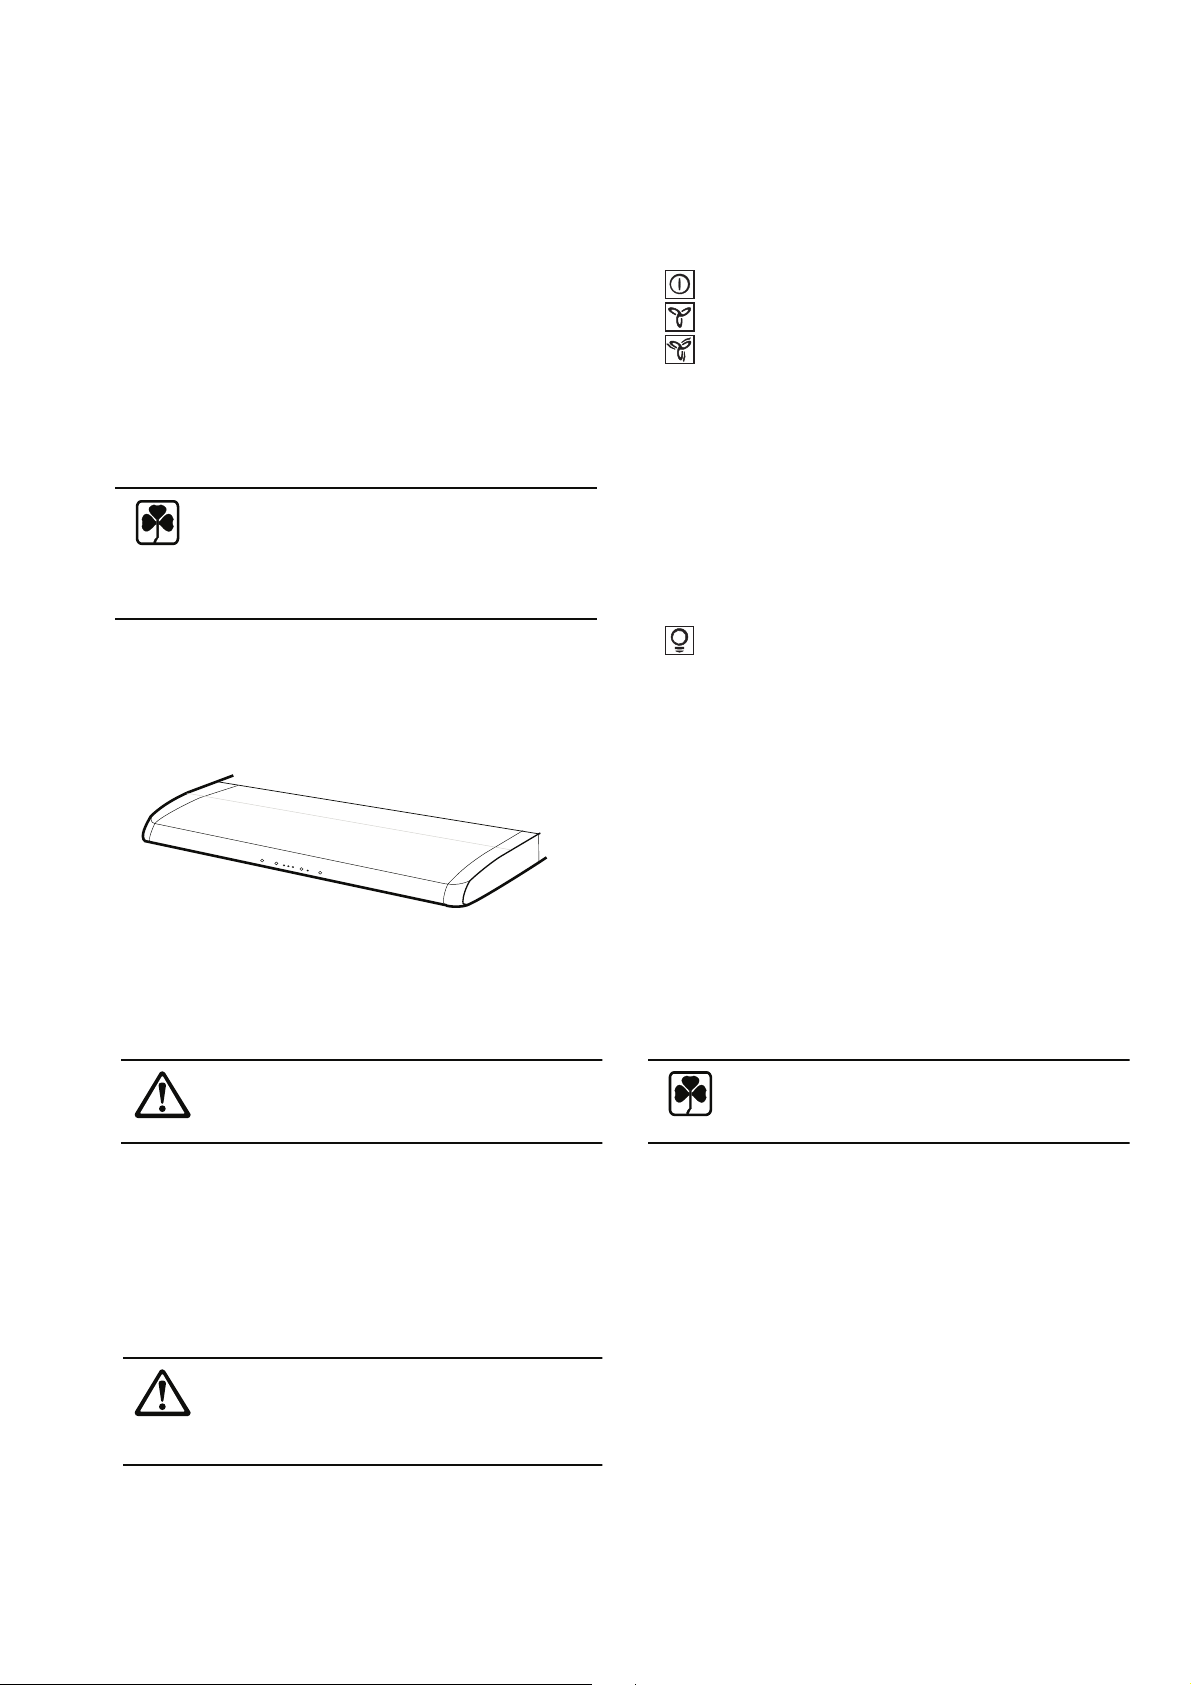
Description of the aspiration hood
The aspiration hood
1
4
2
5
1. Aspiration unit
2. Motor space
3. Anti-fat filter
4. Illumination
5. Control panel
3
Accessories
The following accessories are supplied together
with the hood:
Montage template (for making holes): Template
for fixing to the wall or under-wall unit (printed
on the packaging).
Montage kit, 4 4x60 mm screws, 4
5x30 M screws, 4 5.3x15 mm washers, 4
5.3x10 mm washers, 5 4 mm M nuts, 4
spacers, 4 dials, 2 brackets
and 2 valves.
Instructions booklet.
The following accessories can be ordered
from your retailer:
The flue assembly: to connect the hood to a
tube for the evacuation of fumes in conformity
with the Boverket regulations, use the flue
assembly that contains 1 evacuation tube, 2 tube
clamps and 1 joint for the ceiling with an
appropriate PNC 942 121 051 connection ring.
LONG LIFE active carbon filter : it is necessary
to use an active PNC 942 121 054 (50 cm), 942
121 054 carbon filter(60/70 cm) when the hood
is connected to a filtering system.
Ventilation grill: ventilation grill for the PNC 391
433 101 filtering version.
Functioning
Two modes are possible:
Aspiration of the air outside with a flue assembly
(optional) and a waste tube.
Filtration using active carbon filters (optional).
The aspiration hood cannot be connected
to the fume tubes of other apparatuses functioning
with sources of power other than electricity, e.g.
a boiler or a fireplace.
Using an active carbon filter. Using an active
carbon filter purifies the air in the hood and the
heated air remains in the house. It would be
sensible to use an active carbon filter during the
winter and the aspiration system during the
summer.
36
Page 5
How to use the hood
Correct ventilation
A vacuum is necessary in the kitchen for the
correct functioning of the hood.
It is important to keep the kitchen windows
closed and have a window open in an adjacent
room.
Important
If the hood is used together with an open
fireplace that takes air from inside the house,
a draught might occur that could bring fumes
into the room. Air the room by opening a window.
This does not concern the active carbon filter
version.
Do not use the hood at an excessive speed. The lower
speeds are sufficient for normal cooking.
The higher speeds must only be used if food has
been burnt or there is a particular concentration of
fumes.
The control panel
The speed control is on the front of the hood.
(see figure)
Best results are obtained using a low speed
in normal conditions and a high speed when odours
are more concentrated.
ON/OFF key.
Speed control key.
Intensive speed key.
Intensive speed lasts for 5 minutes. The time may vary
slightly and cannot be modified. Press the intensive
speed key again if you want to interrupt the intensive
speed before the established time limit. If the hood is
functioning when intensive speed is started, it will return
to the previously set speed once the time limit has
passed, or intensive speed has been interrupted.
If the hood is off when intensive speed is started, it will
automatically witch itself off at the time limit. It is,
for example, opportune to use intensive speed for the
evacuation of odours after having finished cooking.
Illumination key.
We advise switching the hood on a few minutes
before starting to cook so as to obtain the vacuum
in the kitchen and to leave it working at the end of
cooking for another 15 minutes until all fumes and
odours have disappeared.
Maintenance and cleaning
Disconnect the hood from the power before
any maintenance work, removing the plug
or the fuse.
Cleaning the hood
Clean the exterior of the hood with a wet cloth
and a neutral detergent. Never use cleaning
products that contain corrosive or abrasive agents
or inflammable substances. Check that eventual
residues of the cloth or other particles are not
deposited upon the hood.
Clean the filter often. Deposits of fat on the filter
and the walls of the evacuation tube are a fire
danger if, for example, a ring is left inadvertently
lit (or in the case of other kinds of overheating).
Frequently cleaning the filter reduces the load
on the motor and increases the aspiration
capacity of the hood.
Cleaning/changing the active carbon filter
Unlike other active carbon filters, this type of
active carbon filter can be cleaned and regenerated.
In normal conditions, the filter should be cleaned
every two months. The best way to clean the filter
is to put it into the dishwasher.
Use a normal detergent and select the highest
temperature. Wash the filter separately to avoid
residues of food remaining imprisoned in it and
cause successive bad smells. The filter must be
dried in the oven for 10 minutes to
reactivate the carbons. Also see the instruction
supplied with the filter. After about three years
use the filter should be substituted with a new
one because its capacity to absorb odours
has been reduced.
37
Page 6

Cleaning the anti-fat filter
Clean the filter every month or every two months,
according to how long the hood is used. The more
often the filter is cleaned, the more often will it be
able to retain the fats. To remove the filters (see
figure):
1. Grip the handle and press the filter backwards.
2. Lower the front of the filter and remove it forward.
The filter consists of aluminium reticules upon
which the fats are collected.
Clean the filter by immersing it in hot water or
putting it into the dishwasher. Wait until the filter is
dry before remounting it. Warning! Putting the filter
into the dishwasher may fade the filter.
Before any maintenance work, disconnect the hood
from the power, removing the plug or the fuse.
Cleaning the motor space
(a chimneysweep normally carries out this
operation)
In any case it is possible to carry out the cleaning
of the motor space as follows (see figure):
1. Loosen the three screws at the front and remove
the front door (A).
2. Remove the acoustic insulation (B).
3. Press the fastenings (D) on the plastic baffle
plate (C) upwards.
4. Remove the plastic baffle plate from the back
of the motor space (E).
Clean all the plastic and metal parts by hand with
hot water and a detergent for crockery. Clean the
acoustic insulation delicately with a wet cloth. The
montage must be carried out in the reverse order.
Important! Do not screw the three screws of the
front door up too tightly.
4
C
B
E
2
1
A
Changing the fluorescent tube.
The hood must be disconnected from the power
when changing the lamps.
1. Remove the glass of the lamp by pressing the
two fastenings forward (see figure).
2. Change the broken fluorescent lamp with a new
and equivalent tube.
To avoid damaging the fluorescent tube during
dismantling, protect the end of the fluorescent tube
with a finger and pull it delicately.
A
38
Page 7

When the hood does not
function
Before contacting the assistance service
Read the use instructions and check the following
points to verify whether it is possible to deal with
the fault yourself.
Is the fuse in the electricity plant intact?
Is the plug inserted?
Is the evacuation tube corrected mounted?
Is the anti-fat filter clean?
Is the fluorescent tube whole and correctly
inserted?
Assistance and spare parts
If the assistance service is called to solve one of
the above-mentioned problems, the client risks
having to pay the cost. This is so also if the product
has been used for a use other than that indicated.
The dealer or the Electrolux Service (see under
Domestic utensils, domestic appliances in the
Yellow Pages) provides assistance and spare parts
for the product. Indicate the model and the product
and series number shown on the technical data
plate.
Complaints
Swedish law on consumer protection is valid in the
case of sale to a client in Sweden.
Remember to keep the receipt for eventual
complaints.
Client service
For eventual questions concerning the functioning
or use of the product, please phone our client
service at number 0771-11 44 77, or send an email to our site.
www.aeg-hem.se
Changing the cable
In order to avoid danger, only the constructor or a
workshop authorised by him, or other personnel
with equivalent qualifications, are authorised to
change the damaged cable.
39
Page 8

Technical data
Model EFT 5466 EFT 6466 EFT 7466
Overall dimensions: Height
Width
Depth
Illumination Max 11 W PL Max 11 W PL Max 11 W PL
Grease filter 1 st.1 st.1 st.
Voltage 230 V 230 V 230 V
Protection Class 1 Class 1 Class 1
Totalt inkopplad effekt 106 W 106 W 106 W
Noise at maximum speed (DIN)
429 mm 429 mm 429 mm
499 mm 599 mm 699 mm
464 mm 464 mm 464 mm
50 dBA 50 dBA 50 dBA
180 mm
430 mm
45 mm
464 mm
145 mm
20 mm
6 mm
Ø 120 mm
420 mm
499 / 599 / 699 mm
40
Page 9

Installation
Opening the packaging
Warning! Check that the aspiration hood is not
damaged. Damage caused during transport must
be immediately communicated to the transport
company. Damage, defects, and eventual missing
parts must be immediately communicated to the
dealer. Dispose of the packaging material, keeping
it far from the reach of children.
Positioning
The hood can be mounted onto a wall, between
two wall units or to the base of a wall unit. Avoid
any protruding elements on the wall that press onto
the back of the hood, otherwise the position of the
motor may be modified, causing increased noise.
The hood must be installed at least 400 mm above
the cooking top or electric plates or at least 650
mm above gas rings or gas pipes (see figure).
Electrical connection
The electricity socket must be positioned above
the hood, inside a wall unit. The hood has a supply
cable and a plug provided with grounding and a
voltage of 230V.
Min
40
cm
Min
65
cm
Mounting the hood in the lower part
of the wall unit
1. Make a hole in the base of the upper wall unit.
Use the template printed on the packaging.
2. Hold the hood in the correct position and tighten
the screws (A)
with the spacers (B) inserted (see figure).
3. Mount the dials (C).
Mounting the hood between two wall
units.
1. Mount the support brackets (A) (see figure).
2. Mark the holes to make in the lateral wall units.
3. Mount the hood with 4 screws (B), washers, (C)
and nuts (D).
D
B
A
C
C
B
41
Page 10

Mounting the shutter
(Does not concern the filtering version).
The hood can be equipped with a shutter. The
shutter consists of two wings that are mounted on
the hood exit.
In a kitchen where the hood supplies the only source
of ventilation towards the outside, it is advisable to
cut the end of the wings. Mount the wings so that
the guide pins are positioned in the apposite
housings at the end of the air exit of the hood. Check
carefully that the fan-shaped drawing on the wings
is turned upwards. Press on the joint between the
wings with a pen or something similar in this way
making them bend upwards easily. If this is not so,
check whether one of the wings is turned around
or whether it has come out of its housing.
Mounting the active carbon filter
Valid only for the filtering version. The active carbon
filter (optional) for this hood is a LONG LIFE carbon
filter that must be mounted instead of the anti-fat
filter. The LONG LIFE carbon filter acts as both an
anti-fat filter and a carbon filter.
It is necessary to make a hole in the upper or front
part of the wall unit (min. 100cm²) where the hood
is mounted to allow the air to return into the kitchen.
Use a PNC 391 433 101 grill (optional) for recycling
the air.
Mounting the flue assembly (see figure)
Extend the connection tube. Note that a
connection tube too long or curved can halve the
capacity of the hood. Cut the tube if it is too long
and avoid unnecessary curves.
A complete flue assembly for connecting the hood can
be ordered as an optional.
The ventilation tube (A) is placed onto the flange
of the air exit (B) of the hood and fixed with a clamp.
Check carefully that the tube is as straight as
possible and does not prevent the movement of
the wings of the shutter.
The tube must be connected to the evacuation
conduit by the ceiling joint in sheet metal (C)
that is part of the flue assembly.
42
Page 11

Page 12

Page 13

Page 14

Page 15

Page 16

The Electrolux Group. The world´s No.1 choice.
The Electrolux Group is the world´s largest producer of powered appliances for kitchen, cleaning and outdoor use. More than 55 million Electrolux
Group products (such as refrigerators, cookers, washing machines,vacuum cleaners, chain saws and lawn mowers) are sold each year to a value of
approx. USD 14 billion in more than 150 countries around the world.
© Electrolux plc 2003
LI2KUA Ed. 02/05
 Loading...