

AEG 8290D-M, 8260D-M, 8260D-B User Manual

8290 D
Cooker hood
Operating and Installation Instructions
Contents
Safety instructions ..................................................... 2
Description of the cooker hood ................................... 3
Using the cooker hood ............................................... 4
Maintenance and cleaning.......................................... 5
What to do if .............................................................. 7
Service and Spare Parts ............................................. 8
Customer Care........................................................... 8
Guarantee Conditions................................................. 9
T echnical data.......................................................... 10
Installation.................................................................11
Safety instructions
These warnings are provided in the interest of your safety.Ensure that you
understand them all before installing or using the appliance. Your safety is of
paramount importance. If you are unsure about any of these meanings or
warnings contact the Customer Care department
Please retain this instruction book for future reference, particularly if the
appliance is sold or left to another person.
Installation and service
● Any electrical installation of the cooker hood must be carried out by a
qualified electrician and the hood itself must be installed by someone
with experience. Installation made by an unqualified person can lead to
loss of function of the cooker hood and possible damage to person and
and/or property.
● The cooker hood must be at least 50 cm above electric hobs or electric
ranges, or at least 65 cm above gas burners or gas ranges.
● Ensure that the power cable is not damaged during installation.
● The cooker hood is only in standby mode unless the plug or the fuse is
disconnected.
● The cooker hood cannot be connected to flues of other appliances that
run on energy sources other than electricity . Please , keep to the
provisions of official directives regarding fume discharge.
2
Use of cooker hood
● This appliance is for domestic use only in a normal household.
● Never leave any deep-frying, melting fat, paraffin or any other
inflammable liquid unattended on the hob. In the event of fire:
Immediately switch off the cooker hood and the cook er . Note! Cover
the fire. Never use water.
● Never do any flambé cooking underneath the cooker hood. It can cause
a fire. Remember that overheated fat may spontaneously ignite. Never
leave the frying pan unattended.
● It is essential that the grease filter is regularly cleaned to help avoid fat
dripping on to the hot zone and causing a fire. Read the section on
“Maintenance and Cleaning” in the instruction book.
Disposal
● Prevent accidents when disposing of your cooker hood. Disconnect the
power plug from the wall socket and cut the power cord at the hood
inlet.Contact your local authority for information on where to dispose the
cooker hood.
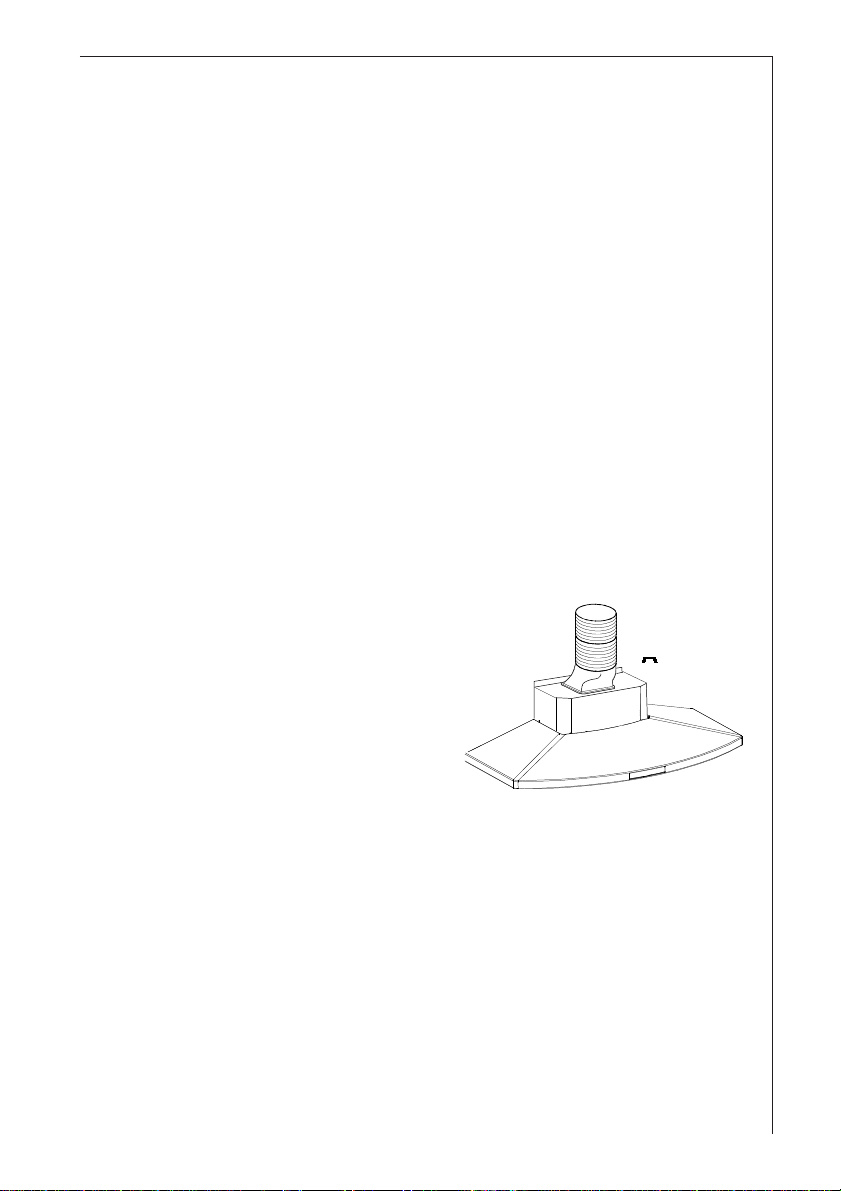
Description of the cooker hood
Functions
There are two possible systems:
● Extraction of air to the outside using an
optional venting kit and evacuation
duct.
● Recirculation using an optional carbon
filter.
Accessories
The following are included with the cooker hood.
● 1 Adaptor 150-125 mm
● 2 Tube clamps
● 1 hood canopy complete with controls, lighting and f an motor .
● 1 telescopic chimney stack formed by: U-shaped upper section and U-
shaped lower section.
● 1 reduction flange Ø 150-125 mm.
● 1 recirculation spigot.
● 1 plastic bag containing: 2 wall hooks to fix the canopy hood, 1 wall
bracket to fix the chimne y, rawl plugs, screws, and documentation.
The following can be ordered from your retailer:
● Carbon, KF8 filter, alternatively KFL 60/80. The carbon filter is to be used
when the hood is connected to the recirculation mode.
Fig. 1
3
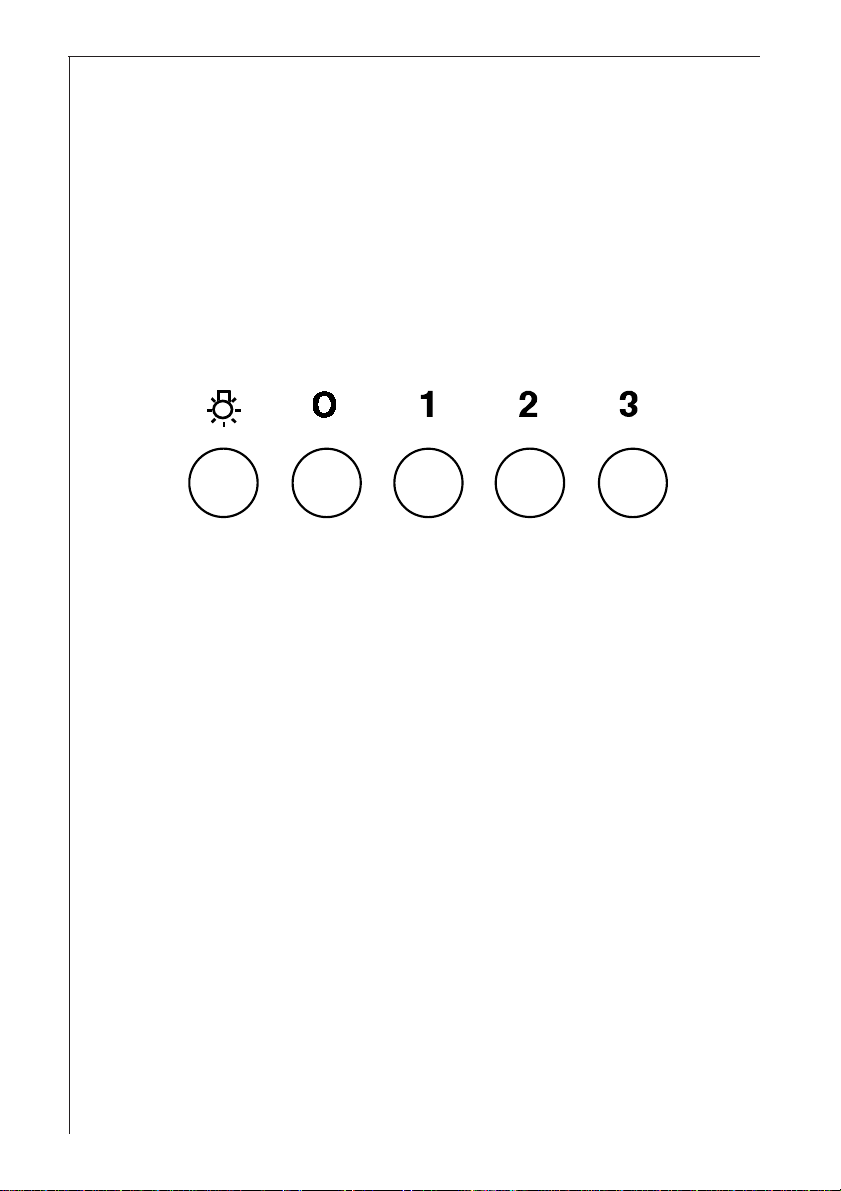
Using the cooker hood
The control panel
Best results are obtained by using a low speed for normal conditions and
high speed when odours are more concentrated.
The control panel has five push buttons, one for switching the lamp on/off, the
others for choosing the motor speed, 0-1-2-3. (Fig. 2).
Turn the hood on a few minutes before you start cooking then you will get
an underpressure in the kitchen. It should be left on after cooking for about
15 minutes or until all odours have disappeared.
Fig. 2
Correct ventilation
If the cooker hood is to work correctly there must be an underpressure in
the kitchen. It is important to keep the kitchen windows closed and have a
window in an adjacent room open.
Important to know
Not applicable for recirculation. Great care must be taken if the hood is
used at the same time as a burner or fireplace (e.g. gas, diesel, coal or
wood heaters, water heaters, etc.), as the hood will expel air which is
required by these other appliances. Attend to it b y opening a window . The
negative pressure in the room must not exceed 0,04 mbar to prevent fumes
being drawn back into the room by the cooker hood.
4
Maintenance and cleaning
Before doing any maintenance work on the hood, disconnect it
from the main supply by disconnecting the plug from the wall
socket or unscrewing the fuse.
Cleaning the hood
Clean the outside of the hood using a damp cloth and a mild detergent.
Never use corrosive, abrasive or flammable cleaning products.
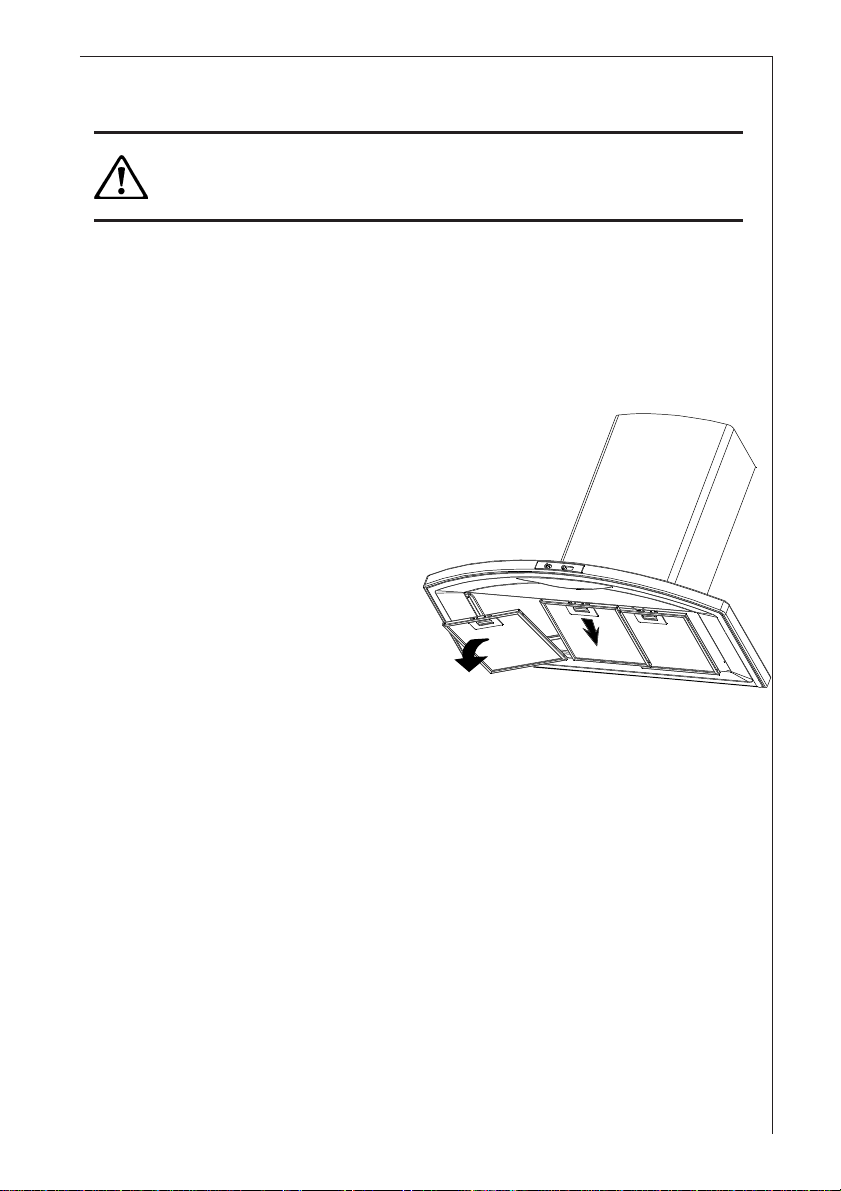
Cleaning the grease filters
Clean the filter every month or every
other month according to how much
the hood is used. The cleaner the
filters, the more grease they collect.
Remove the filters by (Fig.3):
● Push the handle towards the rear
of the hood.
● Pull the filter down at the front
and remove it forwards.
The filter is made of aluminium wires
on which the grease collects. Clean
the filter in hot water using a detergent,
or in a dishwasher. Let the filter dry
before putting it back. Note that a
dishwasher may discolour the filter.
Fig. 3
Changing and cleaning the carbon filter
Only applicable for recirculation. The carbon filters absorb smells and
odours.
Unlike other carbon filters, the LONGLIFE carbon filter can be cleaned and
reactivated. At normal use the filter should be cleaned every second month.
The best way to clean the filter is in the dishwasher. Use normal detergent and
choose the highest temperature (65º C). Wash the filter separately so that no
food parts gets stuck on the filter and later causes bad odours. To reactivate
the carbon, the filter should be dried in an oven for 10 minutes with a
temperature of maximum 100º C.
The KFL 60/80 carbon filter can not be reactivated, it has to be changed after
6-8 months of normal use.
5
 Loading...