

Installation Instructions for
SHD Series Drawers
CHECK FOR CONCEALED DAMAGE
FILE CLAIM WITH DELIVERING FREIGHT CARRIER
Drawers manufactured by ADVANCE TABCO are designed and constructed for storage.
Applications may include storage of flatware, small utensils, etc. ADVANCE TABCO does
not recommend product use for activities employing harsh and active chemicals.
Please consult factory regarding unusual applications.
Contents:
(1) Outer Drawer Chassis
(1) Inner Drawer Chassis
(1) Stainless Steel Drawer Pan
(4) 1/4-20 x 1/2" Bolts with Nuts
Tools Required:
(2) 7/16" Open end Wrenches
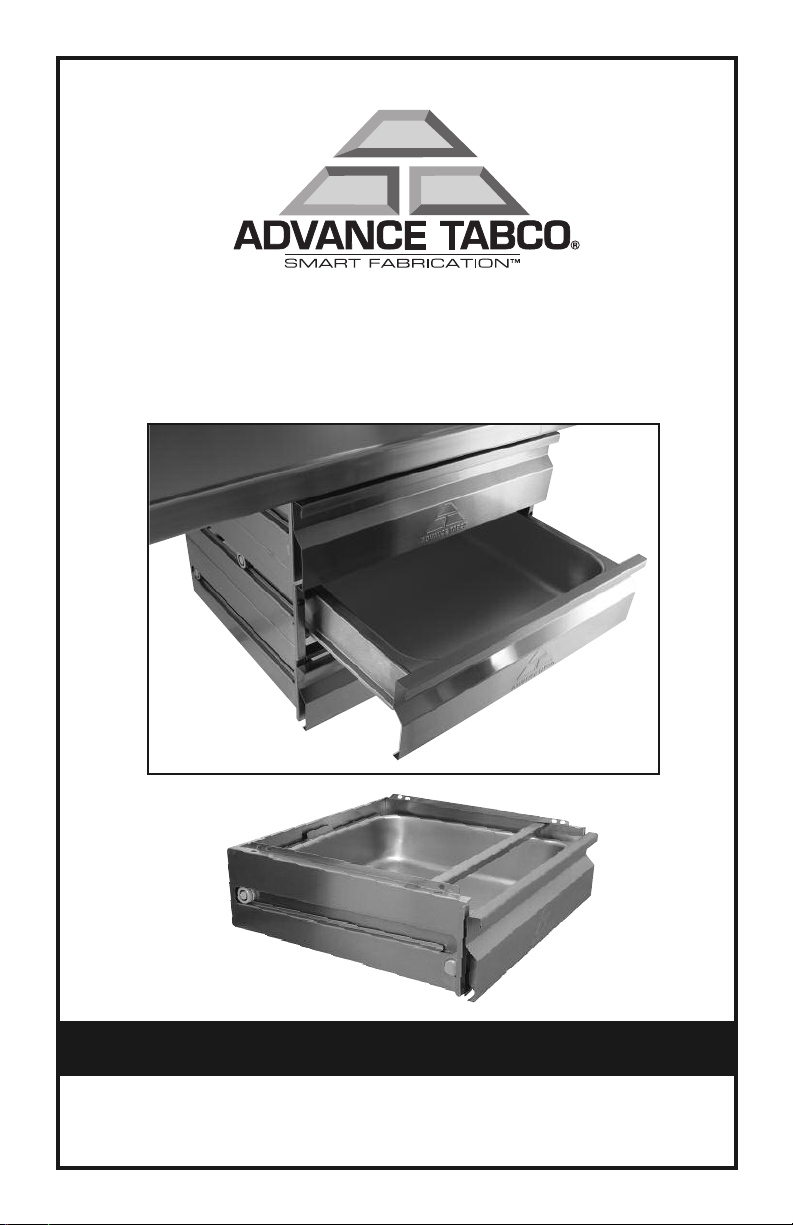
Step 1:
Fully extend Inner Drawer
Chasis and remove stainless
steel Drawer Pan (Figure 1).
Step 2: Remove Inner
Drawer Chasis by lifting up
on drawer front handle to
clear "Safety Stop"
(Figure 2).
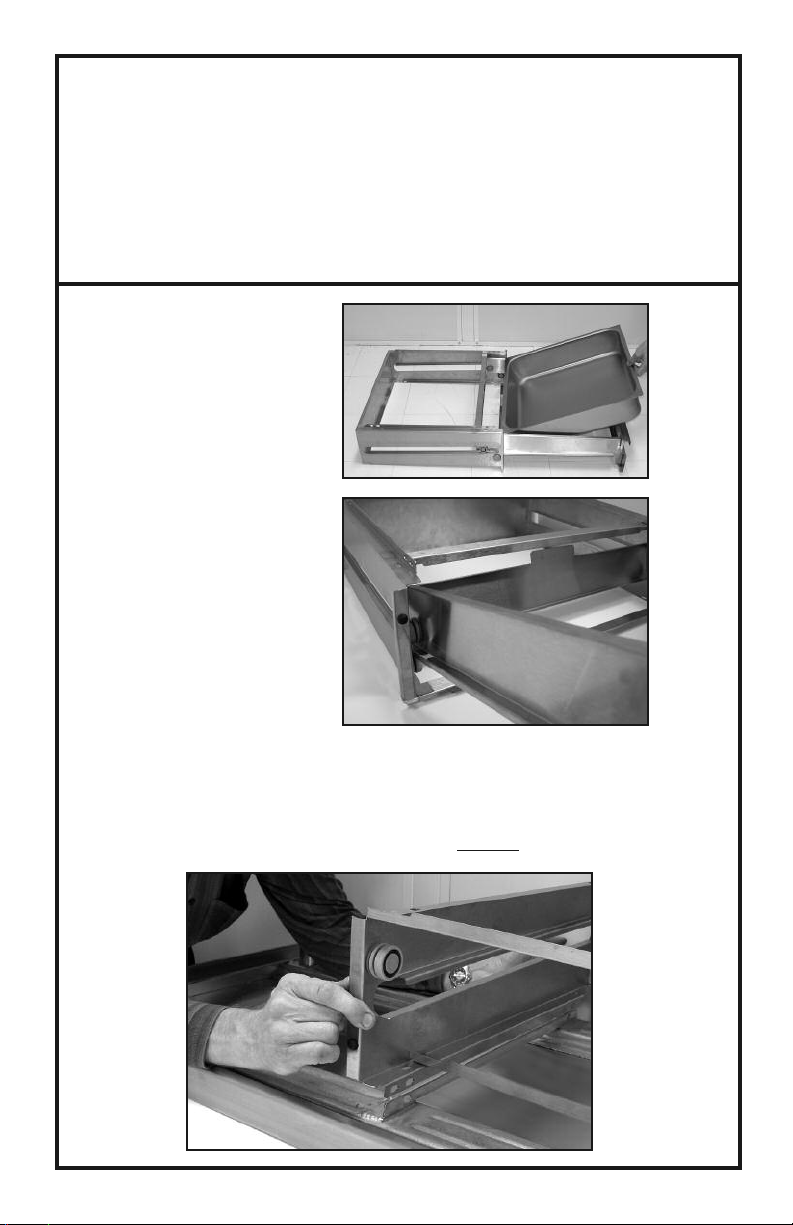
Step 3:
Install Outer Chassis to Work Table Drawer Angles under side of table top
(Figure 3). Use 1/4-20 x 1/2" bolts and nuts provided to secure.
NOTE: Outer Drawer Chassis mounts to the INSIDE of each Drawer Angle.
Figure 1
Figure 2
2
Figure 3
NOTE:
When installing on 24" wide Work Tables, use "Front" set of mounting holes.
When installing on 30" & 36" wide Work Tables, use "Rear" set of mounting
holes
(Figure 4a & Figure 4b).
30" & 36" Work Table
Mounting Holes
24" Work Table
Mounting Holes
(Figure 4a)
FRONT OF DRAWER SHOWN
30" & 36" Work Table
Mounting Holes
24" Work Table
Mounting Holes
(Figure 4b)
REAR OF DRAWER SHOWN
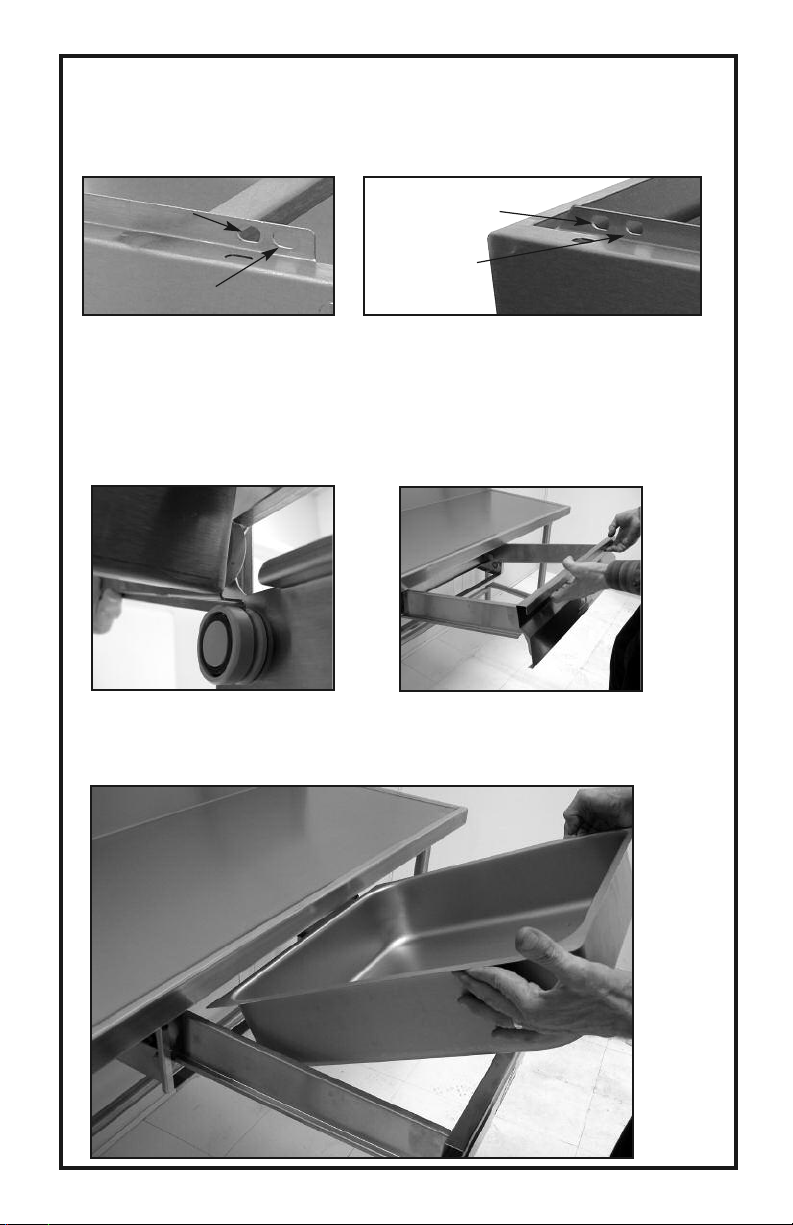
Step 4:
Install Inner Drawer Chassis. NOTE: Align rear Inner Chasis Bearing with
Flange of Outer Chassis (Figure 5).
Lift Inner Drawer Chassis up to engage "Safety Stop" (Figure 6).
Inner Chasis
Outer
Figure 5
Chasis
Figure 6
Step 4:
Extend Inner Drawer Chassis to Full open "locked" position and insert
stainless steel Drawer Pan (Figure 7).
Figure 7
3

Installation for Stacking
SHD Series Drawers
Step 1:
Remove stainless steel Drawer Pan and Inner Drawer Chassis from existing
SHD Drawer mounted to Work Table.
Step 2:
Remove Stainless Steel Drawer Pan and Inner Chassis of SHD Drawer to be
added (See Figure 1).
Step 3:
Align top flange of outer Chassis with bottom flange of existing SHD drawer.
Install 4 Bolts (provided) thru holes on both sides of Drawer secure with Nuts.
NOTE: Ensure sides and backs of SHD Drawers are in aligment before
tightening nuts (Figures 8 & 9).
Figure 8
Figure 9
Step 4:
Repeat procedure for additional drawer.
Step 5:
Reassemble Inner Chassis and Stainless Steel Drawer Pan per
Figures 5, 6 & 7.
4

OPTIONAL CONCEALED SIDE PANELS
1 Drawer:
TA-SHD-1 (Per side)
NOTE: Panels Are Sold Individually, Not In sets
Contents:
(1) Side Panel
(4) 1/4 - 20 x 1/2" Bolts with Nuts (Per Panel)
Tools Required:
(2) 7/16" Open End Wrenches
Step 1:
Remove Stainless Steel Drawer Pan and Inner Chassis (See Figure 1).
Step 2:
Align holes of Side Enclosure Panel with holes on top & bottom
flanges of outer Chassis. Insert 1/4 - 20 x 1/2" Bolt into holes and
secure with nuts (Provided). Push rear Flange of Concealed Side
Panel tight against back of SHD Drawer and tighten all bolts
(See Figures 12 & 13).
2 Drawers:
TA-SHD-2 (Per side)
3 Drawers:
TA-SHD-3 (Per side)
Figure 12 Figure 13
Step 3:
Reassemble Inner Chassis and Stainless Steel Drawer Pan
(See Figures 5, 6 & 7).
5

Installation for
TA-90 DRAWER ADAPTER
Contents:
(2) Drawer Angles
(4) Self Tapping Screws
Step 1:
Turn table top upside down - Position Drawer Adapter (TA-90)
at desired location.
NOTE: Position Drawer Adapters 21-1/2" apart (outside angle to outside
angle) and 3" from front edge of table - mark holes and drill with 1/8" drill
(Figure 2). NOTE: Slotted hole located 3" from end of 30" & 36"
TA-90 Angles OR 1" from end of 24" TA-90 Angles - to be positioned
towards front of table (Figure 1).
Figure 1
Tools Required:
Drill with 1/8” Drill Bit
3/8" Socket
Figure 2
Step 2:
Secure TA-90 Drawer Adapter with
Self Tapping Screws provided
(Figure 3).
Figure 3
Step 3:
Install Drawer per referenced instructions. See Page 2 or 3.
6

TA-97SHD Poly Storage Bracket
For SHD Series Drawers
(Poly BoardTA-41SHD Not Included)
Contents:
(2) Poly Storage Brackets
(4) 1/4 - 20 x 1/2" Bolts with Nuts
Tools Required:
(2) 7/16" Open End Wrenches
Step 1:
Remove Stainless Steel Drawer Pan and Inner Chassis
(See Figure 1).
Step 2:
Position Poly Storage Bracket such
that the opening faces the front of
the Drawer. Align the (2) holes at the
top of the TA-97SHD with the holes
in the bottom Flange of the existing
SHD Drawer (See Figure 10).
Figure 10
Step 3:
Install Bolt into the holes such that
the Bolt Head seats against the inside Flange of the TA-97SHD. Secure with Nuts provided
(Figure 11).
Figure 11
Step 3:
Align Optional Poly Board and slide into Poly Storage Bracket.
7

Edgewood, New York 11717-8380
© ADVANCE TABCO AUGUST 2009
 Loading...