

Follow same Installation Instructions for Tables
1
with 1
Turn table upright and level by adjusting bullet feet. Remove all
protective film coating from table top & undershelf surfaces.
/2” Splash, 5” Splash or 10” Splash
FINAL STEP
Installation Instructions for
UNDERSHELF
NSF Installations require all set screws for Undershelf
to be filled with an approved silicone sealer.
OPEN BASE
Flat Top, 1-1/2” & 5” Splash Tables
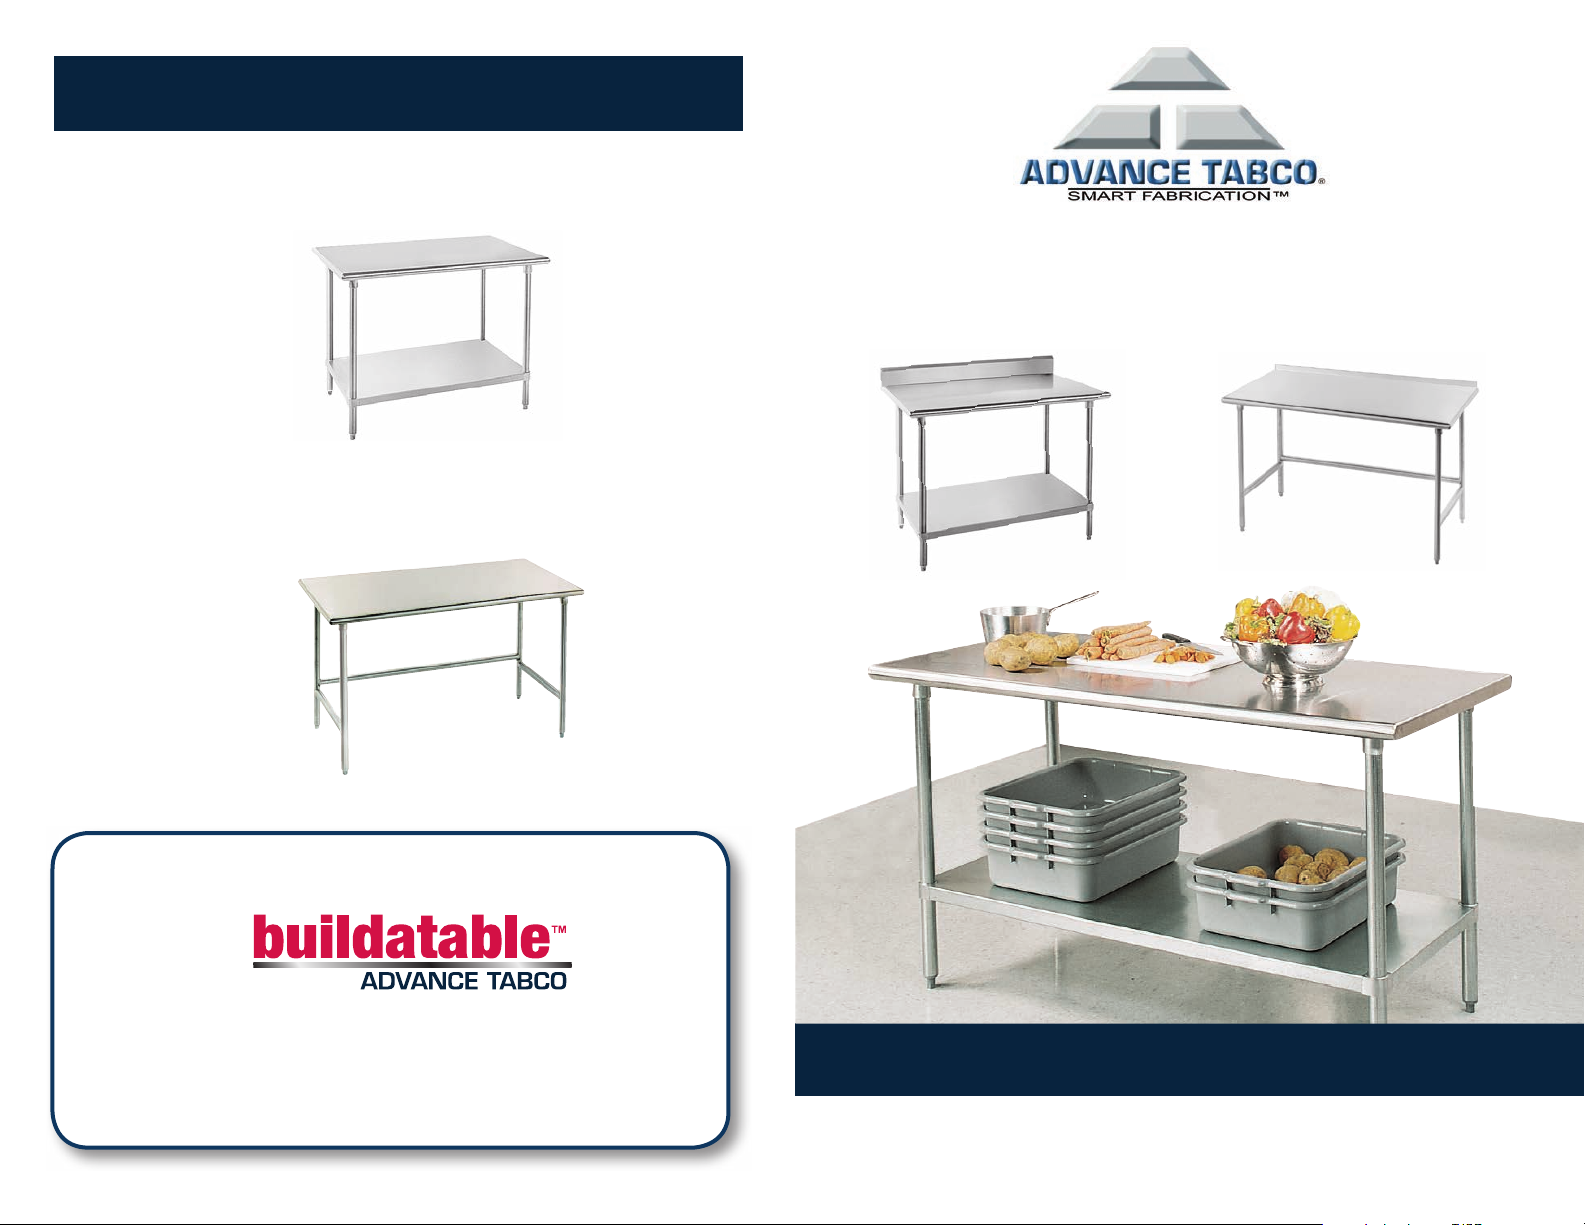
Want to Customize Your Next Table?
by
Buildatable by Advance Tabco is a simple and easy to use website tool that
will allow you to click and choose accessories for your table with ease.
Visit buildatable.com today to learn more
or email us at buildatable@advancetabco.com
Edgewood, New York 11717-8380
®
2/2012
CHECK FOR CONCEALED DAMAGE
FILE CLAIM WITH DELIVERING FREIGHT CARRIER
Tables manufactured by ADVANCE TABCO are designed and constructed for applications including Food Preparation, Cooking, Manufacturing, Material Handling, Laboratory Service and the like.
ADVANCE TABCO does not recommend product use for activities employing harsh and active
chemicals. Consult factory regarding unusual applications.
TABLES with Undershelf
TABLES with Open Style Tubular Base
This package contains Table Top, Undershelf, Legs & Set Screws
Tool required for installation:
5/32 Allen wrench.
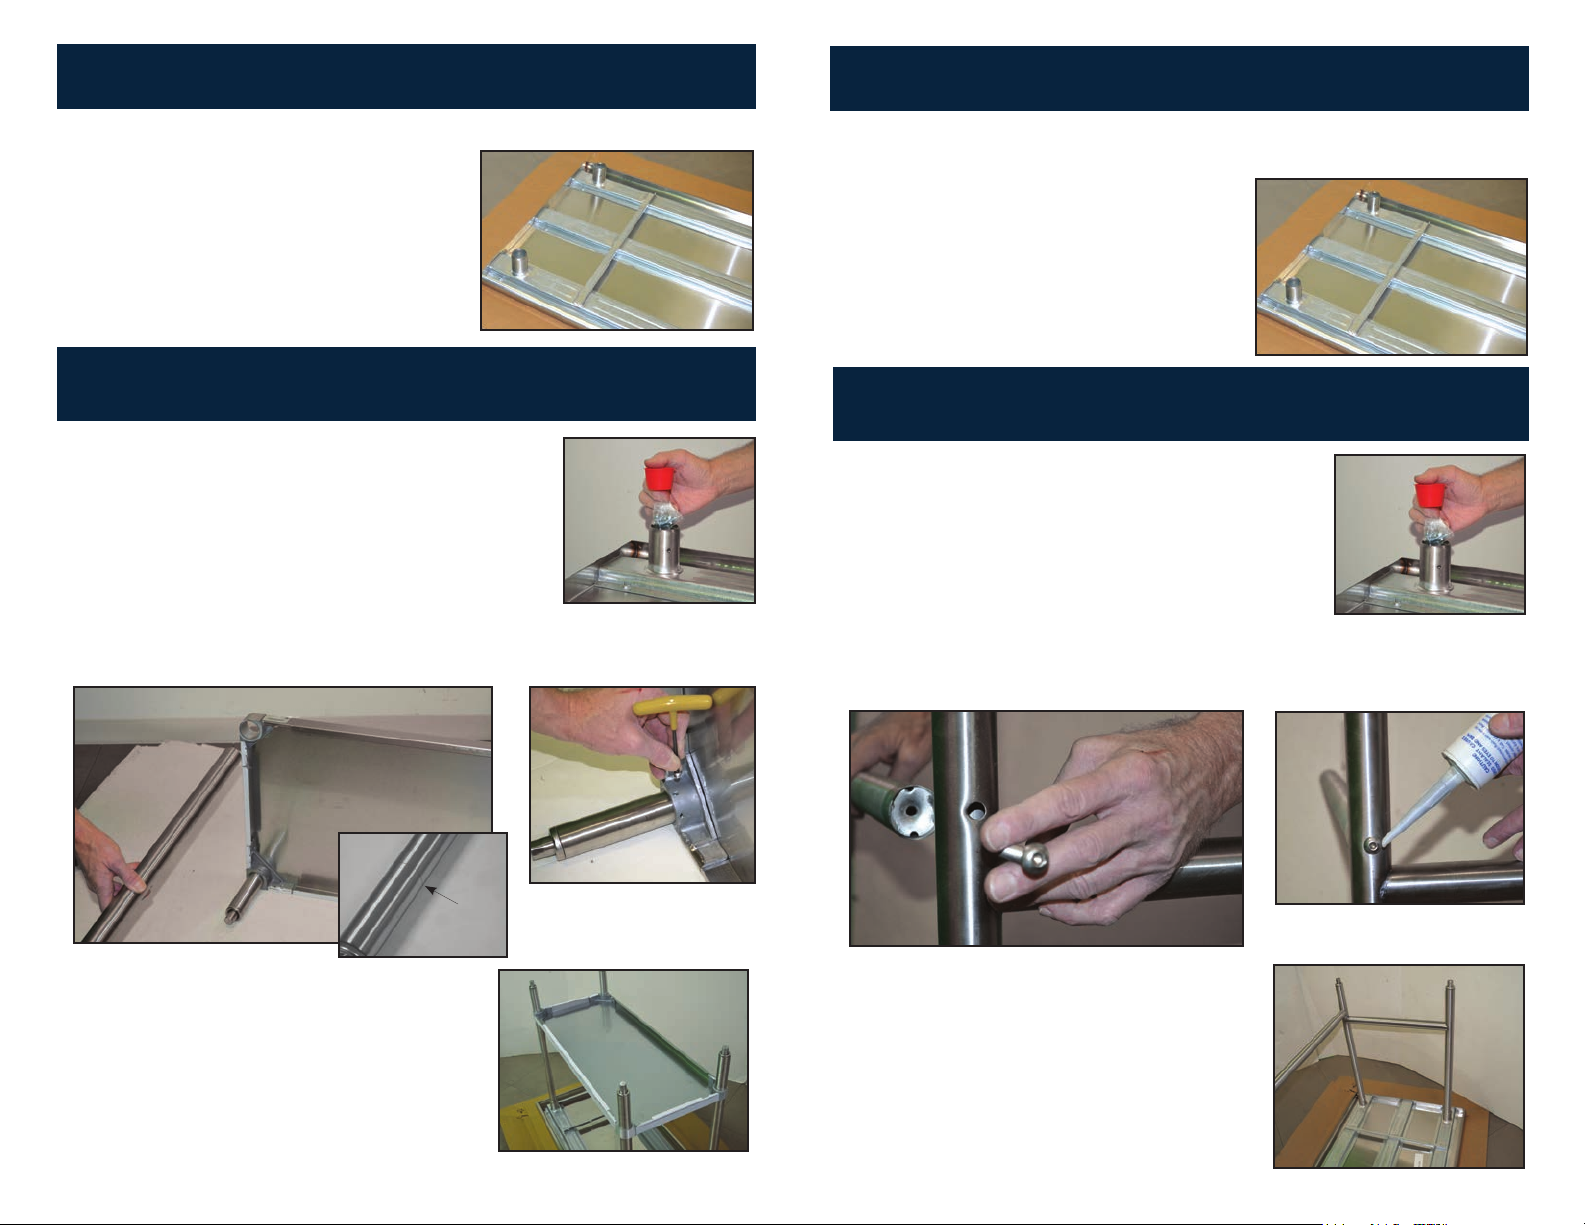
Step 1:
Lay the table top flat on the box to
protect the finish during assembly.
(Figure 1)
NSF Installations require all set screws filled
with an approved silicone sealer.
Step 2:
Remove plastic cap from gusset (Figure 2).
Set screws are located inside gusset.
Step 3:
Insert top of leg into adjustable shelf corner
(bottom of undershelf). Align score line with top
of undershelf (Figure 3). Insert Allen Head Set
Screws into adjustable shelf corner and tighten
(Figure 3A).
Figure 2
Figure 1
This package contains Table Top, Front to Back Leg Assemblies,
Rear Leg Assembly & Fasteners
Tool required for installation:
5/32 and 7/32 Allen Wrench.
Step 1:
Lay the table top flat on the box to
protect the finish during assembly.
(Figure 1)
NSF Installations require all set screws filled
with an approved silicone sealer.
Step 2:
Remove plastic cap from gusset. (Figure 2).
Set screws are located inside gusset.
Step 3:
Align rear cross brace with hole at rear of “H” leg
assembly & fasten using 3/8”-16 x 2-1/2” stainless steel button head socket bolt and tighten
(Figure 3). Seal hex head with NSF approved
silicone sealant (Figure 3A).
Figure 2
Figure 1
Score Line
Figure 3
Step 4:
Insert legs and undershelf assembly into
gussets as indicated in (Figure 4).
Tighten set screws.
Figure 3A
Figure 4
Figure 3
Step 4:
Insert leg assembly into gussets as
indicated. (Figure 4)
Tighten all set screws.
Figure 3A
Figure 4
 Loading...