

STEP 5:
Install Top Shelf (to desired height) and tighten Set Screws (Figure 5).
Figure 5
STEP 6:
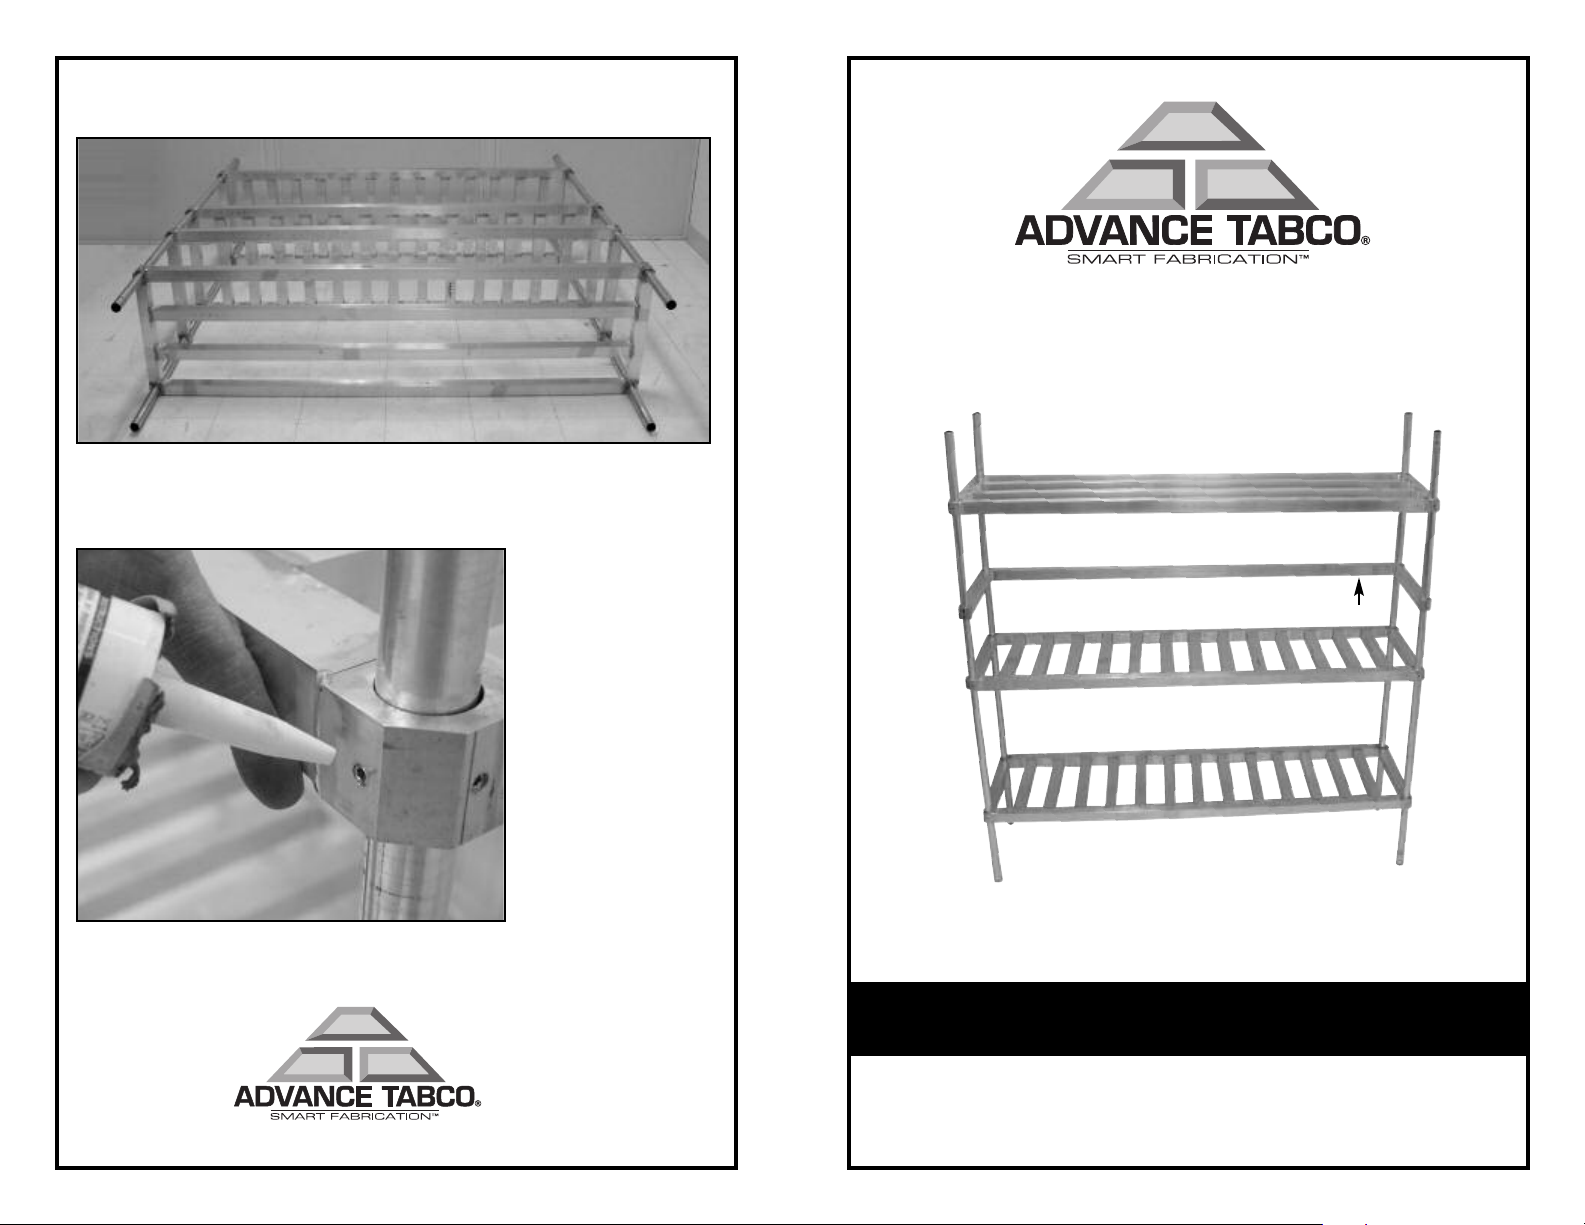
NSF installations require head of Set Screws to be filled with an
approved Silicone Sealant
(Figure 6).
Installation Instructions for
KEG RACKS
Shown with Optional KR-1 Rear Strap
Figure 6
Edgewood, New York 11717-8380
3/06
CHECK FOR CONCEALED DAMAGE
FILE CLAIM WITH DELIVERING FREIGHT CARRIER
Keg Racks manufactured by ADVANCE TABCO®are designed and constructed for keg storage.
Applications may include storage of other products.
NOTE: Top shelf IS NOT to be used for keg storage. ADVANCE TABCO®does not recommend
product use for activities employing harsh and active chemicals. Please consult factory regarding
unusual applications.
KEG RACK CONTENTS INCLUDE:
Quantity Parts Description
(1) Top Shelf (Note: Top Shelf has 4 horizontal bars)
(2) Lower Shelves
(4) Posts
(24) 5/16-24" x 3/8" Set Screws
TOOLS REQUIRED: 7/32" Allen Wrench
Rubber Mallet
Tape Measure
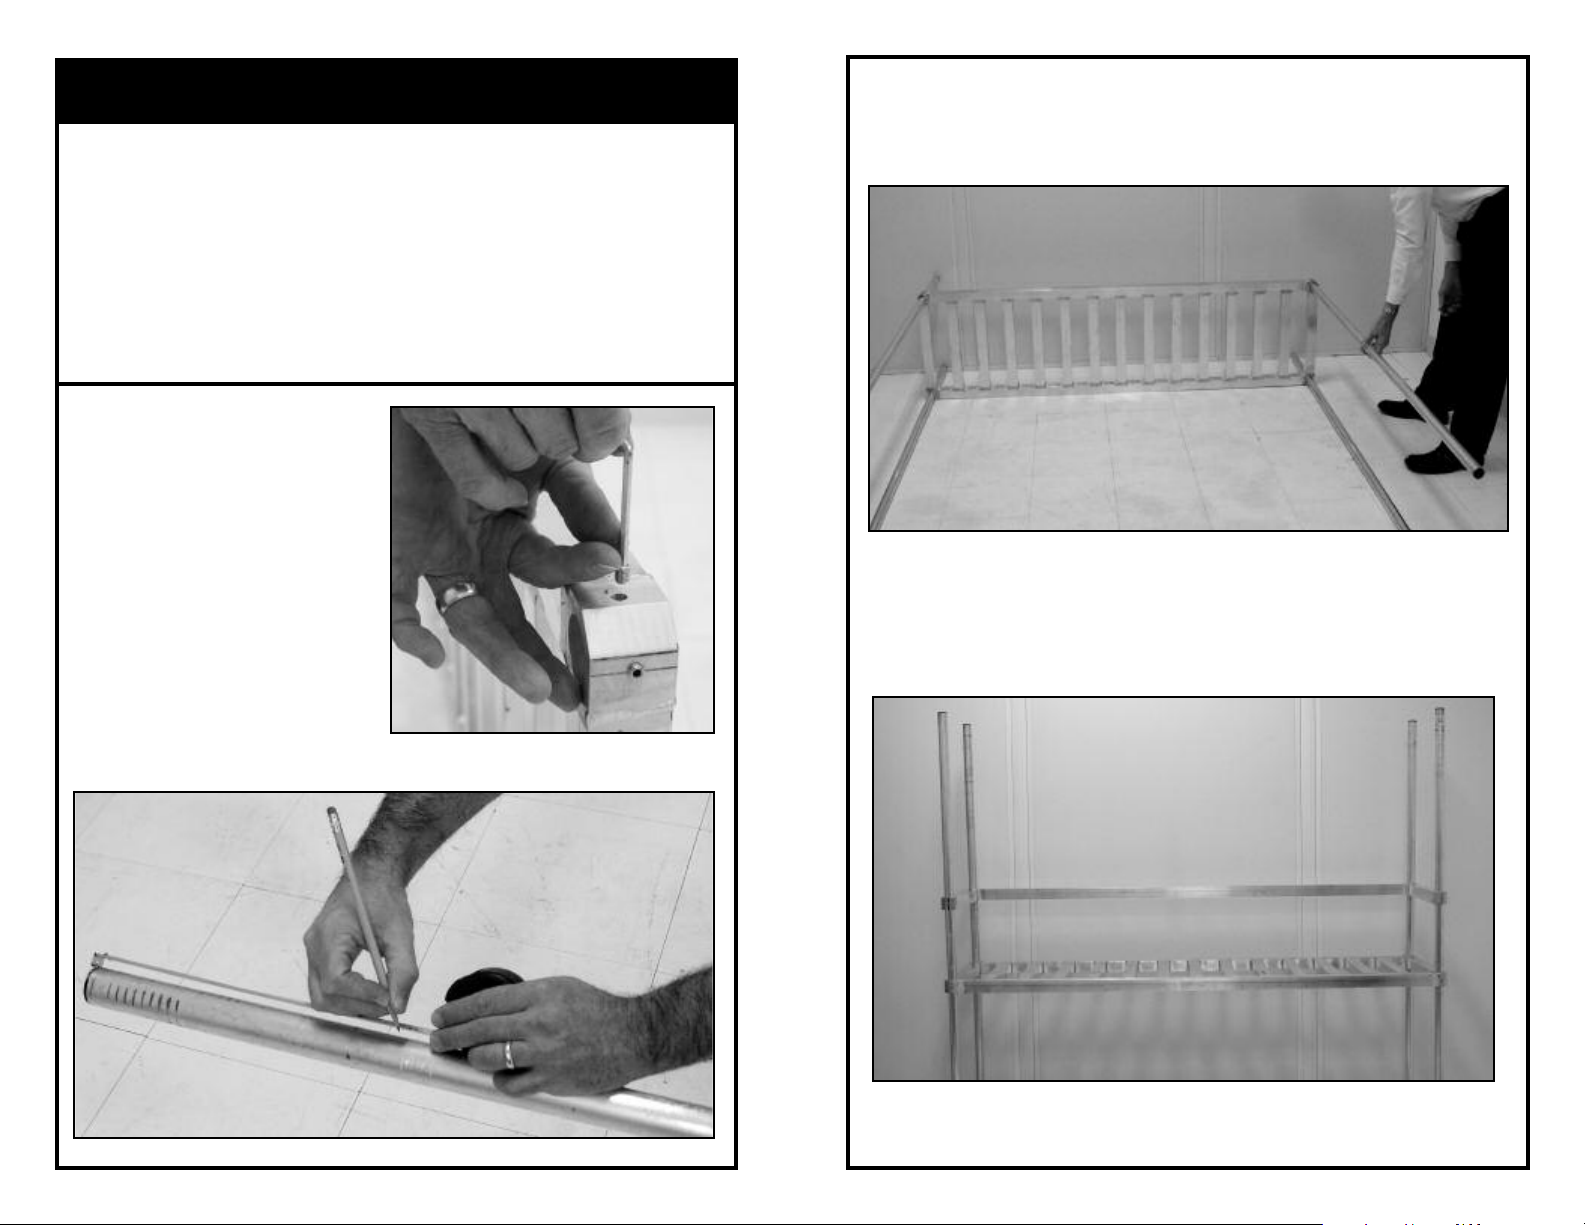
STEP 1:
Pre-install all Set Screws using a
7/32" Allen Wrench
(Figure 1).
Figure 1
STEP 3:
Slide Tubular Posts into one Lower Shelf (to desired height) and tighten
Set Screws.
& tighten Set Screws.
Figure 3
(Figure 3). Slide second Lower Shelf onto posts (to desired height)
STEP 4: INSTALLING OPTIONAL KR-1 REAR KEG STRAP
(If a Rear Keg Strap is not being used, proceed go to STEP 5)
Install optional Rear Keg Strap at desired height between lower shelves and
tighten Set Screws
(Figure 4).
STEP 2:
Using a tape measure, mark desired shelf heights on all Posts. (Figure 2).
Figure 2
Figure 4
Continued >>
 Loading...