

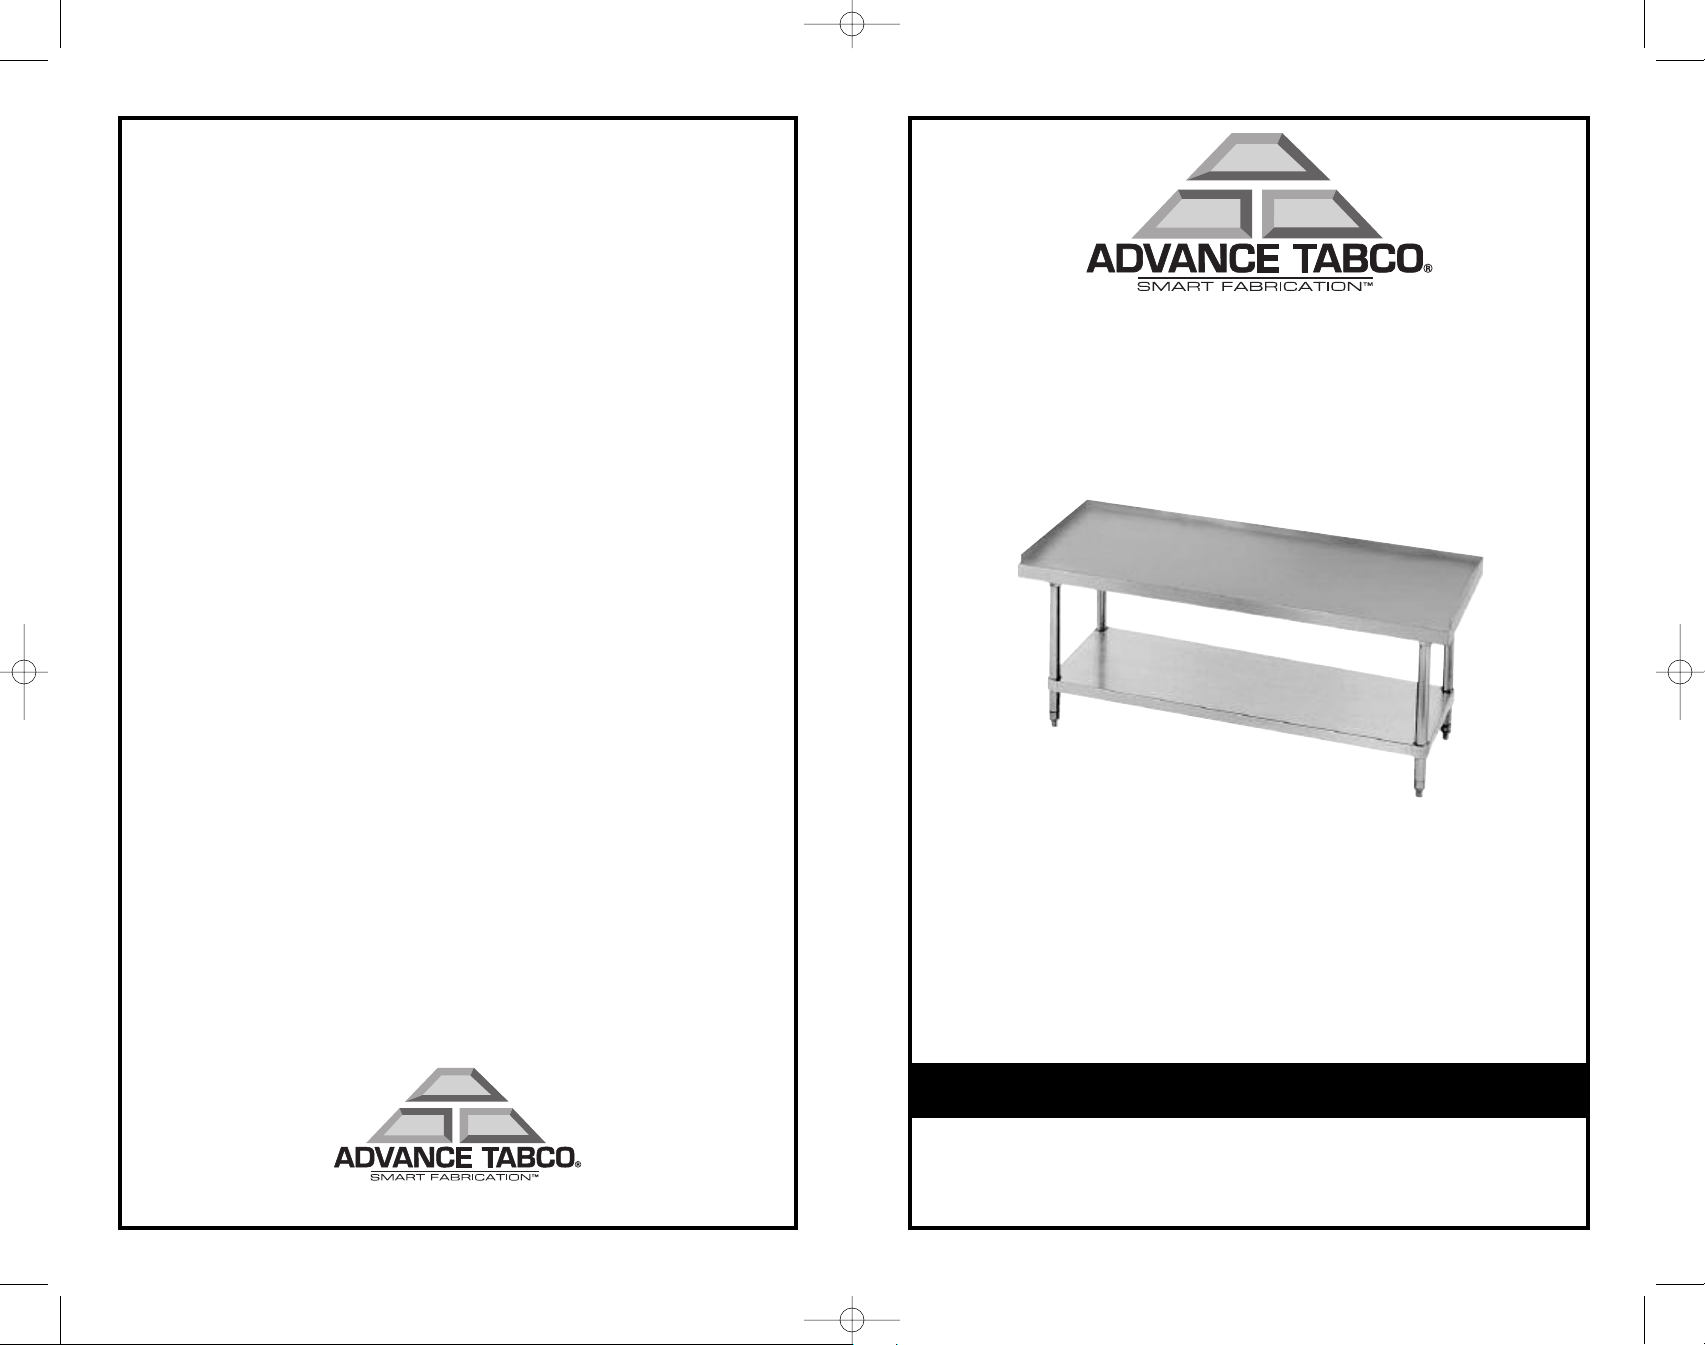
Advance Tabco EGLG306X, EGLG246X Installation Manual
equipment_stands.qxd 3/8/07 11:37 AM Page 1
Installation Instructions for
EQUIPMENT STANDS
Edgewood, New York 11717-8380
2-2007
CHECK FOR CONCEALED DAMAGE
FILE CL
Equipment Stands manufactured by
applications including Food Preparation, Cooking, Manufacturing, Material Handling, Laboratory
Service and the like.
employing harsh and active chemicals. Consult factory regarding unusual applications.
AIM WITH DELIVERING FREIGHT CARRIER
AADDVVAANNCCEE TTAABBCCO
AADDVVAANNCCEE TTAABBCCO
O
does not recommend product use for activities
O
are designed and constructed for
equipment_stands.qxd 3/8/07 11:37 AM Page 2
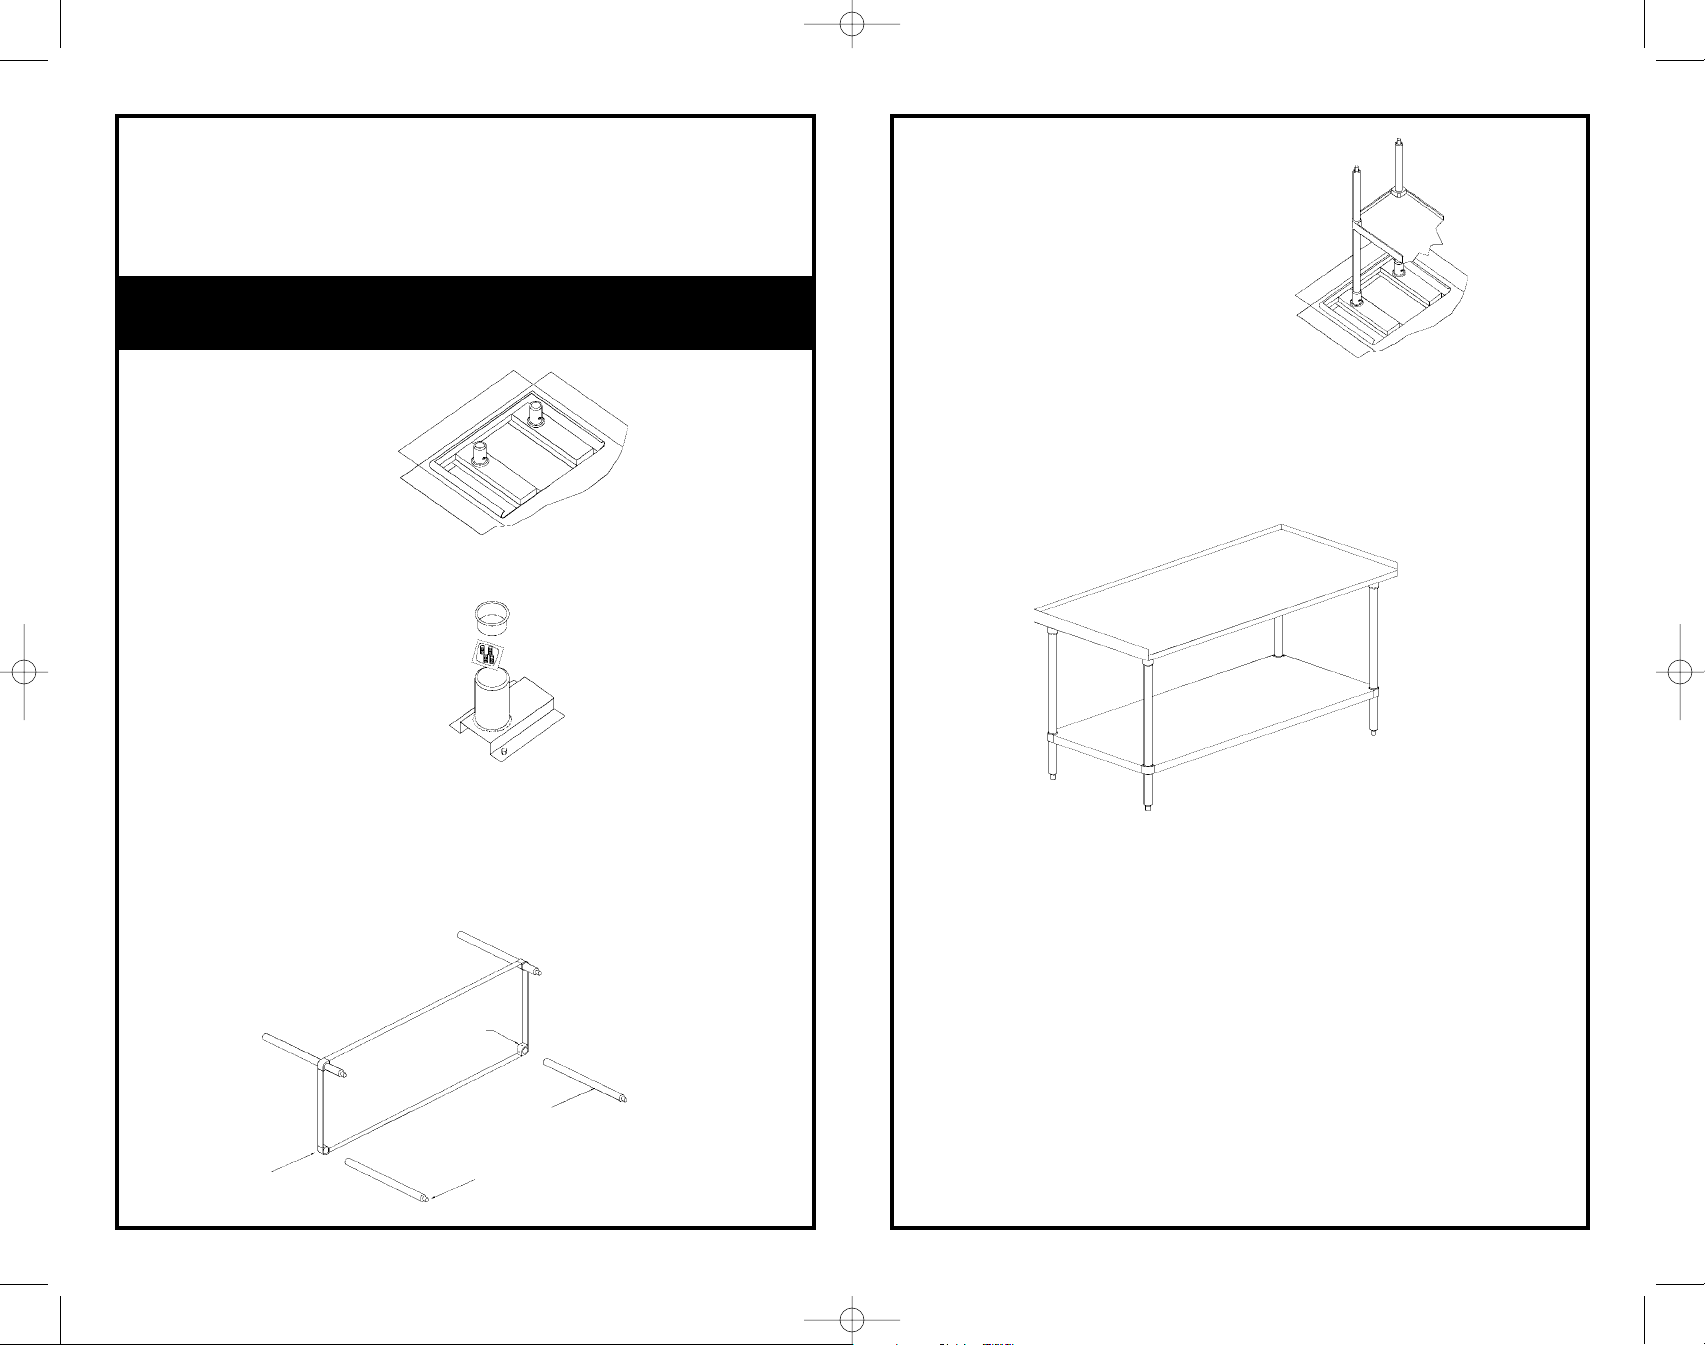
Contents:
Table Top
Undershelf
Legs
Set Screws
NSF Installations require all set screws filled
with an approved silicone sealer.
Step 1:
Lay the table top flat on
the box to protect the
finish during assembly.
(Figure 1)
Step 2:
Remove plastic cap from
gusset. (Figure 2) Set screws
are located inside gusset.
Tools Required:
5/32" Allen Wrench
Figure 1
Figure 2
Step 4:
Insert legs and undershelf assembly
into gussets as indicated in Figure 4.
Tighten set screws.
Step 5:
Turn table upright and level by adjusting bullet feet.
Figure 4
Step 3:
Insert set screws into adjustable shelf corner - (2) each corner
(underneath shelf). Insert legs into adjustable shelf corner and set
desired height. Tighten set screws.
Figure 3
ner
Shelf Cor
(Figure 3)
Set
Screws
Score
Marks
Adjustable Bullet F
eet
 Loading...