

Page 1

ATI-LII Revision 1 Effective Date: 3/13/12
LuxCore
Installation Instructions
ATTENTION: LuxCore PANELS MUST BE ACCLIMATIZED FOR 24
HOURS BEFORE INSTALLATION
PLEASE READ ALL INSTRUCTIONS PRIOR TO INSTALLATION
The guidelines provided herein have been established in good faith to help
prevent installation problems. Advanced Technology Inc. believes all
information contained herein to be correct. It is the responsibility of the
fabricator/customer to completely test the adhesives and methods of
fabrication to ensure that the results are satisfactory. Failure to comply
with the following instructions, as well as the adhesive manufacturers’
instructions, may result in significant installation problems. ATI is not
responsible for any fabrication or ancillary costs involved with using
LuxCore products.
INSPECTION
Please inspect LuxCore panels for any imperfections prior to installing; once
installed, panels may be very difficult to remove.
TOOLS REQUIRED
In order to cut LuxCore panels most effectively, a fine-tooth saw blade is
recommended. Swivel-head shears may be utilized for small cutouts or trims. For
pre-drilled fastener holes, a diamond-coated or carbide drill bit is recommended. If
the installation requires adhesive, it is recommended to utilize the trowel with the
notch pattern suggested by the adhesive manufacturer, since, the trowel used to
apply the adhesive can have a great effect on the success or failure of the
installation.
PANEL TRIMMING
If not using trim strips, it is recommended that the edges be properly trimmed with a
router. This will mitigate showing “white lines” from the factory edges of the panel.
A commercial high speed router using a Bosch 3/8” Laminate Trim Bit with ball
bearing, carbide tip, and roller tip (when appropriate) is recommended.
MATERIALS REQUIRED
LuxCore Panels
FRP formulated adhesive.
Advanced Technology, Inc. (800) 849-1320 Page 1 of 5
Page 2
ATI-LII Revision 1 Effective Date: 3/13/12
PVC Moldings
Silicone Sealant
Soap, Water, & Damp Cloth for Panel Clean-Up
Mineral Spirits to Remove Excess Adhesive or Silicone Sealant
STORAGE
Panels should be stored inside in a cool, well-ventilated, dry area on the original
shipping pallet. Do not place panels on a concrete floor or any other surface that
emits moisture. Panels should be laid flat, not on edge. Panels should be climatized
in the area they will be installed for a minimum of 24-48 hours.
ADHESIVE
For applications requiring adhesive, suggestions include Weldwood®
non-flammable, water-based contact cement (applied by spray,
brush, or roller), or Titebond® Advanced Polymer Panel Adhesive
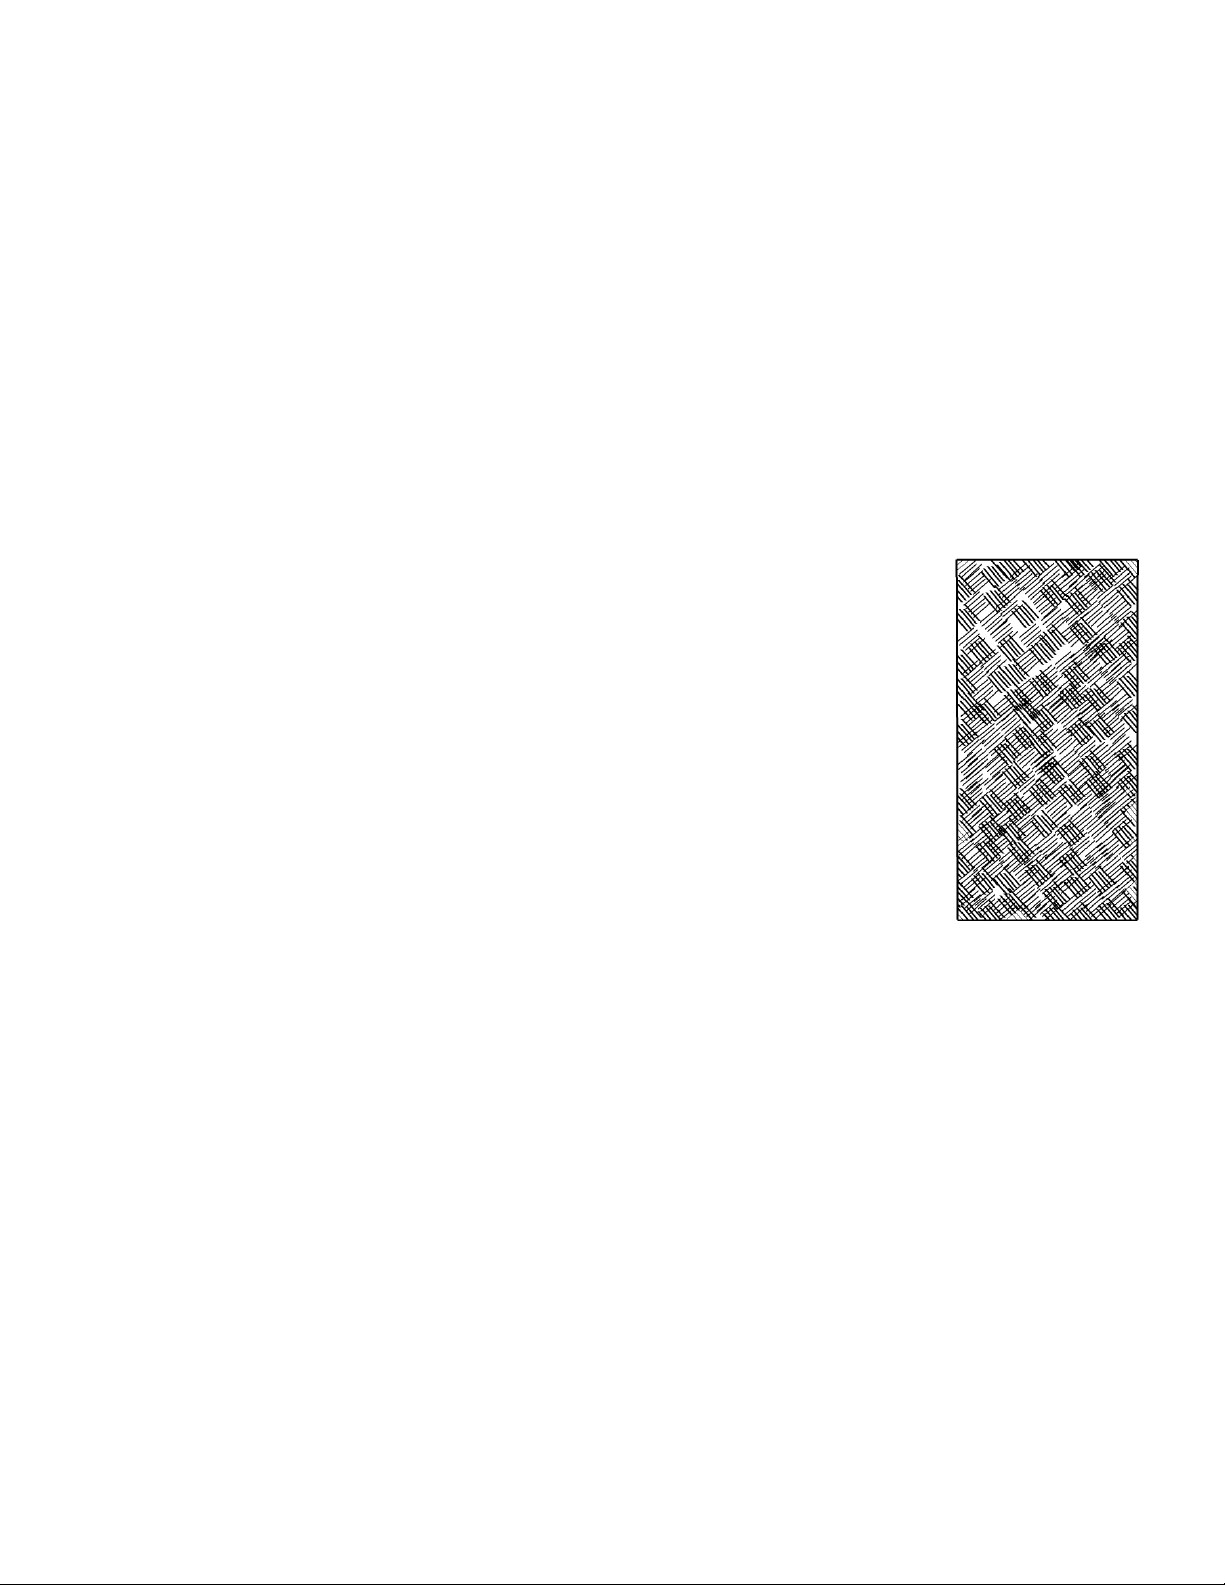
(applied with a notched trowel). Titebond® Panel Adhesive
should be applied in a crosshatch pattern, enabling even
Trowel Application
distribution of substrate (See Figure to the right). For best results,
Titebond® panel adhesive should be stored above 50°F.
Due to the abrasive nature of the adhesive, it is highly recommended
that those working with the adhesive wear protective safety
equipment which include, but are not limited to the following: safety
glasses, gloves, and a filter mask.
FASTENERS
Nylon drive rivets, or corrosion resistant screws are appropriate fastener options. If
fasteners will be used in the installation, panels should be pre-drilled using a drill bit
that is 1/8”-1/4” larger than the fastener. During installation, holes drilled into the
substrate should also be made 1/8”-1/4” larger. This is required to allow room for
expansion and contraction of the panels.
EXPANSION JOINTS
As temperature and humidity levels fluctuate, LuxCore panels will expand and
contract. Therefore, adequate space must be allowed around panel edges, holes
drilled in panels, and around fixtures attached to the panel/wall. Please refer to the
expansion joint chart below for spacing at ceiling, floor and between panels.
Advanced Technology, Inc. (800) 849-1320 Page 2 of 5
Page 3

ATI-LII Revision 1 Effective Date: 3/13/12
Temperature (
°
EXPANSION JOINT CHART
PANEL SIZE
Gap at ceiling 1/4" 1/4" 3/8" 3/8"
Gap at floor 1/4" 1/4" 3/8" 3/8"
Gap between panel and center of 1 piece molding 1/8" 1/8" 3/16" 3/16"
Gap between panel and center of 2 piece molding 1/4" 1/4" 3/8" 3/8"
Gap between panel without molding 1/4" 1/4" 3/8" 3/8"
Gap around rivets 1/8" 1/8" 3/16" 3/16"
Gap between panels and wall fixtures 1/8" 1/8" 1/4" 1/4"
4 X 8 4 X 9 4 X 10 4 X 12
EXPANSION JOINT LAYOUT
INSTALLATION
Note: For best results, LuxCore panels should be used in conditions which result in
temperatures that are less than or exceed the allowable temperature ranges in the
chart below.
ALLOWABLE TEMPERATURE RANGES CHART
MATERIAL Length Low High
F)
FRP
48" 27 117
96" 50 94
Advanced Technology, Inc. (800) 849-1320 Page 3 of 5
Page 4

ATI-LII Revision 1 Effective Date: 3/13/12
STEP 1 – PLANNING AND CUTTING
Fit each panel in advance before fastening and/or adhering in place.
Perform all cutting and drilling prior to adhesive application.
o If not using trim strips, it is recommended that the edges be
properly trimmed with a router. This will mitigate showing
“white lines” from the factory edges of the panel. A commercial
high speed router using a Bosch 3/8” Laminate Trim Bit with
ball bearing, carbide tip, and roller tip (when appropriate) is
recommended.
Verify that substrate surface has no bumps or uneven areas.
Pre-drill rivet holes using a bit that is 1/8”-1/4” larger than rivet allowing
for panel expansion according to the sizes in the chart on the previous
page.
Plan ahead for cove or base molding. Base molding should be
installed in such a manner as not to restrict the LuxCore panel’s
normal movement. Cut panels 1/4” short of where the base molding
will extend; poured molding should be in place prior to installation.
Mark a plumb line 48-1/8” from the corner. In areas where several
courses of panels are used, such as on a high wall, use vertical and
horizontal lines to assure alignment.
STEP 2 – INSTALLING ON WALL
Install one piece of corner molding and apply silicone sealant in
molding groove.
If using rivets, drill holes into substrate through the pre-drilled holes in
panel.
If using Titebond® Advanced Polymer Panel Adhesive, apply adhesive
to panel using adhesive manufacturer’s recommended notched trowel
to ensure good adhesion.
If using Weldwood® non-flammable, water-based contact cement,
apply to both surfaces according to the manufacturer’s
recommendations.
Set first panel true to plumb line.
If using adhesive, firmly roll over the panel using a laminate roller,
starting at the top corner nearest the molding rolling down and away
toward the opposite edge, eliminating air pockets.
Advanced Technology, Inc. (800) 849-1320 Page 4 of 5
Page 5

ATI-LII Revision 1 Effective Date: 3/13/12
If using fasteners, install fasteners as each panel is put into place and
before the next division bar or molding strip is applied. Begin fastening
at top edge and work towards the opposite end. Apply silicone sealant
prior to inserting rivets or fasteners. Install fasteners one row at a
time.
Install on-piece division bar and caps or next molding piece by laying
down a bead of silicone in molding groove and sliding completely onto
the panel. Withdraw the molding or division bar 1/8” to provide proper
spacing. The free edge of the molding or division bar may be tacked in
place, if preferred, before installing the next panel.
If using Titebond® Advanced Polymer Panel Adhesive and fasteners
are not used, a few nails may be placed at the top (above the ceiling
grid line) to help hold panels in place while the adhesive cures. Once
cured, the nails must be removed, as they do not allow for normal
panel expansion and contraction.
Repeat the process, working in one direction around the room.
STEP 3 – COMPLETING PANEL INSTALLATION
Be sure to apply silicone sealant in all molding and around all panel
edges, fasteners, and fixtures to prevent moisture from penetrating
behind panels.
Remove any residue left by adhesive as recommended by
manufacturer.
Clean panels thoroughly prior to leaving jobsite.
Advanced Technology, Inc. (800) 849-1320 Page 5 of 5
 Loading...