

Page 1
ADVANCE ADAPTERS INC. P/N: 712564
P.O. Box 247, 4320 Aerotech Center Way New Item: (08/06)
Paso Robles, CA 93447 PAGE 1 OF 3
Telephone: (800) 350-2223 Fax: (805) 238-4201 REV DATE: 09-15-11
AX15 5 SPEED TRANSMISSION RETRO-FIT
FOR THE AX5 4 CYL. 5 SPEED HYD. SLAVE
KIT CONSITS OF:
No: Qty Part No. Description
1. 1 712563-PLT AX15 ADAPTER PLATE
2. 1 712563-HYD T/O BEARING SNOUT
3. 1 723146 5/32" x 1-1/2" LONG SPLIT PIN
4. 1 712563-S SHIFT TOWER SPACER
5. 4 715523-SP CROSSMEMBER SPACERS
6. 2 716086 AX5 BELLHOUSING DOWEL PIN
7. 1 716167 .750 PILOT BUSHING (AX15 1995 & Newer)
8. 1 716742 AX15 SEAL
9. 5 720030 10mm-1.25 x 30mm S.H.C.S.
10. 4 720037 10mm-1.5 x 35mm H.H.C.S. (Crossmember)
11. 4 720066 8mm-1.25 x 35mm S.H.C.S. (Shifter Bolts)
12. 10 720091 10mm-1.25 x 24mm S.H.C.S.
13. 2 720092 8mm-1.25 x 24mm S.H.C.S.
14. 4 723123 5/16"-18 x 1/2" H.H.C.S. (Retainer)
15. 1 383824 1-1/8" 10 SPLINE DISC (CF382438)
INSTALLATION NOTES:
This kit is designed to fit the 1995 and newer AX15 transmission. Earlier model transmissions can use a stock
pilot bushing, one with a .590" I.D. We recommend that the stock flywheel be removed
and resurfaced at a machine shop. A new clutch disc has been provided in this kit. A new
pressure plate is also recommended before installing your new transmission. We offer a
Centerforce pressure plate,
Part No. CF361914.
OPTIONAL ITEMS:
The AX5 transmission was coupled to a 21
spline transfer case. The AX15 transmission
has a 23 output shaft. When upgrading your
transmission, you will also be required to
change out the input gear of the transfer case.
716054 1987-1994 NP231 T/Cs
716095 1995-2006 NP231 T/Cs
716096 NP207 T/Cs
The transfer case shifter braket must also be
changed.
Jeep YJs P/N 715545
Jeep TJs P/N 715542
Before disposing of the old AX5 transmission, you will need to retain the shifter housing
from that transmission. You will also be using the stock 4 cylinder bellhousing and stock
release arm and crossmember mount.
The transfer case must have a new input gear installed to fit to the AX15 transmission. If retaining the NP231 transfer case
and because the new transmission is longer, we highly recommend a fixed yoke kit to be installed during this transmission
swap. This will allow for a new, longer rear drive shaft. The Atlas 2 speed or 4 speed transfer cases are also an excellent
upgrade to your Jeep, and this would be the perfect time for this additional upgrade.
ASSEMBLY PROCEDURES:
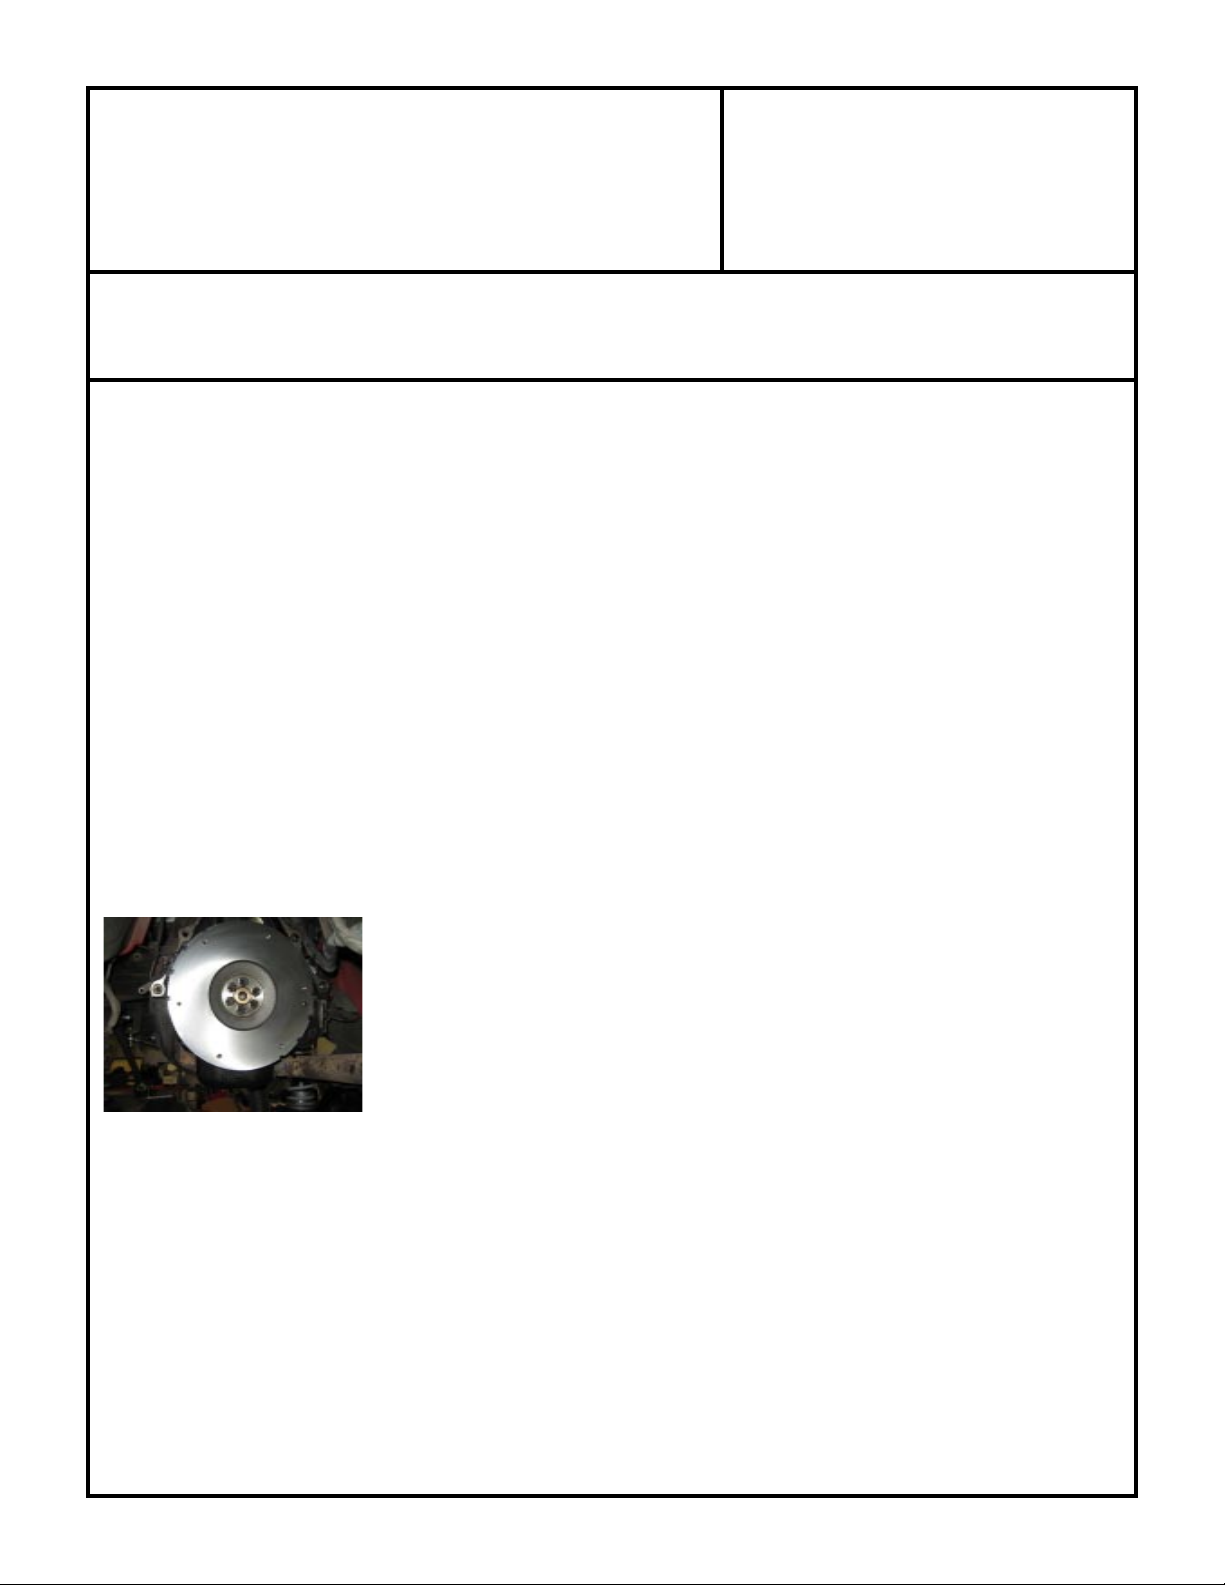
1. Refer to a service manual for the removal of the stock AX5 transmission. Also remove the pressure plate, disc, and
flywheel.
2. Resurface the flywheel and remove the old pilot bushing. Check the new pilot bushing on the AX15 pilot tip and install
into flywheel if it is the correct size. Mount the flywheel to the block and torque the flywheel bolts to factory
SPECIAL NOTE: The components packaged in this kit have been assembled and machined for specific type of conversions. Modifications to any of the
components will void any possible warranty or return privileges. If you do not fully understand modifications or changes that will be required to complete your conversion,
we strongly recommend that you contact our sales department for more information. This instruction sheet is only to be used for the assembly of Advance Adapter
components. We recommend that a service manual pertaining to your vehicle be obtained for specific torque values, wiring diagrams and other related equipment.
These manuals are normally available at automotive dealerships and parts stores.
Page 2
ADVANCE ADAPTERS INC. P/N: 712564
P.O. Box 247, 4320 Aerotech Center Way New Item: (08/06)
Paso Robles, CA 93447 PAGE 2 OF 3
Telephone: (800) 350-2223 Fax: (805) 238-4201 REV DATE: 04-19-10
AX15 5 SPEED TRANSMISSION RETRO-FIT
FOR THE AX5 4 CYL. 5 SPEED HYD. SLAVE
specifications.
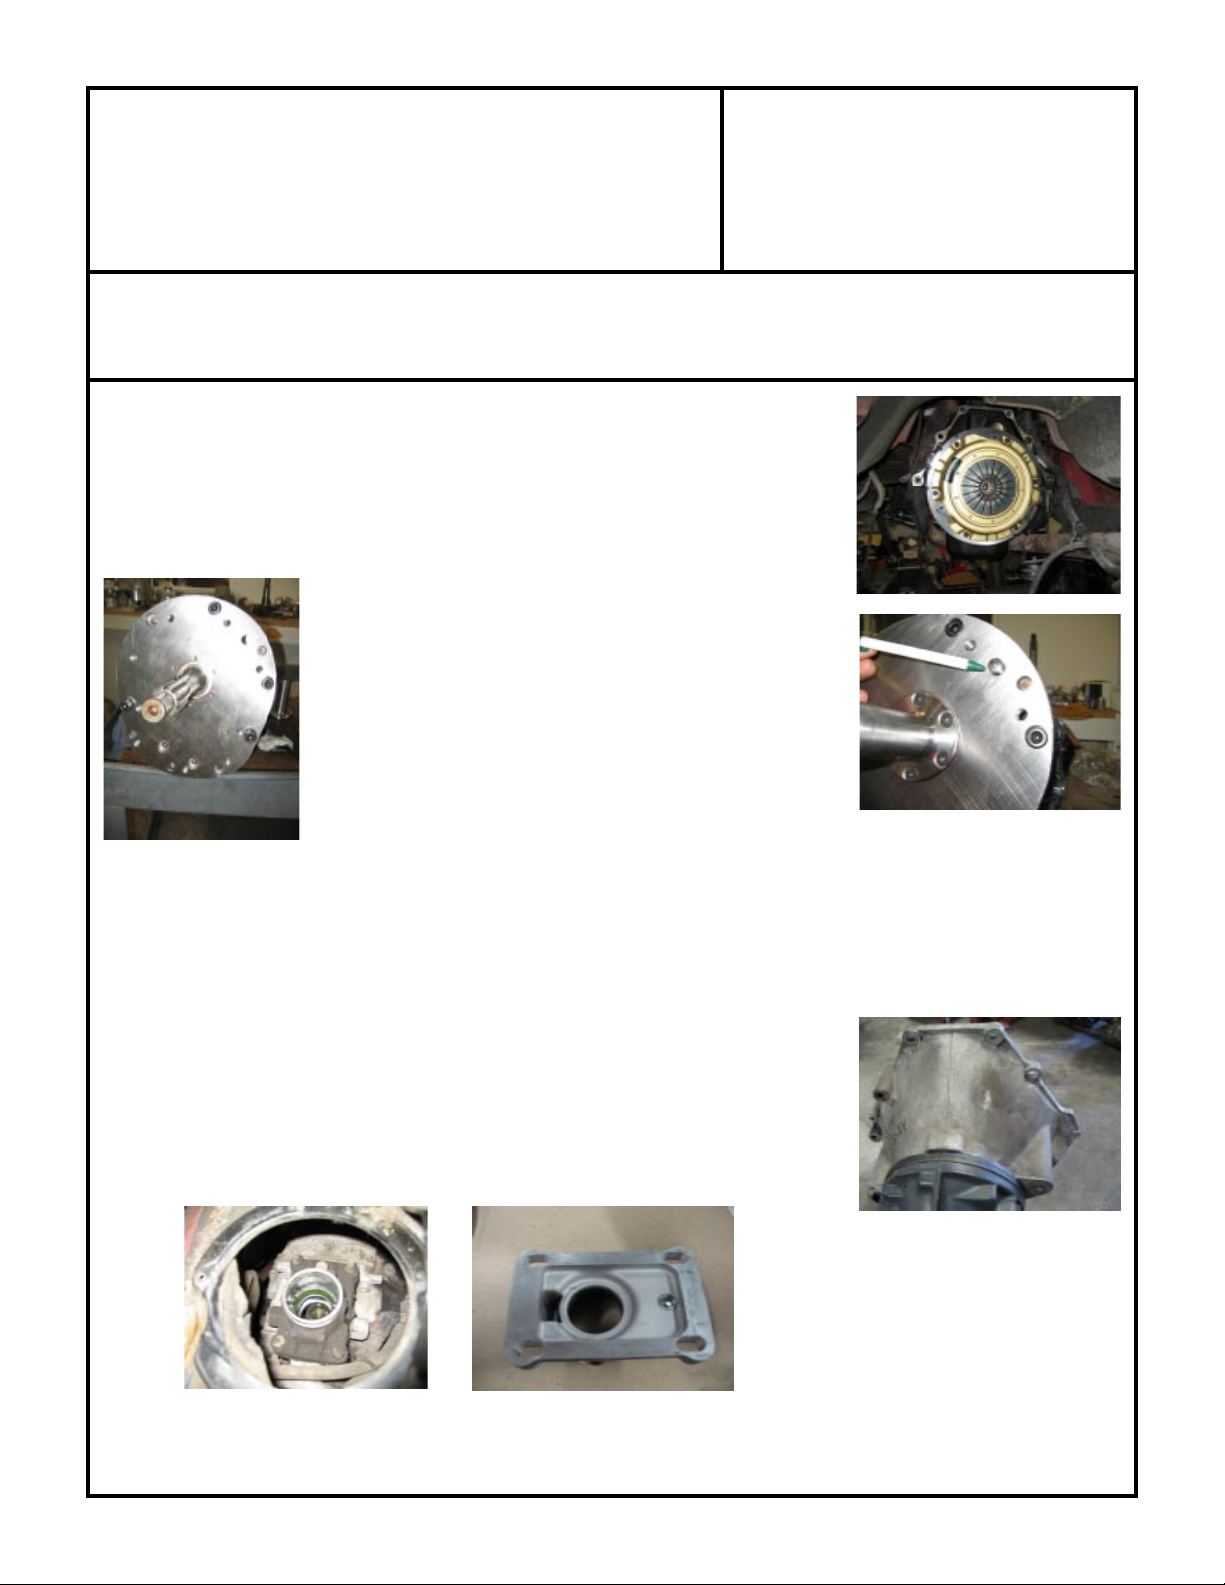
3. Install the new clutch disc and pressure plate onto the flywheel
4. Install the two new dowel pins into the adapter plate. The pins are a press fit.
5. With the AX15 transmission on a work bench, remove the front bearing retainer.
Clean the surface of any silicone.
6. Apply a new thin film of silicon to the transmission face where the front retainer was
just removed. Install the new adapter plate to the transmission. This adapter aligns
to the front input bearing of the AX15 transmission. We have
provided two clearance pockets on the adapter plate for the old
AX15 dowel pins. Install the six 10mm bolts and the two 8mm
bolts to retain the adapter plate.
7. Install the new seal into the new retainer snout. Then install
the retainer onto the adapter plate with silicone around the
outside edge to seal the retaier to the plate. Install the roll
pin for the internal release bearing.
8. The stock 4 cylinder bellhousing should now be installed
onto the adapter plate. Make sure the new dowel pins in
the plate align to the bellhousing. Install the new release
hydralic bearing onto the retainer.
9. Most rebuilt AX15 transmissions do not come with a shift handle. If yours did then
skip this step. The AX5 shifter bolts to the transmission with four bolts and this is
a different bolt pattern than that of the AX15 transmission. Since a new shift handle
is hard to come by, we have opted to make the AX5 shifter work with the AX15
transmission. The shift body bolt holes are approximately a 1/2" of a hole off from
bolting on to the AX15 transmission. So remove the stick from the aluminum shift
housing and elongate the four holes to line up with the AX15 transmission hole, using
712563-S as a template. Once the holes line up with the AX15, you will also be
required to modify the oil splash sheet metal piece. The new modified shifter can
then be installed onto the AX15 transmission. Silicone should be applied on each
surface. The 712563-S goes on first, the sheet metal oil shield second, and the
aluminum housing last. Note the last two pieces are installed backward compared
SPECIAL NOTE: The components packaged in this kit have been assembled and machined for specific type of conversions. Modifications to any of the
components will void any possible warranty or return privileges. If you do not fully understand modifications or changes that will be required to complete your conversion,
we strongly recommend that you contact our sales department for more information. This instruction sheet is only to be used for the assembly of Advance Adapter
components. We recommend that a service manual pertaining to your vehicle be obtained for specific torque values, wiring diagrams and other related equipment.
These manuals are normally available at automotive dealerships and parts stores.
Page 3

ADVANCE ADAPTERS INC. P/N: 712564
P.O. Box 247, 4320 Aerotech Center Way New Item: (08/06)
Paso Robles, CA 93447 PAGE 3 OF 3
Telephone: (800) 350-2223 Fax: (805) 238-4201 REV DATE: 10-10-07
AX15 5 SPEED TRANSMISSION RETRO-FIT
FOR THE AX5 4 CYL. 5 SPEED HYD. SLAVE
to how they were removed from the AX5 transmission. Once the transmission gets installed into the Jeep, the handle
needs to be reinstalled.
10. Install the transmission into the Jeep and reconnect the starter flywheel sensor and hydraulics.
11. Install the new input gear to your transfer case and install the transfer case to the new transmission. The transfer case
shift bracket is normally installed through two of the bolt holes for the transfer case, so the new bracket should also
be installed.
12. The crossmember mount can be retained with a few modifications. The AX15 crossmember mount is approximately
2" further back than the AX5 transmission. The bolt pattern is also different. The AX15 has a square pattern different
than that of the AX5. The rubber support on the crossmember is the same square pattern as the AX15 transmission.
By unbolting the rubber support, you can use it as a template for the new holes that need to be drilled 1-3/4" to 2"
rearward on the mount. We found that it was easier to slot the steel mount side-to-side to allow for some adjustment
once installed into the vehicle. The front portion of the steel mount should be cut off as not to interfere with the new
transmission. We have included 4 spacer that get installed between the transmission and the steel mount to aid in
clearance. Once the mount is modified. reattach the rubber mount and install onto the transmission. The rubber mount
has four bolts that protrude from it. They should line up with the slots in the skid pan.
13. The handle needs to be reinstalled into the top of the AX15 transmission.
14. Drivelines need to be measured and modified.
SPECIAL NOTE: The components packaged in this kit have been assembled and machined for specific type of conversions. Modifications to any of the
components will void any possible warranty or return privileges. If you do not fully understand modifications or changes that will be required to complete your conversion,
we strongly recommend that you contact our sales department for more information. This instruction sheet is only to be used for the assembly of Advance Adapter
components. We recommend that a service manual pertaining to your vehicle be obtained for specific torque values, wiring diagrams and other related equipment.
These manuals are normally available at automotive dealerships and parts stores.
 Loading...