

Admiral Craft CT-04 Owner's Manual
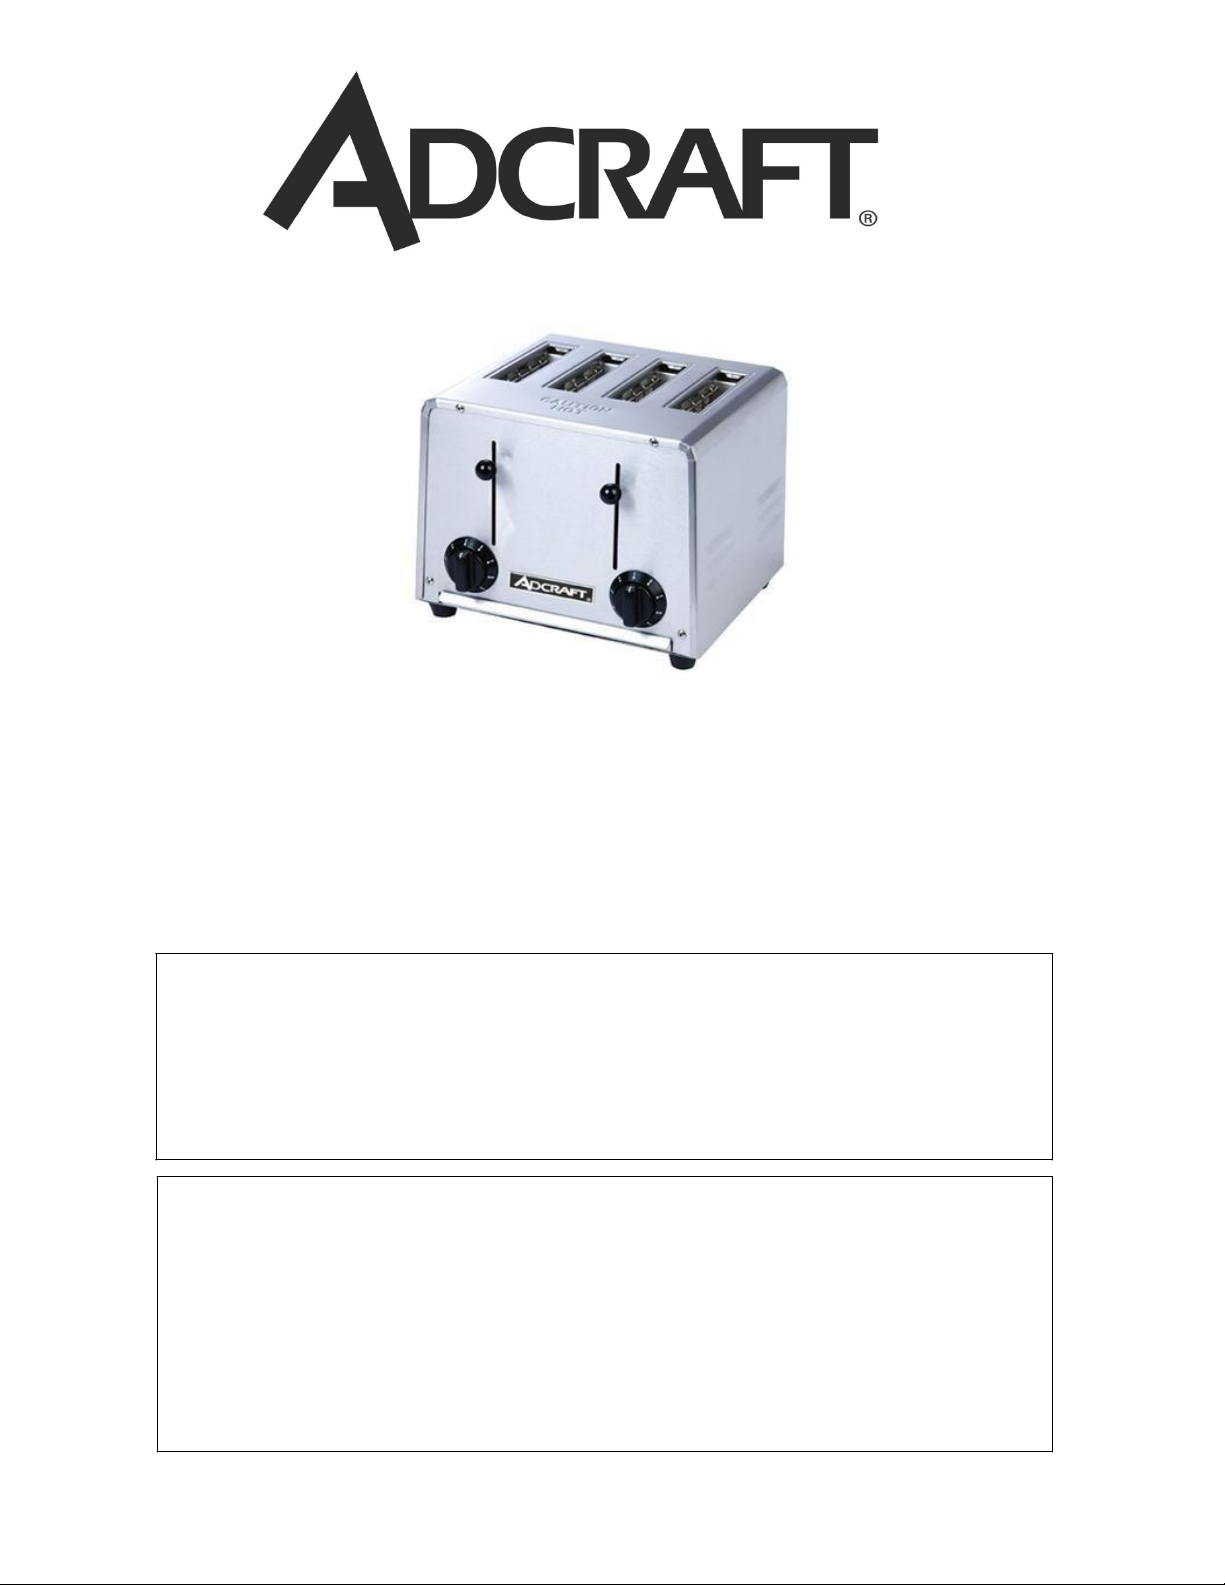
CT-04/2200W
Commercial 4-Slot
Toaster
This manual contains important information regarding your
Admiral Craft unit. Please read this manual thoroughly prior to
equipment set-up, operation and maintenance. Failure to comply
with regular maintenance guidelines outlined in this manual may
CT-04/2200W 4-Slot Toaster MUST be
void the warranty. MUST READ!!!
IMPORTANT
NOTICE:
connected
to a dedicated 120V-20A power supply
First cycle will take approximately 4
You must cycle twice before
minutes.
using.
NOTE:

WARNINGS
Do not touch any hot surfaces
Plug only into a 3-hole grounded electrical outlet
Do not immerse unit, cord or plug in liquid at any time
Unplug cord from outlet when not in use and before cleaning
Do not operate unattended
Do not use this unit for anything other than intended use
Do not use outdoors
Always use on a firm, dry and level surface at least 12” from walls or any other obstruction
Do not use if unit has a damaged cord or plug, in the event the appliance malfunctions, or has been damaged in
any manner
Keep children and animals away from unit
Any incorrect installation, alterations, adjustments and/or improper maintenance can lead to property
loss and injury. All repairs should be done by authorized professionals only
Ensure that the designated power supply is adequate for continual usage and the voltage is correct
Do not put items on top of oven
Do not stack ovens
TO USE
1. Confirm that crumb tray is properly inserted.
2. Cycle the toaster twice.
3. Place bread or bagel in the slots.
4. Set browning control and push down the carriage control lever. (You may adjust the knob at any time
during cycle)
5. To stop toasting mid-cycle, just lift the carriage control lever.
6. Once toast is complete, toast will pop up in the slots.
7. Never use the toaster when the crumb tray is not in place
CLEANING – NOTE: To maintain cleanliness and increase service life, the oven should be cleaned daily. Do
not immerse the unit in water or any other liquid. If liquid enters the electrical compartment it may cause a short
circuit or electrical shock
Disconnect the power cord from the electrical outlet.
Allow unit to cool down.
To clean the exterior, simply wipe down with a damp cloth.
Make sure the toaster surface is completely dry before attempting to use again
To clean the crumb tray, carefully slide the crumb tray out and dispose of any crumbs
To remove loose pieces of bread from the slots, turn the toaster upside down and gently shake.
Never insert metal or sharp objects into the toaster slots.
To avoid damage, do not use abrasive cleaners or scouring pads.
If soap or chemical cleaners are used, be sure they are completely rinsed away with clear water
immediately after cleaning. Chemical residue could damage or corrode the surfaces of the unit.
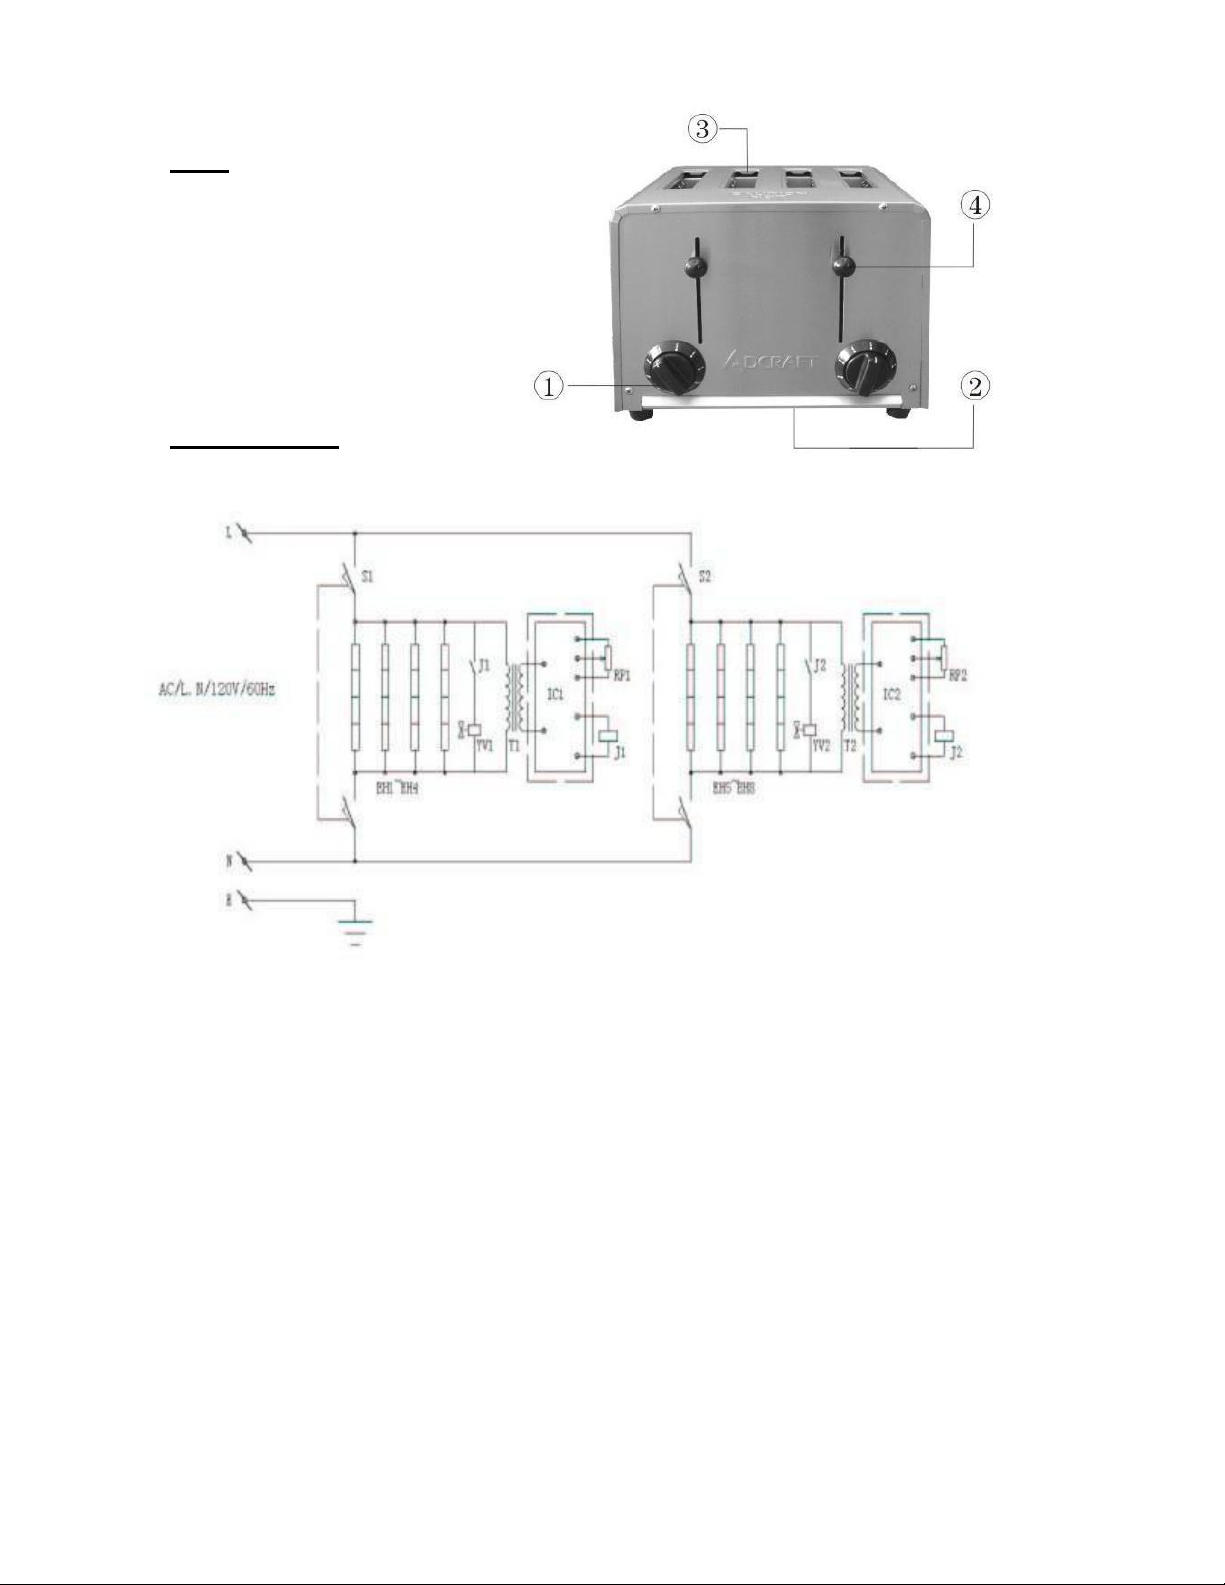
PARTS
1 – Electronic Browning Control
2 – Slide-Out Crumb Tray
3 – Toaster Slot
4 – Carriage Control Lift Lever
CIRCUIT DIAGRAM
S1, S2---T1, T2---RP1,
YV1, YV2
IC1, IC2
RP2
----
----
----
EH1~EH8
Limit Switch
Potential Transformer
Potential
Device
Electromagnet
Control Panel
----
Heating Element
 Loading...