

ADi Communications AF-46, AF-16 User Manual

Dear users,
We are grateful you choose ADI for your land
mobile radio applications. We believe this easy
to-use transceiver will provide dependable and
reliable communication to personnel operation at
peak efficency.
ADI transceivers incorporate the latest advanced
technology. As a result, we feel strongly that you
will be pleased with the quality and features of
this product!
For you to understand the operation and maintenance of this transceiver, please read carefully
the user’s manual.
This manual is applicable to the following models:
AF-16:VHF frequency modulation wireless transceiver.
AF-46:UHF frequency modulation wireless transceiver.

CONTENT CONTENT
SAFETY INFORMATIONSAFETY INFORMATION
UNPACKING AND CHECKING EQUIPMENTUNPACKING AND CHECKING EQUIPMENT
SUPPLIED ACCESSORIES SUPPLIED ACCESSORIES
PREPARATIONPREPARATION
CHARGING THE BATTERY PACK CHARGING THE BATTERY PACK
INSTALLING/REMOVING THE ANTENNA INSTALLING/REMOVING THE ANTENNA
INSTALLING/REMOVING THE LI-ION BATTERY PACK INSTALLING/REMOVING THE LI-ION BATTERY PACK
INSTALLING THE BELT CLIP INSTALLING THE BELT CLIP
INSTALLING THE HAND STRAP INSTALLING THE HAND STRAP
INSTALLING THE OPTIOPNAL EARPHONE INSTALLING THE OPTIOPNAL EARPHONE
....................................................................
GETTING ACQUAINTEDGETTING ACQUAINTED
ORIENTATION ORIENTATION
KEYPAD OPERATION KEYPAD OPERATION
LCD DISPLAY LCD DISPLAY
BASIC OPERATIONBASIC OPERATION
BASIC MODES BASIC MODES
VFO MODE (FREQUENCY DISPLAY MODE) VFO MODE (FREQUENCY DISPLAY MODE)
MR NODE (MEMORY REACALL MODE) MR NODE (MEMORY REACALL MODE)
CH MODE (CHANNEL DISPLAY MODE) CH MODE (CHANNEL DISPLAY MODE)
SWITCH POWER ON/OFF SWITCH POWER ON/OFF
ADJUST THE VOLUME ADJUST THE VOLUME
SELECT A FREQUENCY SELECT A FREQUENCY.........................14.........................14
SELECT AN OUTPUT POWER SELECT AN OUTPUT POWER
FUNCTION SETTING AND DESCRIPTIONFUNCTION SETTING AND DESCRIPTION
ADJUST SQUELCH (SQL) ADJUST SQUELCH (SQL)
BATTERY SAVER (SAVE) BATTERY SAVER (SAVE)
AUTOMATIC POWER OFF (APO) AUTOMATIC POWER OFF (APO)
KEYPAD BEEPER (BEEP) KEYPAD BEEPER (BEEP)
KEYPAD LOCK (LOCK) KEYPAD LOCK (LOCK).........................16.........................16
RECEIVE WITH CTCSS/DCS RECEIVE WITH CTCSS/DCS
......................................................
..............................
................................................
........................................
..............................
............
..........................................
........................................
..........................
....................................................
................................................
..............
......................................................
............................................................
........................................................
..................................................
..........
..................
........................
........................
................................................
..................................................
..........................................
......................
..............................................
..............................................
......................................
..............................................
..........................................
1-21-2
4-64-6
7-127-12
1111
13-1413-14
1313
1313
1313
1313
1313
1414
1414
15-2415-24
1515
1515
1616
1616
1717
33
33
44
55
55
66
66
66
77
99
CTCSS STANDARD FREQUENCY TABLE CTCSS STANDARD FREQUENCY TABLE
DCS STANDARD SETS DCS STANDARD SETS
SETTING OFFSET DIRECTION AND OFFSET FREQUENCY (ASY) SETTING OFFSET DIRECTION AND OFFSET FREQUENCY (ASY)
VOICE COMPANDER/SCRAMBLER (APS) VOICE COMPANDER/SCRAMBLER (APS)
MEMORY CHANNEL SCAN LOCK/UNLOCK (SA/D) MEMORY CHANNEL SCAN LOCK/UNLOCK (SA/D)
FREQUENCY STEP SETTING FREQUENCY STEP SETTING
BROAD/NARROW BAND (W/N) BROAD/NARROW BAND (W/N)
TIME OUT TIMER (TOT) TIME OUT TIMER (TOT)..............................................
SCAN (SCAN) SCAN (SCAN)
SCAN METHOD SCAN METHOD......................................................
SELECTING SCAN METHOD SELECTING SCAN METHOD......................................
VFO SCAN VFO SCAN
MEMORY CHANNEL SCAN MEMORY CHANNEL SCAN
MEMORY CHANNELMEMORY CHANNEL
STORING MEMORY CHANNEL STORING MEMORY CHANNEL
USING MEMORY CHANNEL USING MEMORY CHANNEL..............................................
INITIALIZING MEMORY INITIALIZING MEMORY
FULL RESET INITIALIZATION (MEMORY MODE) FULL RESET INITIALIZATION (MEMORY MODE)
PARTIAL RESET INITIALIZATION (VFO MODE) PARTIAL RESET INITIALIZATION (VFO MODE)
CHANNEL RESET INITIALIZATION (MR MODE) CHANNEL RESET INITIALIZATION (MR MODE)
USAGE AND MAINTENANCE INSTRUCTIONUSAGE AND MAINTENANCE INSTRUCTION
TRANSMIT WITH CTCSS/DCSTRANSMIT WITH CTCSS/DCS
......................................................
............................................................
.................................24.................................24
..........................................................
..............................................
....................................
1818
1919
1919
......
2020
..................................
........................
..........................................
........................................
2121
2121
2222
2222
2222
2323
2323
2323
........................24........................24
25-2725-27
..........................................
2525
2525
........................26........................26
........
2626
........
2626
..........
2727
..........................
2828
SAFETY INFORMATION SAFETY INFORMATION
Please read the following rules before use. Failure to
comply with them may cause danger or violate laws.
This manual provides with detailed safety information.
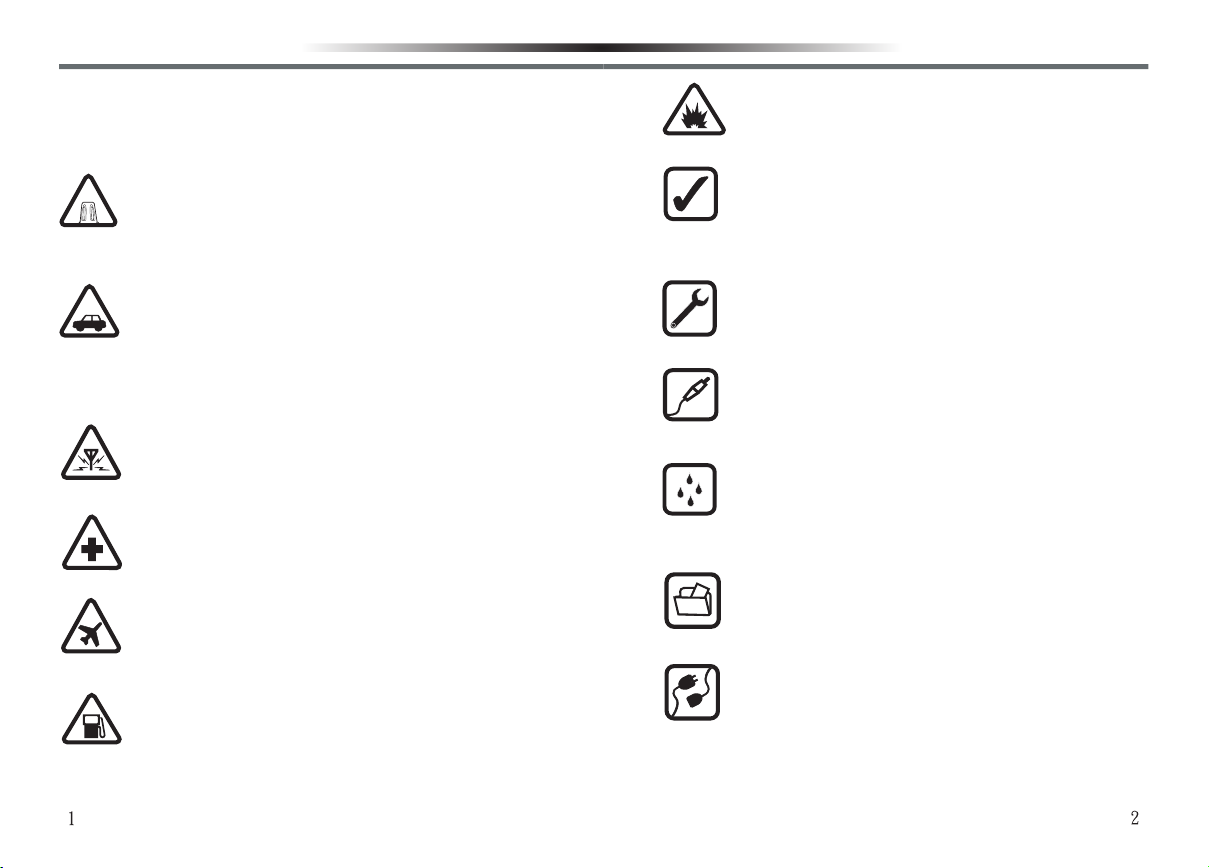
SWITCH ON SAFELYSWITCH ON SAFELY
Do not switch the device on when transceiver
use is prohibited or when it may cause interfer
_ence or danger.
ROAD SAFETY COMES FIRSTROAD SAFETY COMES FIRST
Obey all traffic rules. Always keep your hands
free to operate the vehicle while driving. Your
first consideration while driving should be road
safety.
INTERFERENCEINTERFERENCE
All wireless devices may be susceptible to
interference, which could affect performance.
SWITCH OFF IN HOSPITALSSWITCH OFF IN HOSPITALS
Follow any restrictions. Switch the device off
near medical equipment.
SWITCH OFF IN AIRCRAFTSWITCH OFF IN AIRCRAFT
Follow any restrictions. Wireless devices can
cause interference to aircraft communication.
SWITCH OFF WHEN REFUELING SWITCH OFF WHEN REFUELING
Do not use the transceiver at gas stations. Do
not use fuel or chemicals.
Follow any restrictions. Do not use the trans ceiver in the explosive places.
USE SENSIBLY USE SENSIBLY
Use only in the normal position as explained in
the product documentation. Do not touch the
antenna unnecessarily.
QUALIFIED SERVICEQUALIFIED SERVICE
Only qualified personnel may disassemble or
repair the transceiver.
ACCESSORIES AND BATTERIESACCESSORIES AND BATTERIES
Use only approved accessories and batteries.
Do not connect incompatible products.
WATER-RESISTANCEWATER-RESISTANCE
Your transceiver provides with simple design
for rain resisrance only. Please keep it dry as
possibly as you can.
BACK-UP COPIESBACK-UP COPIES
Remember to make back-up copies or keep a
written record of all important information.
CONNECTING TO OTHER DEVICESCONNECTING TO OTHER DEVICES
When connecting to other device, read the
relevant user guide for detailed safety instruc
_tions. Do not connect incompatible products.
SWITCH OFF NEAR EXPLOSIVE PLACESSWITCH OFF NEAR EXPLOSIVE PLACES
UNPACKING AND CHECKING EQUIPMENT
Welecome to use ADI wireless transceiver, we suggest
to take the following steps before use:
•Please check the packing box to see if there is any damage.
•Please carefully unpack the packing, and identify the items listed
below. If any items are missing or damaged, please contact the
dealer.
SUPPLIED ACCESSORIESSUPPLIED ACCESSORIES
ITEM QUANTITY
Wireless Transceiver
Antenna
Lithium Battery Pack
Desk Top Charger
Adapter
Belt Clip
User’s Manual
Warranty Card
PREPARATIONPREPARATION
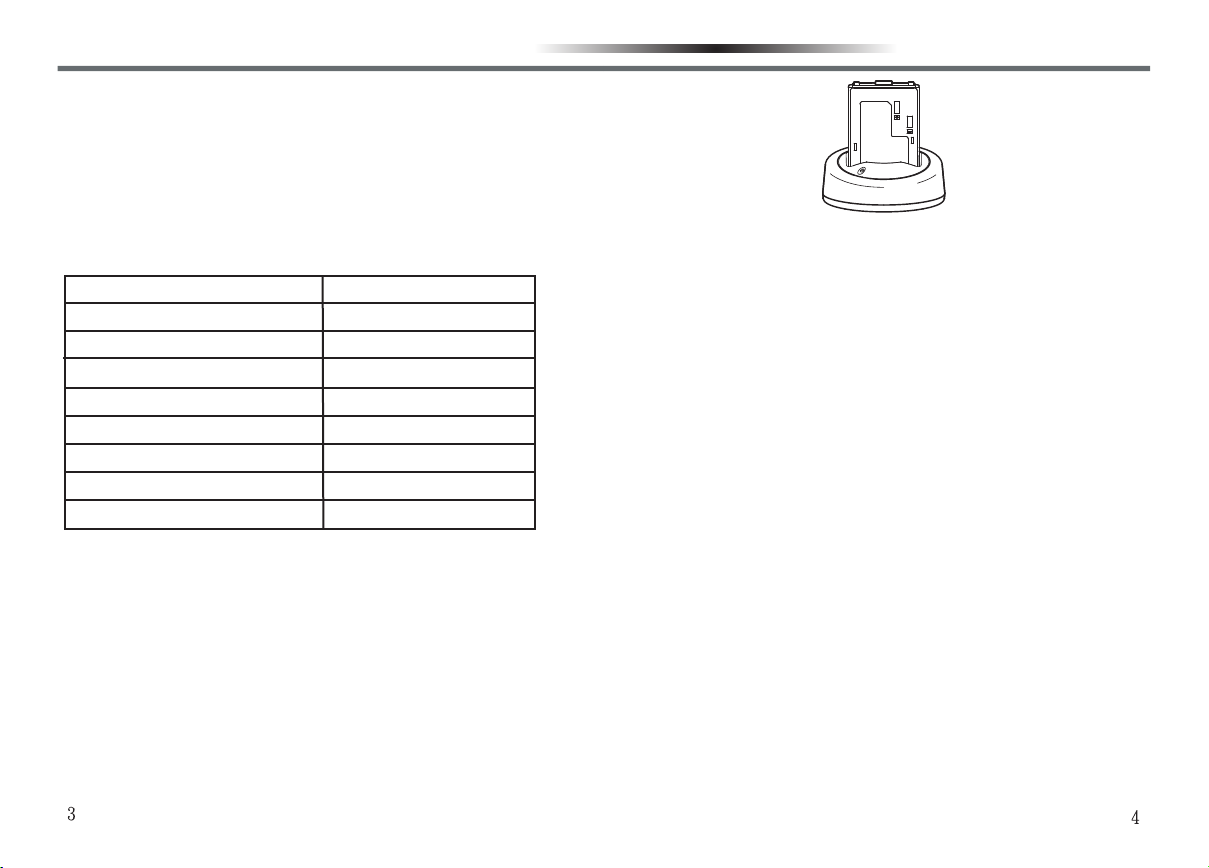
CHARGING THE BATTERY PACKCHARGING THE BATTERY PACK
The battery pack is not fully charged at the factory, please
charge it before use. Initially charging the battery pack after
purchase or extended storage (greater than 2 months) will
not bring the battery pack to its normal operating capacity.
After repeating the charge/discharge cycle two or three
times, the operating capacity will increase to normal.
1
1
1
1
1
1
1
1
PREPARATION
Please charge according to the following steps:
1.Plug the adapter into a 110V socket.
2.Plug the DC plug into the DC jacket located on the
back of the charger.
3.The charging LED lights green when the charger
is to be charged.
4.Slide the battery pack or transceiver with the battery
pack into the desktop charger.
5.Make sure the battery pack contacts are in contact
with the charging terminals. The charging LED lights
red and charging begins.
6.Afrer charging about 3 hours, when the light turns to
green, it means the battery pack is fully charged.
Then you can take off the battery pack or trans ceiver with the battery pack and use it.
Note:
1.Do not short the battery terminals or dispose of the battery by
fire. Never attempt to remove the casing from the battery pack.
2.Keep the charging temperature always between 0℃ and 40℃.
Charging outside the temperature range may affect the right
charging.
3.Do not use the transceiver while charging is taking place.
4.Do not plug or unplug power supply or battery pack, in order
not to interrupt charging porgram.
5.When even if charged correctly, the battery pack still cannot
return back to its normal operating capacity. If this occurs, it
means the life of the battery pack has nearly come to an end,
please replace by a new one.
6.Do not charge when the battery or transceiver are wet. Use a
dry cloth to clean them before charging in order to avoid
danger.
PREPARATIONPREPARATION
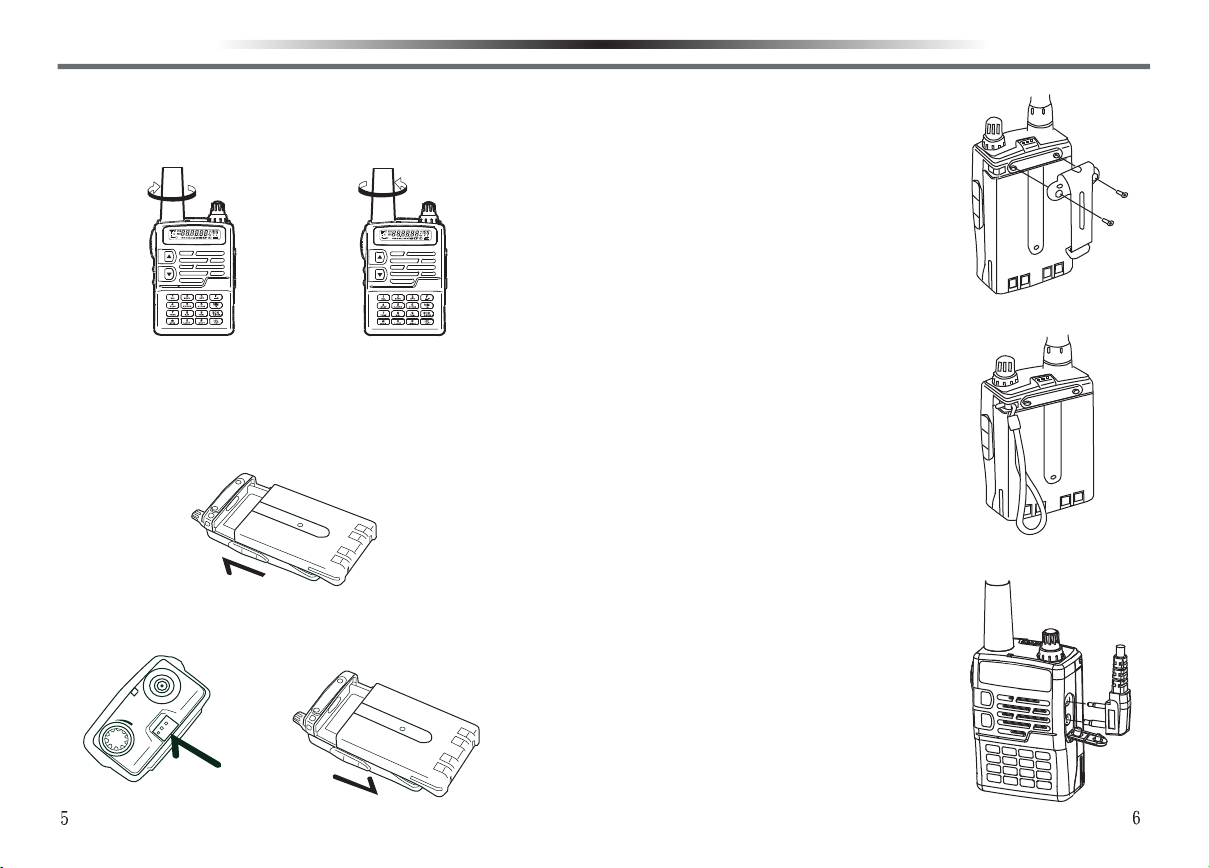
INSTALLING/REMOVING THE ANTENNAINSTALLING/REMOVING THE ANTENNA
Hold the base of the antenna, then screw clockwise the antenna
into the connector on the top of the transceiver until secure. To
remove the antenna, turn counterclockwise until loosen.
Installing the antenna
Removing the antenna
INSTALLING/REMOVING THE LI-ION BATTERY PACKINSTALLING/REMOVING THE LI-ION BATTERY PACK
To install the battery pack, align the two bulges on the top of
the battery pack with the two grooves at corresponding
positions on the aluminum frame of the back of the trans
ceiver, then press it into the transceiver until a ‘’click’’ sound
is heard.
To remove the battery pack, turn off the transceiver first,
push the release latch on the top of the transceiver, and
then slide it down.
-
INSTALLING THE BELT CLIPINSTALLING THE BELT CLIP
1.If necessary, install the supplied belt
clip by tightening the two screws to the
holes at the back of the battery pack for
easy carrying.
2.To remove the belt clip, just loosen the
two screws and take out.
INSTALLING THE HAND STRAPINSTALLING THE HAND STRAP
If necessary, thread the hand strap through
the loop on the top of the body to facilitate
carrying.
INSTALLING THE OPTIONAL EARPHONEINSTALLING THE OPTIONAL EARPHONE
Open the dust cover of the earphone,
insert the earphone plug into the earphone
jack.
 Loading...