


Lyric Controller
Quick User Guide
Ref: LCP500-L

These instructions provide a brief overview of common system
functions. For more detailed information, please refer to the
Controller’s full User Guide, located online at:
http://www.honeywell.com/security/hsc/resources/literature/
IMPORTANT!
If the Lyric Controller is beeping rapidly when you enter the
premises, an alarm has occurred during your absence and an
intruder may still be on the premises.
LEAVE IMMEDIATELY and CONTACT THE POLICE from a
nearby safe location.
IMPORTANT!
PROPER INTRUSION PROTECTION
For proper intrusion coverage, sensors should be located at every
possible point of entry to a home or commercial premises. This
would include any skylights that may be present, and the upper
windows in a multi-level building.
In addition, we recommend that radio backup be used in a security
system so that alarm signals can still be sent to the Central
Monitoring Station in the event that the Wi-Fi network connections
or Internet connections are out of order (alarm signals from this
control panel are normally sent over the Wi-Fi and Internet network).
EARLY WARNING FIRE DETECTION
Early warning fire detection is important in a home. Smoke and heat
detectors have played a key role in reducing fire deaths in the United
States. With regard to the number and placement of smoke/heat
detectors, we subscribe to the recommendations contained in the
National Fire Protection Association's National Fire Alarm Code
(NFPA 72). These recommendations can be found in the separate
Part 2 of this document package.
IMPORTANT SECURITY NOTICE
Key fobs are comparable to your house and car keys. If they are lost
or stolen, another person can compromise your security system and
may be able to enter your home. Immediately notify your
Dealer/Installer of a lost or stolen key fob, so that it can be removed
from your system.
– 2 –

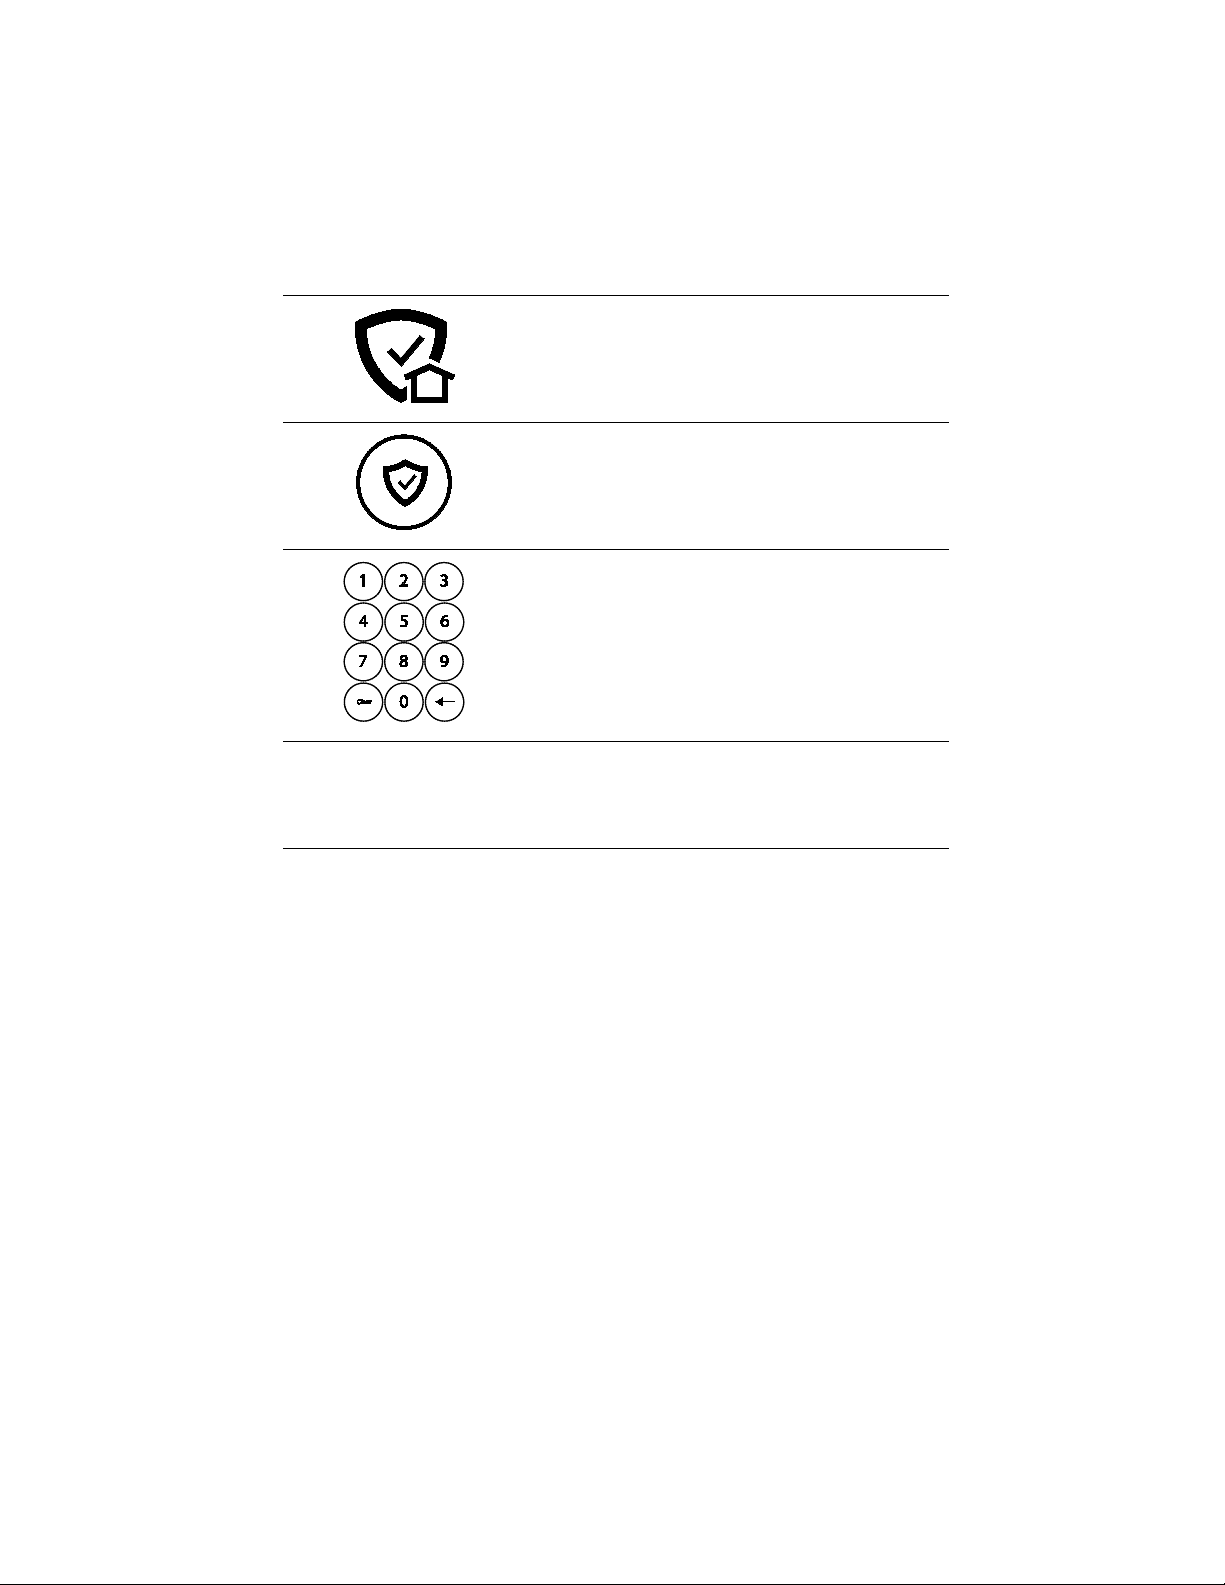
ARM THE SYSTEM
1
Security
Home
2
Select Select Select
Arm Away
Arm Stay
Arm Custom
3
4
What Happens
Silent Exit
Press
icon on
screen.
OR
OR
Enter user code.
• System arms in selected mode
• Exit Delay countdown begins
• Keypad beeps begin, if enabled
(
(when you’re out)
(when you’ll be home)
(bypass selected zones)
mutes countdown beeps)
– 3 –
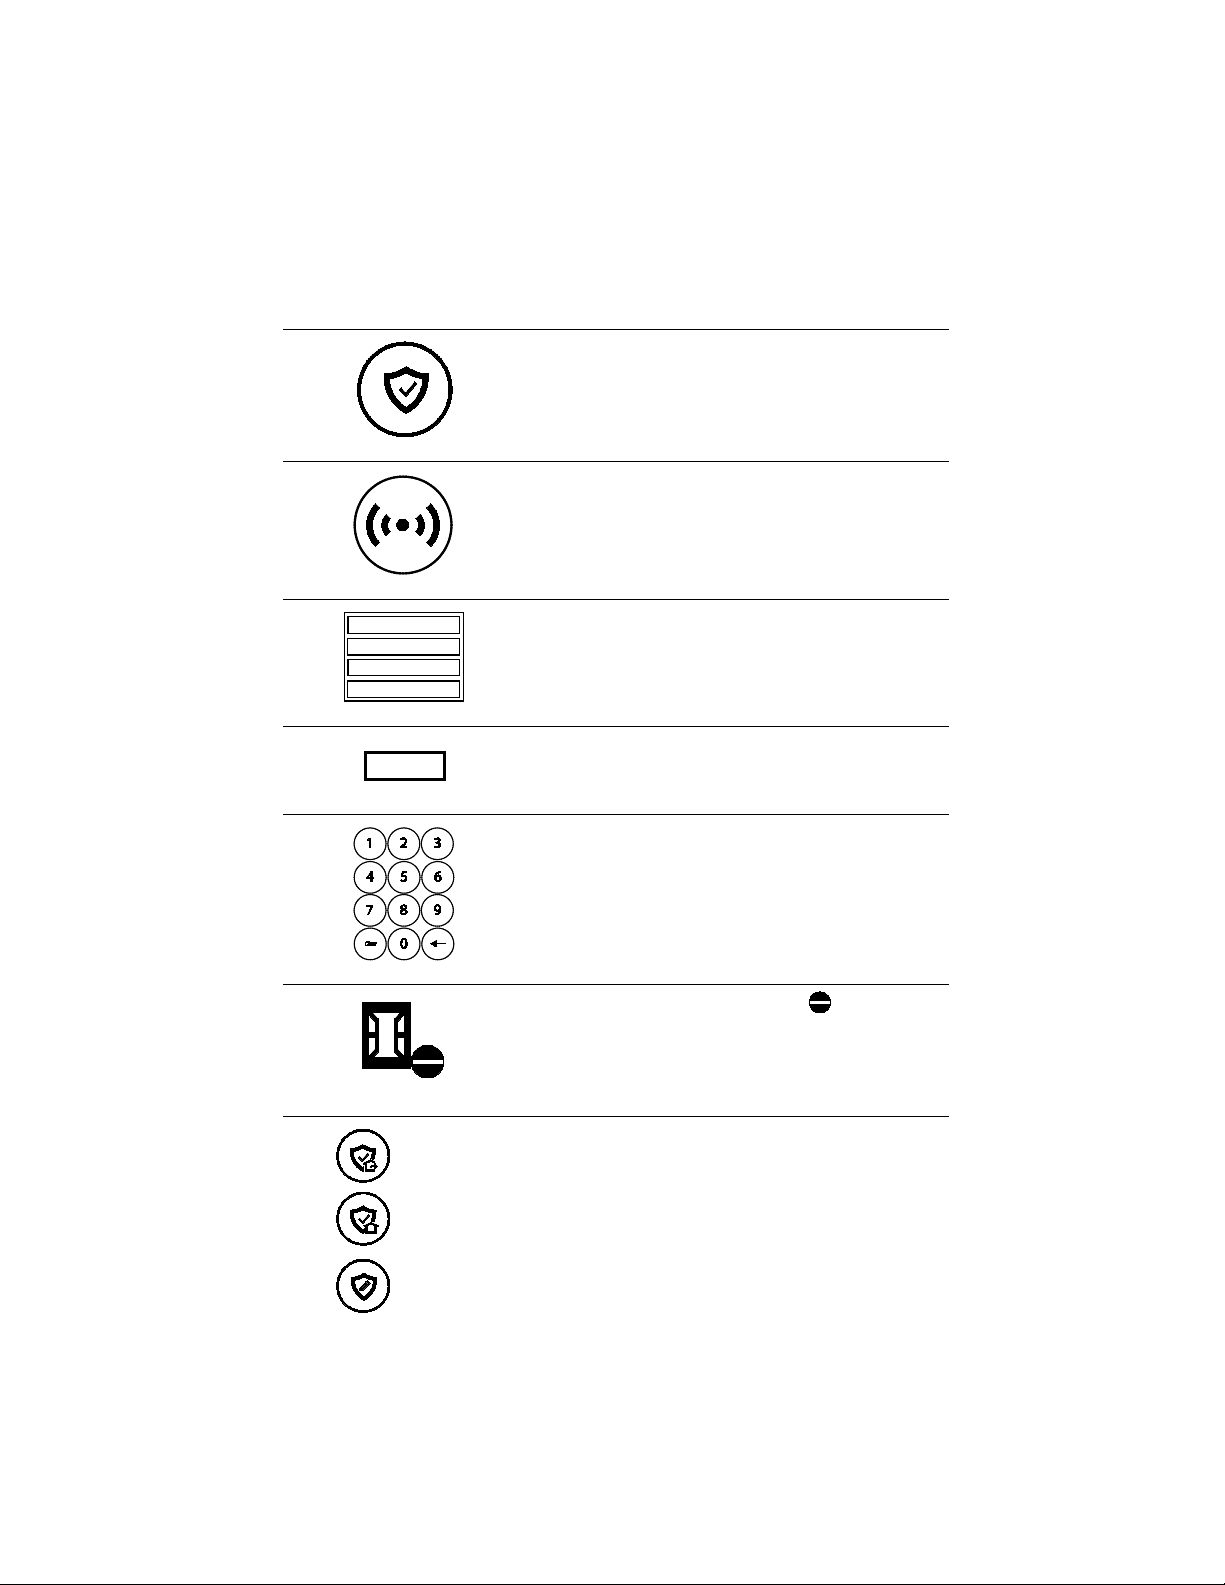
DISARM THE SYSTEM
1
Security
Armed
2
Disarm
3
4
What Happens
5
Memory of
Alarm
Press
Press
Enter user code.
• System Disarms
• Entry Delay beeps stop (if beeps enabled)
If an alarm has occurred, zones with alarms
remain displayed.
Repeat Disarm sequence to clear display.
icon.
icon.
– 4 –
BYPASS ZONES
1
Security
2
Zones
3
4
Bypass
5
6
7
(Custom)
NOTE: Bypassed zoned are unprotected.
Press
Press
Select zones to bypass from list.
Press
Bypass.
Enter user code.
icon.
icon.
.
Bypassed zones appear in list with icon.
(Away)
(Stay)
Arm system as usual.
– 5 –

PANIC ALARMS
1
Panic
2
OR
OR
Alarm
3
See your installer for the types of Panic alarms programmed for
your system.
Fire
Press and hold
Press desired Panic icon within 5 seconds.
button for 3 seconds.
Police
Local
Alarm message is sent to your central station.
– 6 –

ASSIGN USER CODES
1
Tools
2
Master User
3
Users
4
Master
Guest
Duress
Add New
Edit
Add New
5
Z-wave Lock
No
Name
Z-Wave Lock Control
User Code
user. Go to step 6.
6
Save.
Name
User 3
User Code
03
Control
Press
Enter
Press
To assign a Master, Guest, or Duress code, press
the desired option then press
To assign a regular user code, press
If desired, press
to this user. Follow the prompts.
If desired, press
whether entering this code at the Z-Wave door
lock will disarm the system. Follow the prompts.
Press
icon on Security screen.
code.
icon.
.
.
to assign a personal name
to set
to assign a 4-digit code to this
Assign 4-digit code and
– 7 –

USE AUTOMATION DEVICES (Z-WAVE)
1
Automation
2
3
4
Select Desired
Action
Actions vary based on the device selected.
Press
Select type of device.
Select a specific device from the list.
Select the desired action for that device.
icon.
– 8 –

ADD/REMOVE Z-WAVE DEVICES
1
Automation
2
Tools.
3
Include
Exclude
4
Note
Working with Z-Wave
Devices
(Include/Exclude)
OR
Follow the prompts and activate the device’s Function button.
: These steps can vary with each Z-Wave device.
Read the device’s instructions and see
in the User Guide.
Press
Scroll down on device list, press
Press
Press
icon.
to add device.
to remove device.
– 9 –

CONTROL SMART SCENES
1
Smart Scenes
2
3
All
Triggered
Anytime
Scheduled
All
4
Select a Scene
5
Run
OR
Hold
OR
Show
Run
Hold
Hold
Show
Smart Scenes are created by using Total Connect. However, Smart
Scenes can be manually started (Run) or placed on Hold using the
Lyric Controller Smart Scenes menu.
Scenes – code – ALL – lists them – select desired then press run or
hold
Press the
Enter Master User code.
Press
in the system.
to list all the Smart Scenes programmed
icon.
Select the desired Smart Scene from the list.
To run the selected scene, press
To suspend the selected scene, press
To remove the hold later, repeat these steps and
press
To view the Smart Scene settings, press
again.
– 10 –
.
.
.

VIEW CAMERAS
1
VIDEO
2
3
4
Display
cameras.
5
Scan
6
7
(if installed)
Press
System may scan for cameras.
Select up to 4 cameras.
Press
Press
icon.
to view video from available
to list newly-installed cameras.
View one or more cameras at once.
OR
Control features like Pan and Zoom from the
panel.
– 11 –

SETTINGS
1
Settings
2
3
4
Clean
Press
Adjust screen brightness and Voice/Chime
volume.
Mute Voice and Chimes if desired.
Press
screen is disabled for 15 seconds.
icon.
icon; use a damp, soft cloth while
– 12 –

TEST THE SYSTEM
1
2
Tools
3
4
Advanced
Walk Test
5
Trigger Zones
Trigger (open and close) all zones.
6
Exit Test mode
When testing is completed, press the Home
(to be conducted weekly)
Disarm the system and close all protected windows and doors.
Home button should show green.
The
NOTE: No alarm messages are sent to your alarm monitoring
company during these tests.
Press Security icon on Home screen.
Press
Enter the Master User code.
icon on Security screen.
Press
Listen for three beeps from the controller when
each zone is triggered.
button on the controller and enter the Master
User Code if prompted.
icon, then select
– 13 –
.

SYSTEM COMPATIBILITY NOTICE
Your Honeywell security system is designed for use with devices
manufactured or approved by Honeywell for use with your security
system. Your Honeywell security system is not designed for use with
any device that may be attached to your security system's keypad or
other communicating bus if Honeywell has not approved such device
for use with your security system. Use of any such unauthorized
device may cause damage or compromise the performance of your
security system and affect the validity of your Honeywell limited
warranty. When you purchase devices that have been manufactured
or approved by Honeywell, you acquire the assurance that these
devices have been thoroughly tested to ensure optimum
performance when used with your Honeywell security system.
Lyric™ Lock
Your system supports advanced features designed to keep it
functioning optimally. These capabilities include: the ability to
interact with Honeywell and your dealer’s network for the setup and
programming of its features, support for remote software updates
and the ability (when enabled by your monitoring dealer) to enhance
your security by preventing an unauthorized takeover of the system
by another monitoring company. In the event that your dealer has
enabled the feature to prevent an unauthorized takeover and you
wish to authorize a new company to take over your system, you may
request that Honeywell remotely disable this feature. Honeywell will
require documentation that you have attempted to contact your
existing security dealer and that they have failed to respond, or
failed to agree to your request.
– 14 –

SERVICING INFORMATION
Your local authorized service representative is the person best
qualified to service your Lyric system. Arranging some kind of
regular service program with him is advisable.
Your local service representative is:
Name:
Address:
Phone:
– 15 –

Ê800-18080*Š
800-18080 4/15 Rev. A PART 1 BETA
2 Corporate Center Drive, Suite 100
P.O. Box 9040, Melville, NY 11747
Copyright © 2015 Honeywell International Inc.
www.honeywell.com/security
 Loading...