

Page 1
r
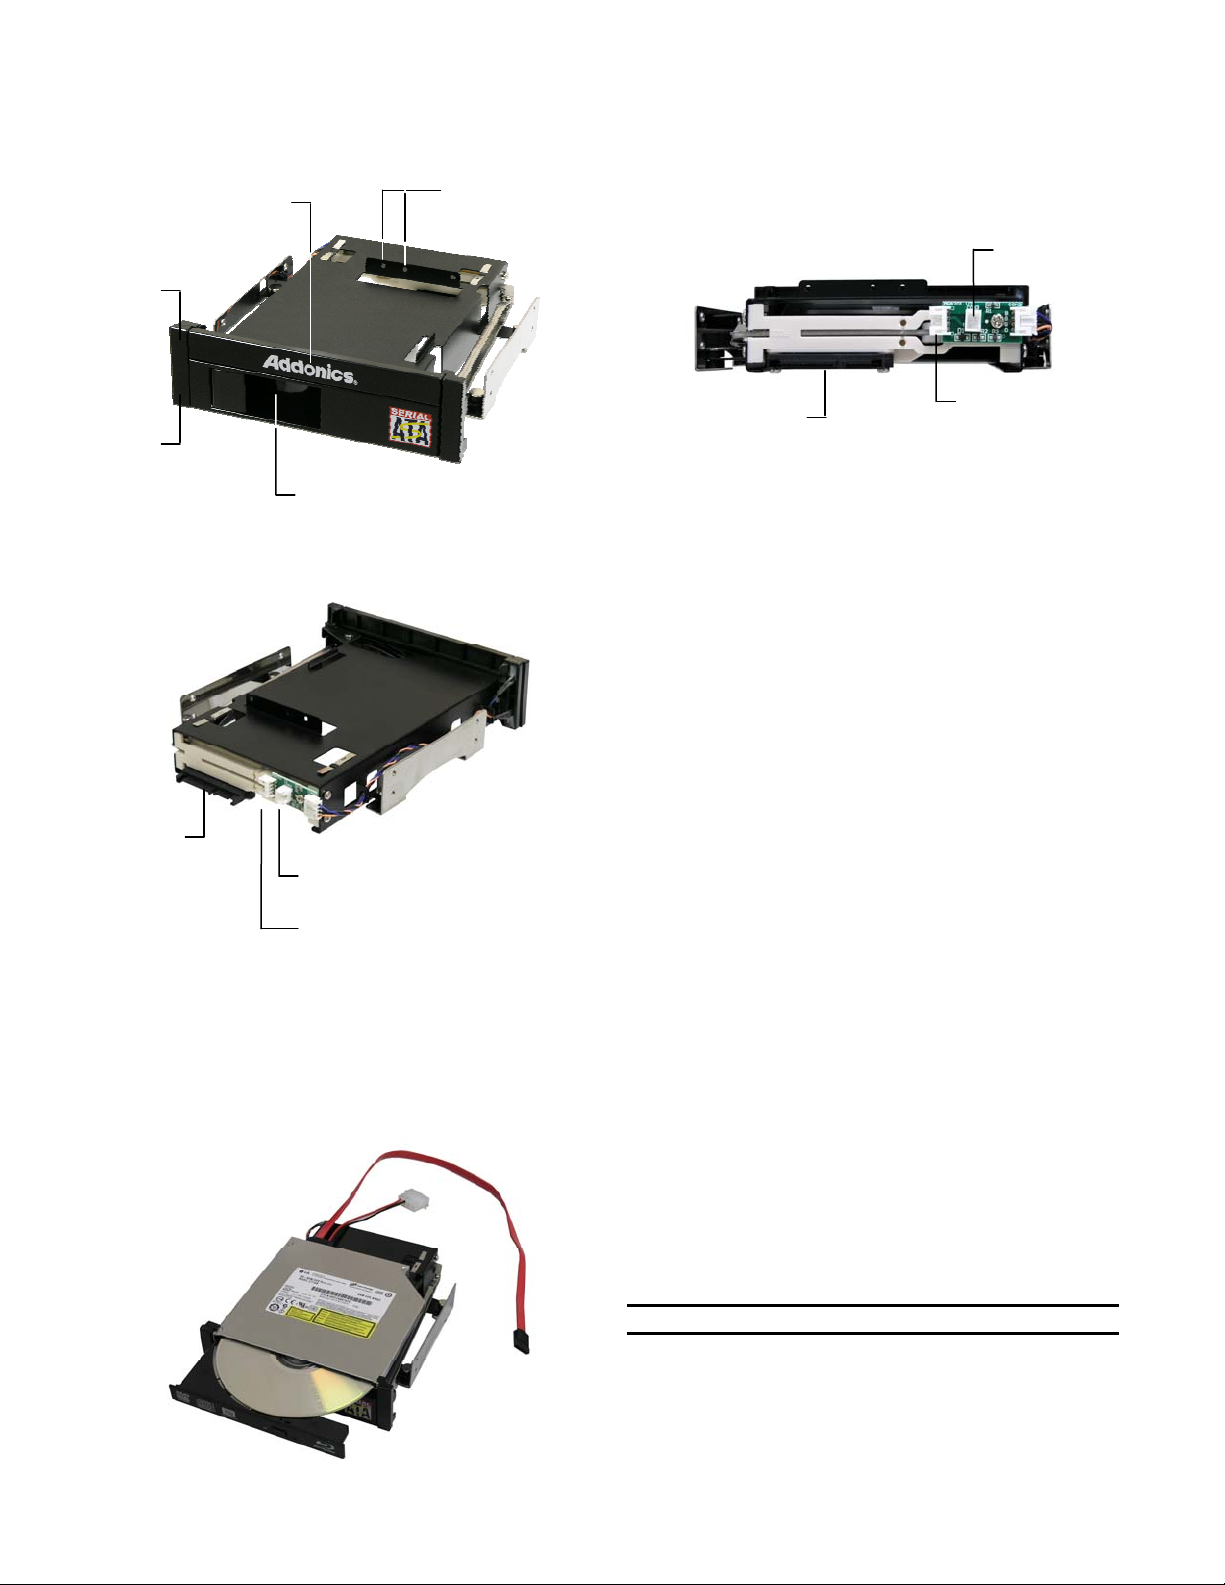
Removable front bezel to
install slim optical drive
Power
LED
ADDONICS TECHNOLOGIES
Model: AEMMBY
Mounting holes for
slim optical drive
Cable Connections:
Reserved
connector
Drive
activity LED
Drive door s
accommodate a 3.5” SATA drive
wings open to
SATA
connection
Reserved connector
Power and drive
activity LED connecto
Installation of slim optical drive:
1. Remove the slim bay front panel.
2. Slide the slim optical drive into the slot.
3. Secure the slim optical drive by screwing it onto the
mounting holes located at the back of the slim bay.
SATA connection
Power and drive
activity LED connector
1. A SATA power & data Y-cable is provided with the multimedia bay. Connect this cable to the SATA connection
at the back of the bay.
2. The SATA power & data Y-cable has a third connector.
Attached this connector to the power and drive activity
LED connector as labeled above.
If this connector is not connected, the power & drive
activity LEDs located on the front of the multi-media bay
will not function.
TECHNICAL SUPPORT
Email: http://www.addonics.com/sales/query/
Internet: http://www.addonics.com
Technical Support (8:30 am to 6:00 pm PST)
Phone: 408 433-3855
Email: http://www.addonics.com/support/query/
 Loading...