

Page 1
User’s Guide
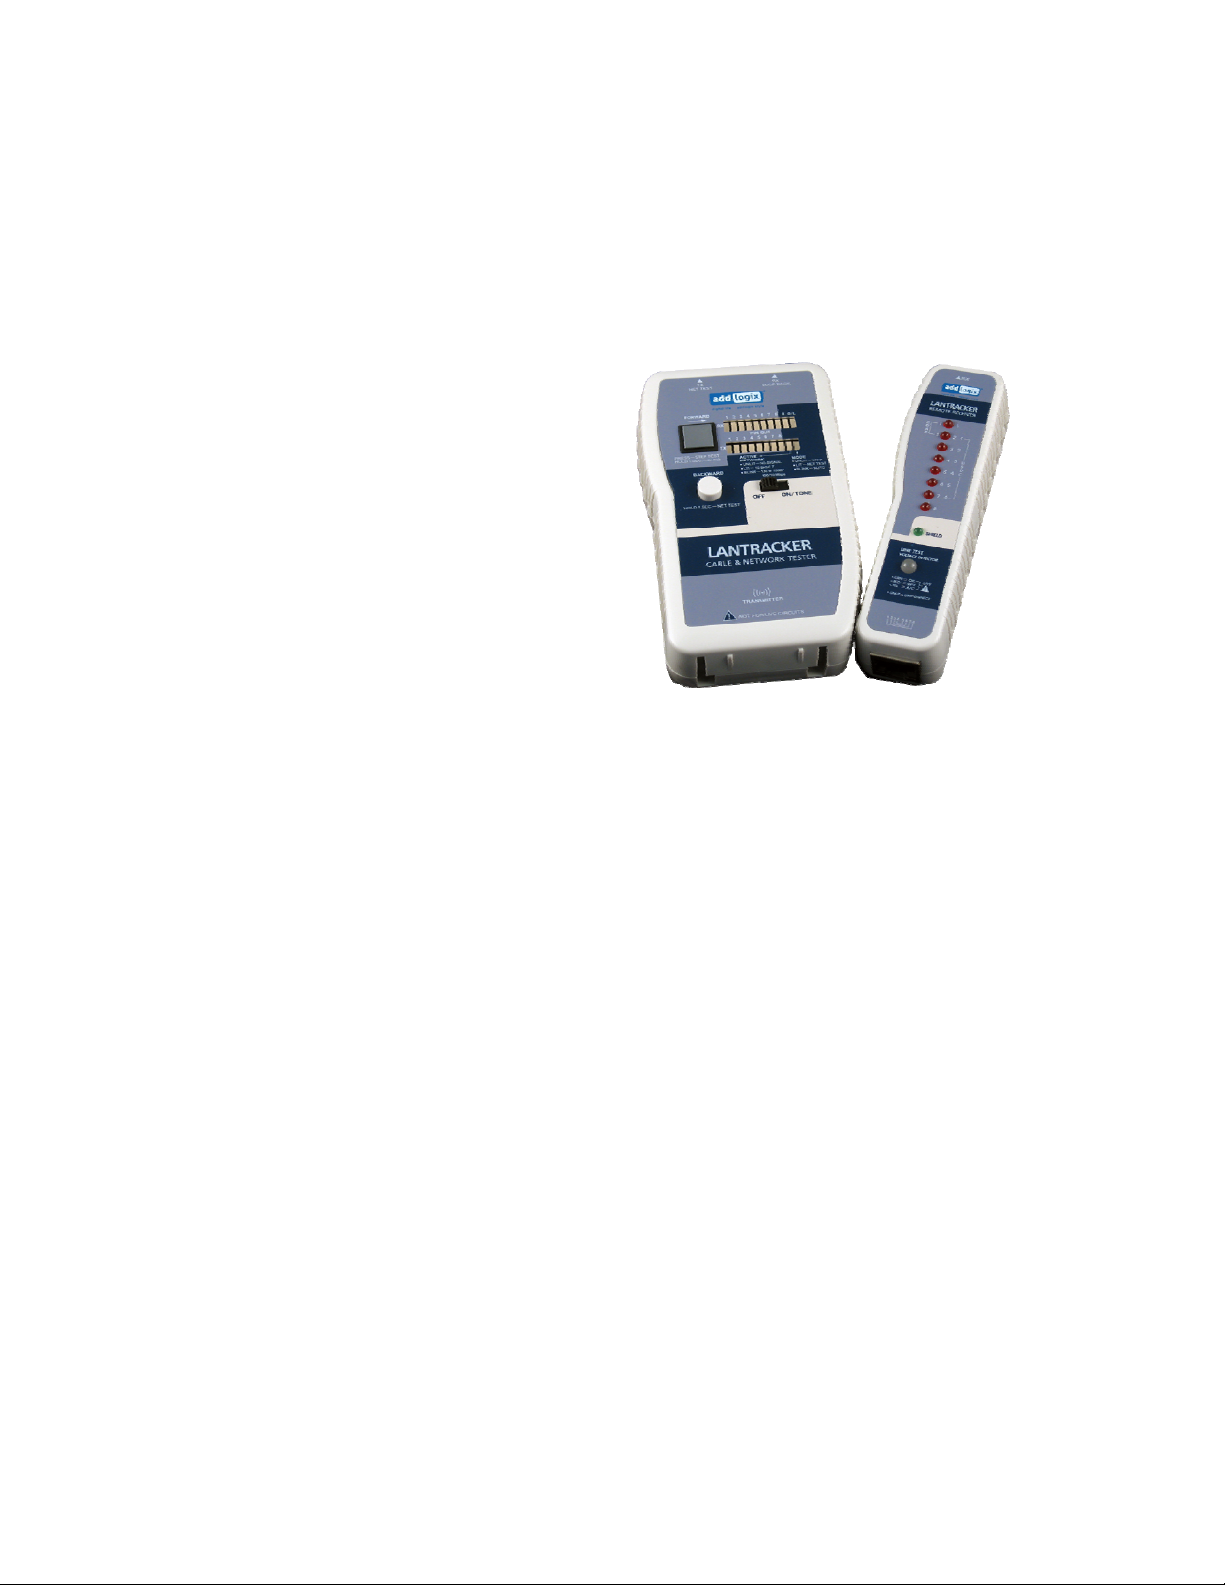
CTK-LNTRK LAN Tracker
Overview:
Addlogix’s CTK-LNTRK Tracker is a 3-in-1
tester that includes the functions of 1)
network tester, 2) tone generator, and 3)
pin-by-pin cable tester.
PH-120 LAN Tracker is a portable
easy-to-operate tester that combines the
functions of tone generator and network
activity detector that can flash network
hub’s, switches, and NIC’s port to indicate
the network port. It also performs
loo-back or remote validation of network,
data, voi ce, and coaxia l ca b l es by
displaying the test result on its LED dis play. The display shows pin-by-pin configuration
that can move forward or backwards in both automatic and manual fashion.
Other functions include validating the integrity of a cable’s shielding, and it can ‘trace’ a
cable through its tone generator function and its ability to turn on network port’s activity on
Hubs and NICs. Its line tester tests for line polarity and detects whether an AC or DC
voltage is present on the line. The tester can also identify an inactive netwo rk’s speed
(10/100/1000mbps).
Features:
• Provides pin-by-pin configuration of 1-8 pin cables
• Detects network’s activity and speed
• Detects inactive network device type and speed
• Traces cable / network port with its built-in tone generator or its ability to turn on the
activity LEDs on network hubs, switches, and NICs
• Checks line polarity and detects if AC/DC voltage is present
Operations:
1. About live / active networks: When testing an installed cable, please verify if a
voltage is present on a network by using the built-in volt age detector. If voltage is
detected, unplug the power adapter from the network equipment first. Never use
the tester on live network and cables.
To do so, plug one end of the cable to the remote unit’s jack. The result will be
Page 2

displayed on the “LINE TEST” LED on the unit. If the LED lights up, volt age is
detected. Green indicates normal polarity; red indicates reverse polarity, and
yellow indicates AC voltage.
2. Available Test Modes:
• Automatic Mode
“St ep” button for one second. If the tester is in “Network Test” mode, press
either the “Step” button or the “Backward” button to change the tester to
“Automati c” mode.
• Network Test Mode
the “Backward” button for 1 second
• “St ep Test / Manual” Mode
“Step” or “Backward” button once to change the tester to “Step Test / Manual”
mode. If the tester is in “Network Test” mode, press the “Step” or
“Backward” button twice to change the tester to “Step Test / Manual” mode.
3. Test Mode LED: The tester’s test mode status LED indicates what mode it is in.
• Automatic Mode – LED is blinking
• Network Test Mode – LED is lit solid
• Manual / Step Test Mode – LED is blank / unlit
4. Available Tests:
Testing Cables
Test a cable by connecting one end of the cable to the main tester and the other en d
to the tester’s remote unit. In “Automatic” test mode, the tester will automatically
cycle through each pin, while displaying the test result on the LED. In “Manual /
Step” test mode, t he tester will test one pin at a time. Press the “Step” button to test
the next pin.
Loop Back Test
A loop bac k (test without using the tester’s remote unit) can be performed by
connecting one of the cable to the main tester’s “TX” socket and the other end of the
cable to tester’s “RX” socket.
Testing Installed Cable / Wiring
Test an installed cable or wire by connecting one end of the cable or wire to the main
tester’s TX port and the other end to the tester’s remote unit. In “Automatic” test
mode, the tester will automatically cycle through each pin, while displaying the test
result on the LED. In “Manual / Step” test mode, the tester will test one pin at a time.
Press the “Step” button to test the next pin.
Shielding Integrity Test
Shielding validation will be done under both “Automatic” and “Manual / Step Test”
modes. The shielding LED (“S” on the main unit, “Shield” on the remote unit) will
come on indicating shielding integrity.
– Set the tester to “Automatic” mode by holding down the
– Set the tester to “Network Test” mode by holding down
– If the tester is in “Automatic” mode, press the
Page 3

Checking a Network
Refer to the information above to make sure the network is not a live circuit.
Connect one end of a cable (the other end connected to a wall jack or patch panel)
to the main tester unit’s “TX / Net Test” jack. Set the tester to “Network Test Mode”
(see instructions above). The tester will automatically check for network and
display the result on the main test er’s LED display that’s labeled “Ac tive Network”.
• 10 Base-T Network: indicated by a solid lit LED
• 10/100 or 10/100/1000Mbps Network: indicated by a blinking LED
• No activity: indicated by a blank LED
The activity LED of the corresponding port of the connected network switches, hubs,
or NICs will be lit during this operation. This allows the user to trace the end of a
wire throughout the network. (Note: A crossover cable must be used when testing
a NIC.)
Checking an Inactive Network
When used on an inactive network, LAN Tracker will not be able to indicate the
network speed via its LED display as explained above. However, LAN Tracker can
find the network’s intended bandwidth by checking how the cabl es are wired. The
following diagrams can be used as reference.
1 2 3 4 5 6 7 8 1 2 3 4 5 6 7 8 1 2 3 4 5 6 7 8
10/100 Mbps 10/100/1000 Mbps 10 Base-T
Ethernet Ethernet Ethernet
(HUB/NIC with Auto
MDI/MDI-X Function)
Using the Tone Generator Function
Tone will always be sent through the cable that’s connected to the main unit’s TX
port. To send the tone a specific pin / wire of the cable, set the tester to “Manual /
Step Test” mode (see above) and use the “Step” button to the desired pin. The tone
can be detected by Addlogix Tone Probe (CTK-PROBE) or other standard tone
probe.
Low Battery
Red (
●) indicates the tester’s battery is low. When the indicator shows red, it’s
recommended that the batter be replaced immediately to prevent misreads. (Note:
It’s recommended that the 9V alkaline batter be removed if the tester is not used for
an extended period.)
Page 4

Specifications:
Power
Size
Weight
Main unit - 9V alkaline battery
Battery life - 60 hours (typical)
Main unit - 4.9” x 2.67” x 1.13” / 125mm x 68mm x
28mm
Remote unit - 5.13” x 1.28” x 1.11” / 130.7mm x
32.5mm x 28mm
195g / 0.43lb with battery
Shipping weight: 320g / 0.7lb
Operating Temperature
Material ABS
Tone Frequency 800 HZ
Supported Cable Types
Maximum Supported Cable
Length
Power Consumption 10 – 40 mA /sec
Output V oltage 5V
Traffic Test Network Traffic Detection
Support:
Visit the Product Support section at www.addlogix.com
products.
0° - 45°C (32° - 113°F)
UTP, STP, 10 Base-T, Token Ring, TP-PMD, 10
Base-T/BNC, and USOC 8, 4, 2 cables.
1,500 feet
if you have any trouble using these
 Loading...