

Page 1
Safety information
• For use in dry, oil free indoor environments only.
• Do not use to link between buildings.
• Not suitable for use in hazardous or explosive
environments or next to highly flammable
materials.
• Ensure that all twisted pair interconnect cables
are installed in compliance with all applicable
wiring regulations.
• Do not connect the CATx link interface (RJ45
style connector) to any other equipment,
particularly network or telecommunications
equipment.
• Where possible, avoid laying the twisted pair
link cable(s) alongside power cables.
• Do not attempt to service the module yourself.
• The modules do not provide ground isolation
and should not be used for any applications
that require ground isolation or galvanic
isolation.
• For correct operation, the transmitter
and receiver modules must have ground
connections. At the computer end, this is
achieved by ensuring that the computer that
the module is connected to has a ground
connection. At the audio/visual device end, this
can be achieved by ensuring that the power
supply is connected to a grounded power
outlet. Alternatively, a ground connection will
be made via the monitor, if the monitor is itself
grounded.
Warranty
Adder Technology Ltd warrants that this product
shall be free from defects in workmanship and
materials for a period of two years from the date
of original purchase. If the product should fail to
operate correctly in normal use during the warranty
period, Adder will replace or repair it free of charge.
No liability can be accepted for damage due to
misuse or circumstances outside Adder’s control.
Also Adder will not be responsible for any loss,
damage or injury arising directly or indirectly from
the use of this product. Adder’s total liability under
the terms of this warranty shall in all circumstances
be limited to the replacement value of this product.
If any difficulty is experienced in the installation or
use of this product that you are unable to resolve,
please contact your supplier.
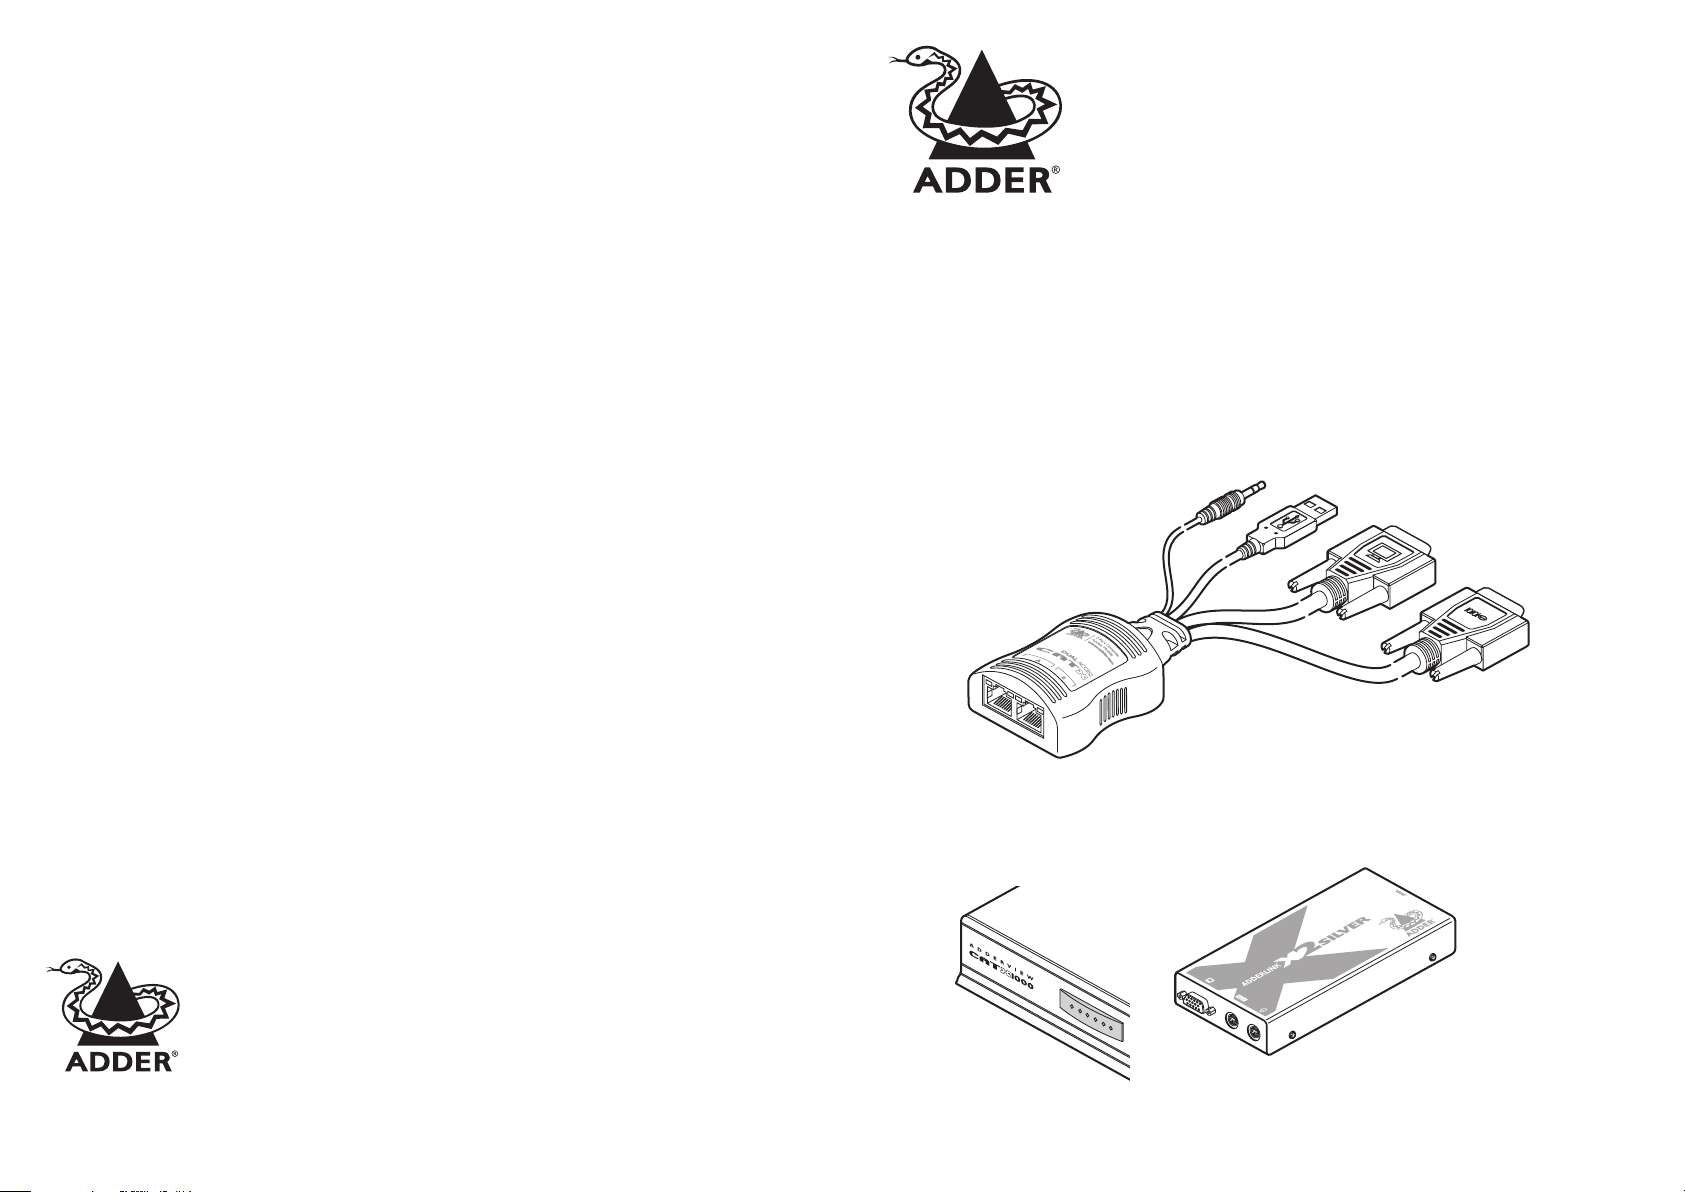
CATX Dual Access Module
Quick Start (CATX-USBA-DA and CATX-USB-DA)
The two variants of the CATX Dual Access Module are highly compact devices that allow you to share a single
computer between two sets of peripheral devices. The CATX-USB-DA variant is not fitted with audio or serial
ports but is otherwise identical to the CATX-USBA-DA model.
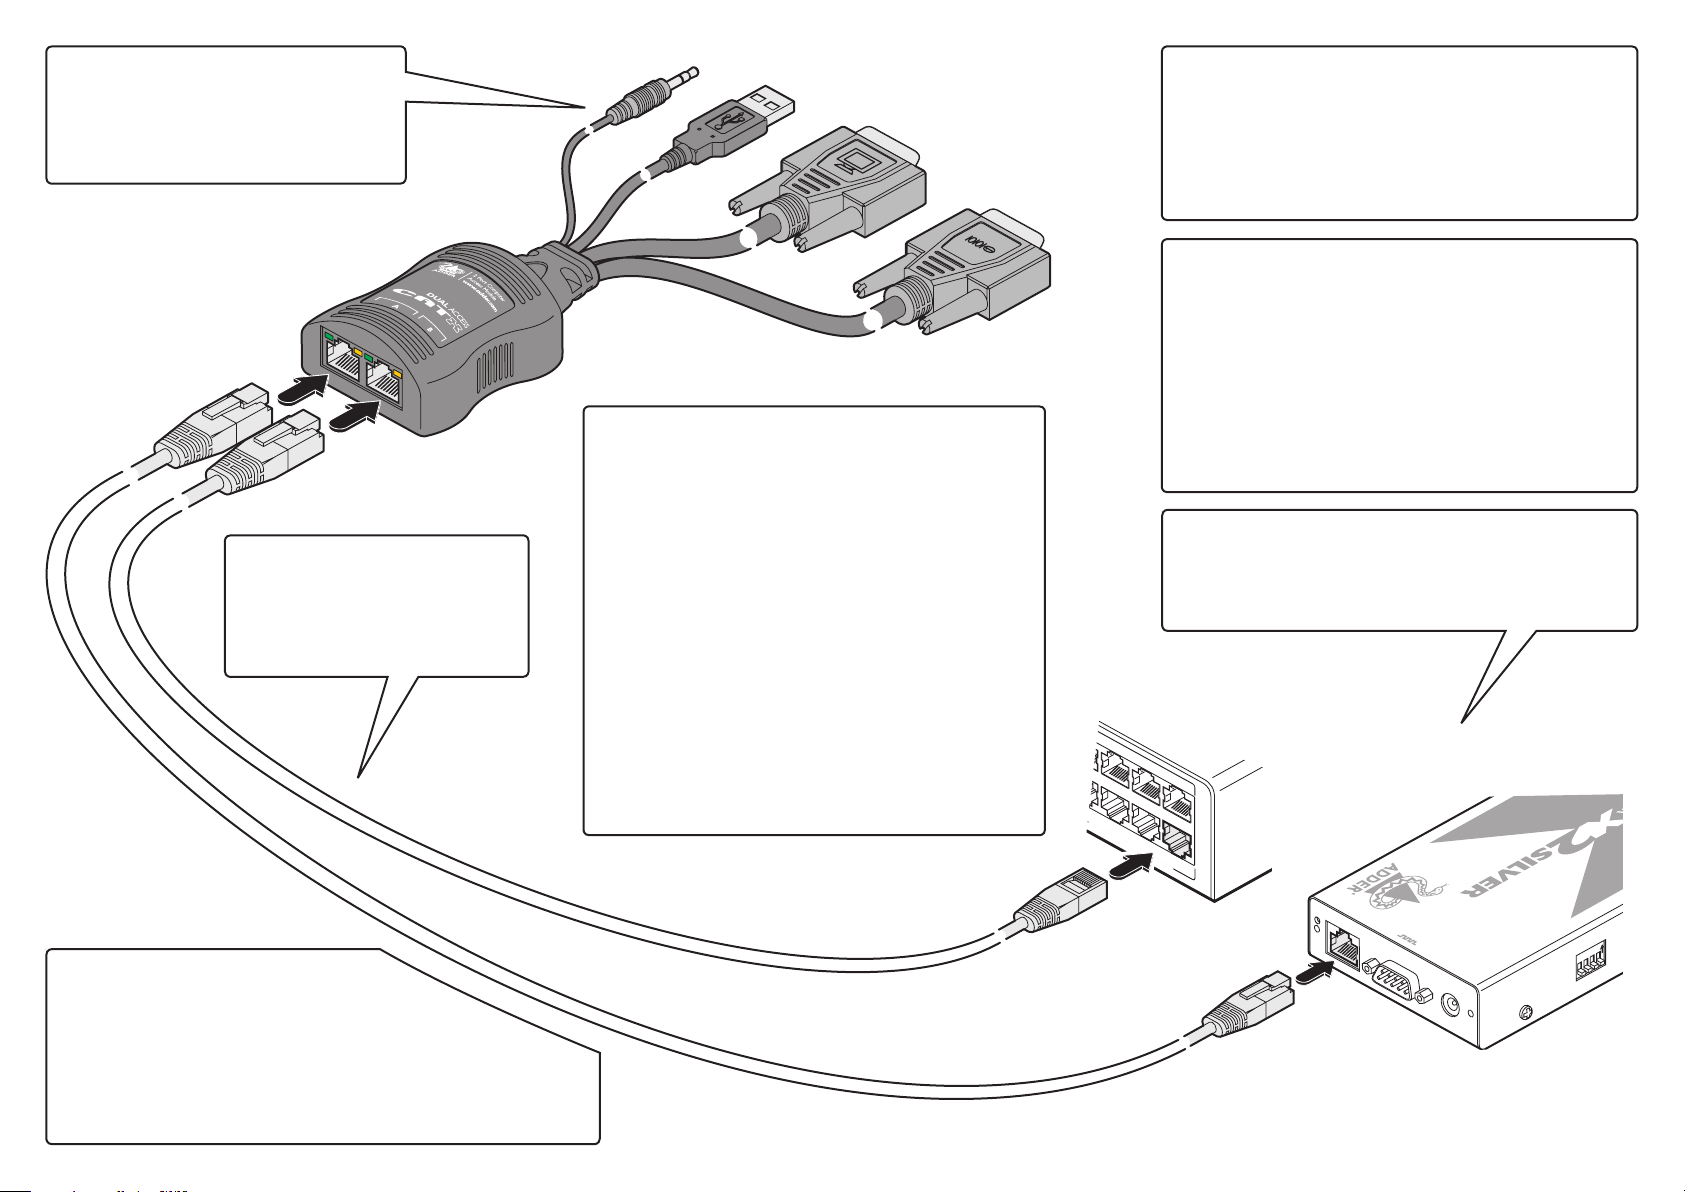
The module connects to various ports on your computer. You then connect it via CAT 5, 5e or 6 cabling to
AdderView CATx KVM switches and/or Adder extender receivers (either AdderLink X2 Silver or X200), each of
which can be located up to 300 metres from the module. Your video displays, keyboard, mice and speakers
are linked to the remote devices.
The CATX Dual Access Module uses a USB port to derive its power from the host computer, dispensing with
the need for a separate power supply and thus simplifying installation.
What’s in the box
*
CATX Dual
Access Module
* Not tted on
CATX-USB-DA
models
*
support@adder.com
www.adder.com
Adder Technology Limited,
Technology House,
Trafalgar Way, Bar Hill,
Cambridge, CB23 8SQ,
United Kingdom
Tel: +44 (0)1954 780044
Fax: +44 (0)1954 780081
© 2011 Adder Technology Ltd • Release 1.0d • June 2011 • Part No. MAN-CATX-USBA-DA-QS-ADDER
All trademarks are acknowledged. Documentation by Corporate Text & Design (www.ctxd.com)
Adder Corporation,
350R Merrimac Street,
Newburyport,
MA 01950,
United States of America
Tel: +1-888-932-3337
Fax: +1-888-275-1117
Adder Asia Pacic
6 New Industrial Road,
Hoe Huat Industrial Building
#07-01,
Singapore 536199
Tel: +65 6288 5767
Fax: +65 6284 1150
What you may additionally need
LOC REM
OSD
UPG LCK PWR
www
.adder
AdderView CATx
KVM switch
.com
www.adder.com
AdderLink X2 Silver or
X200 extender receiver
POWER
TO LOCAL
CAT 5, 5e or 6 link
cables, up to 300m
in length
Page 2
INDOOR USE ONLY
3 2 1
7
6
5
COMPUTER CONNECTIONS
Audio
1
ON
2
3
4
TO LOCAL
POWER
Host computer connections
The module does not require a power adapter
because it derives all of its power from the host
computer. Therefore the USB cable must always
be connected to a USB port on the computer that
is capable of providing up to 500mA.
Resolutions and cable lengths
The maximum resolutions achievable are:
1600 x 1200 x 60Hz at 200m and
1280 x 1024 x 60Hz at 300m.
Do not exceed 300m cable lengths in any
installation.
*
USB
* Not tted on
CATX-USB-DA
models
Video
Serial port
Disabling/re-enabling receiver connections
When required, a user of one remote link can disable (and reenable) the other remote link using serial port commands (this
feature is available only on the CATX-USBA-DA models). To do
this you need to determine two things: a) The Com port to which
the serial connector is attached and b) which of the two remote
ports you are using (A or B). See also ‘Serial port configuration’.
1 From one of the remote keyboards, open a terminal program
on the computer and use it to send the appropriate character
to the Com port to which the module is attached:
Port Disable character Enable character
A a (0x61) A (0x41)
B b (0x62) B (0x42)
The module will return OK or FAIL to indicate the result.
Note: Take care not to disable the port that you are using. If
you do, either re-power the module or use the other remote
link to re-enable your link.
2 Re-enable the port when it is appropriate. Note: Whenever
the module is re-powered, both links will always be enabled.
EDID display information
The module contains a default set of EDID information that
supports display resolutions up to 1600 x 1200 @ 60Hz. In
addition, the module will check during power up whether
alternative EDID information is available from the KVM switch or
extender that is connected to port A. If required, you can also
harvest and store new EDID information from your display or an
*
Adder DDC Ghost device.
Serial port configuration
The module can automatically alter its baud rate to match that
of the host computer’s serial port. To do this the other serial
parameters must first be correct: 8 data bits, no parity, 1 stop
bit and no hardware handshaking. These are usually the default
settings, however, if you do need to alter them, open the Windows
Device Manager, locate the entry for the COM port to which the
module is connected and view the Properties > Port Settings tab.
Once set, open a terminal program and send a Return (carriage
return) to the Com port to which the module is attached until the
message USB Dual Access CAM version 1.00 is returned. The
module can now accept commands.
Receiver unit connections
You can connect two AdderView KVM switches, two AdderLink X2
Silver extenders or a mixture of both.
For details about connections at the receiver units, please refer to
the guides for those devices.
AdderView KVM switch
User arbitration
Control of the host computer is arbitrated by the
module on a first come, first served basis. At the moment that
a key is pressed or a mouse is moved by a user, the keyboard and
mouse of the other user are temporarily locked-out (the video images
remain). The keyboard indicators of the locked-out user then begin to flash to
confirm their status. After two seconds of inactivity from the user currently in
control, the module returns to its idle condition and re-instates the keyboard
indicators of the locked-out user.
AdderLink X2 Silver or X200 receiver
 Loading...