

Page 1
Wall Stud Adapter Plate
Installation Instructions
The WP-Series Wall Stud Adapter Plate bridges standard construction studs for a
more solid and secure mounting surface. It comes in two models; WP-16 for
adapting to wall structures with 16” stud centers and WP-24 for 24” stud centers.
Warning:
Mounting and/or rigging loudspeakers requires experienced professionals.
Improperly installed loudspeakers can result in property damage,
personal injury, death and/or liability to the installing contractor.
Caution:
Due to the wide variety of wall structures, materials and mounting methods, these
instructions assume that the installing contractor will exercise good judgment in
selecting the proper mounting area and hardware.
To assure a trouble free installation, read through and follow these instructions
carefully before beginning. If you have doubts about the integrity of the structure
you are mounting to or you are not sure about the proper hardware to use, consult
a structural and/or hardware specialist.
Package Contents: 1 pc. Wall Stud Adapter Plate
1 pcs. Hardware Kit
Step 1. Locate and determine the stud spacing of the wall where the Wall
Stud Adapter Plate is going to be mounted.
Step 2. Align the side holes of the Wall Stud Adapter Plate over the wall
studs then mark where the Wall stud Adapter Plate will be
mounted. Pre-drill the marked area making sure the bit hits the
center of the stud.
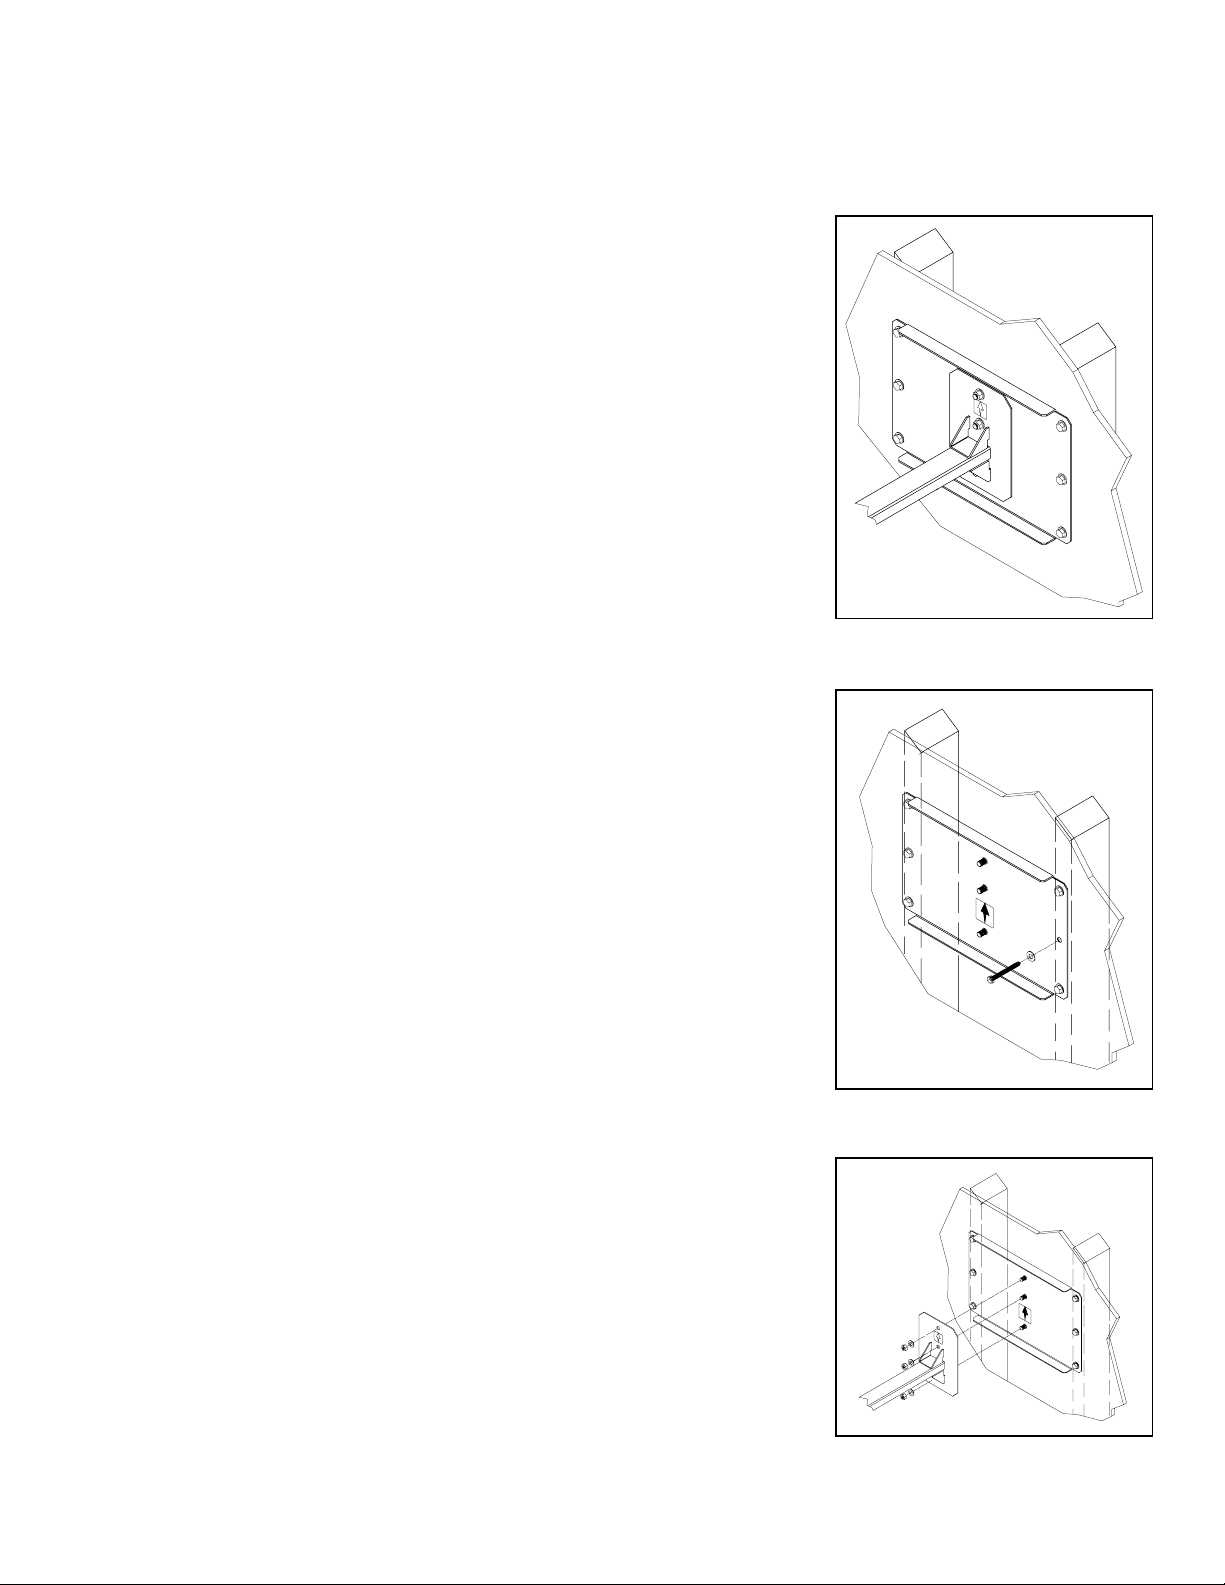
Step 3. Mount the Wall Stud Adapter Plate to the wall using the
recommended mounting hardware (not included). Make sure the
“THIS END UP” label’s arrow points towards the ceiling (Figure 1).
Step 4. Mount Wall Arm to Wall Stud Adapter Plate:
Refer to SAS-100-WM, SAS-100-20 or SA-2027-WM instruction
sheet.
Figure 1
Figure 2
Rev 01 2002 Allen Products Co. Signal Hill CA 90806 USA (562) 424-1100 010802
 Loading...